Jira Kanban Project
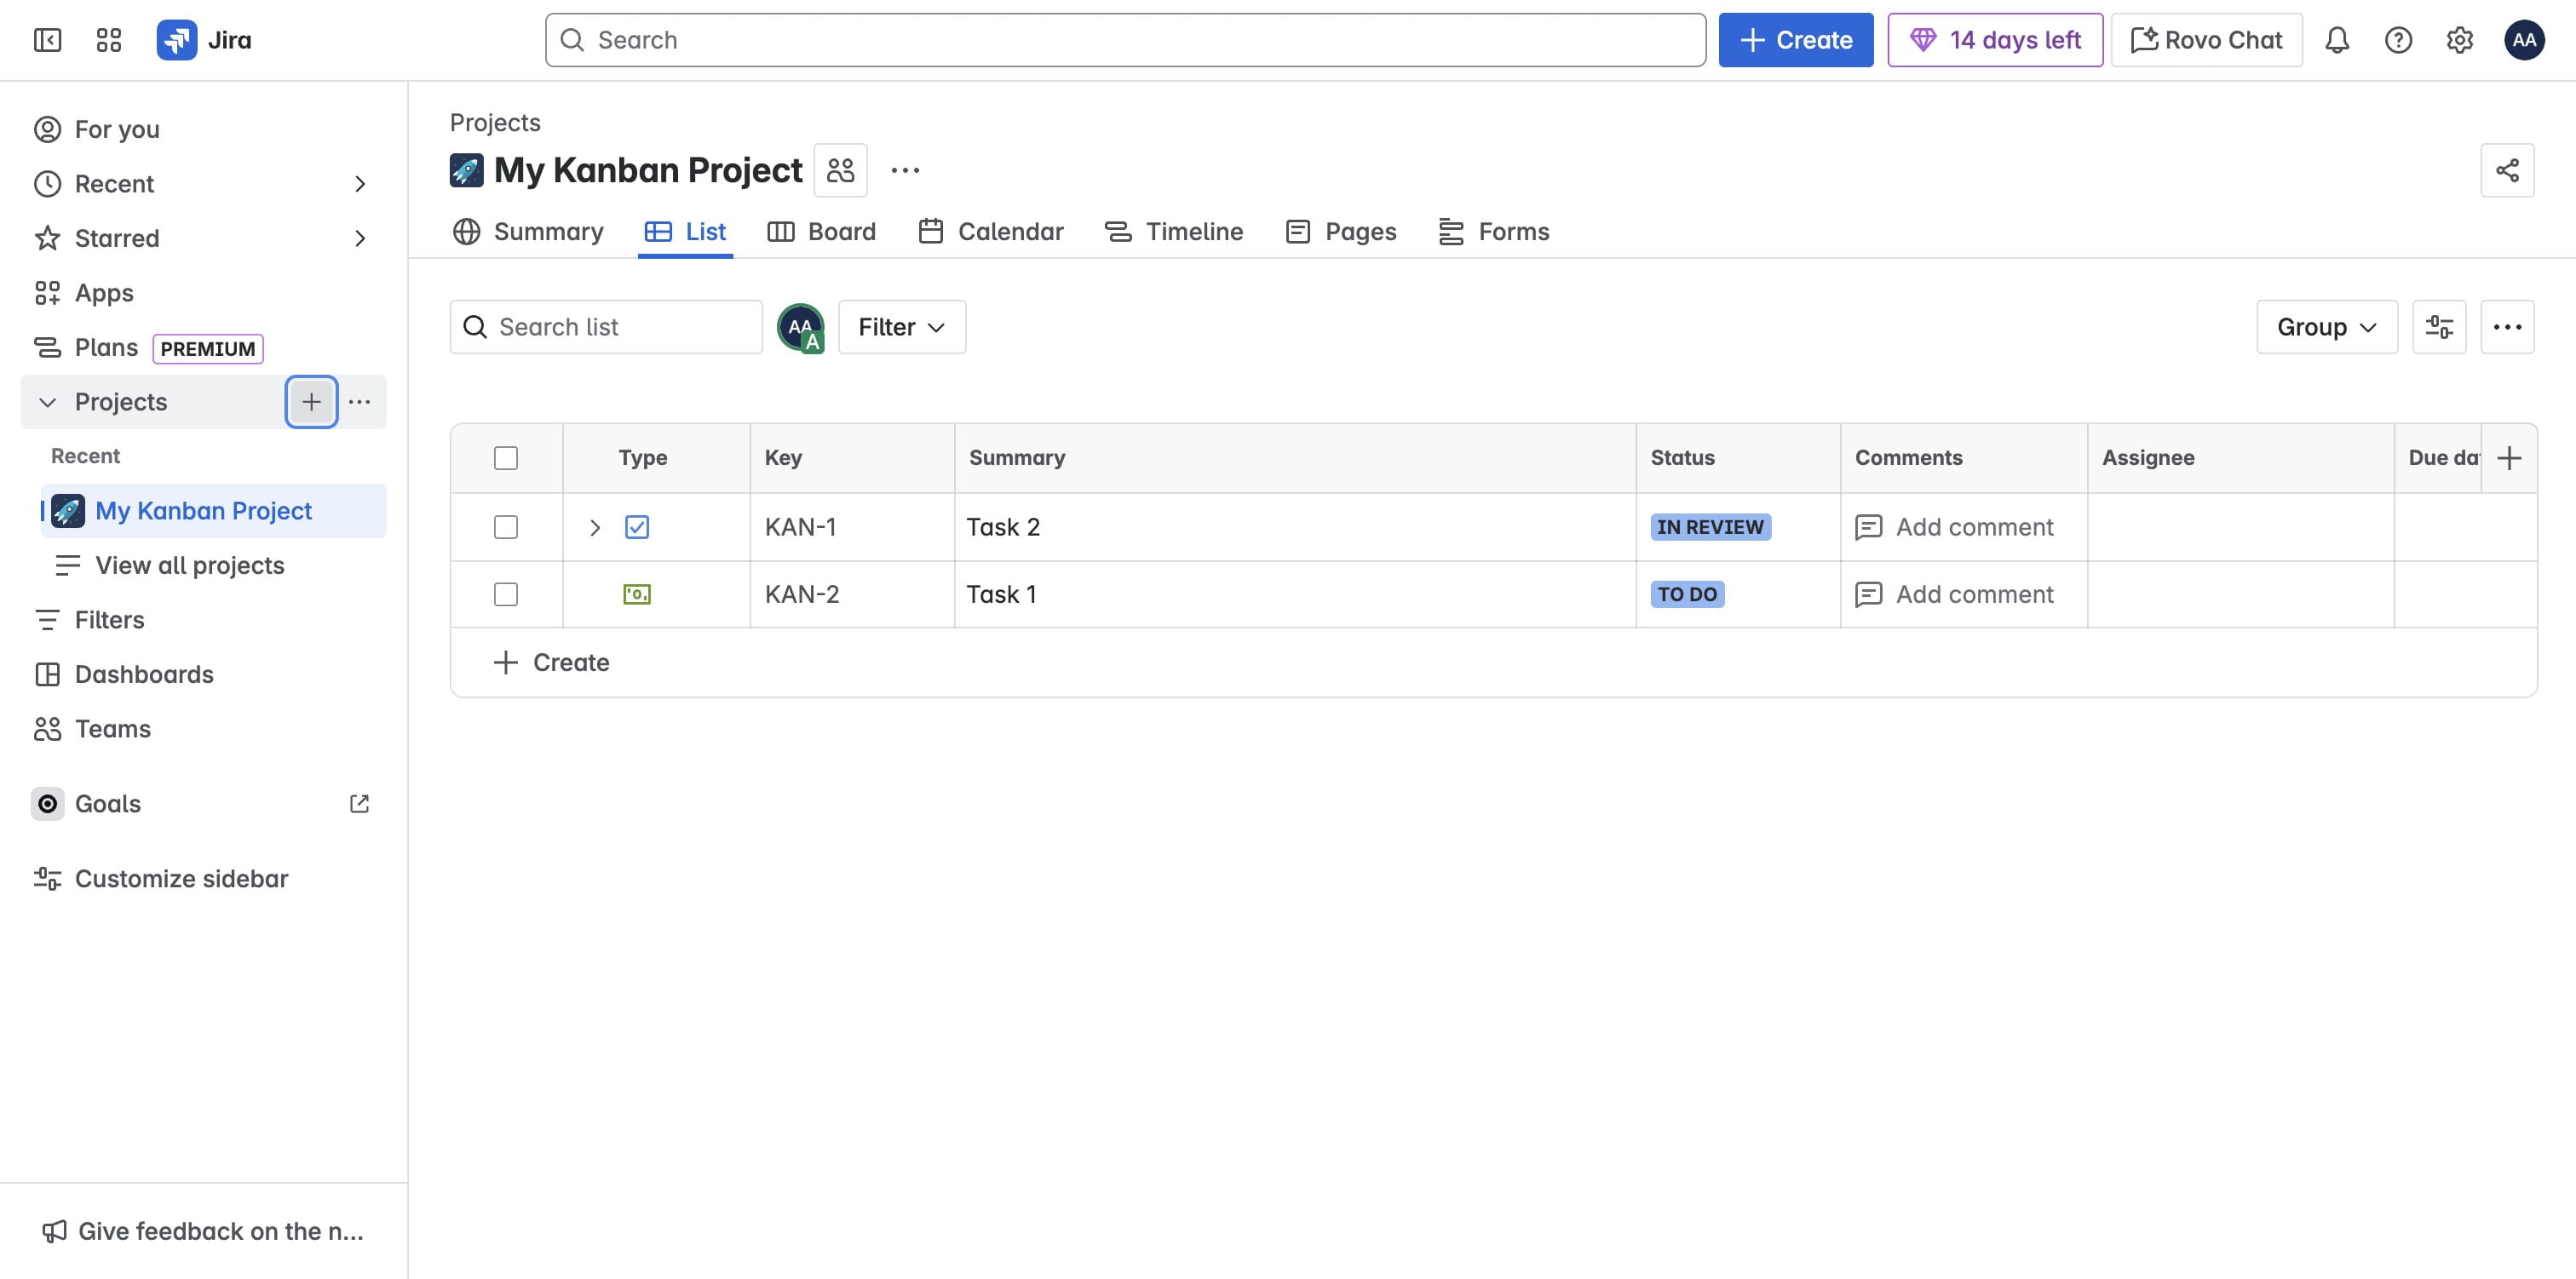
Go to your list of Jira projects
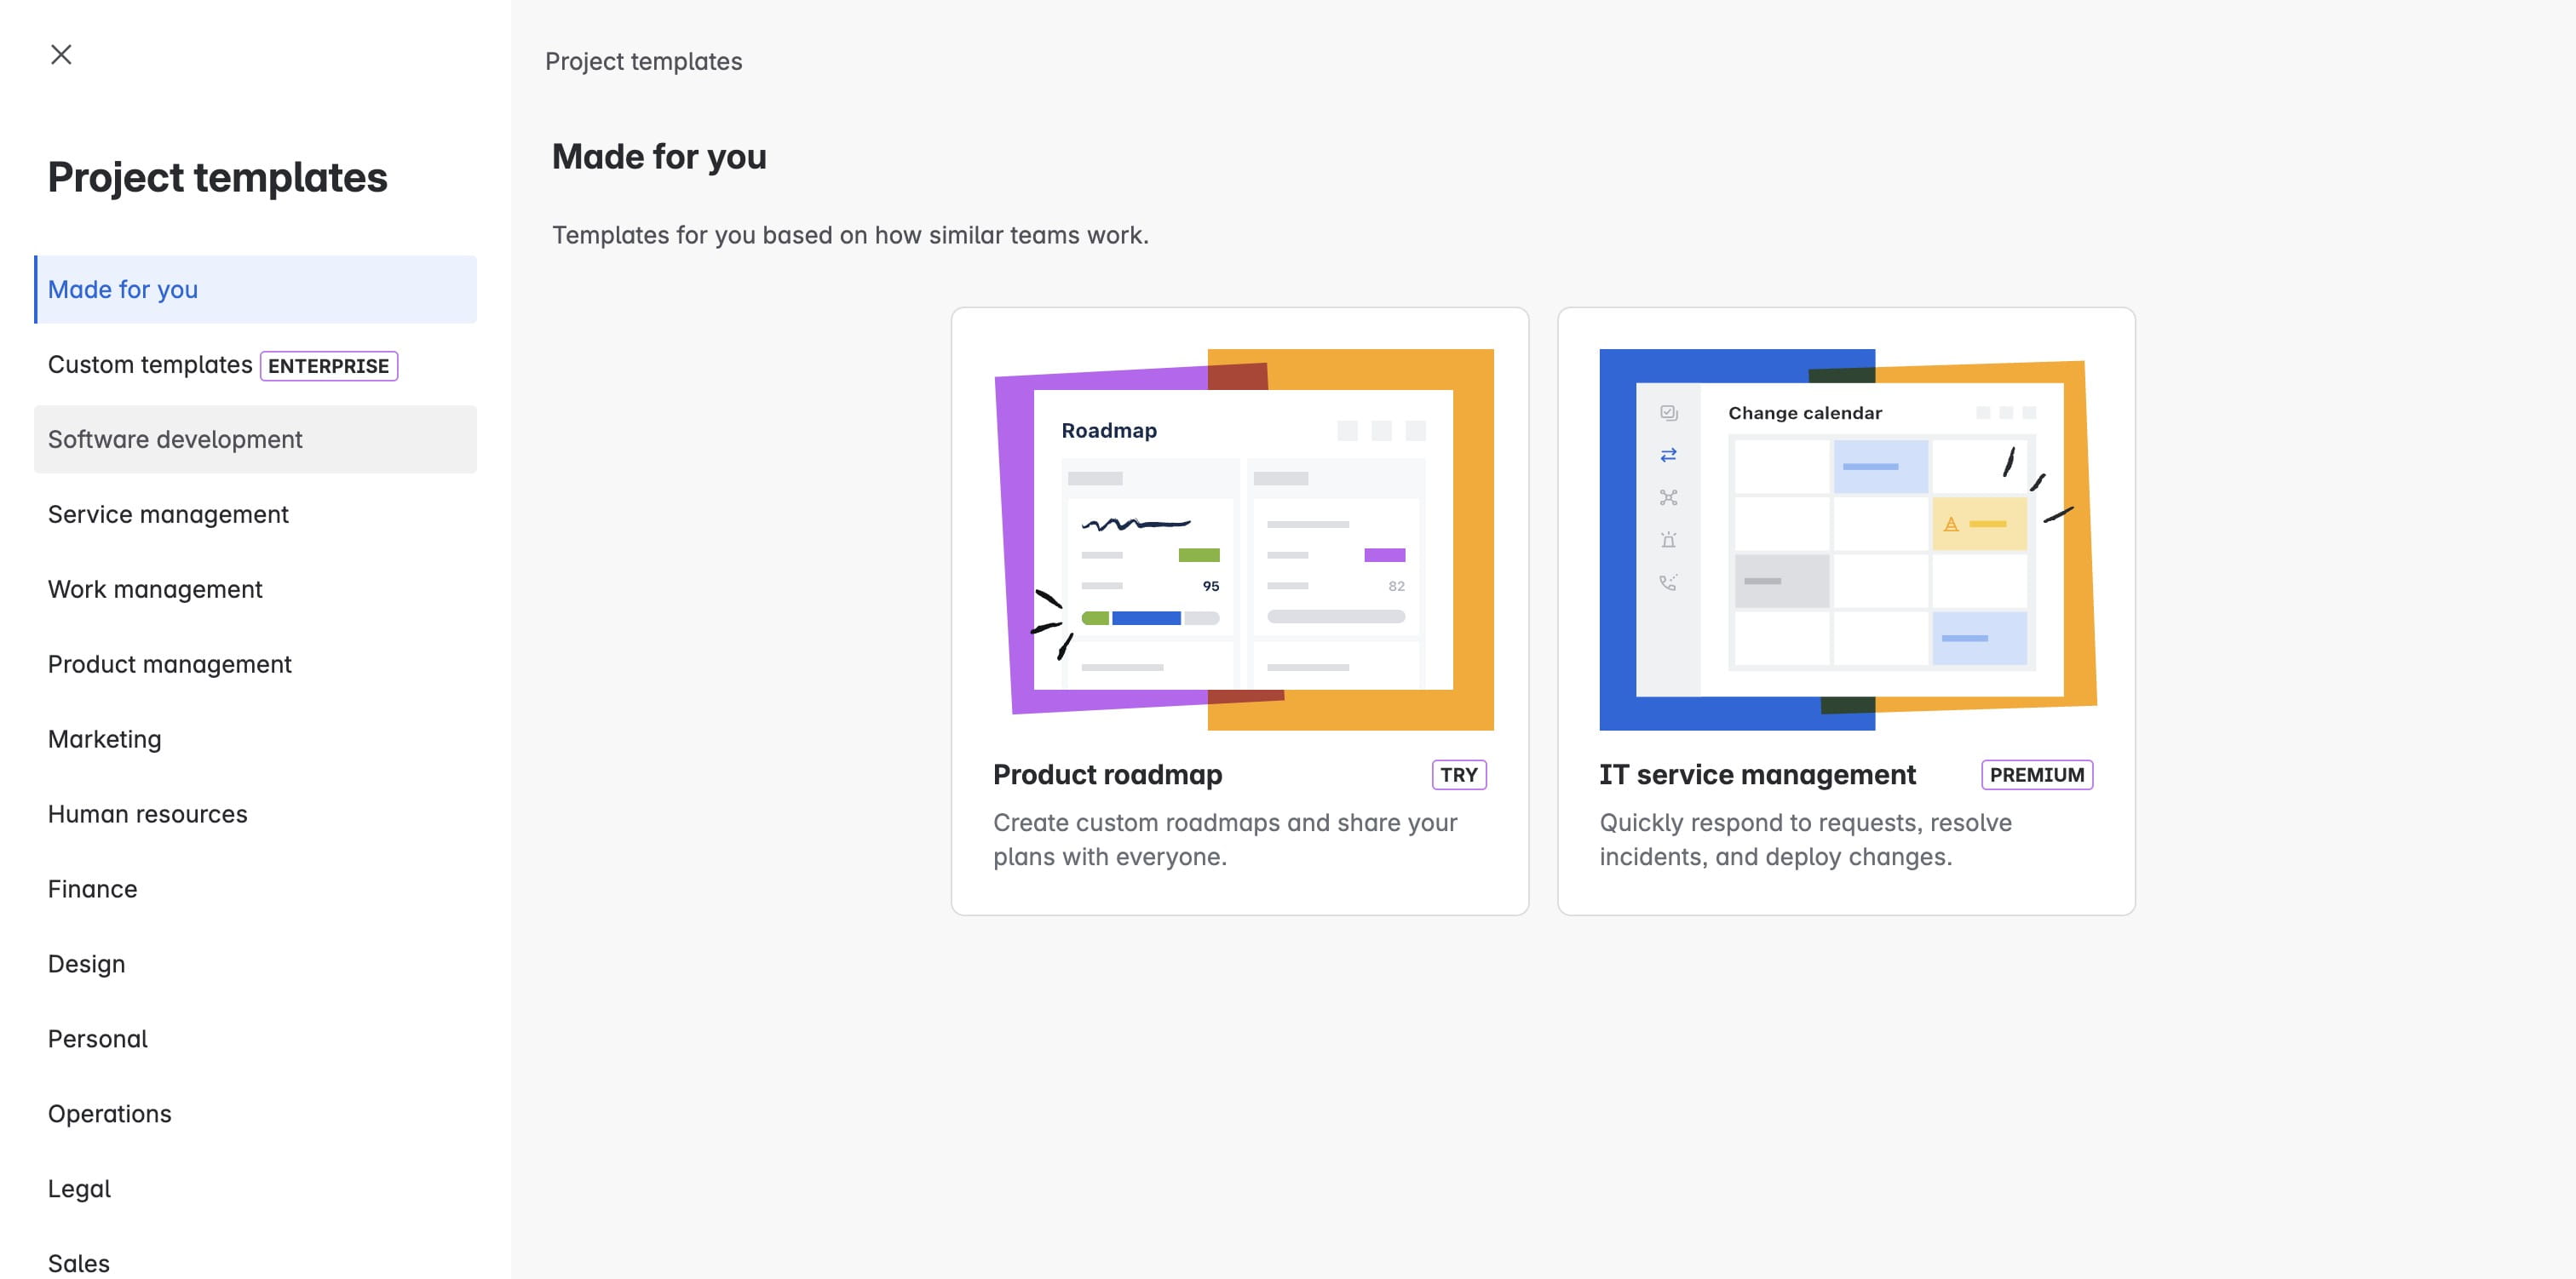
Create a new project
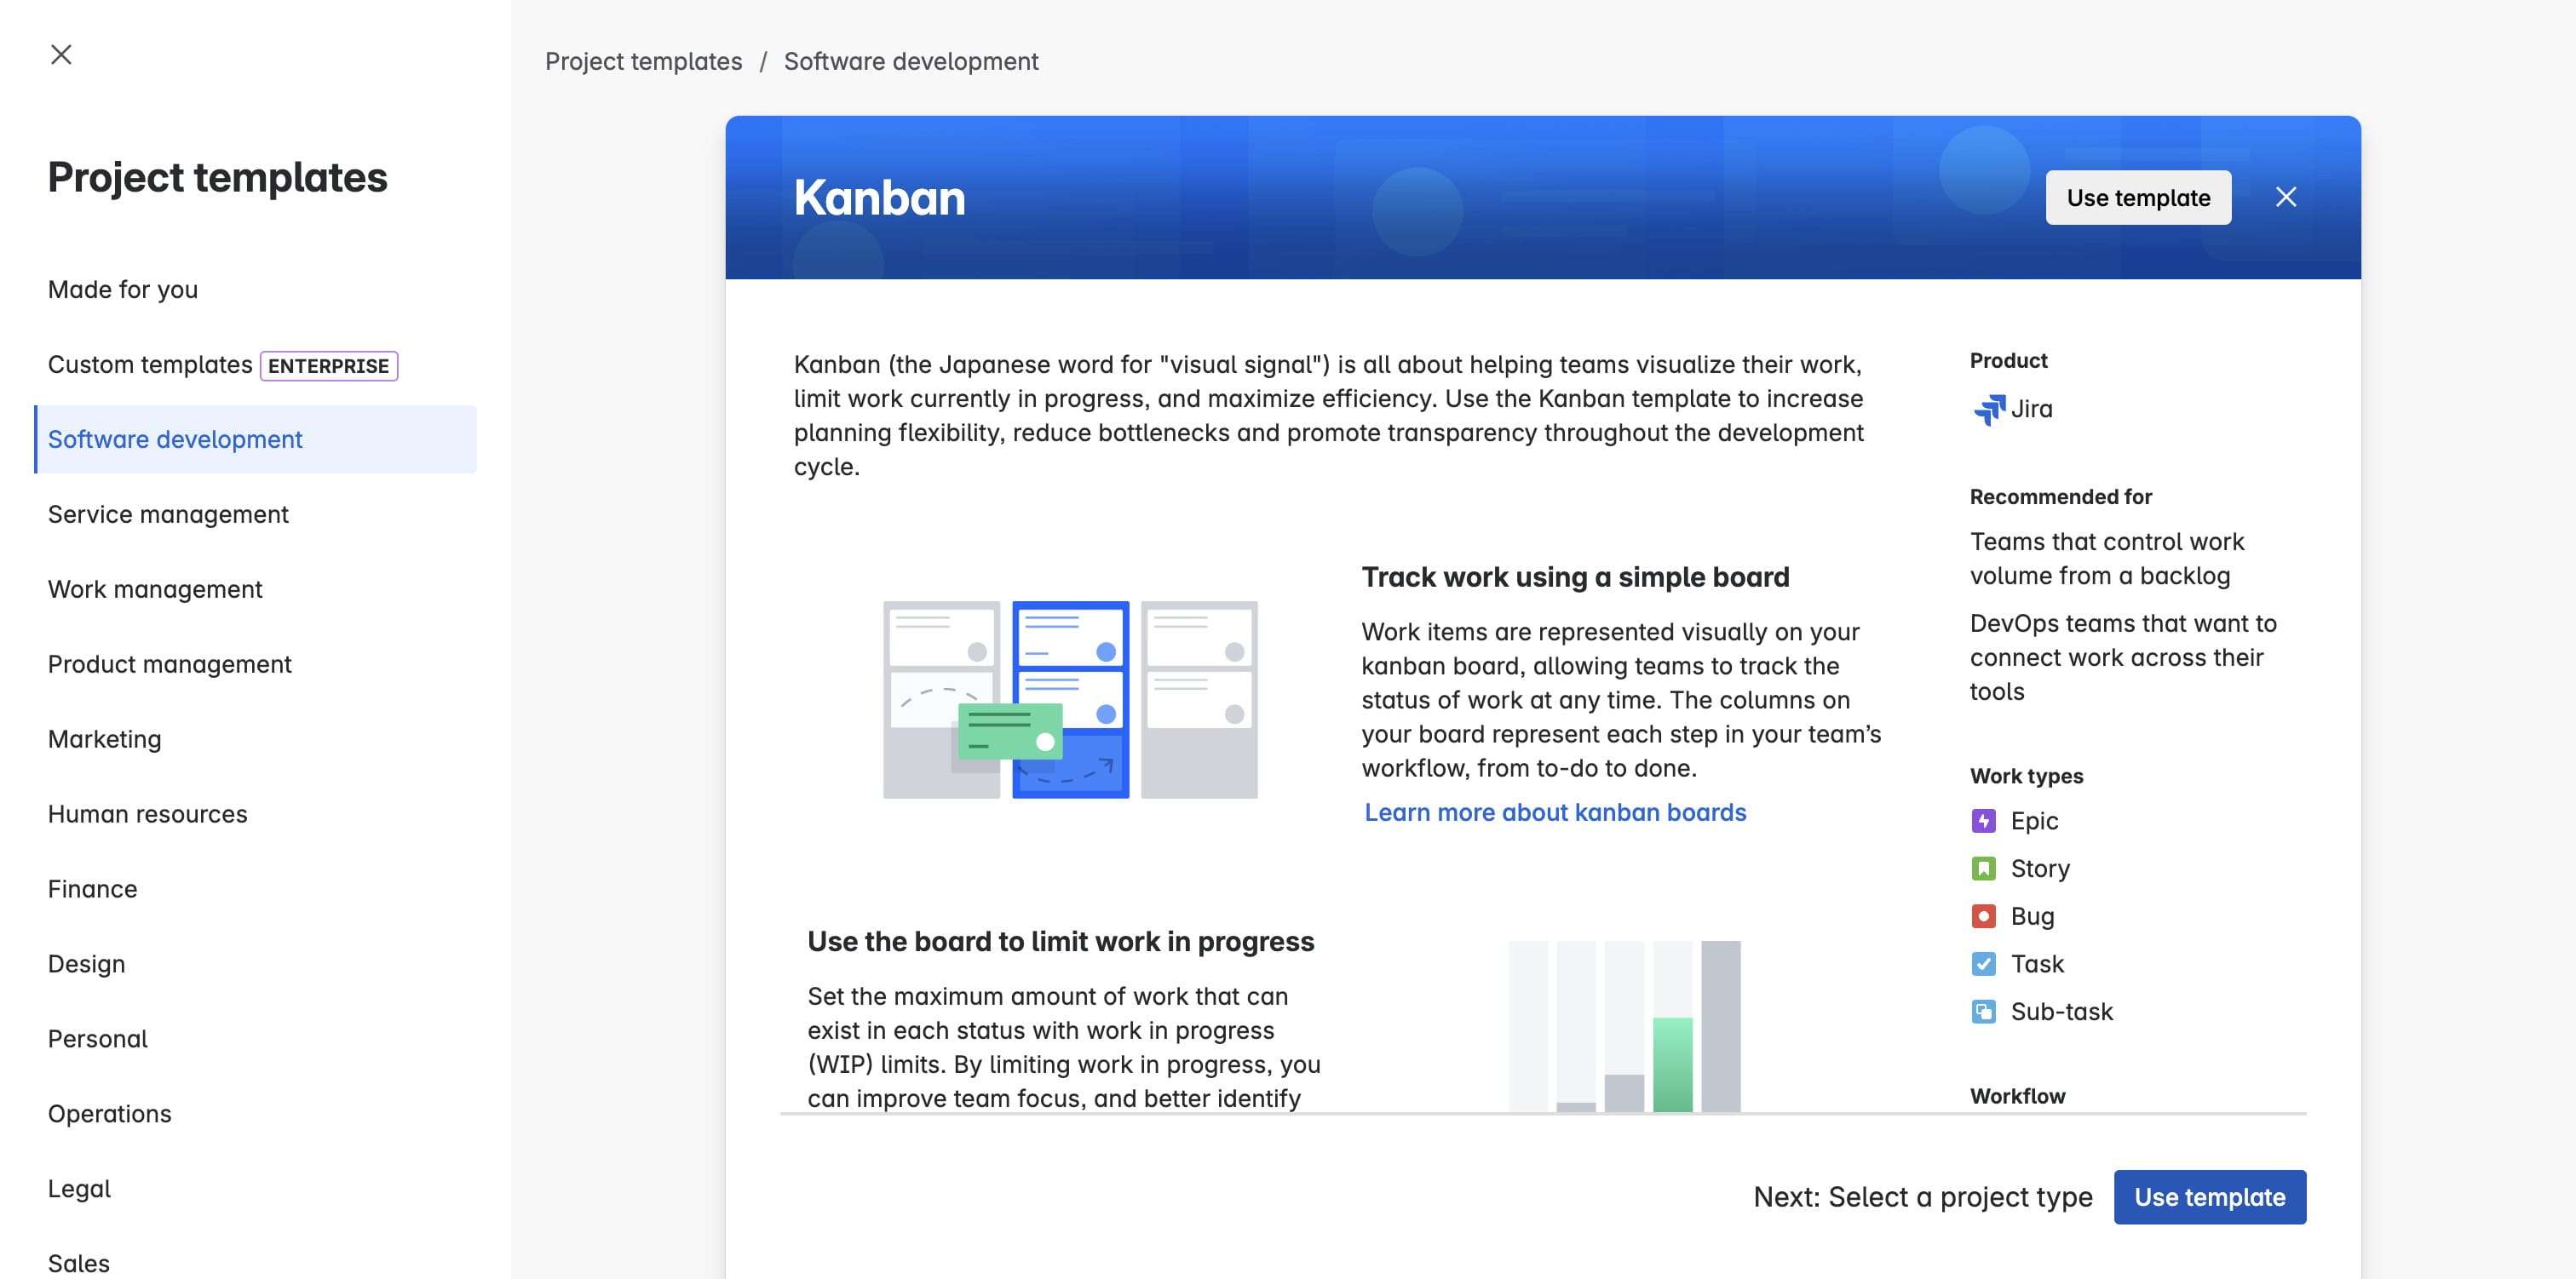
Click on "Software development"
Click on Kanban
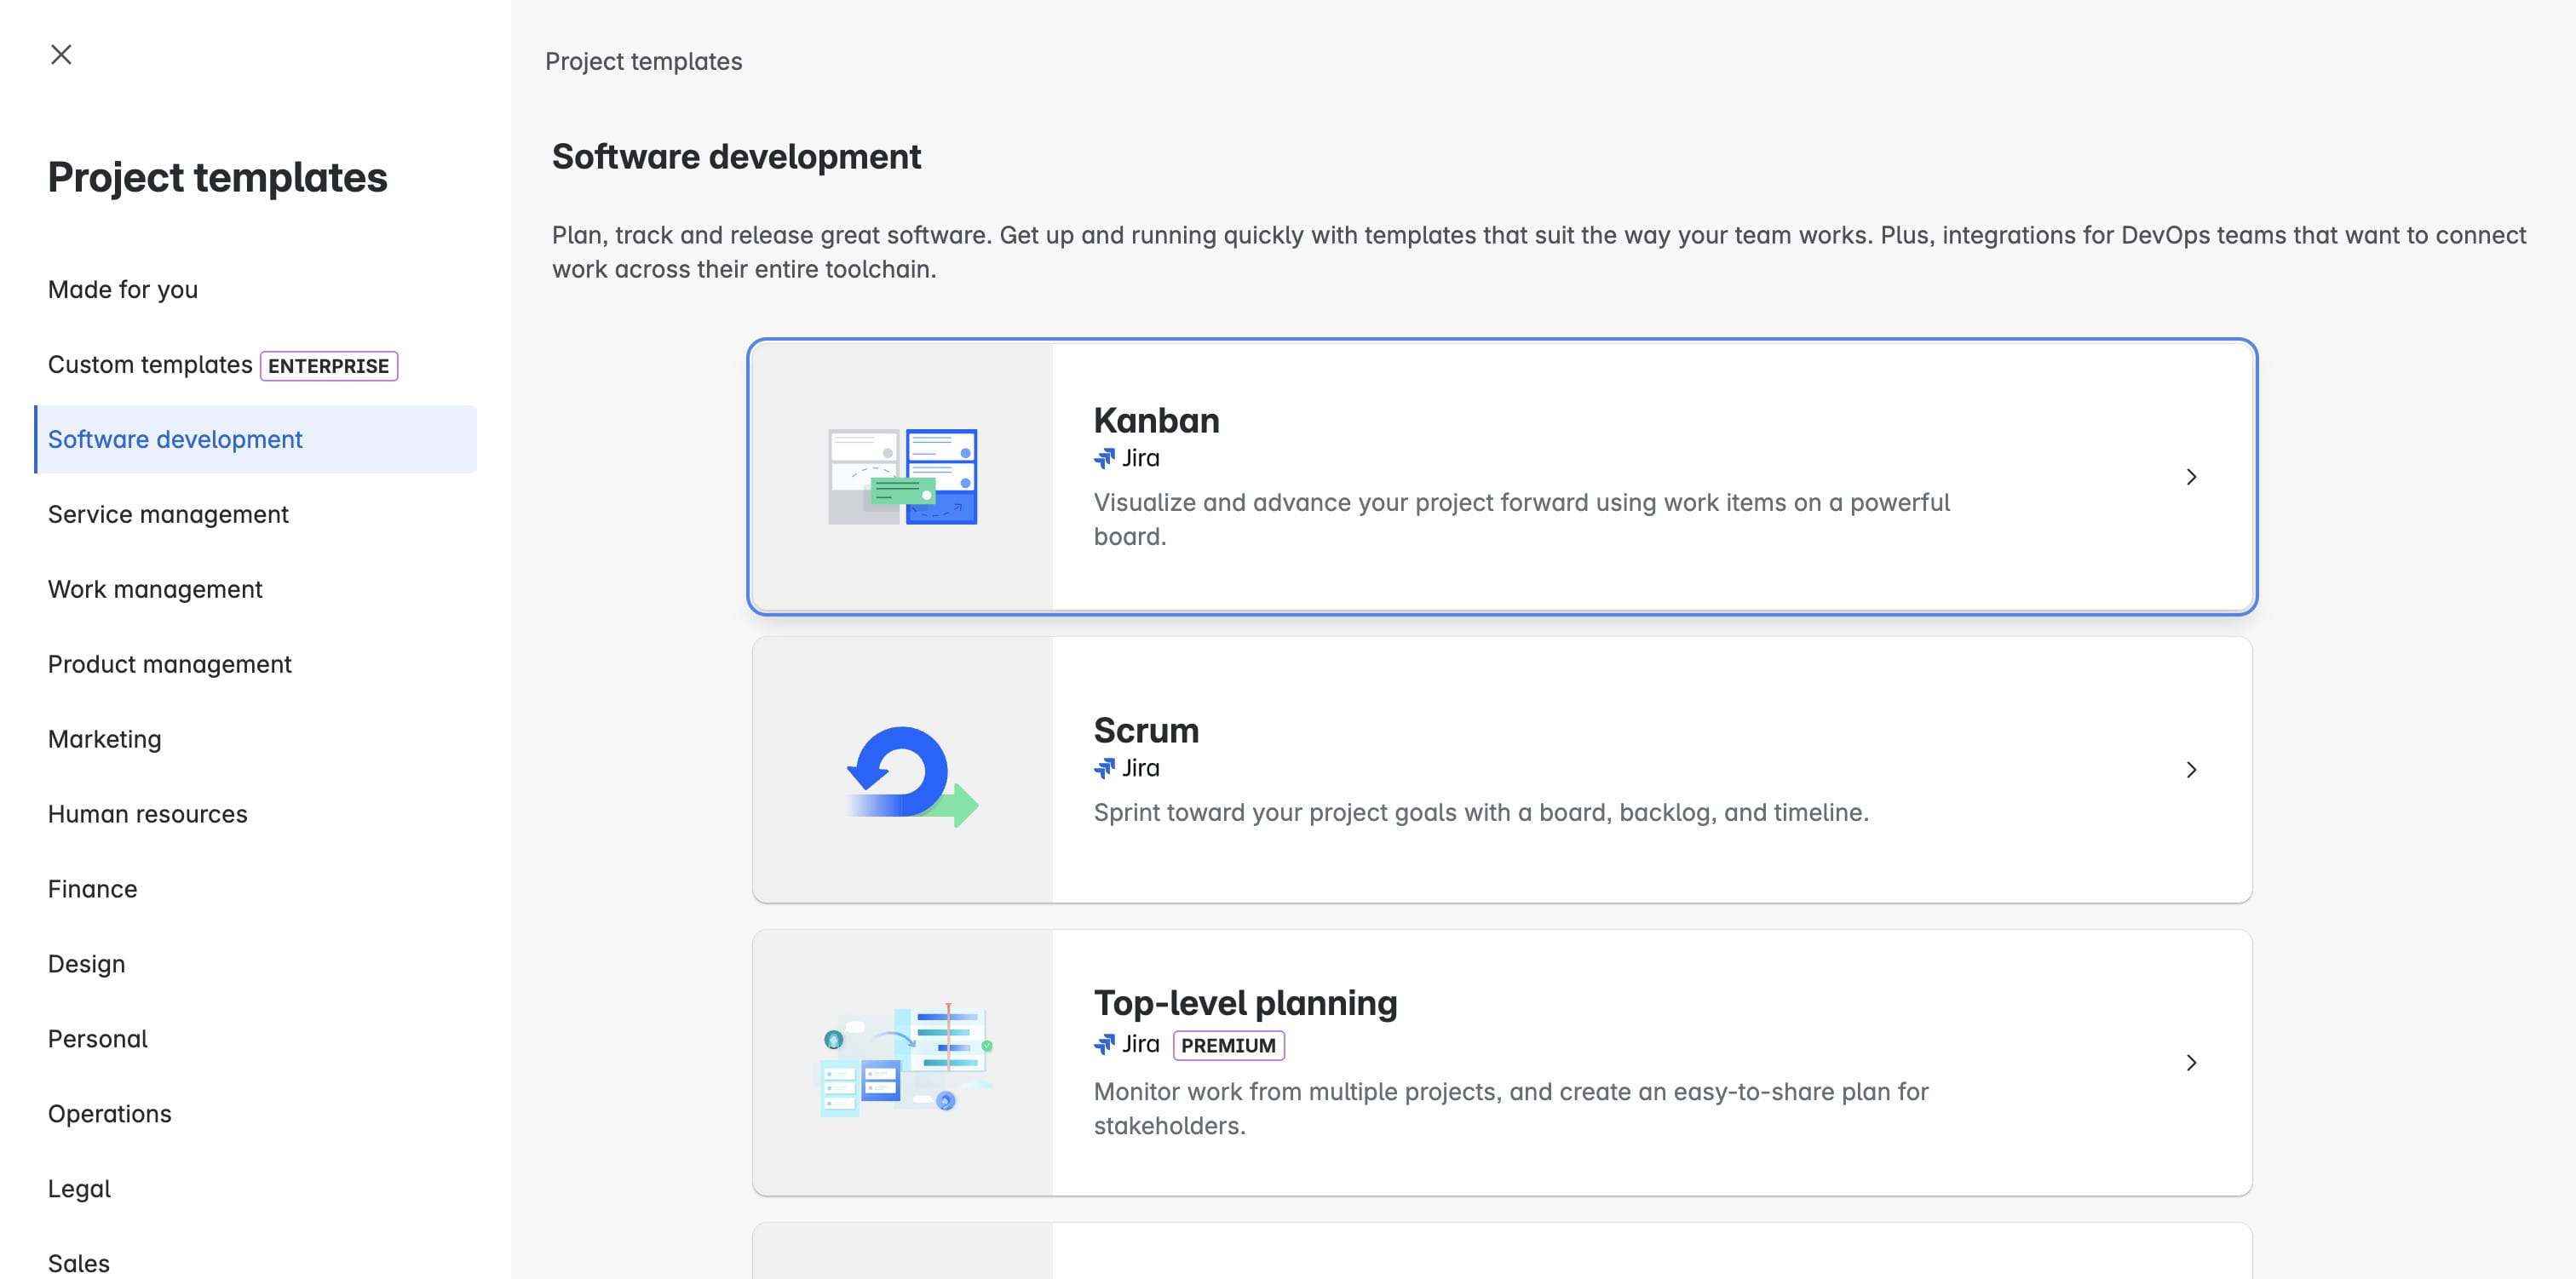
Click on "Use template"
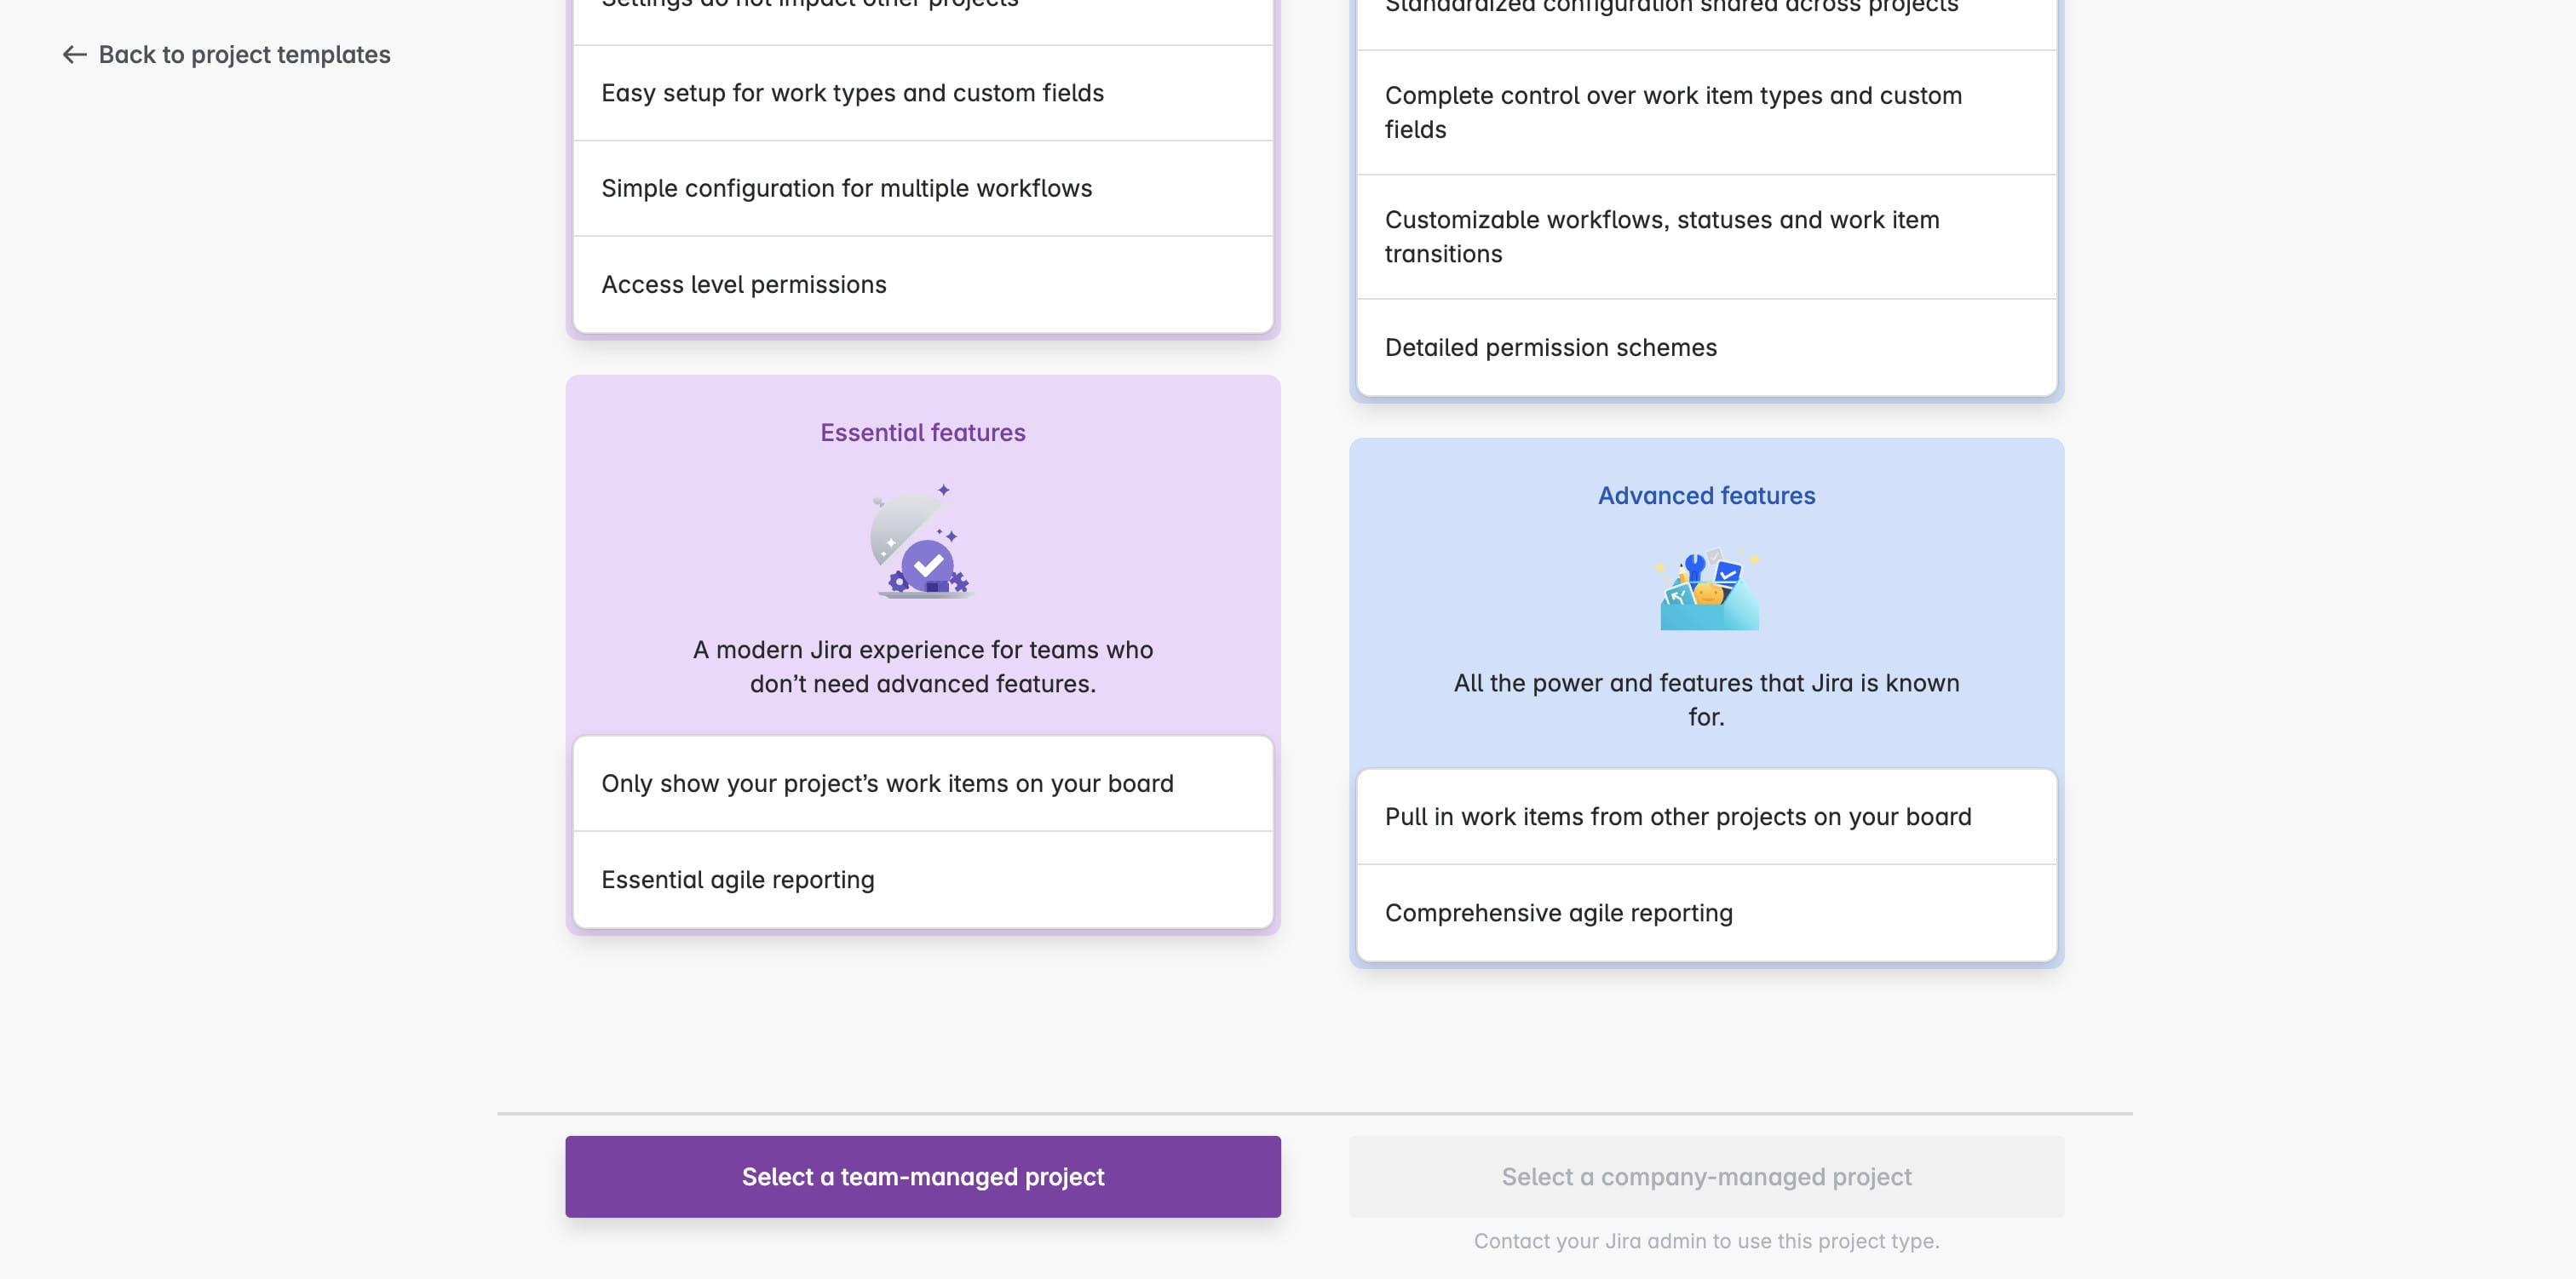
Click on "Select a team-managed project"
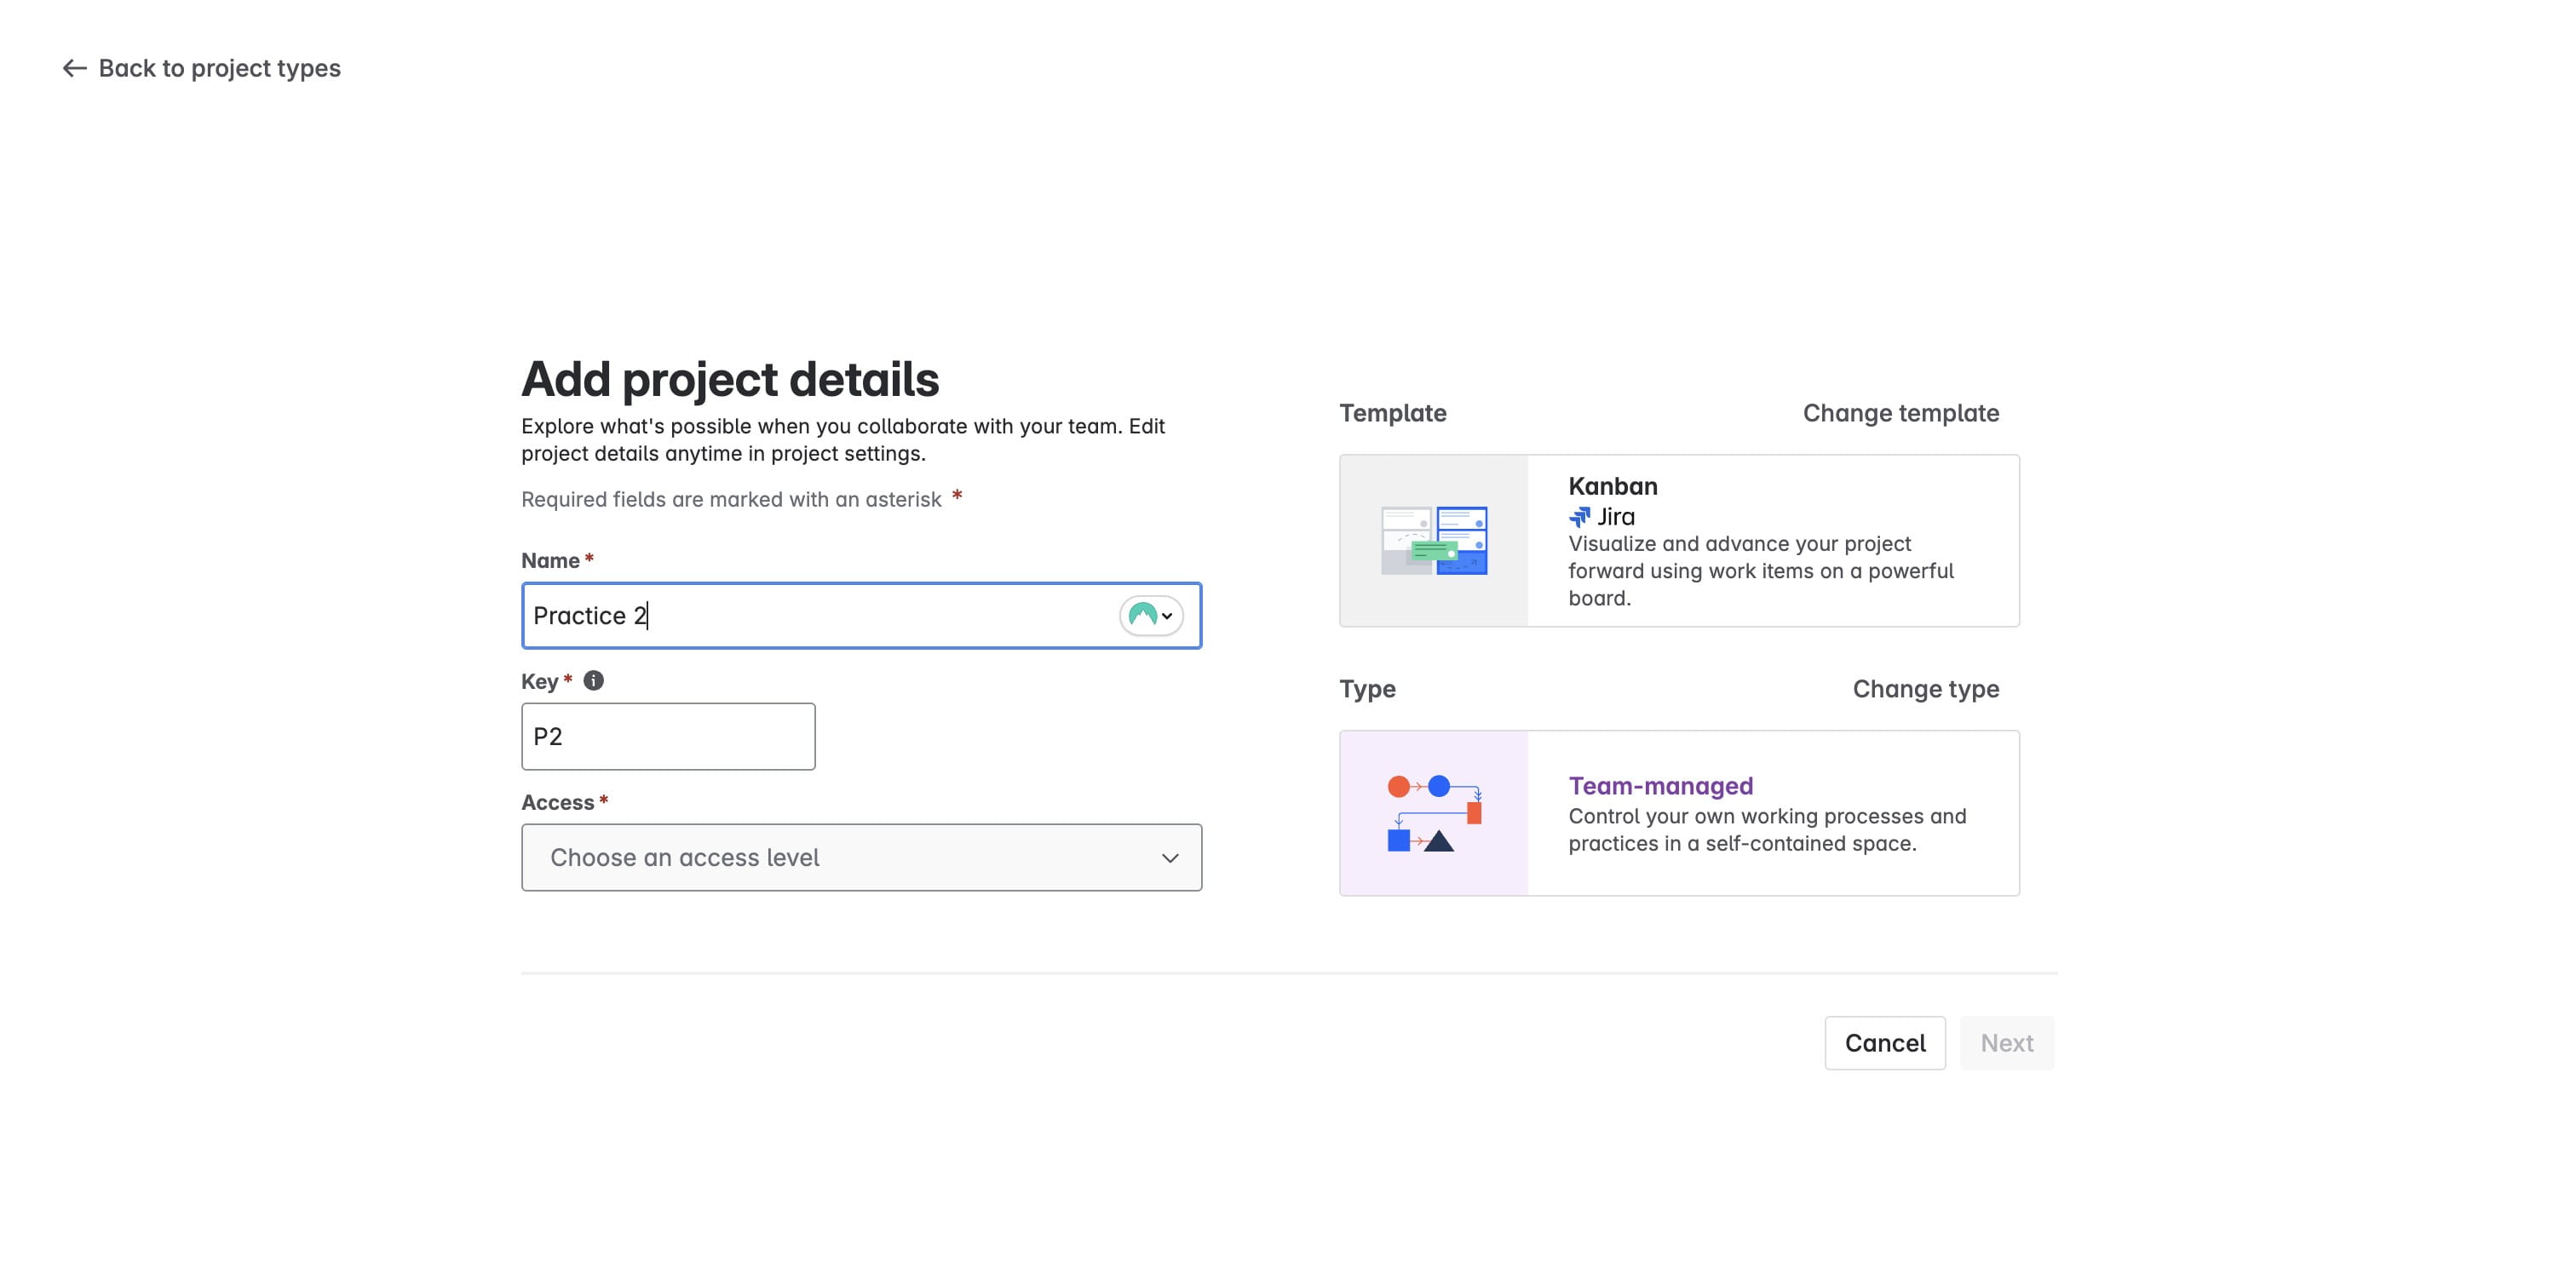
Enter a project name
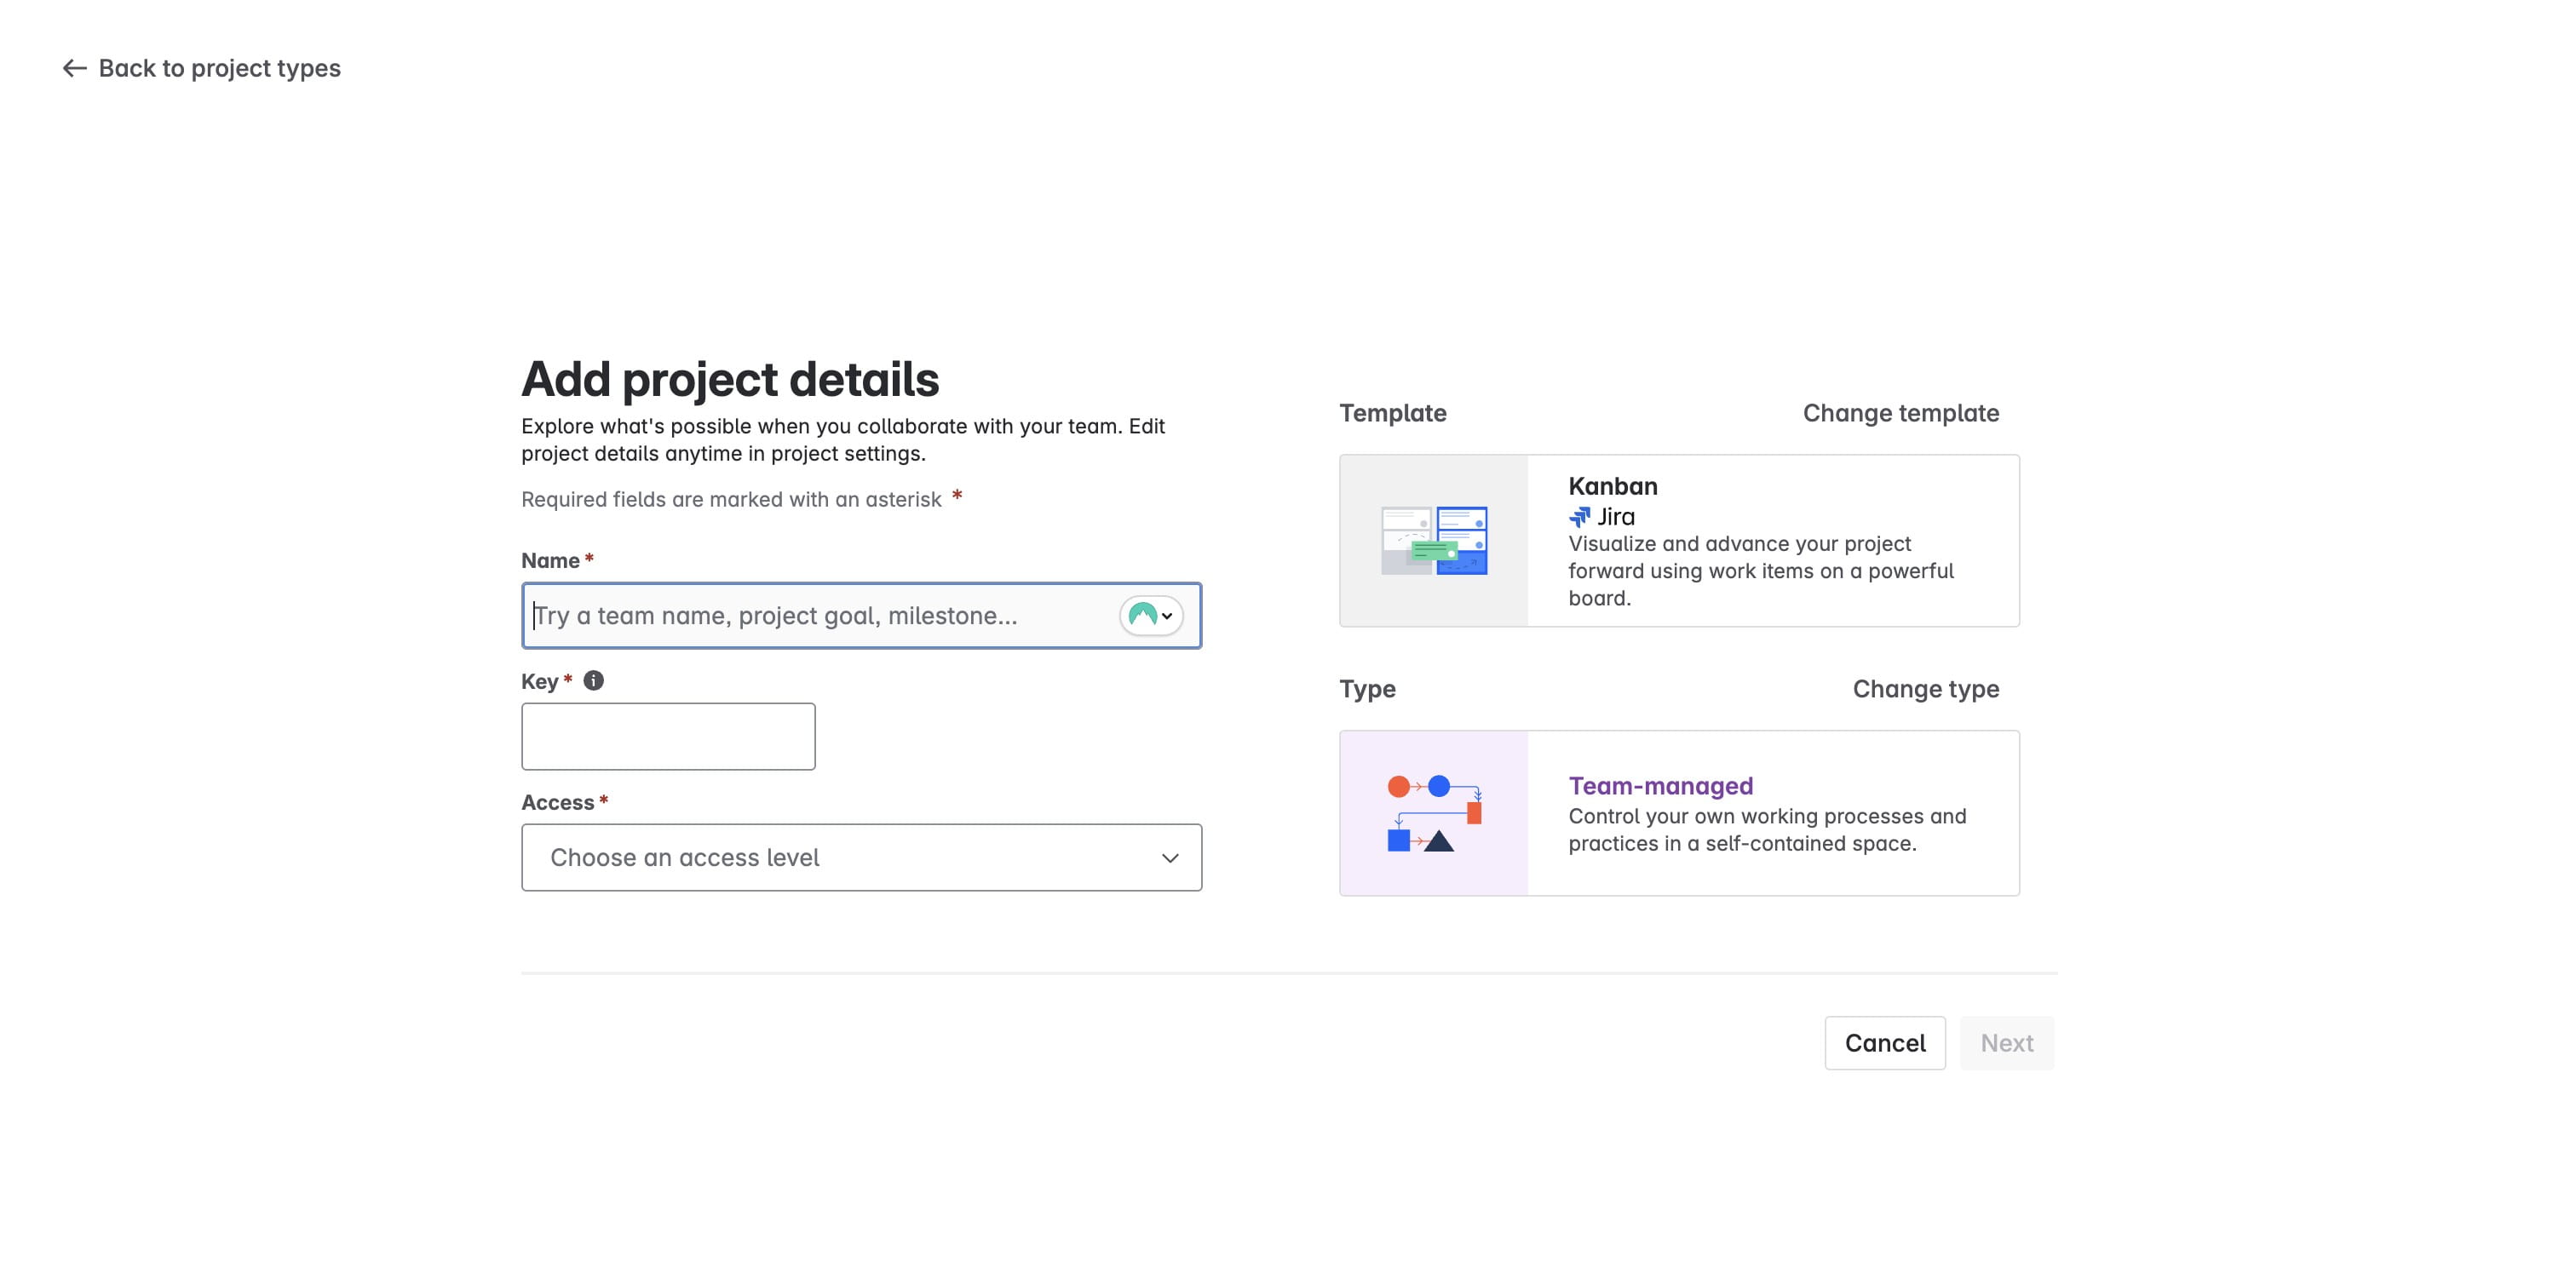
Click on "Choose an access level"
Click on "Anyone with access to the "" Jira site"
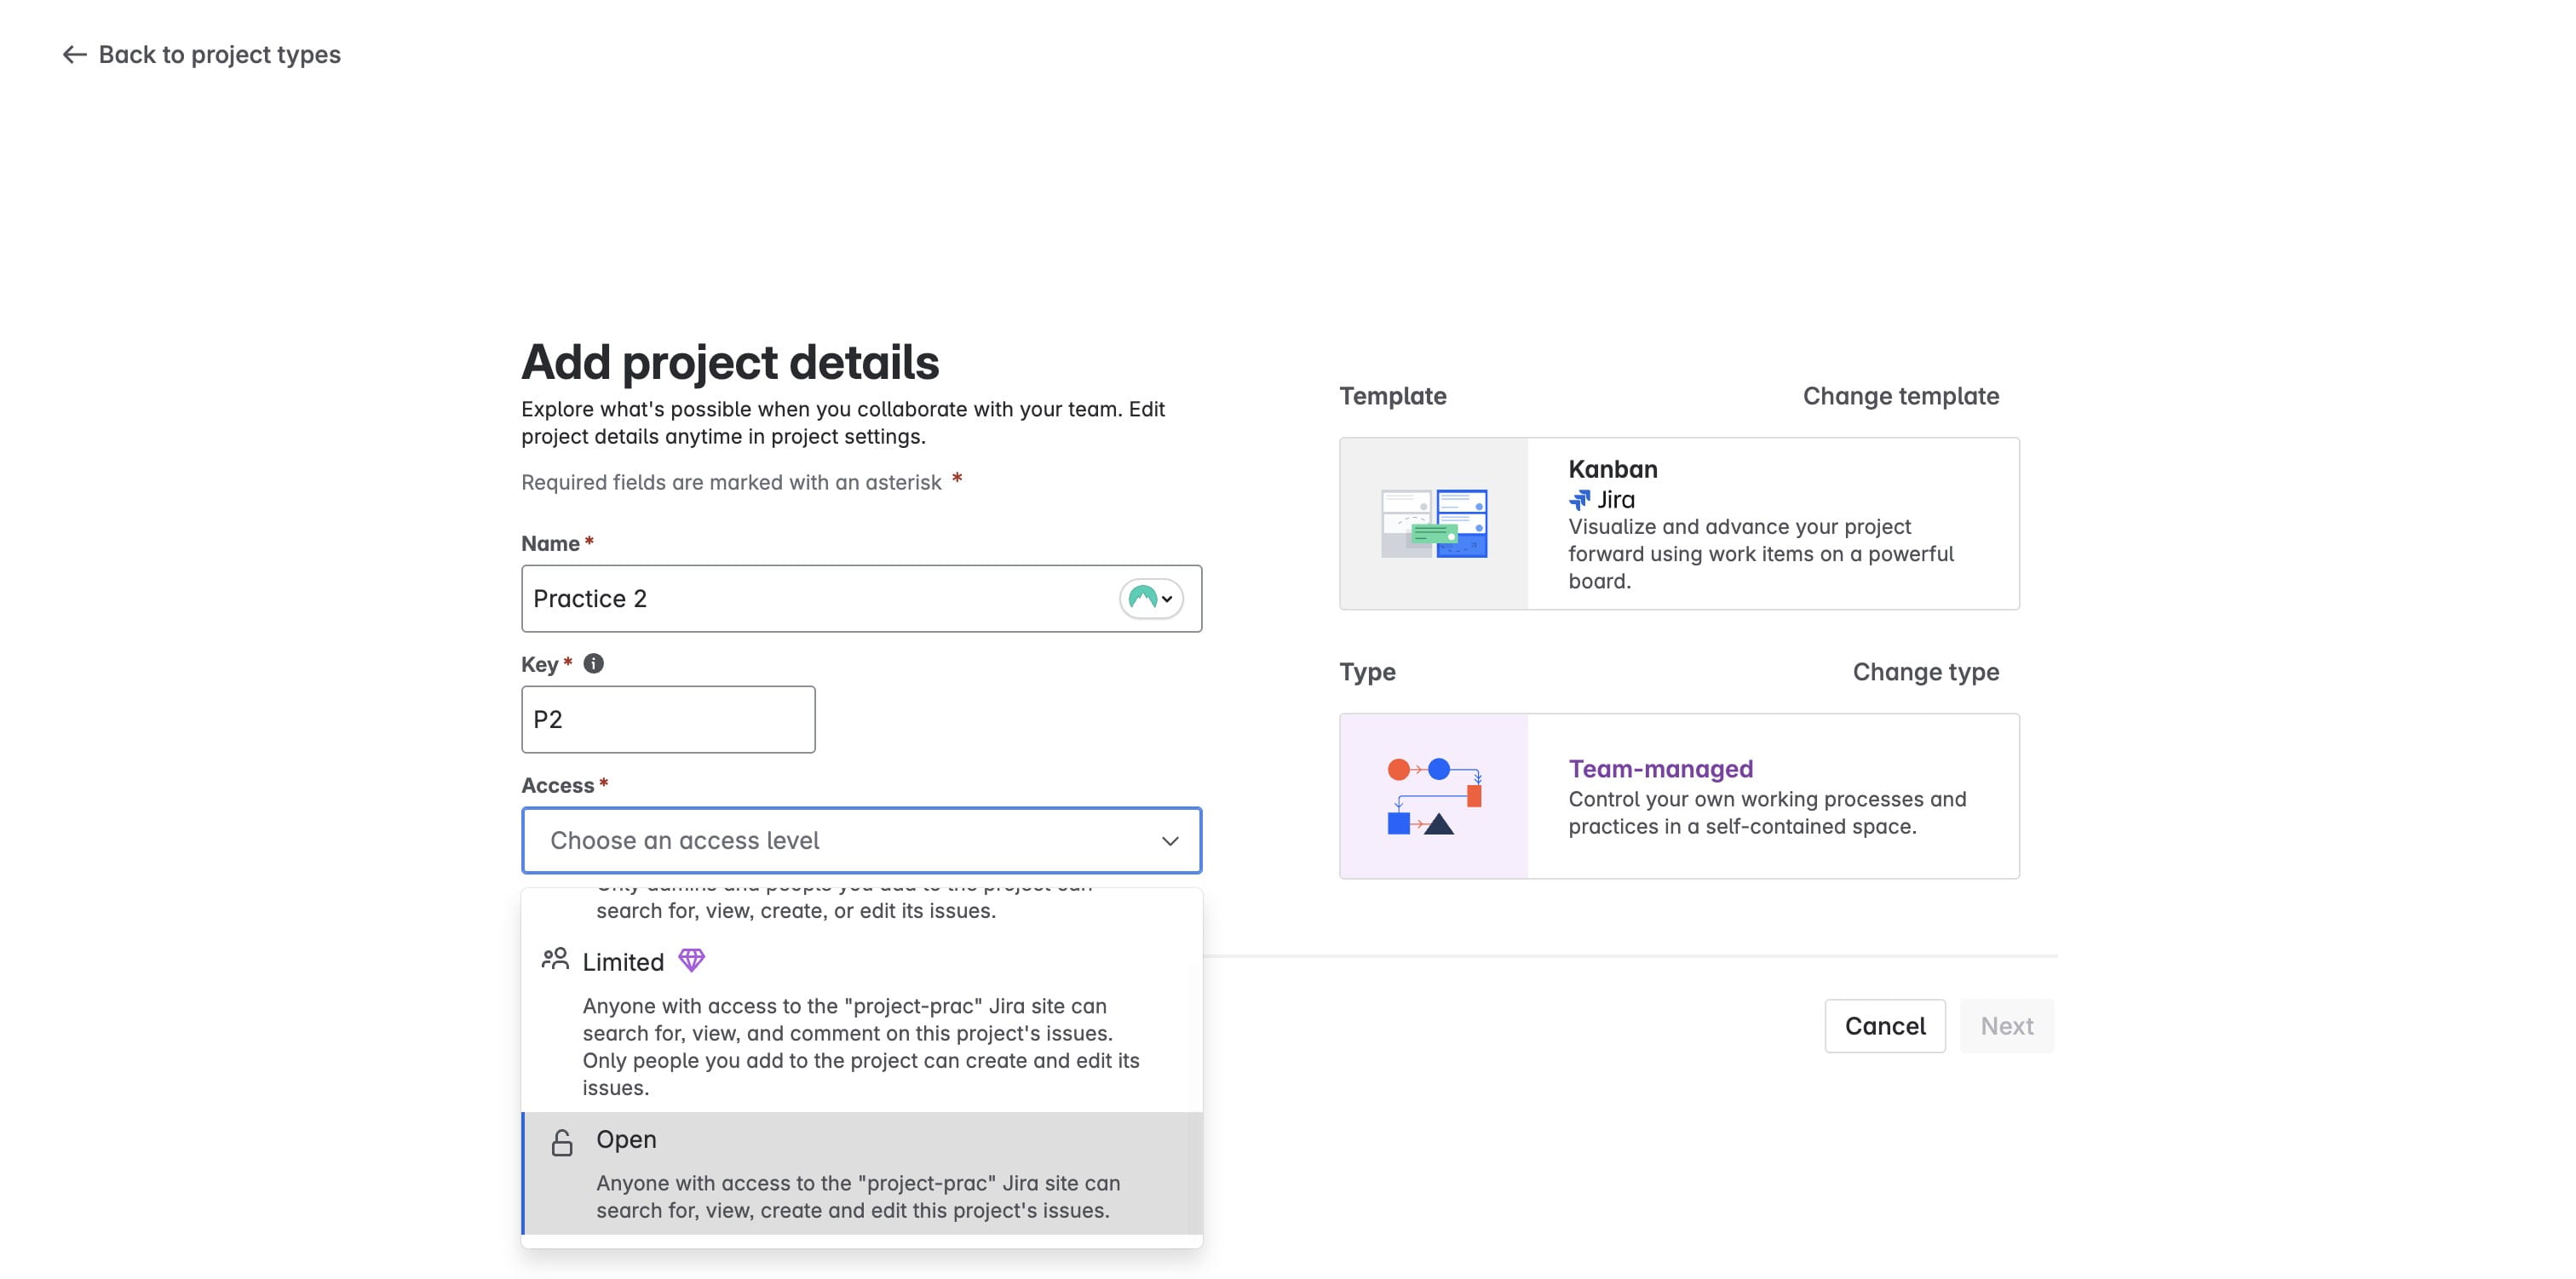
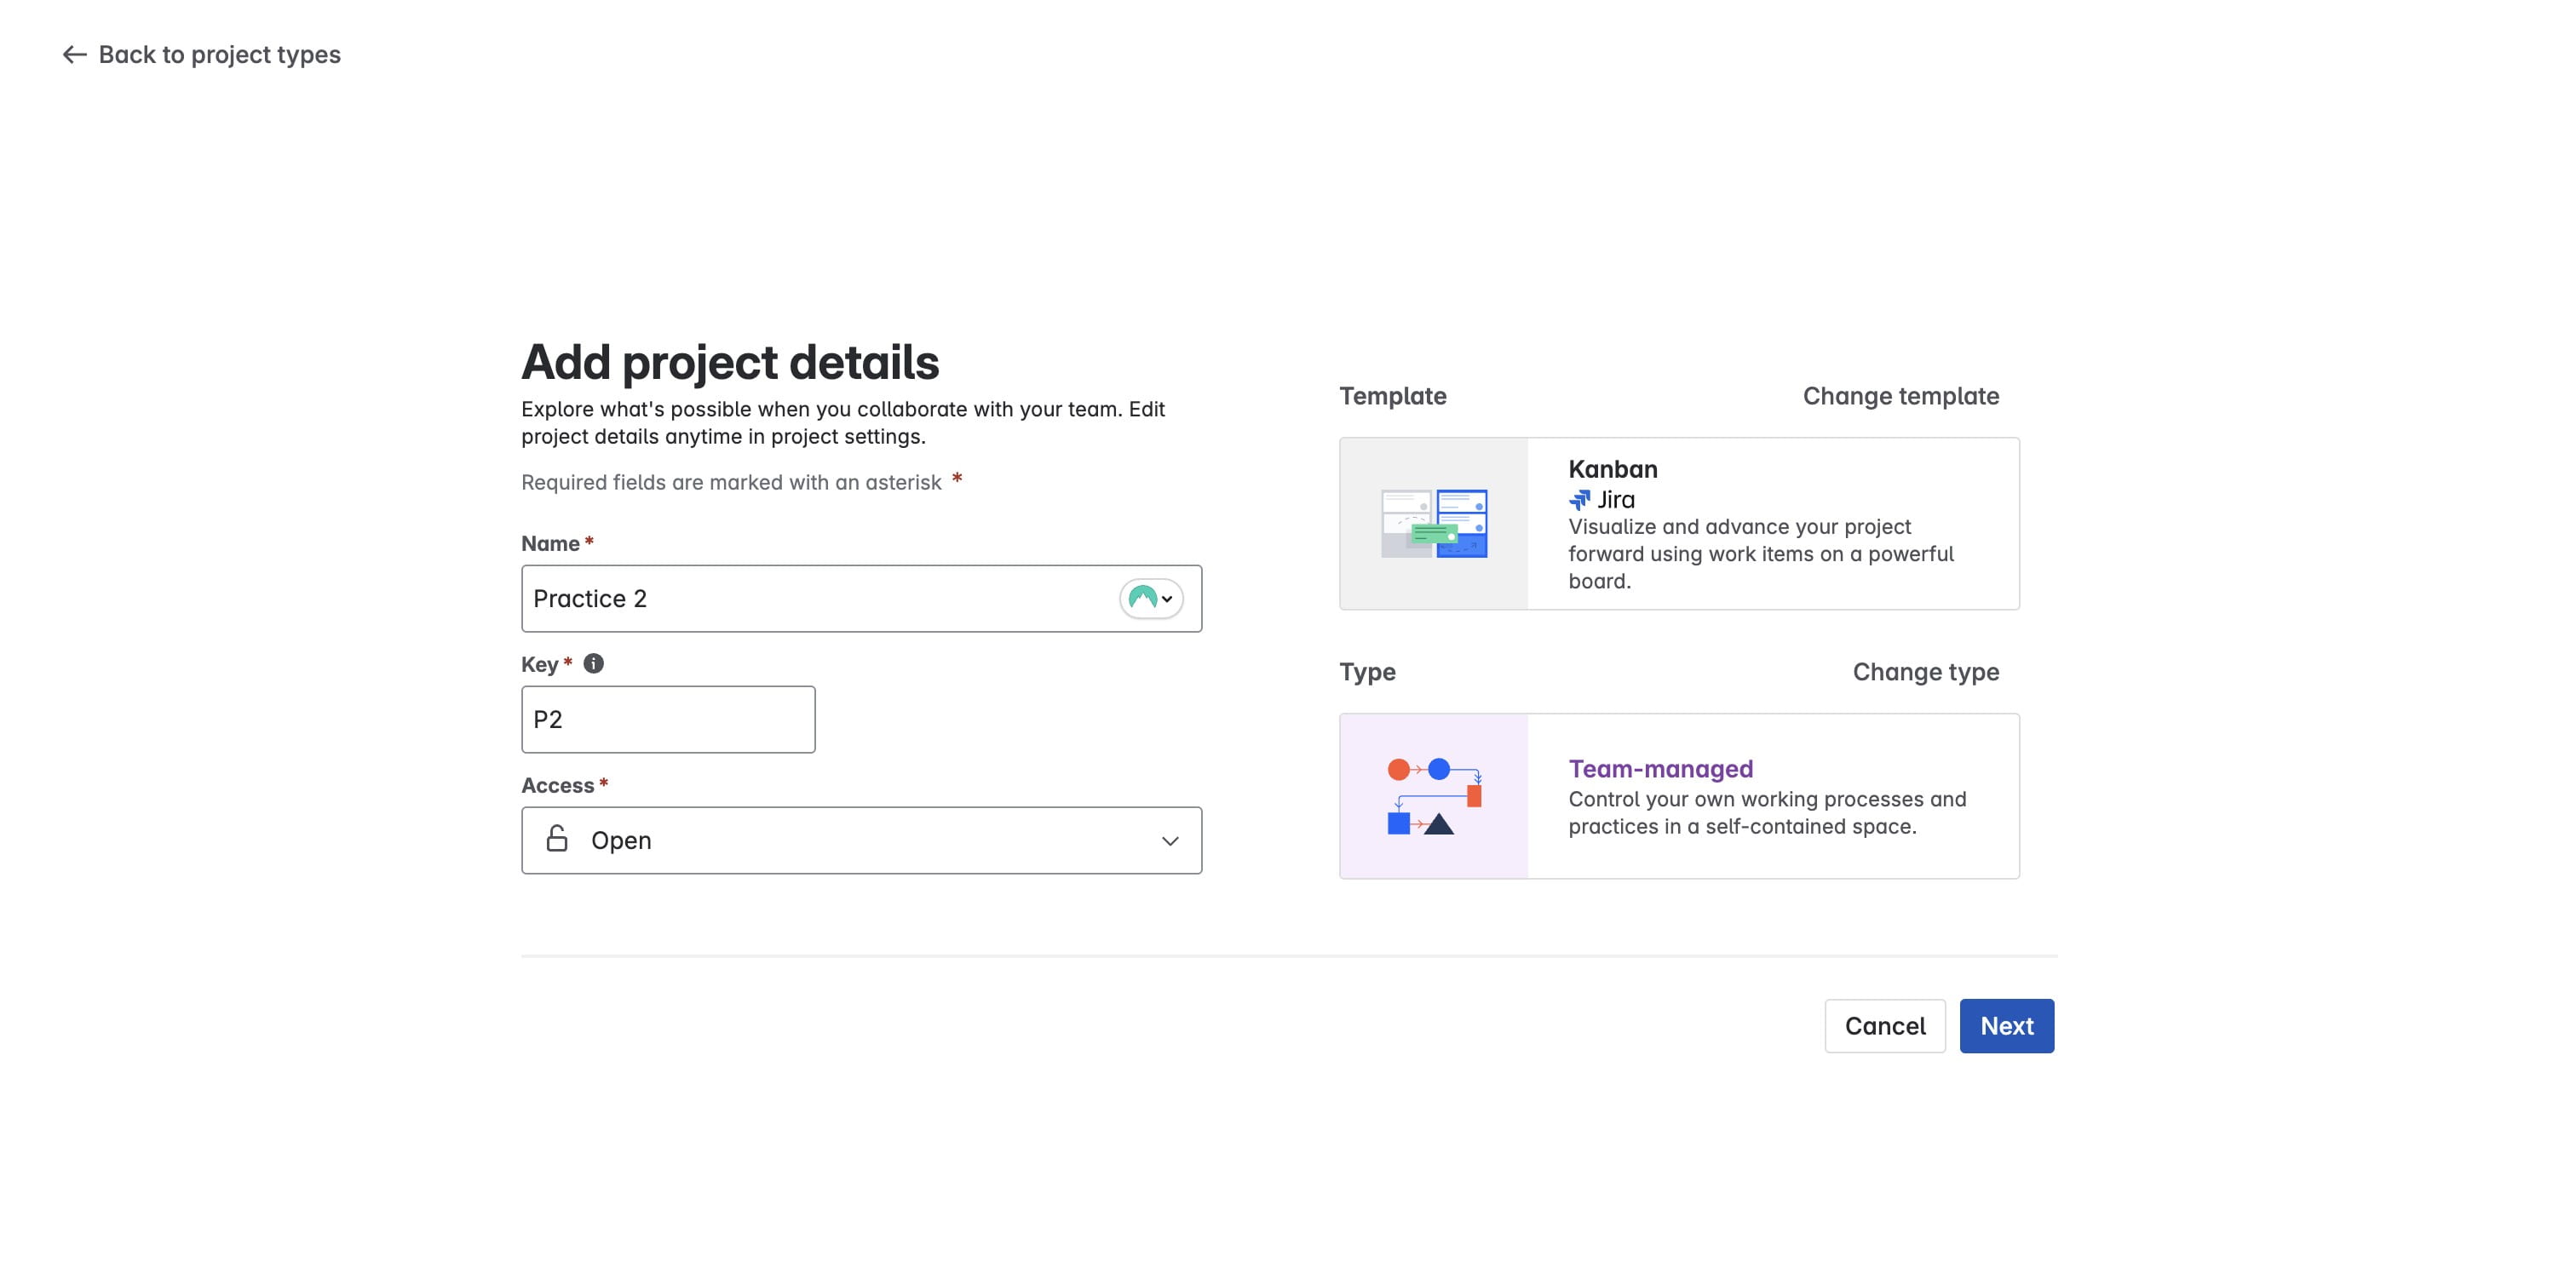
Click on "Open"
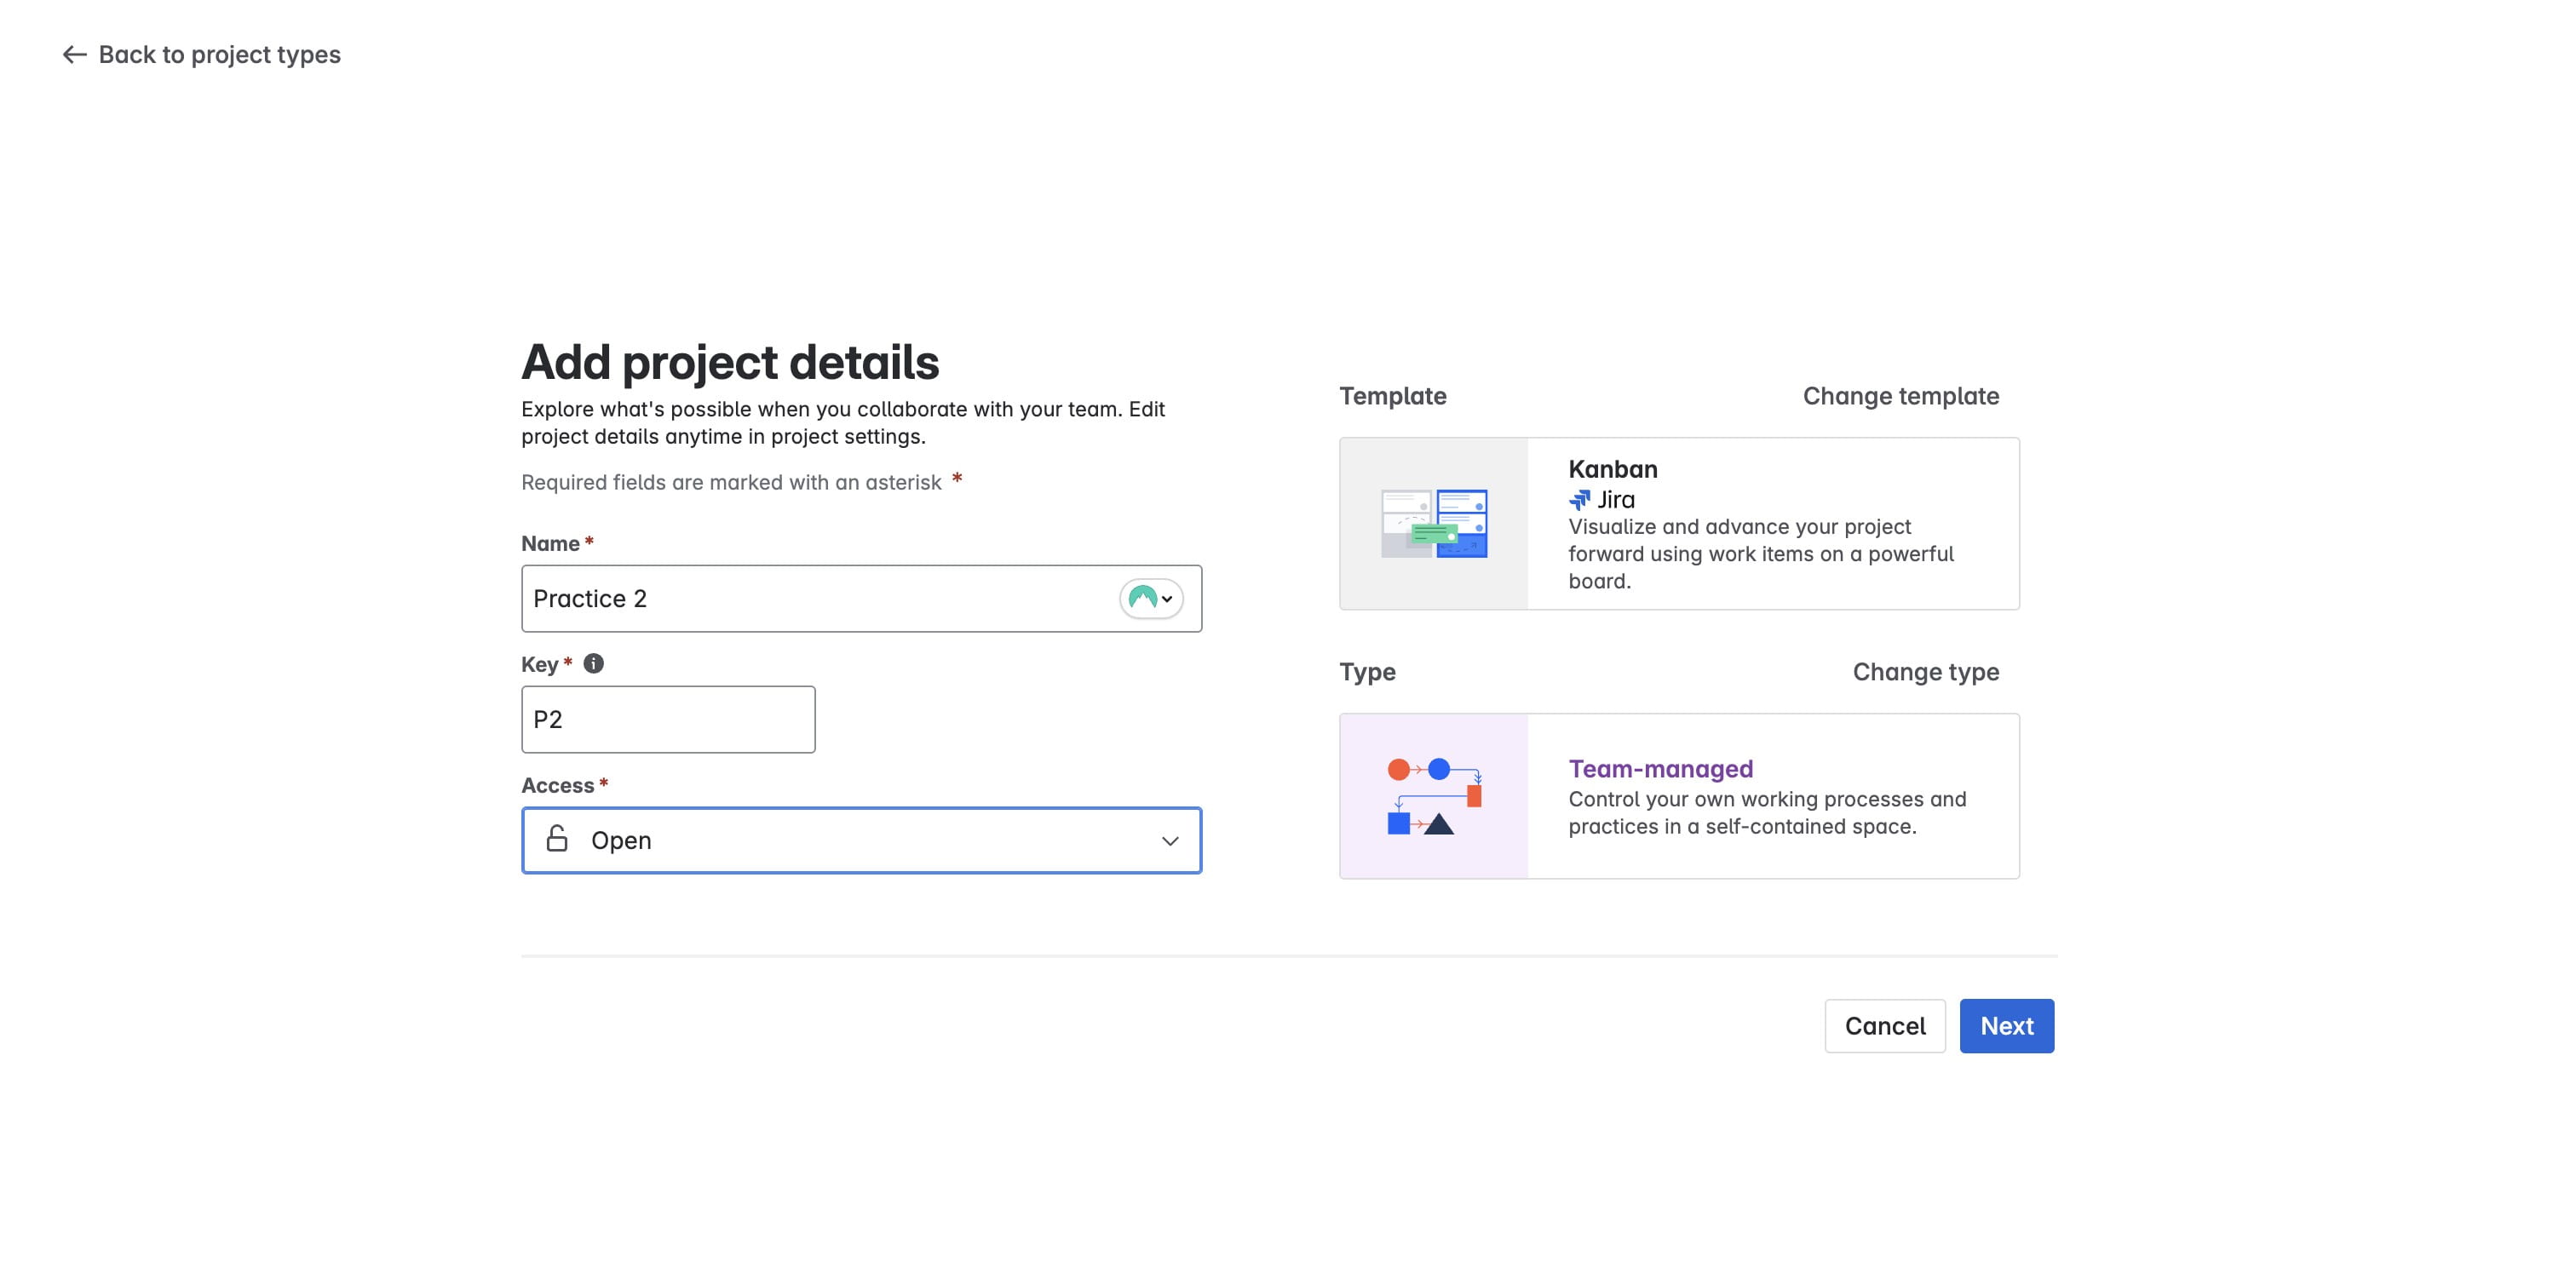
Click on "Next"
Click on "Skip"
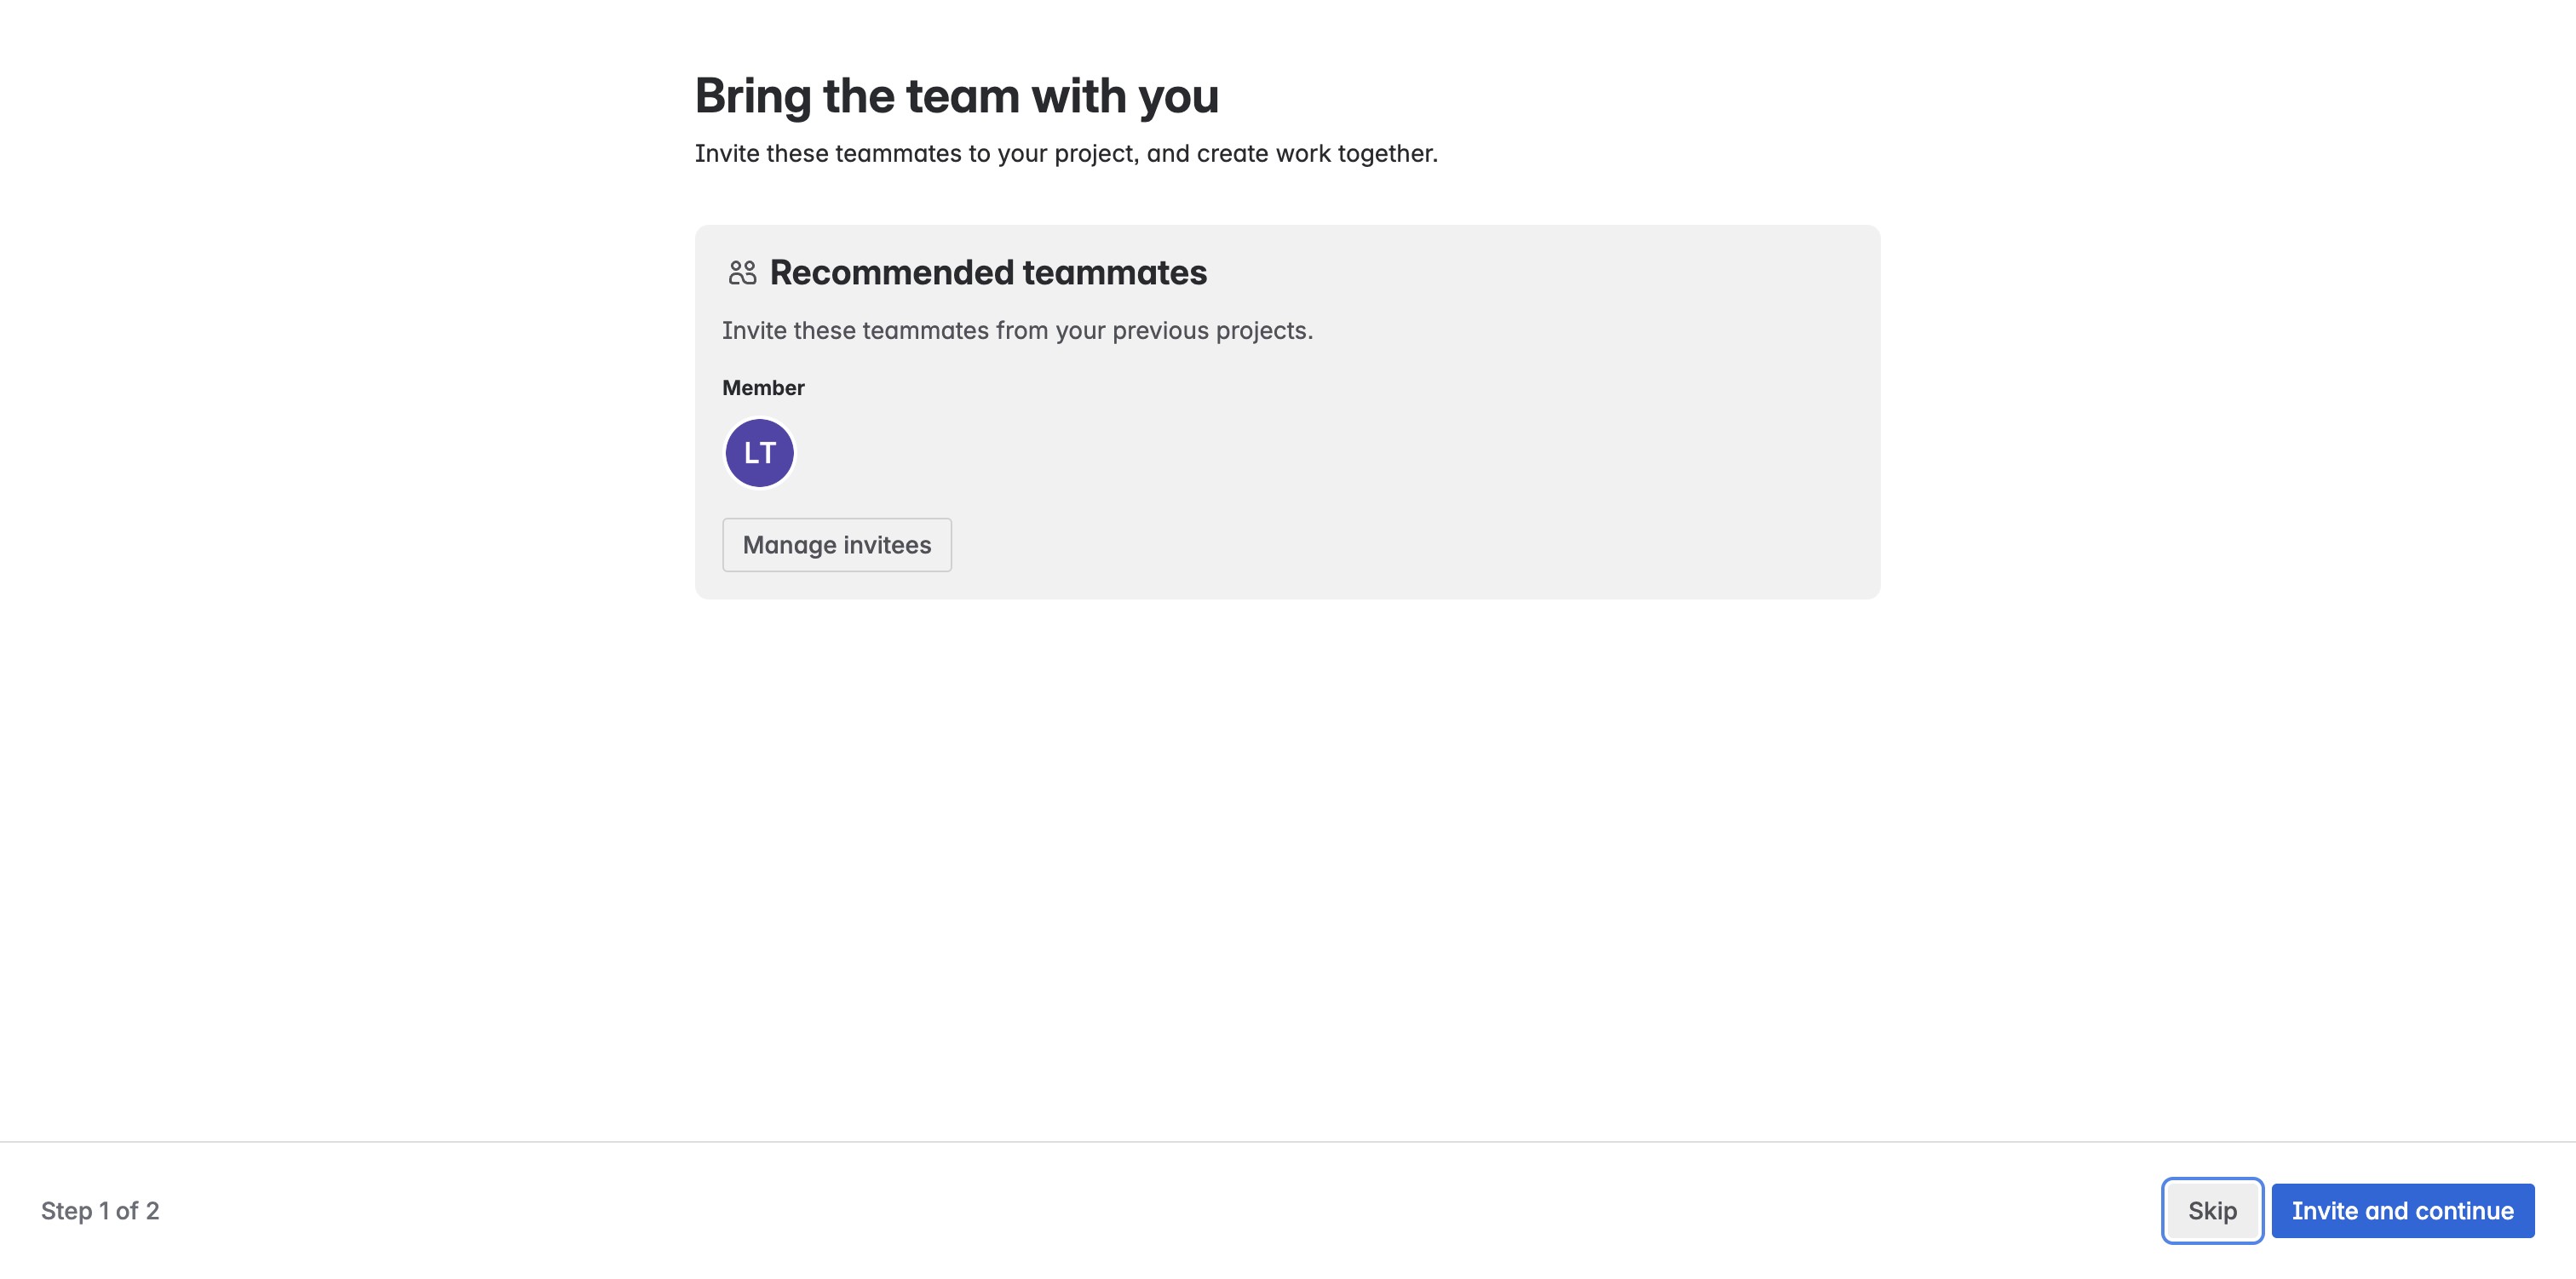
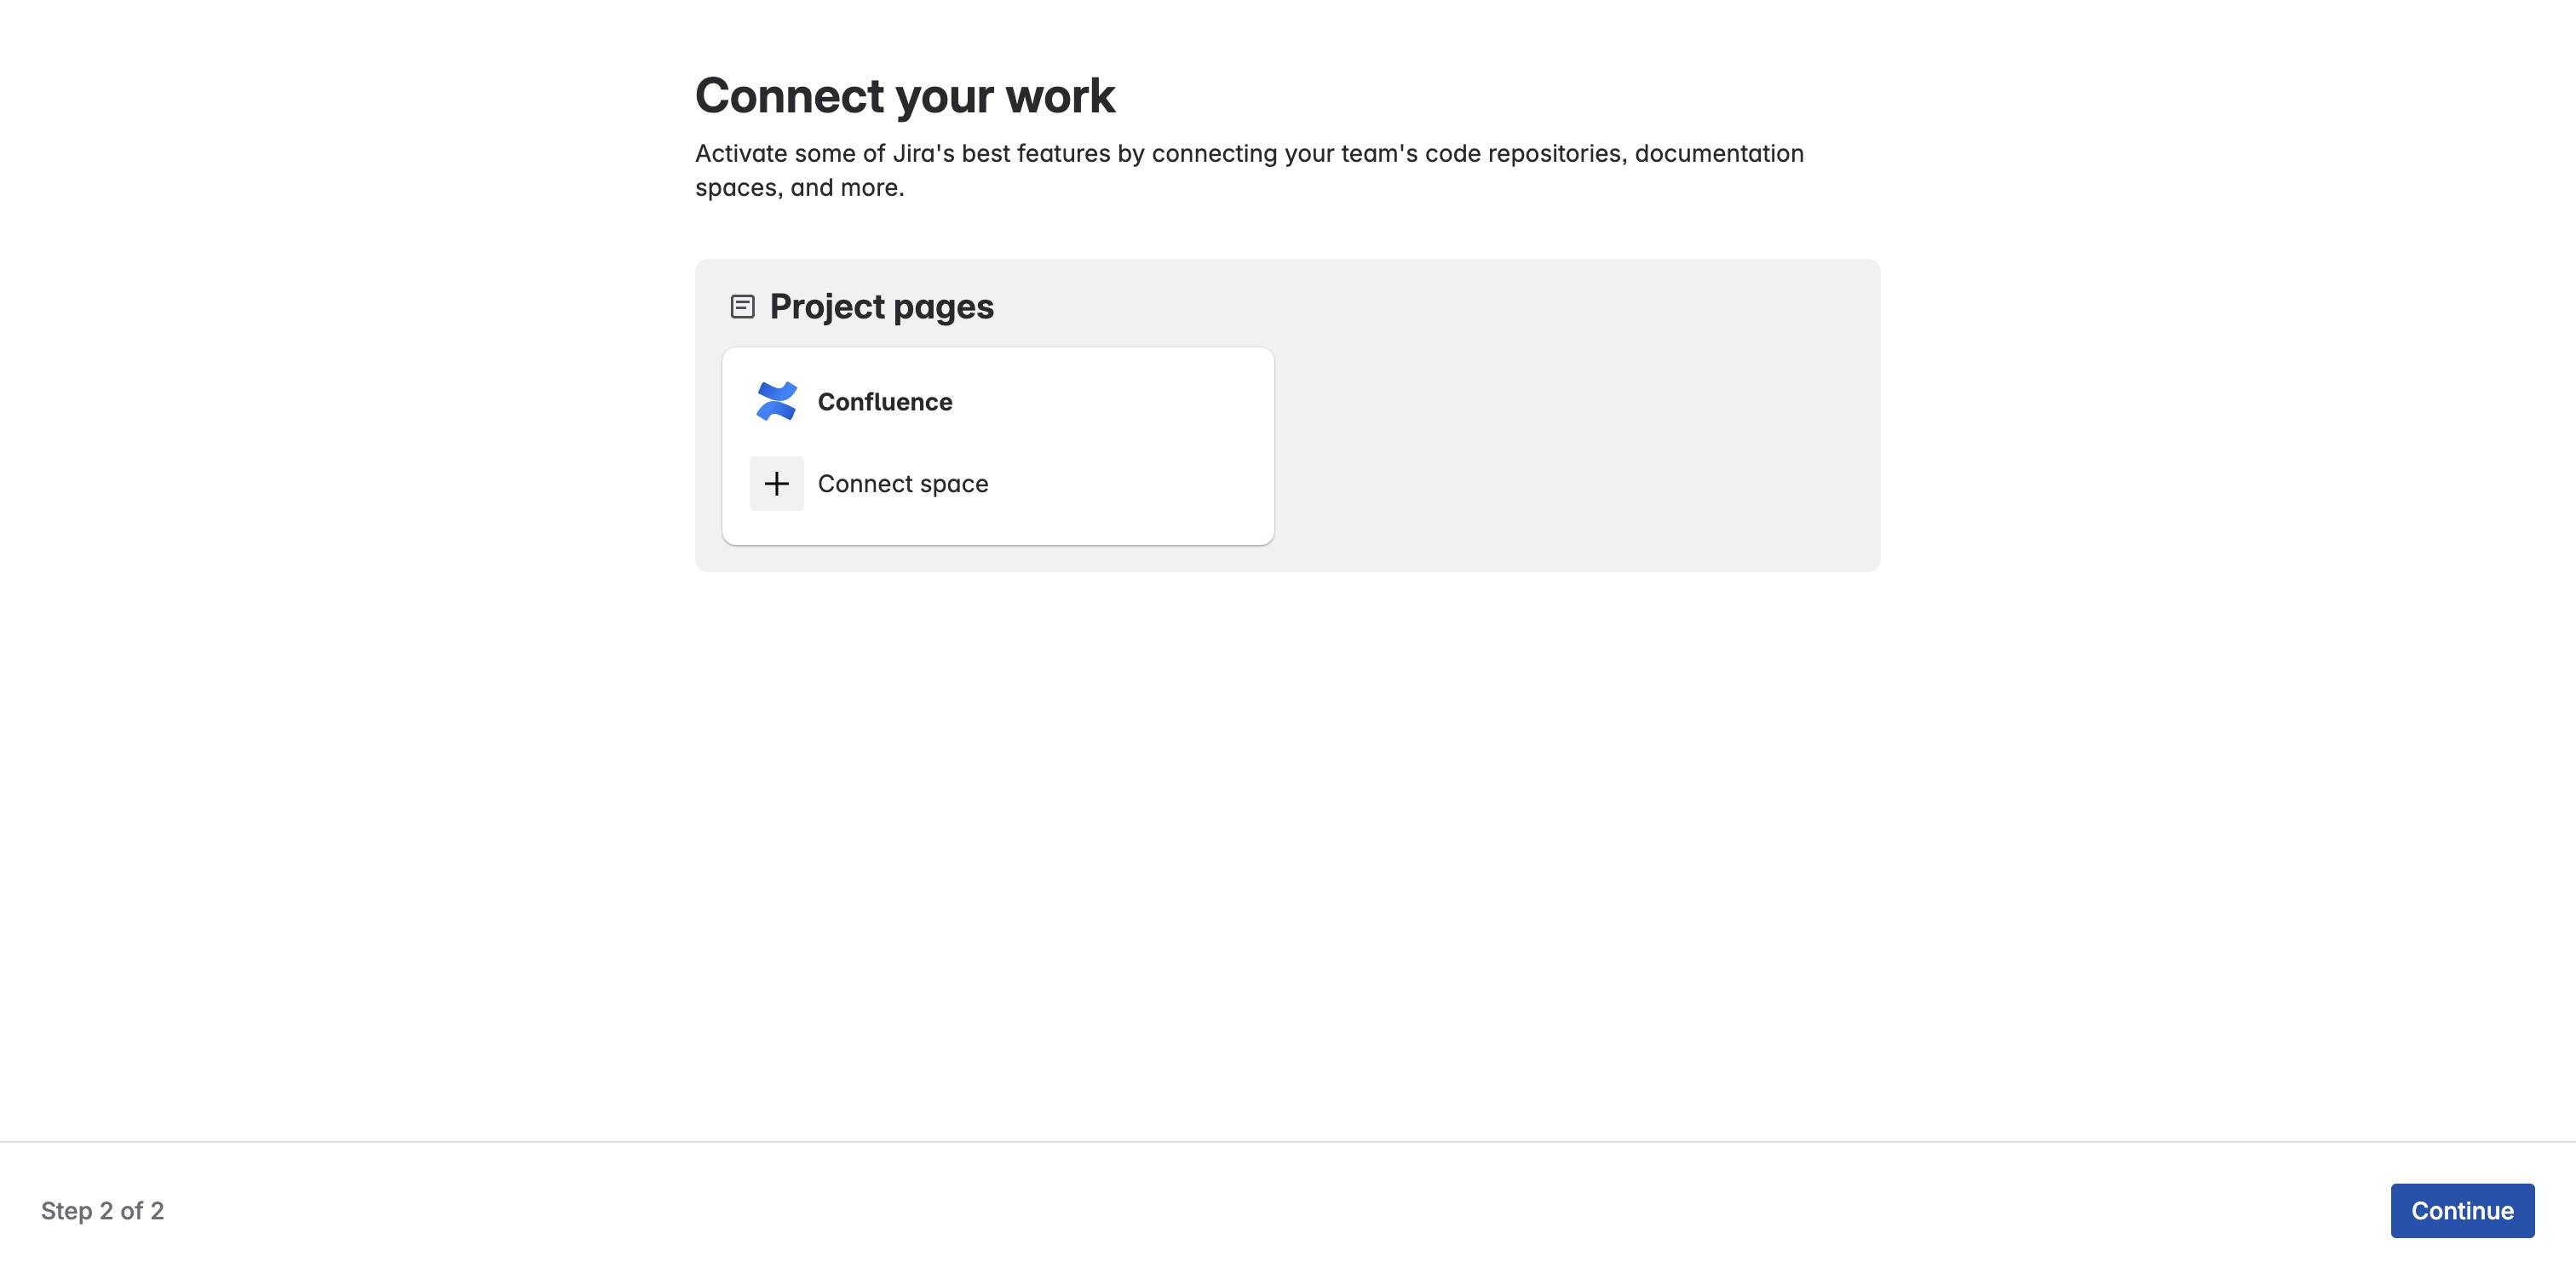
Click on "Continue"
Add New Statuses/Swimlanes
Click on plus icon
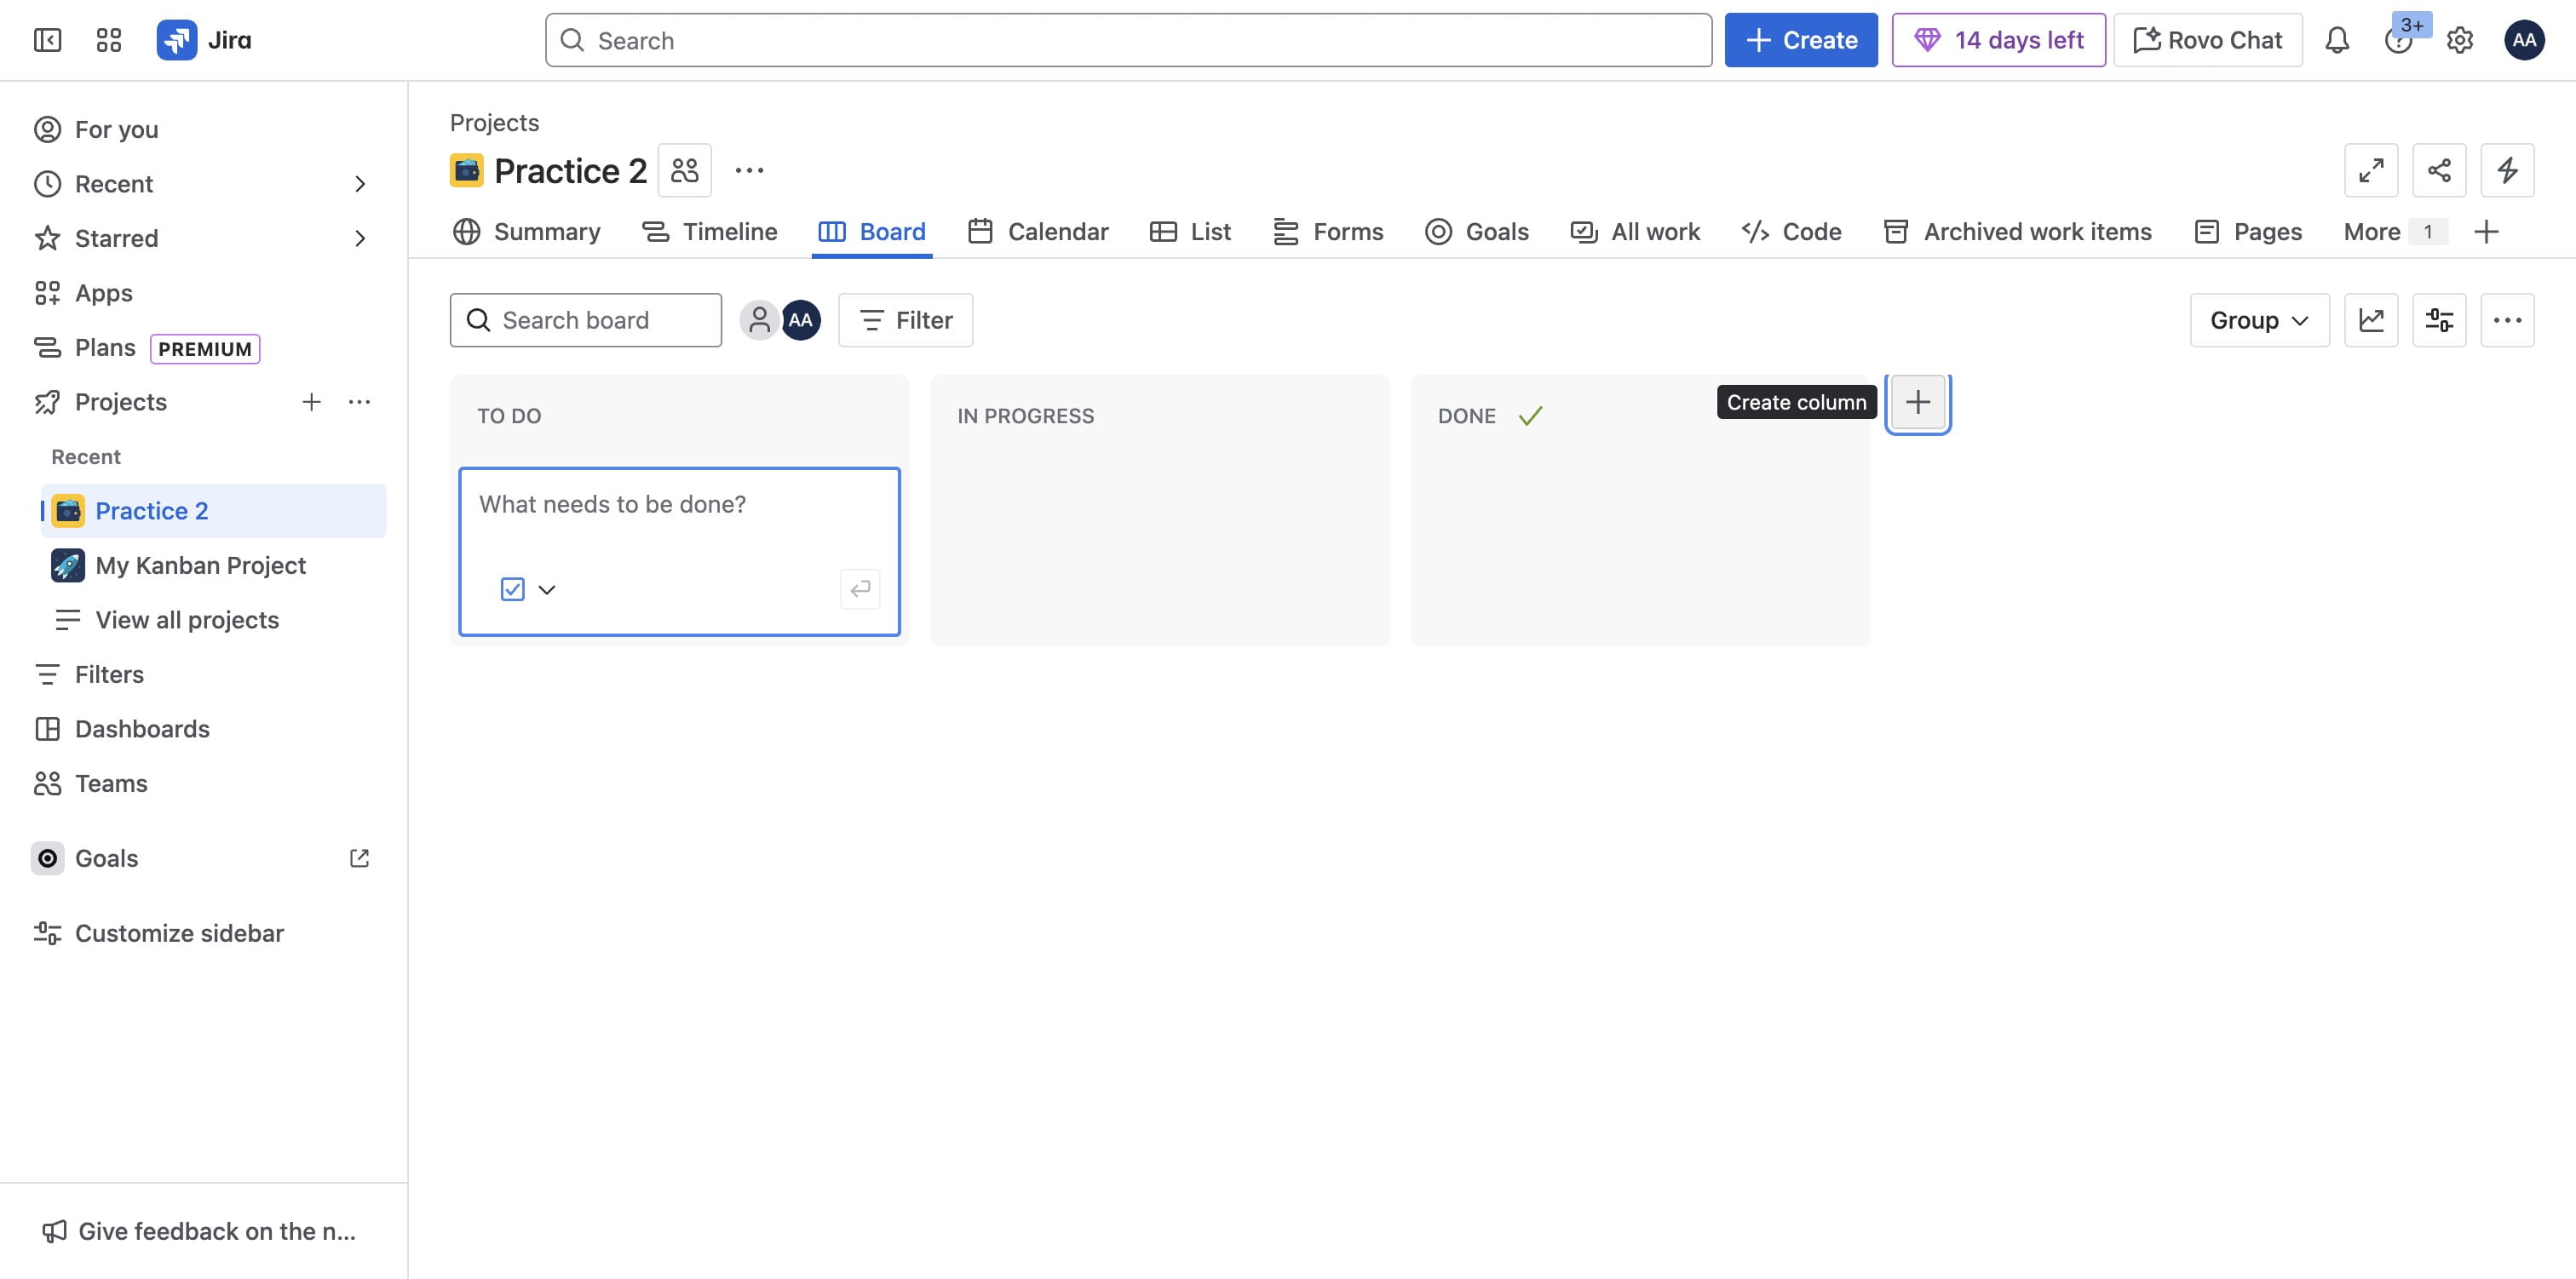
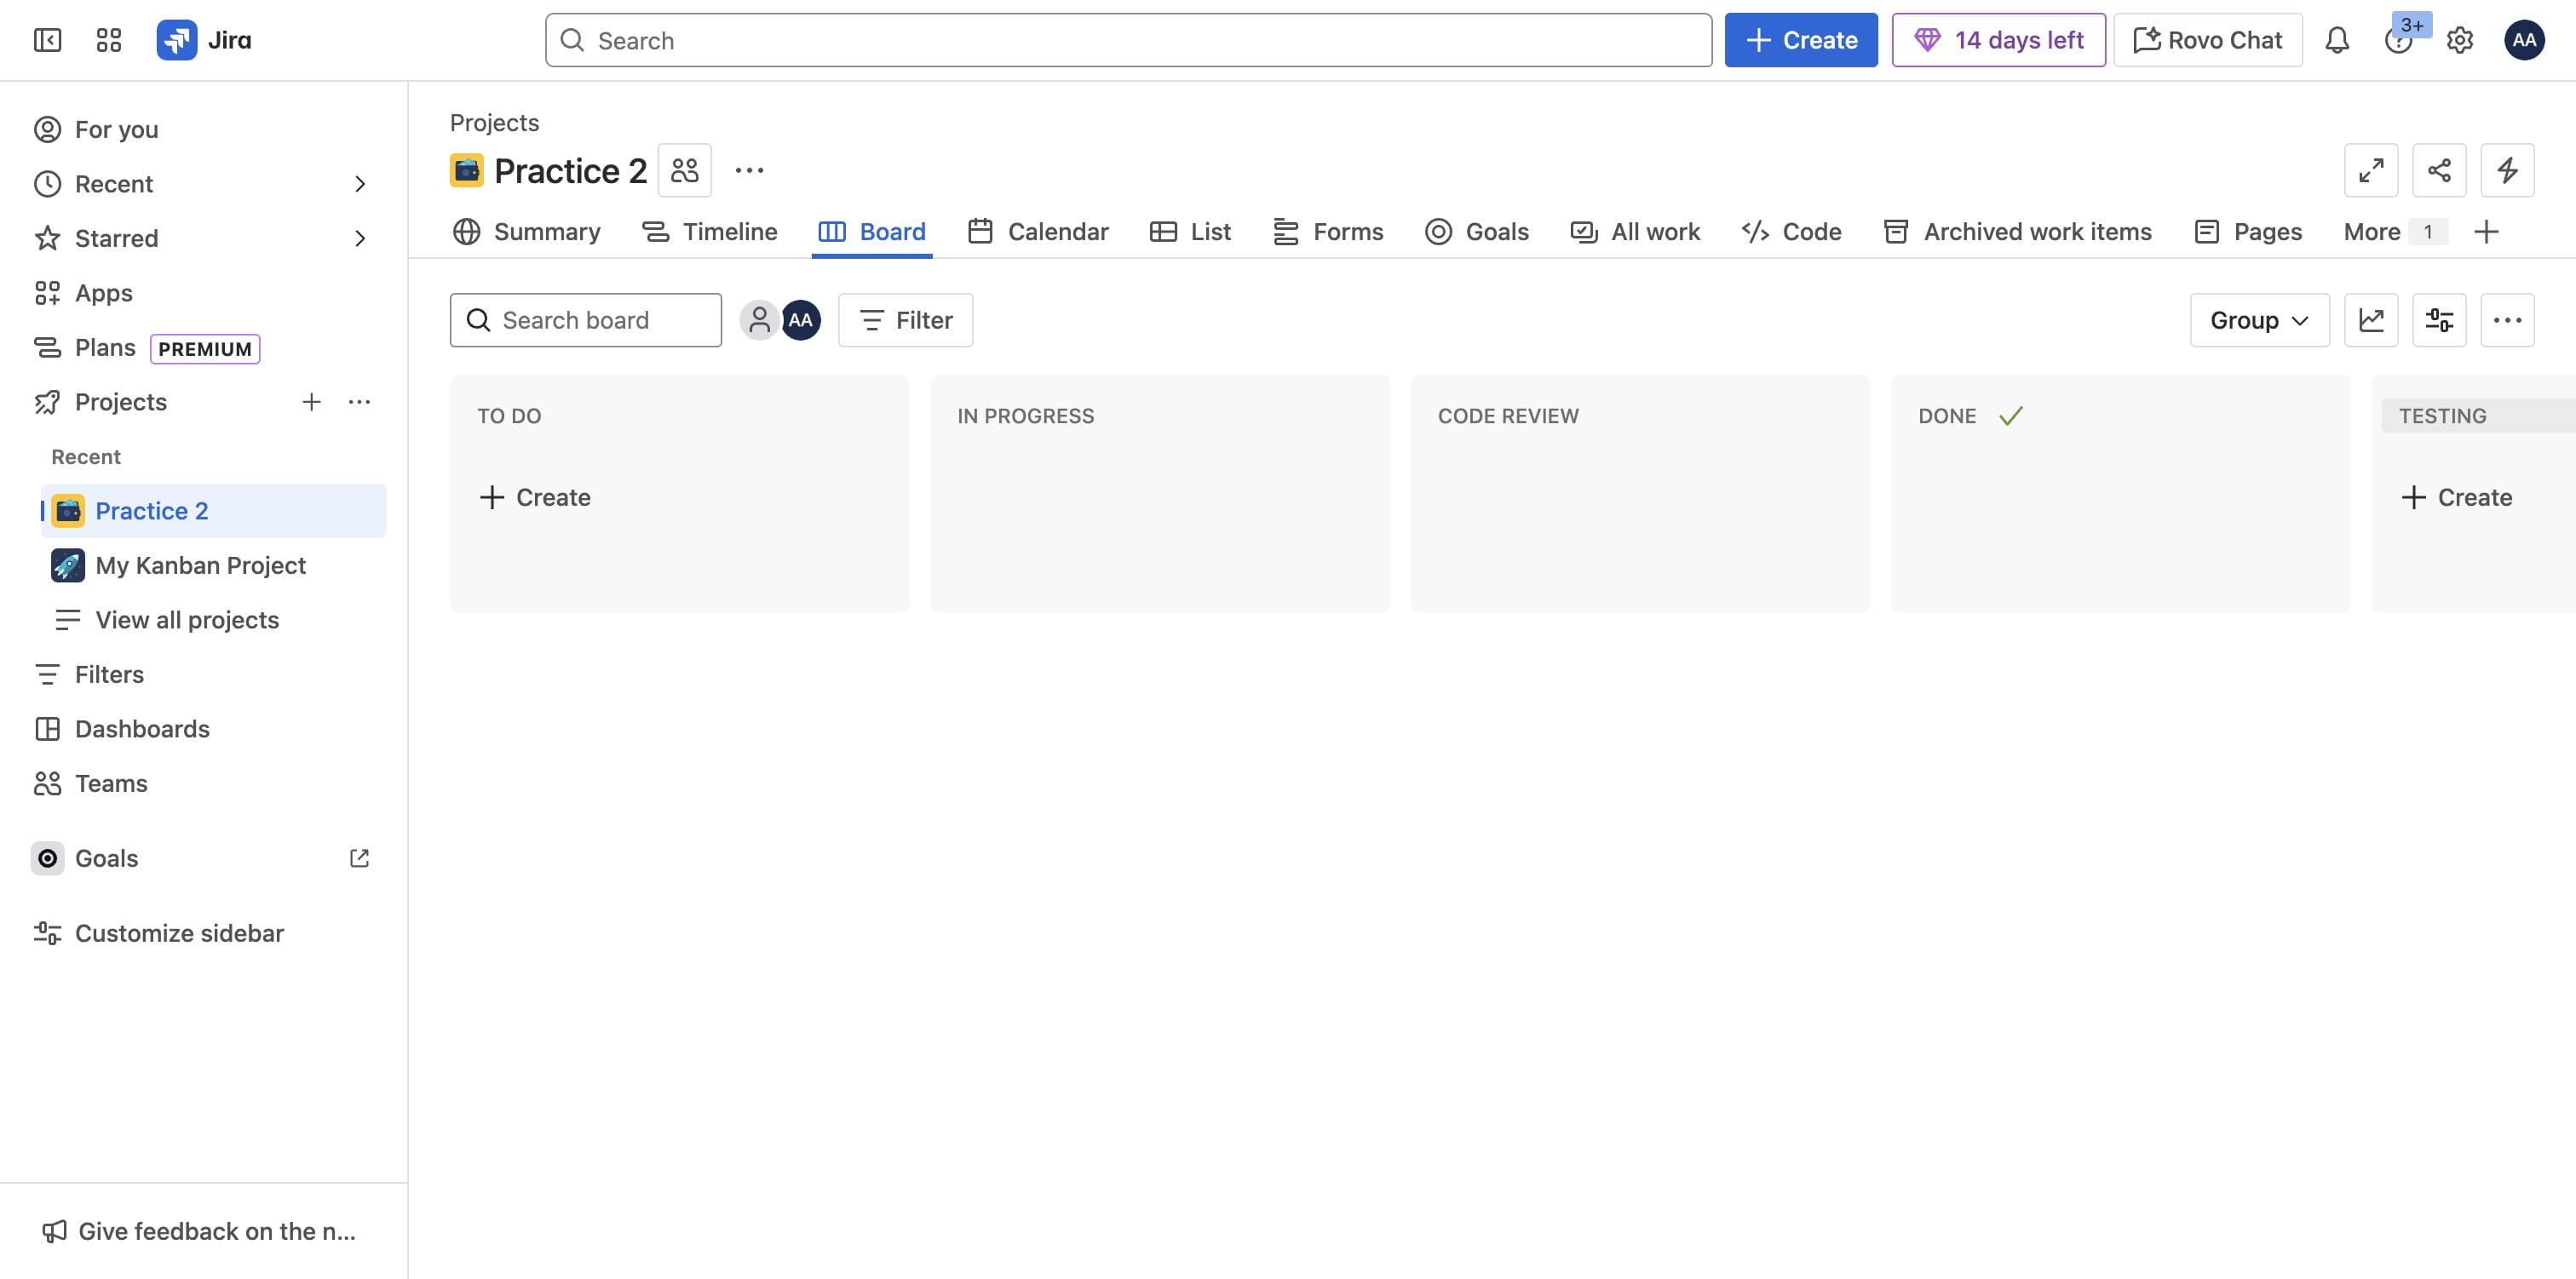
Add data and save

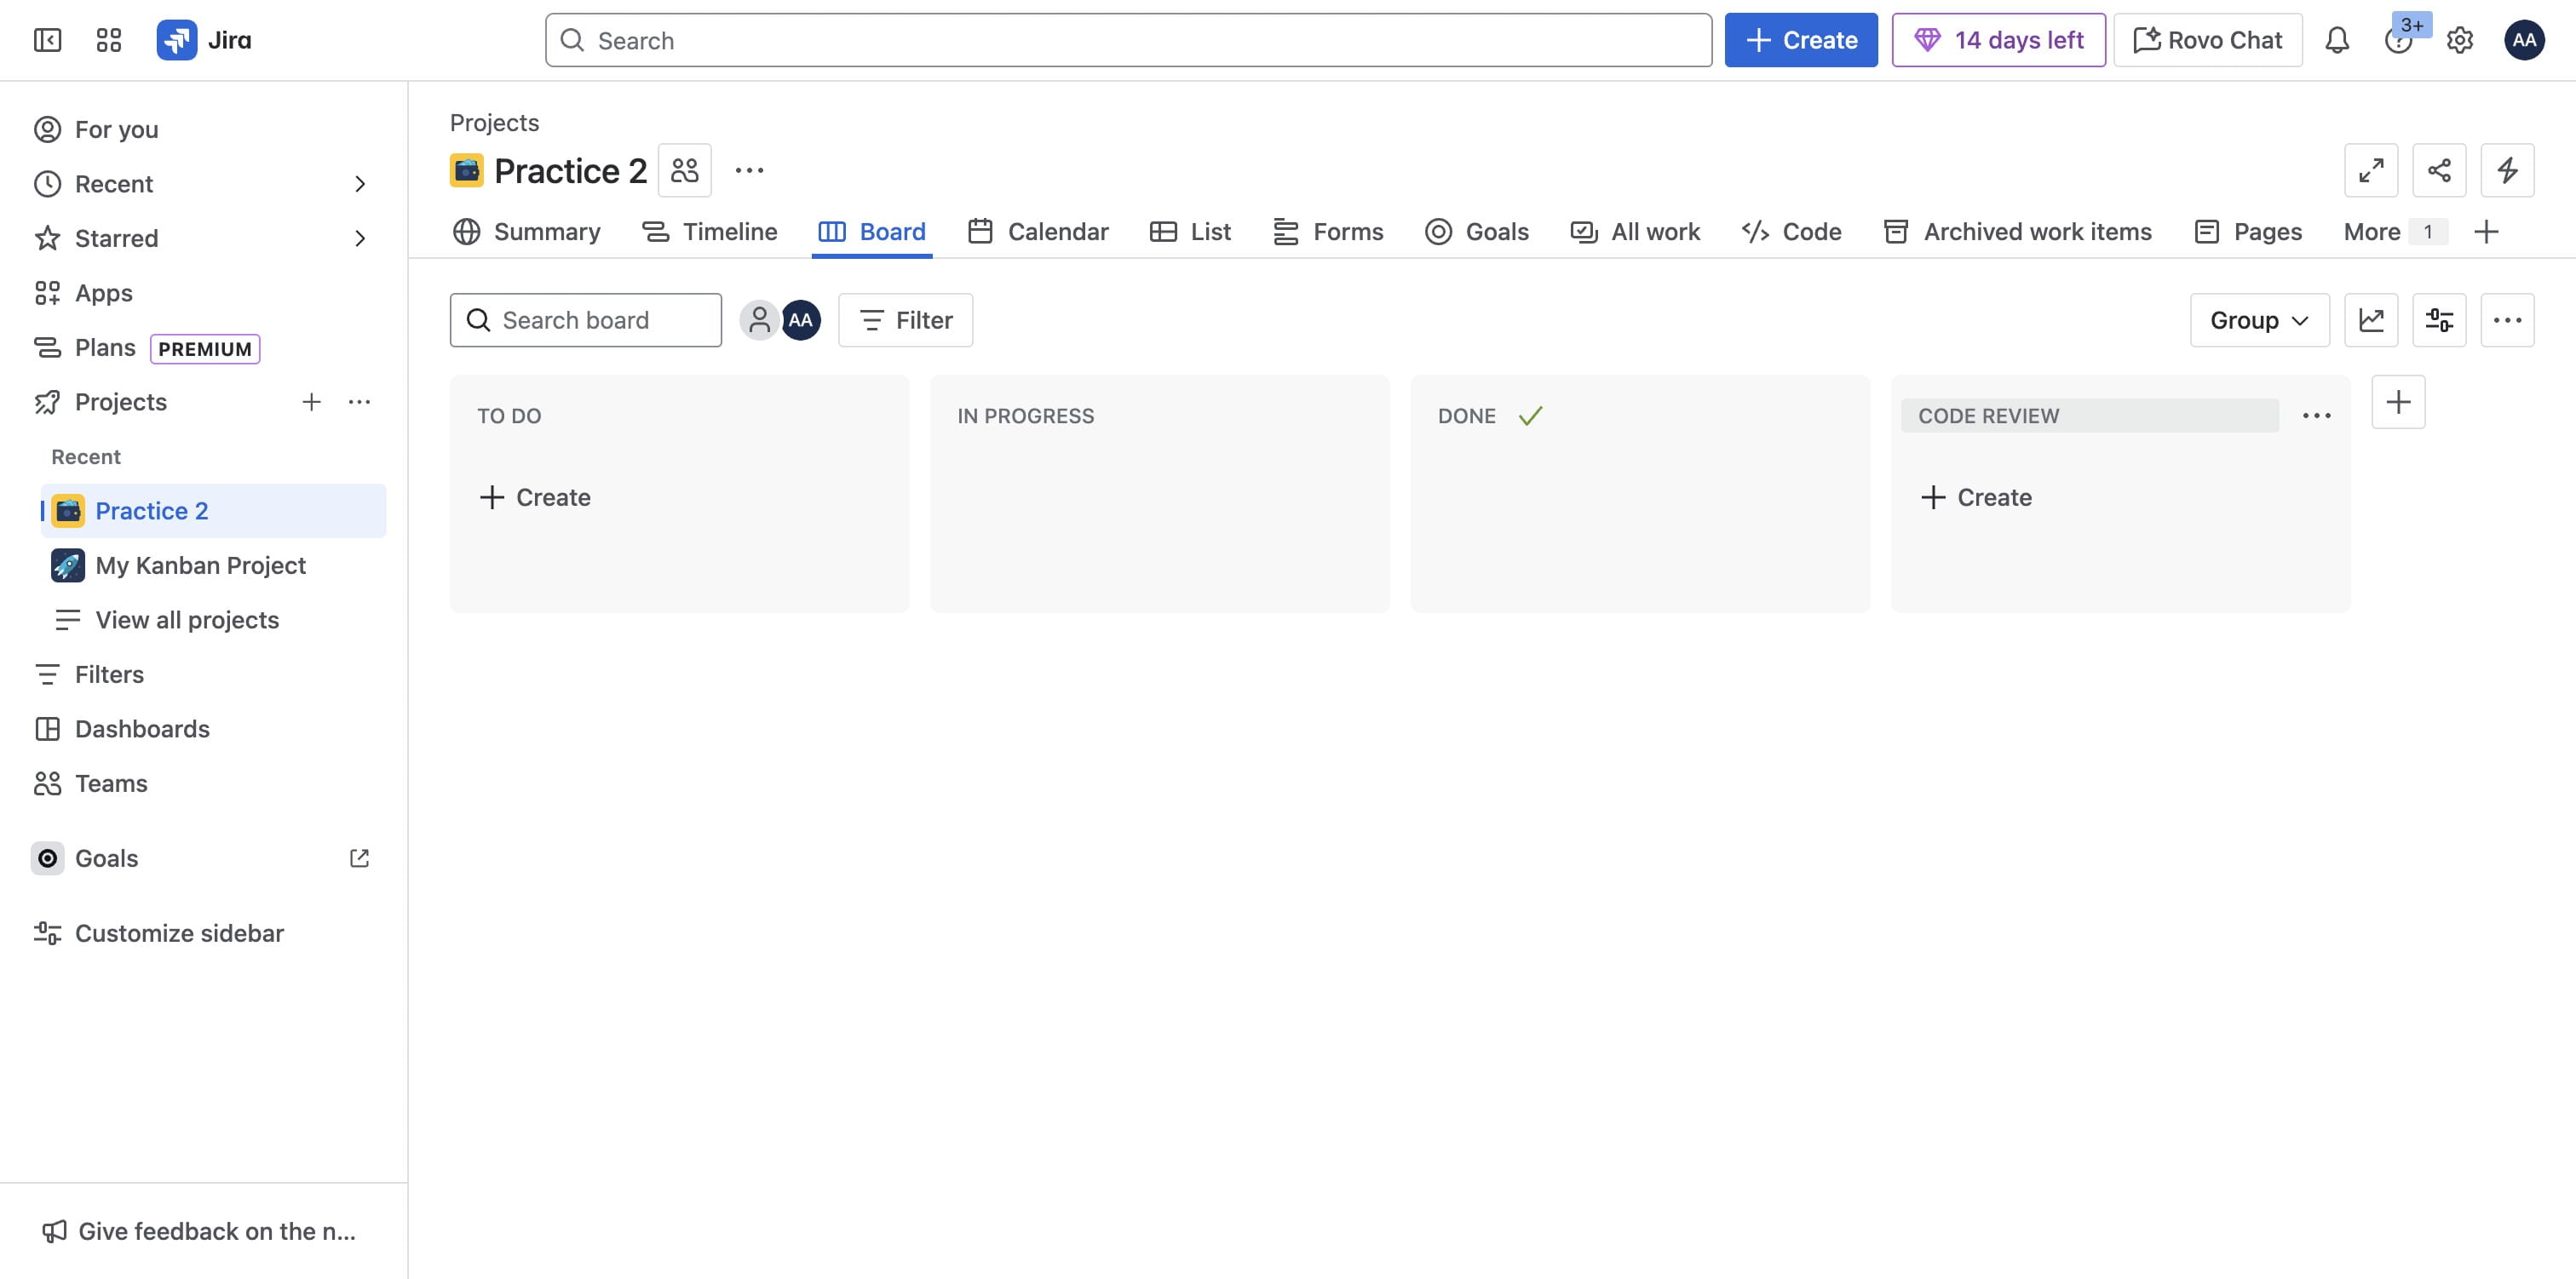
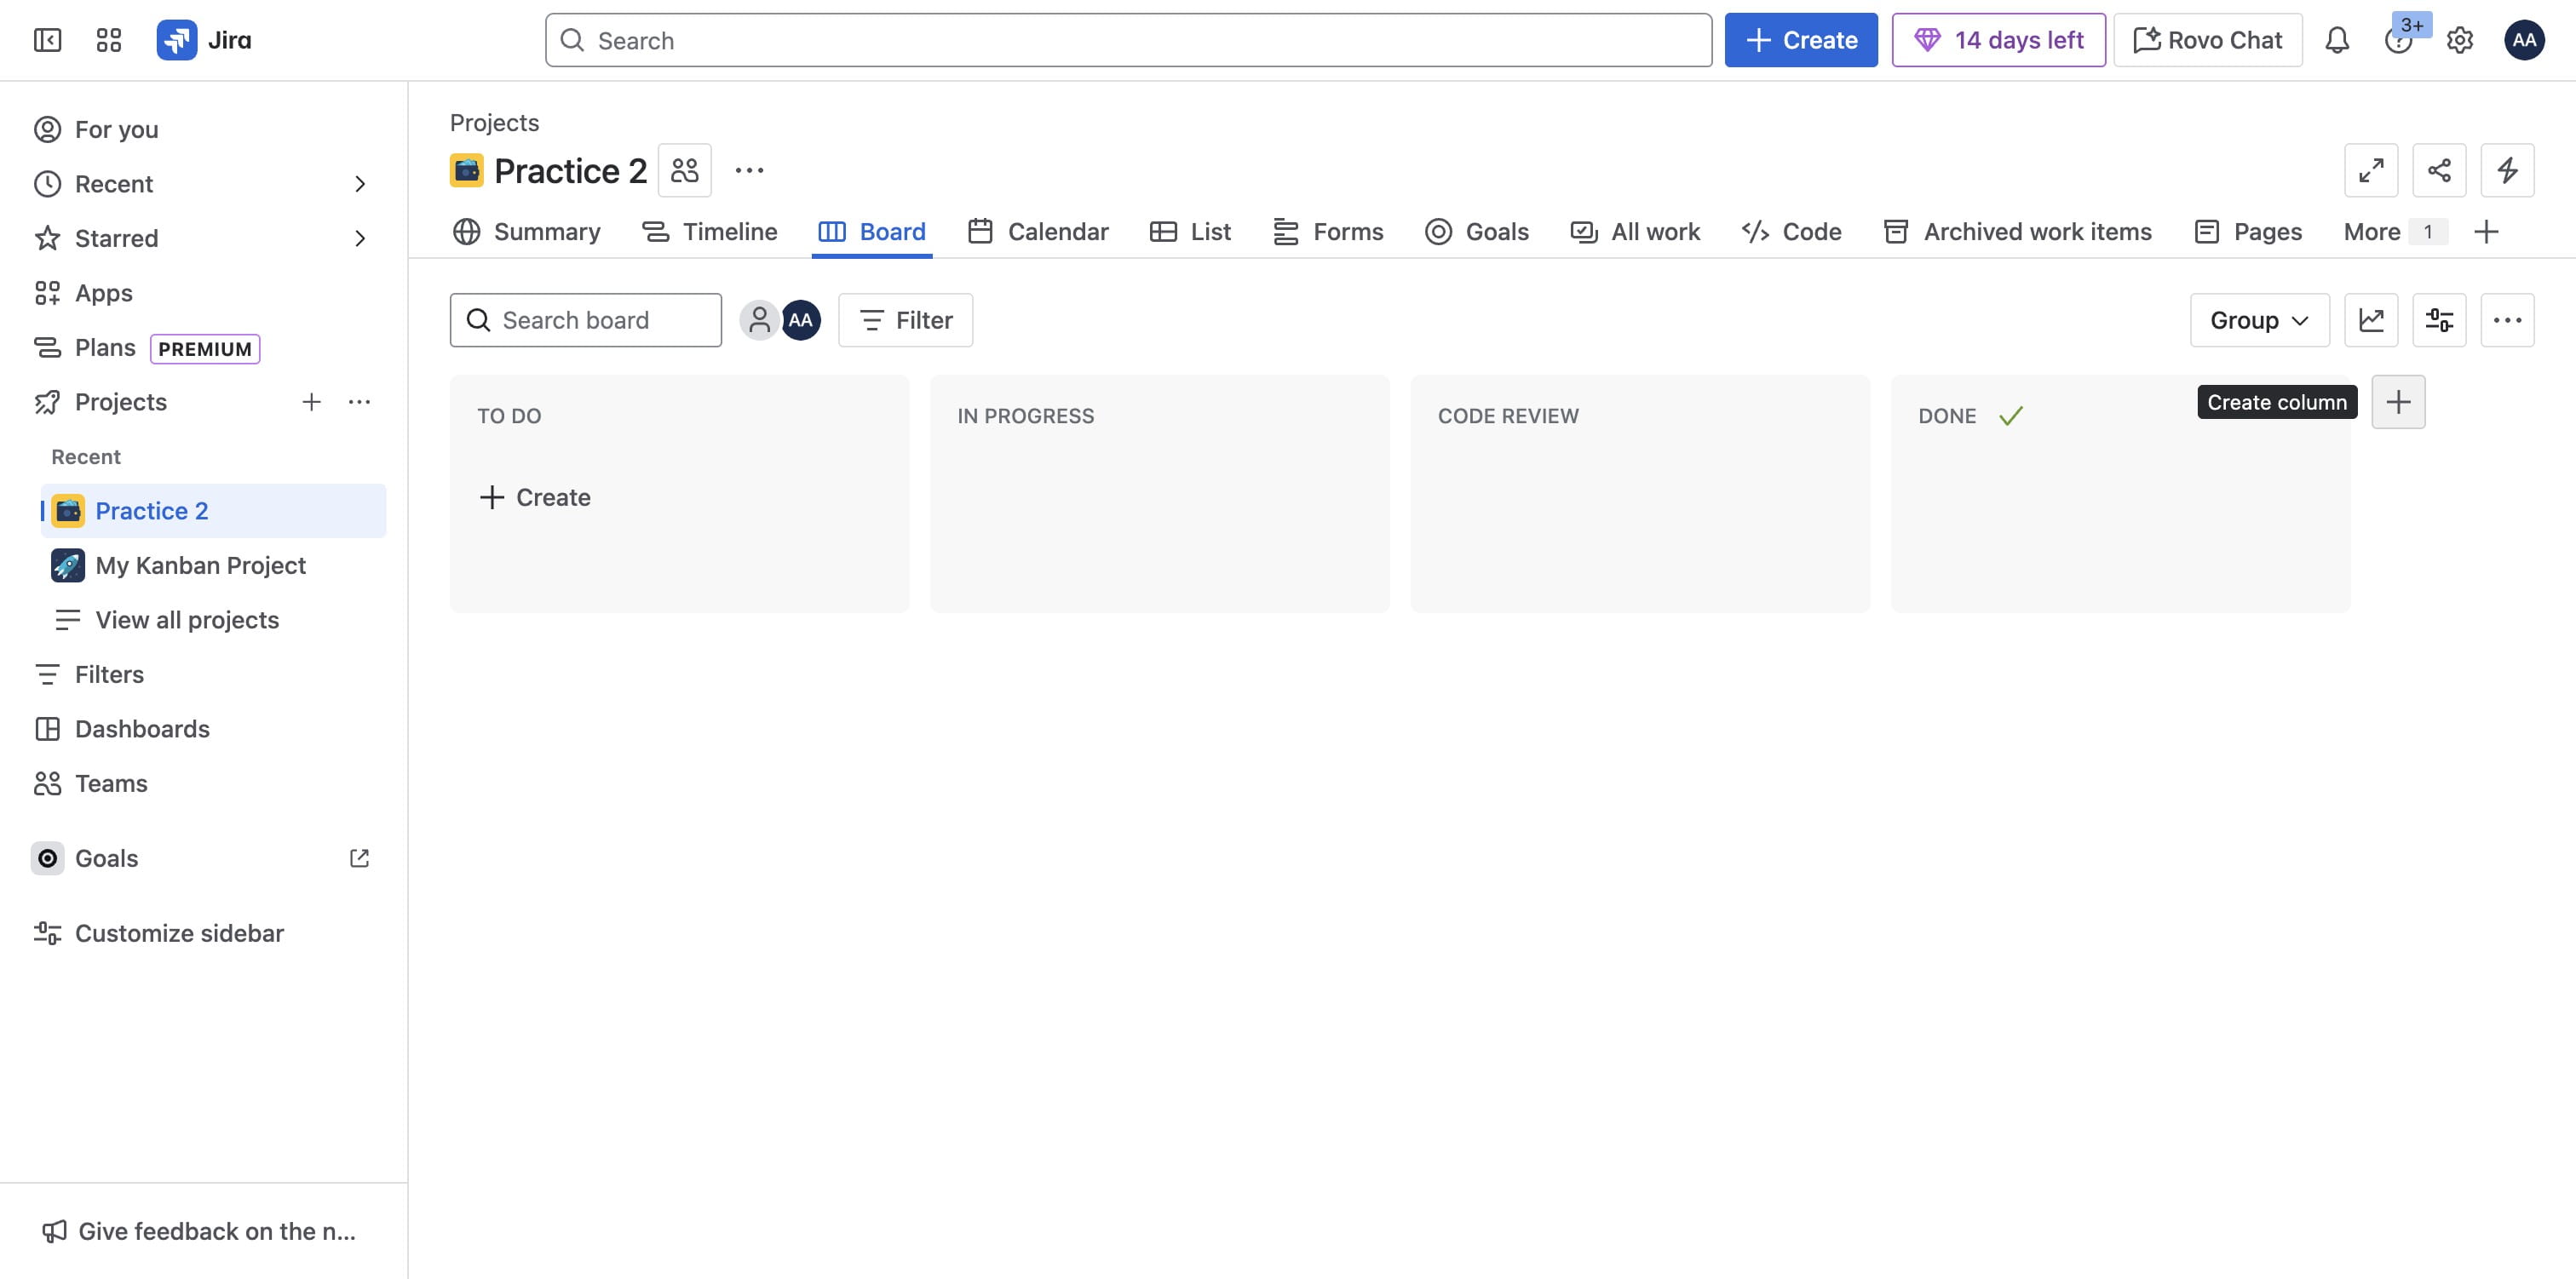
Click on "Code review" and drag to position
Click on plus icon
Add testing and save
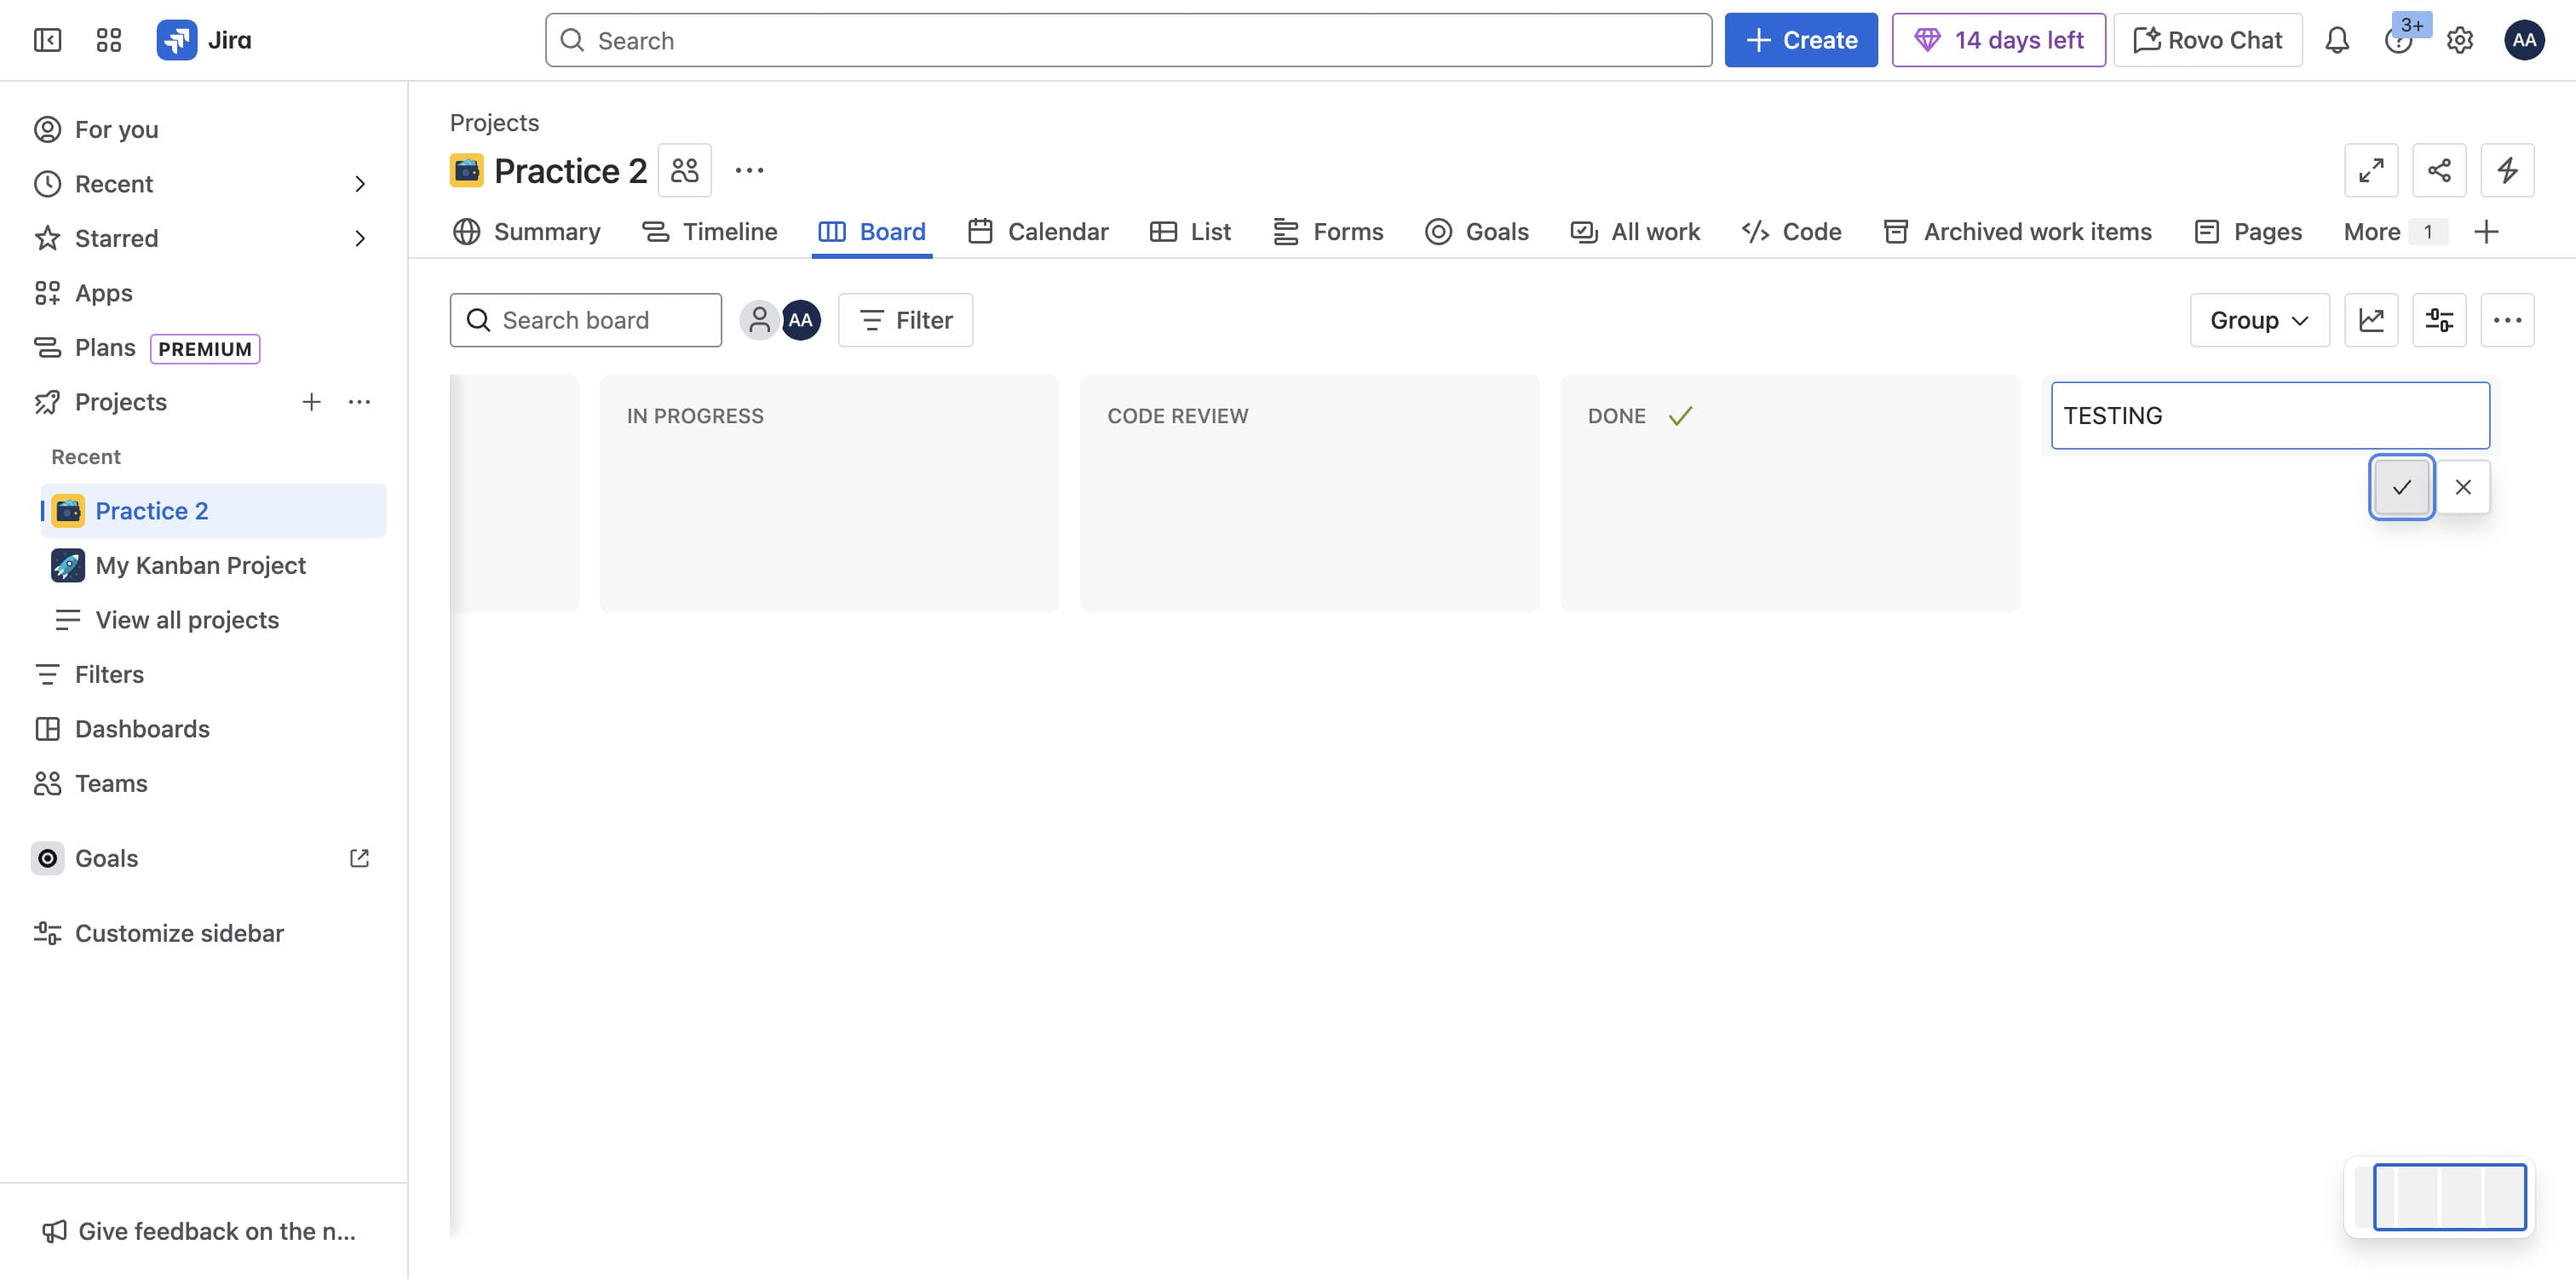
Drag "TESTING" to position before Done status
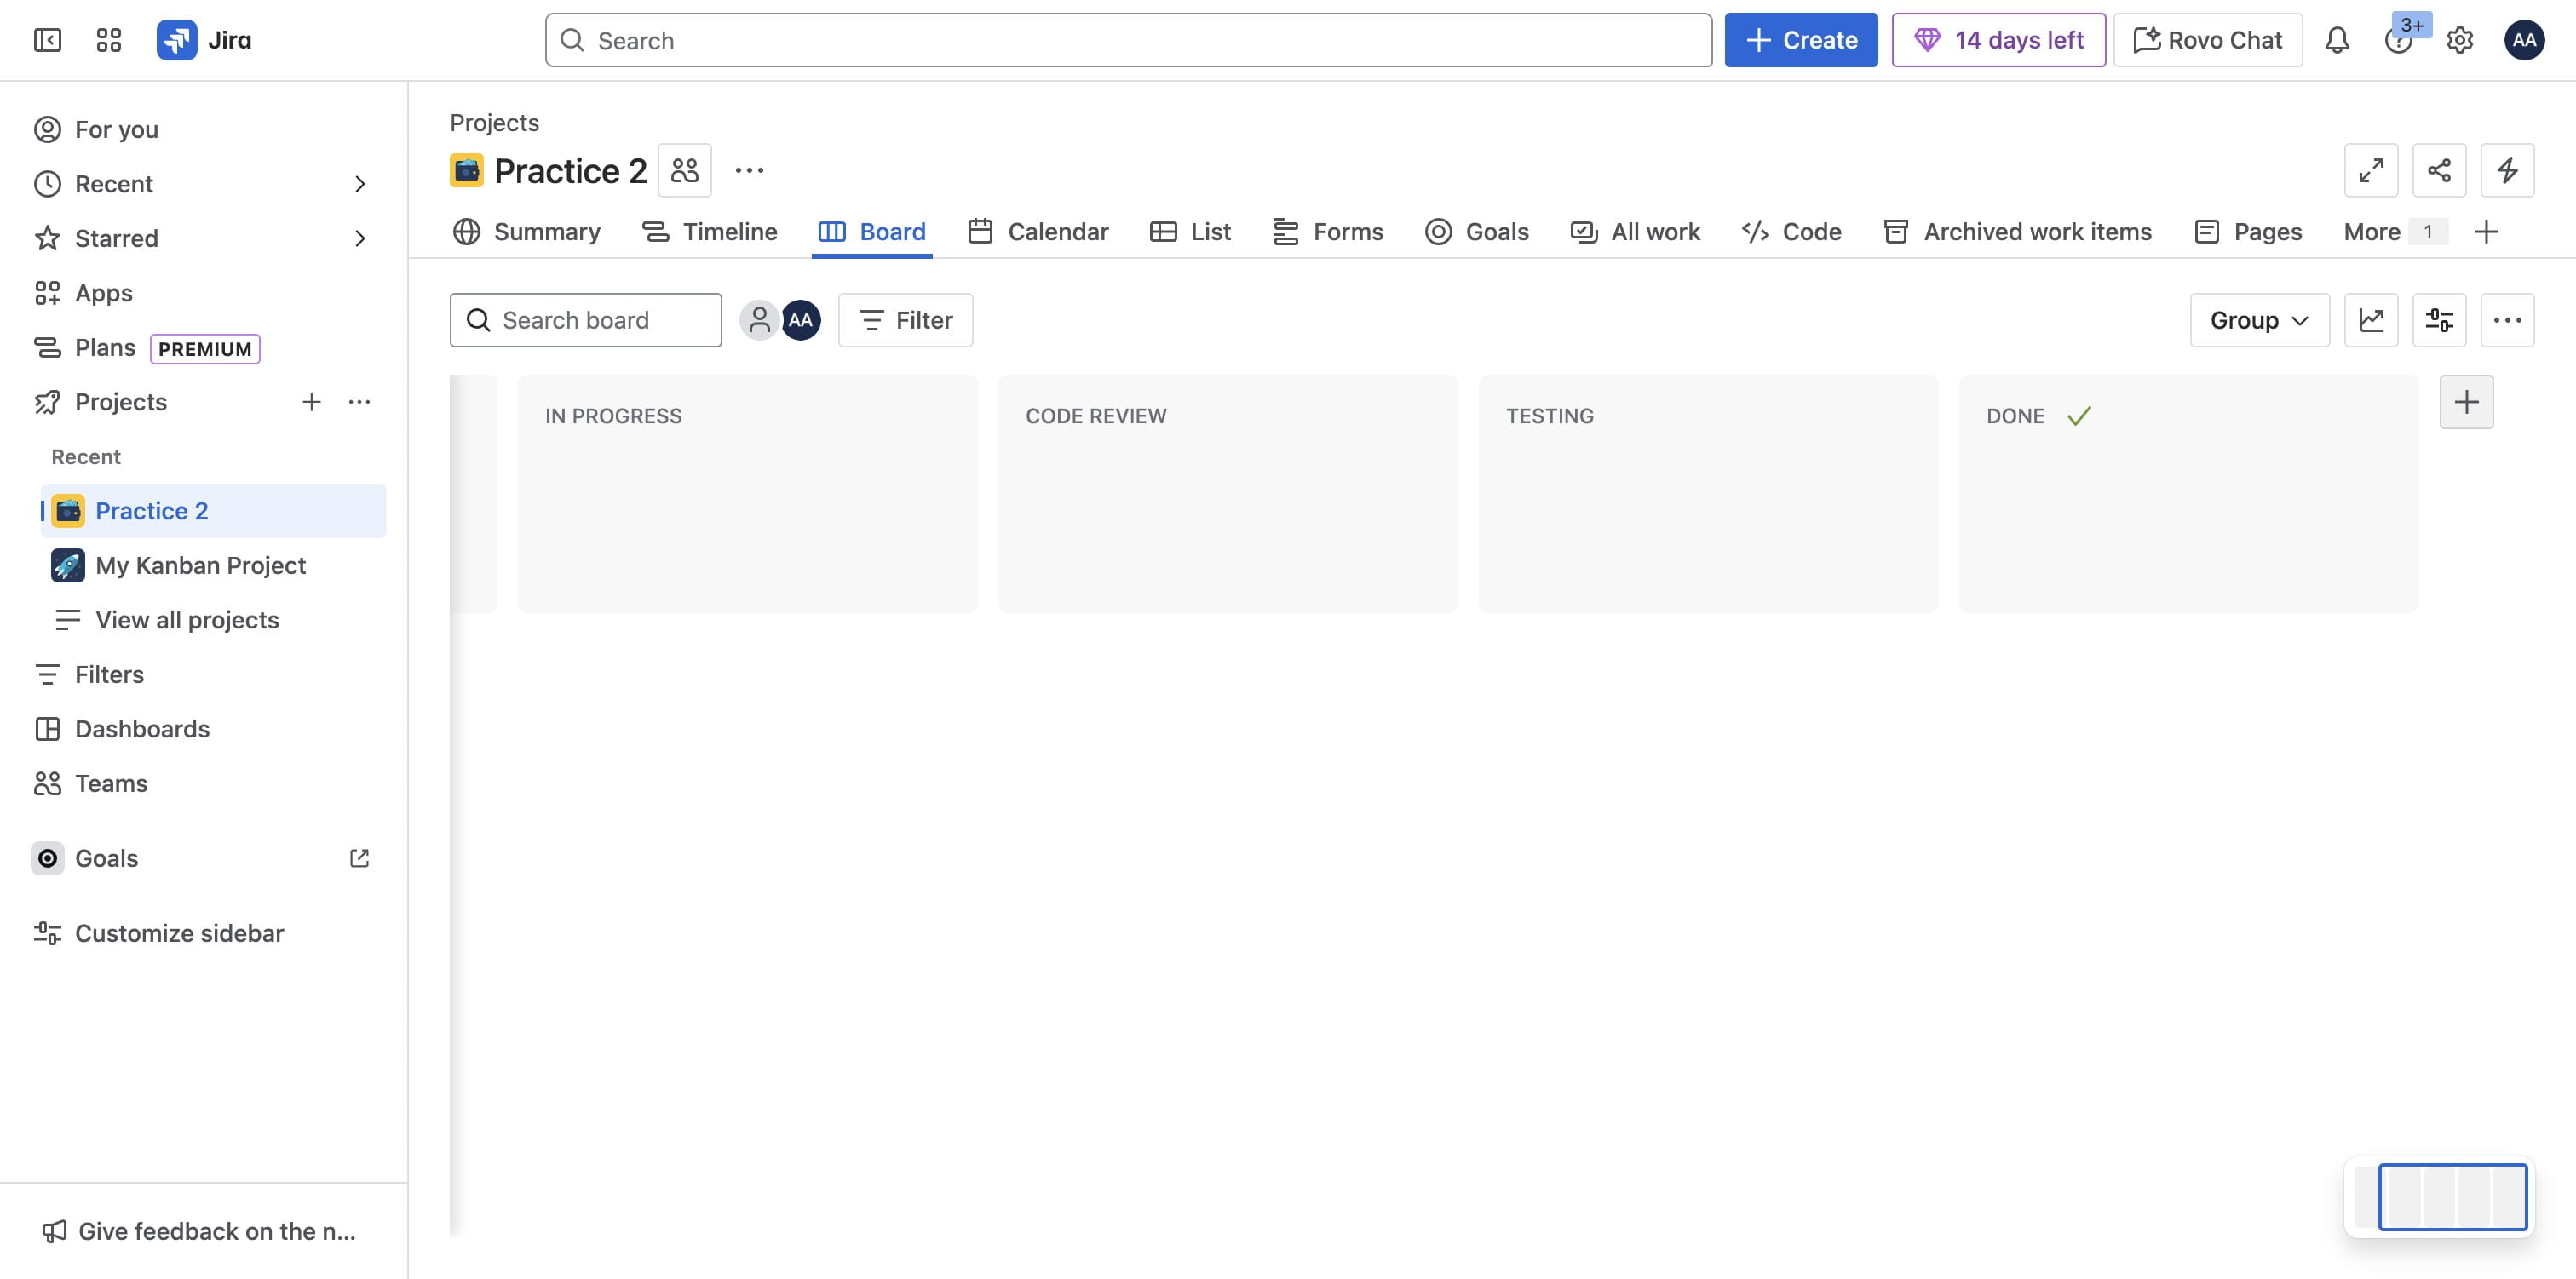
Click on plus icon to add next status and save
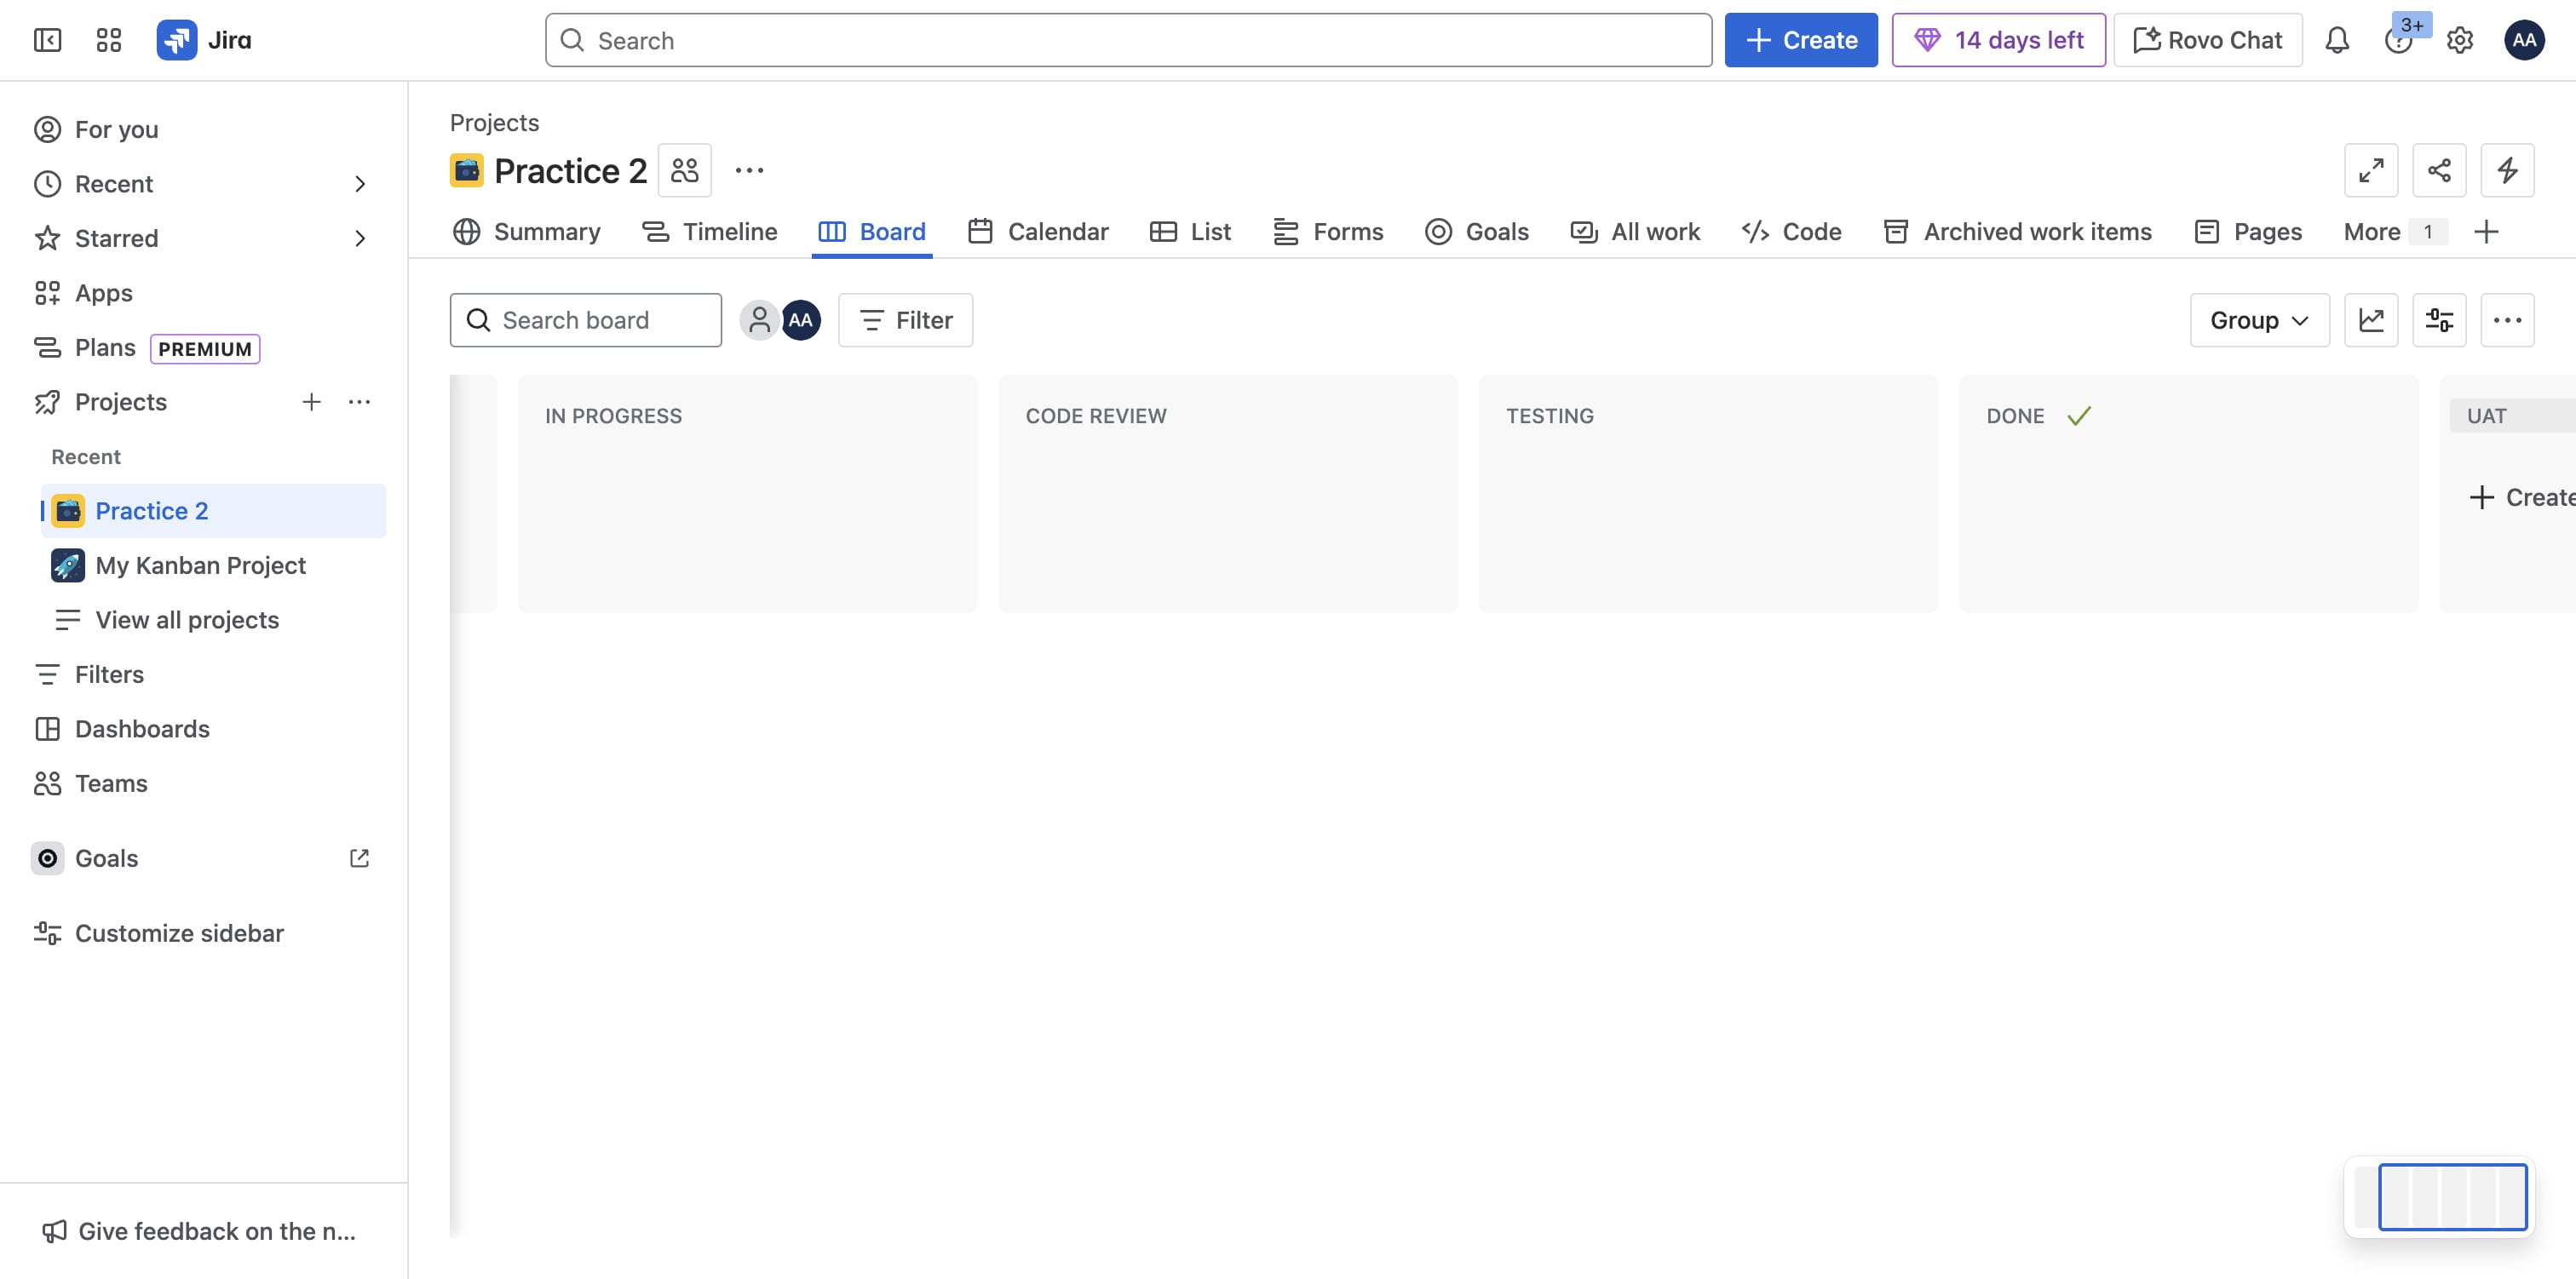
Drag "UAT" to position. Do same for any other status left.
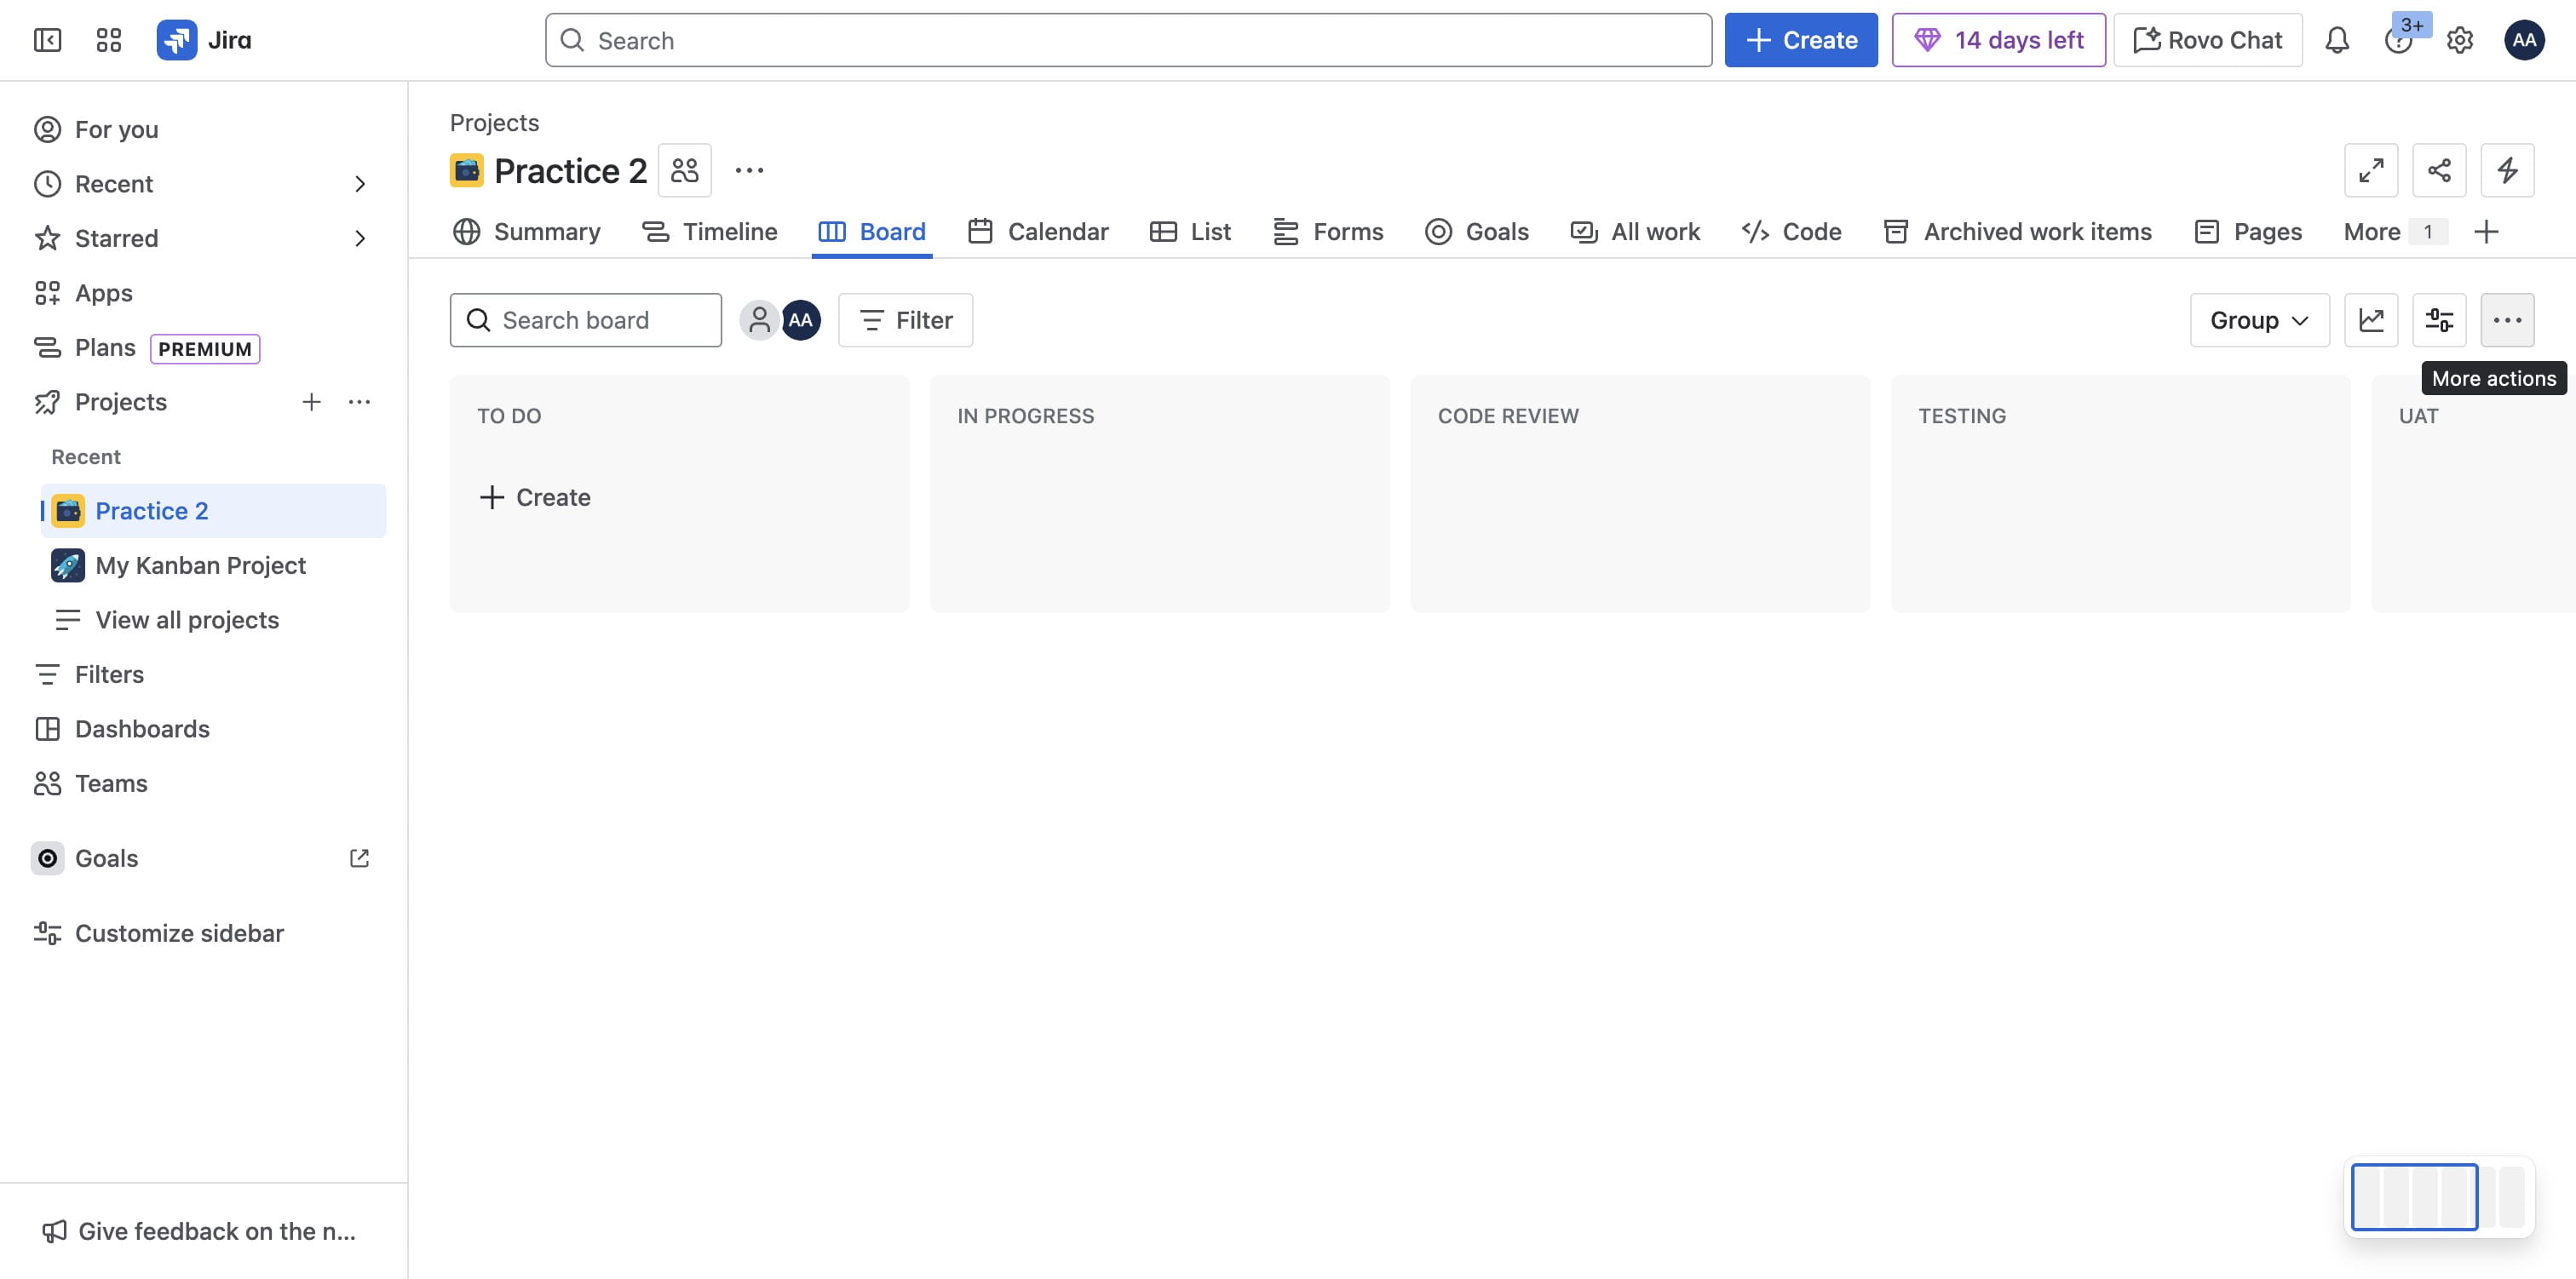
Configure Board with Custom Fields
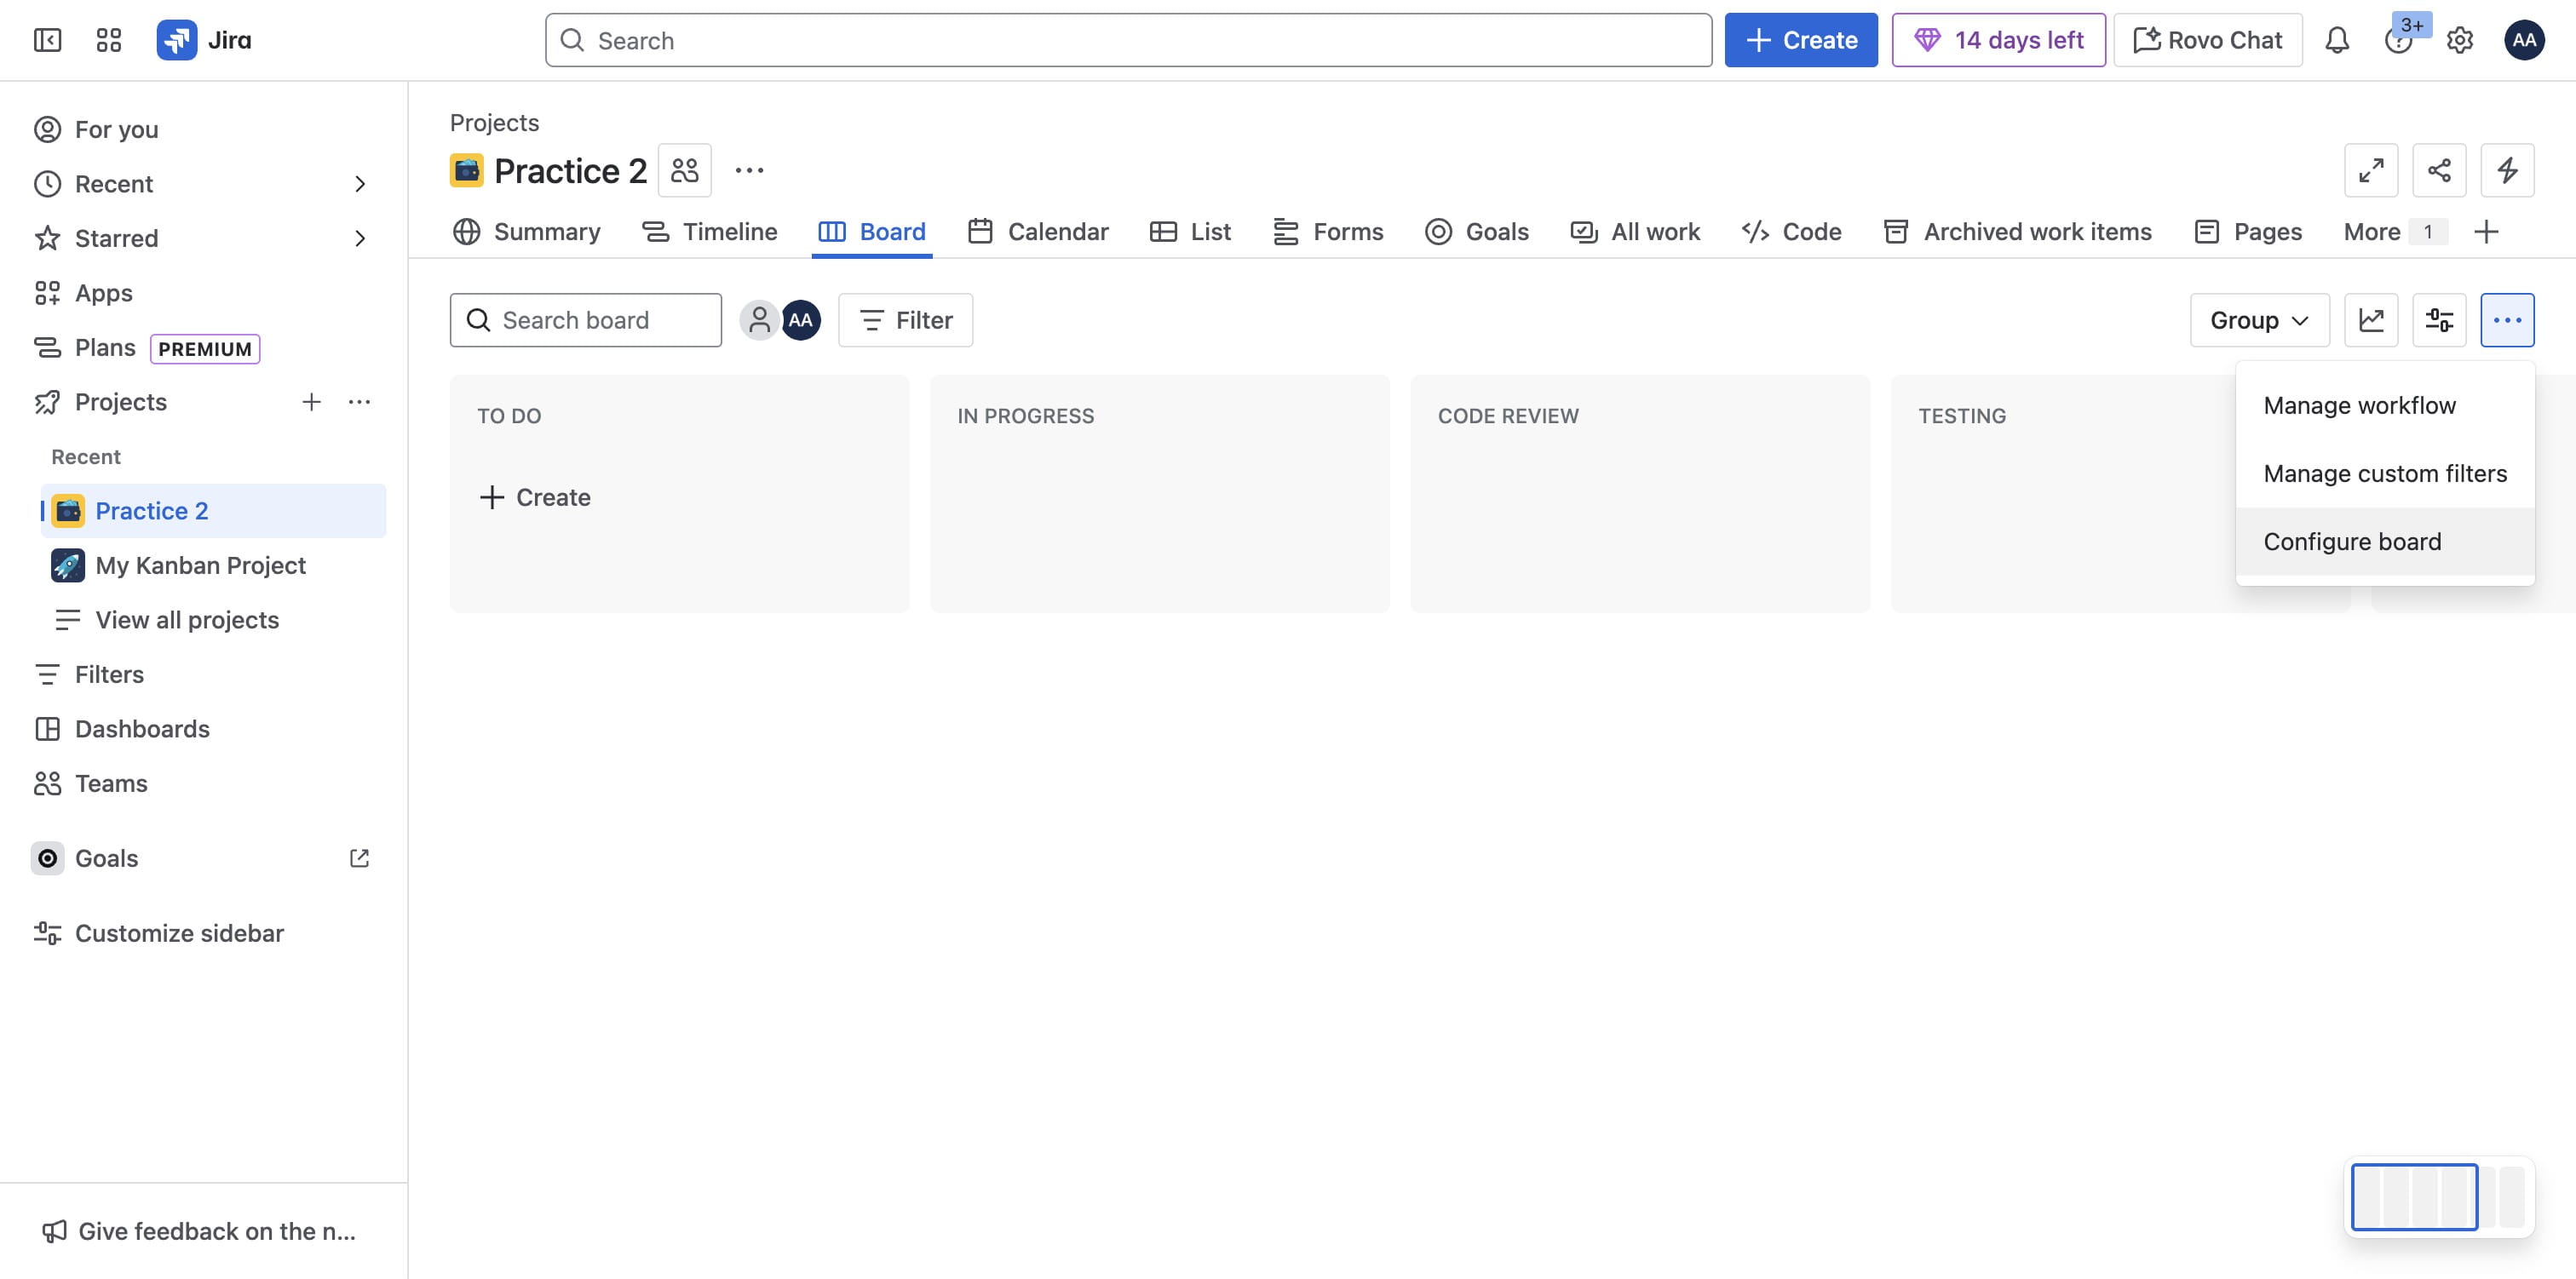
To Configure Board with Custom Fields, select More actions at top right above status lanes
Click on "Configure board"
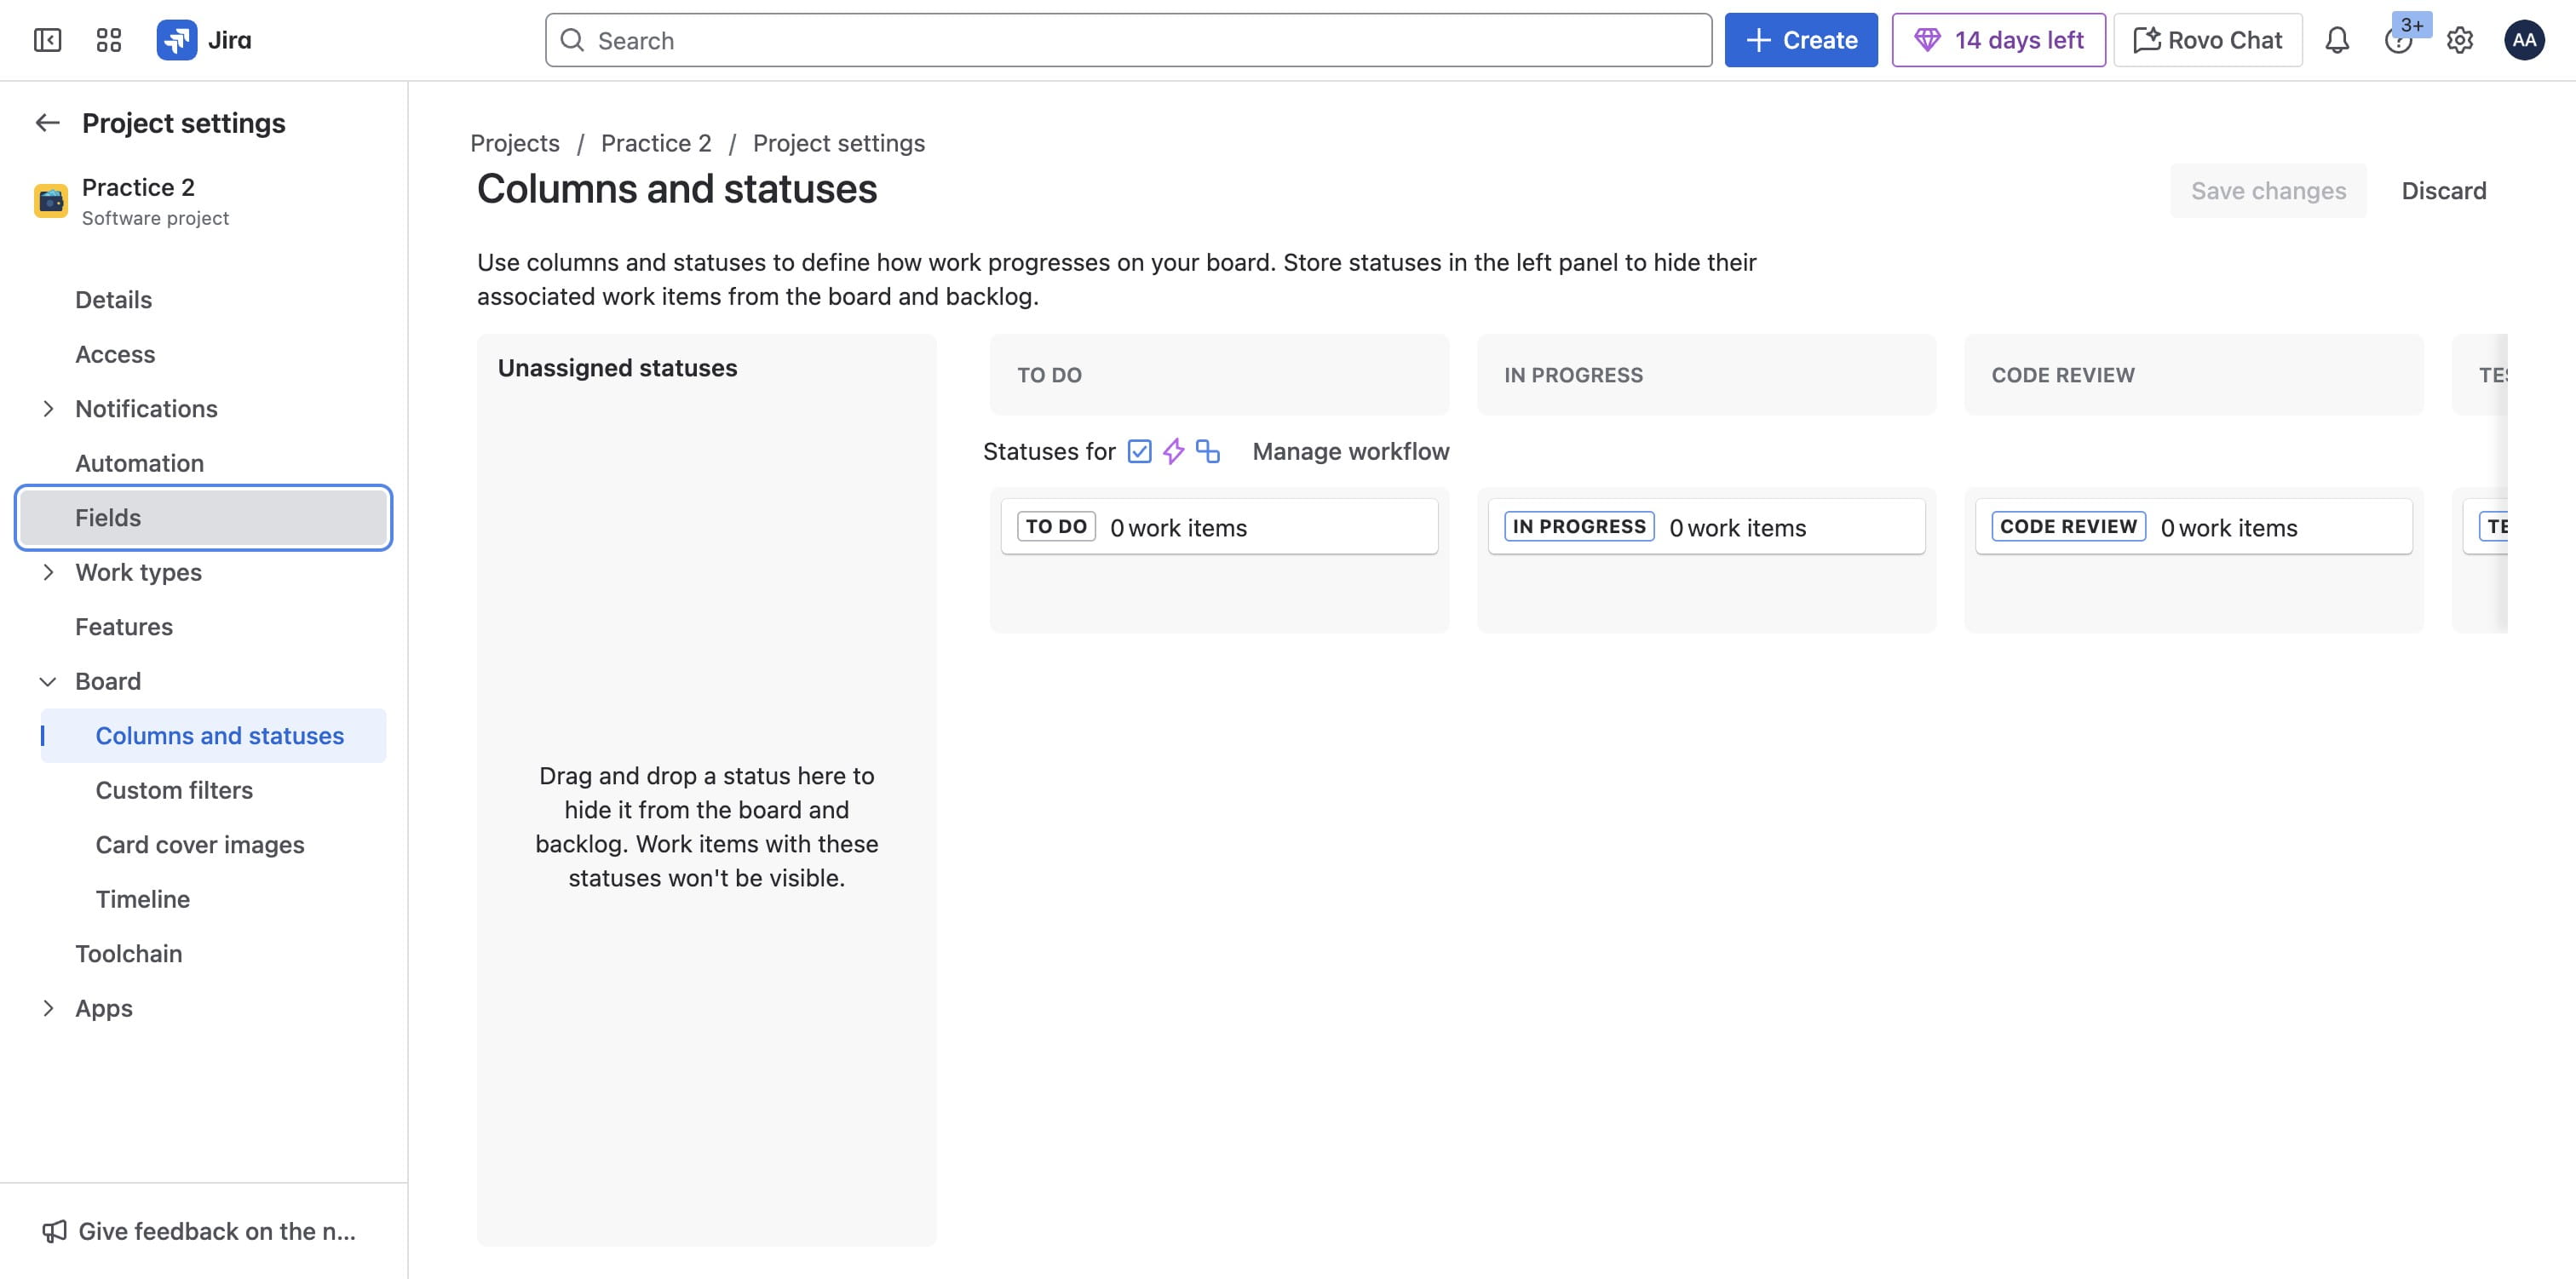
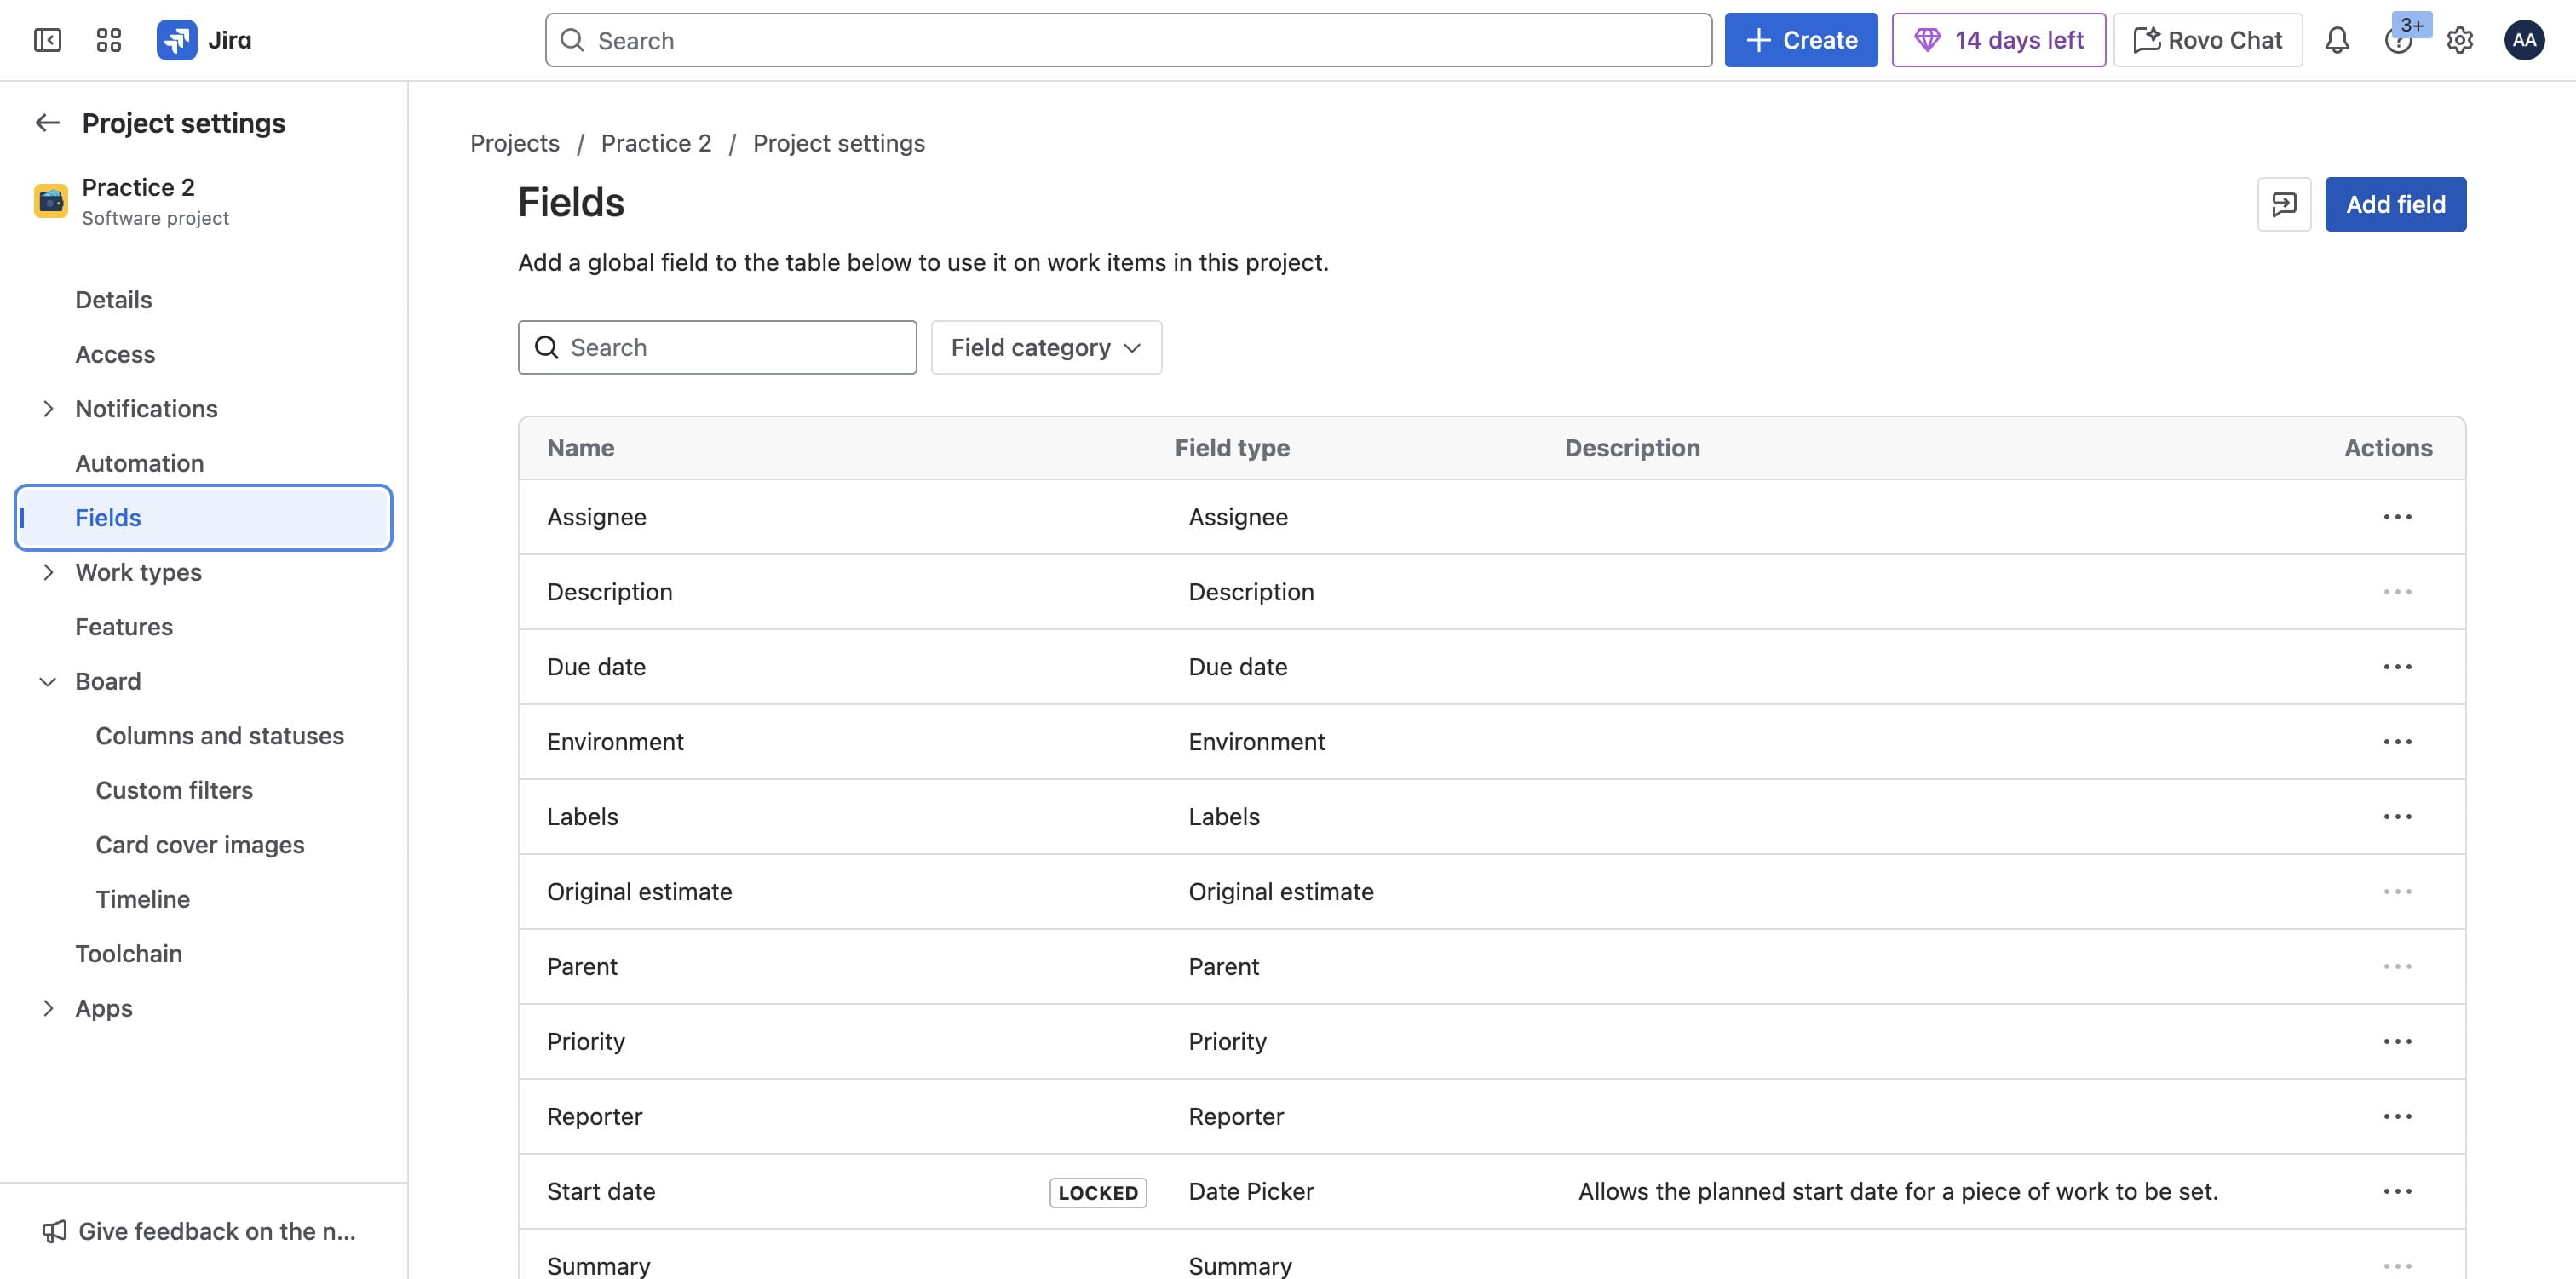
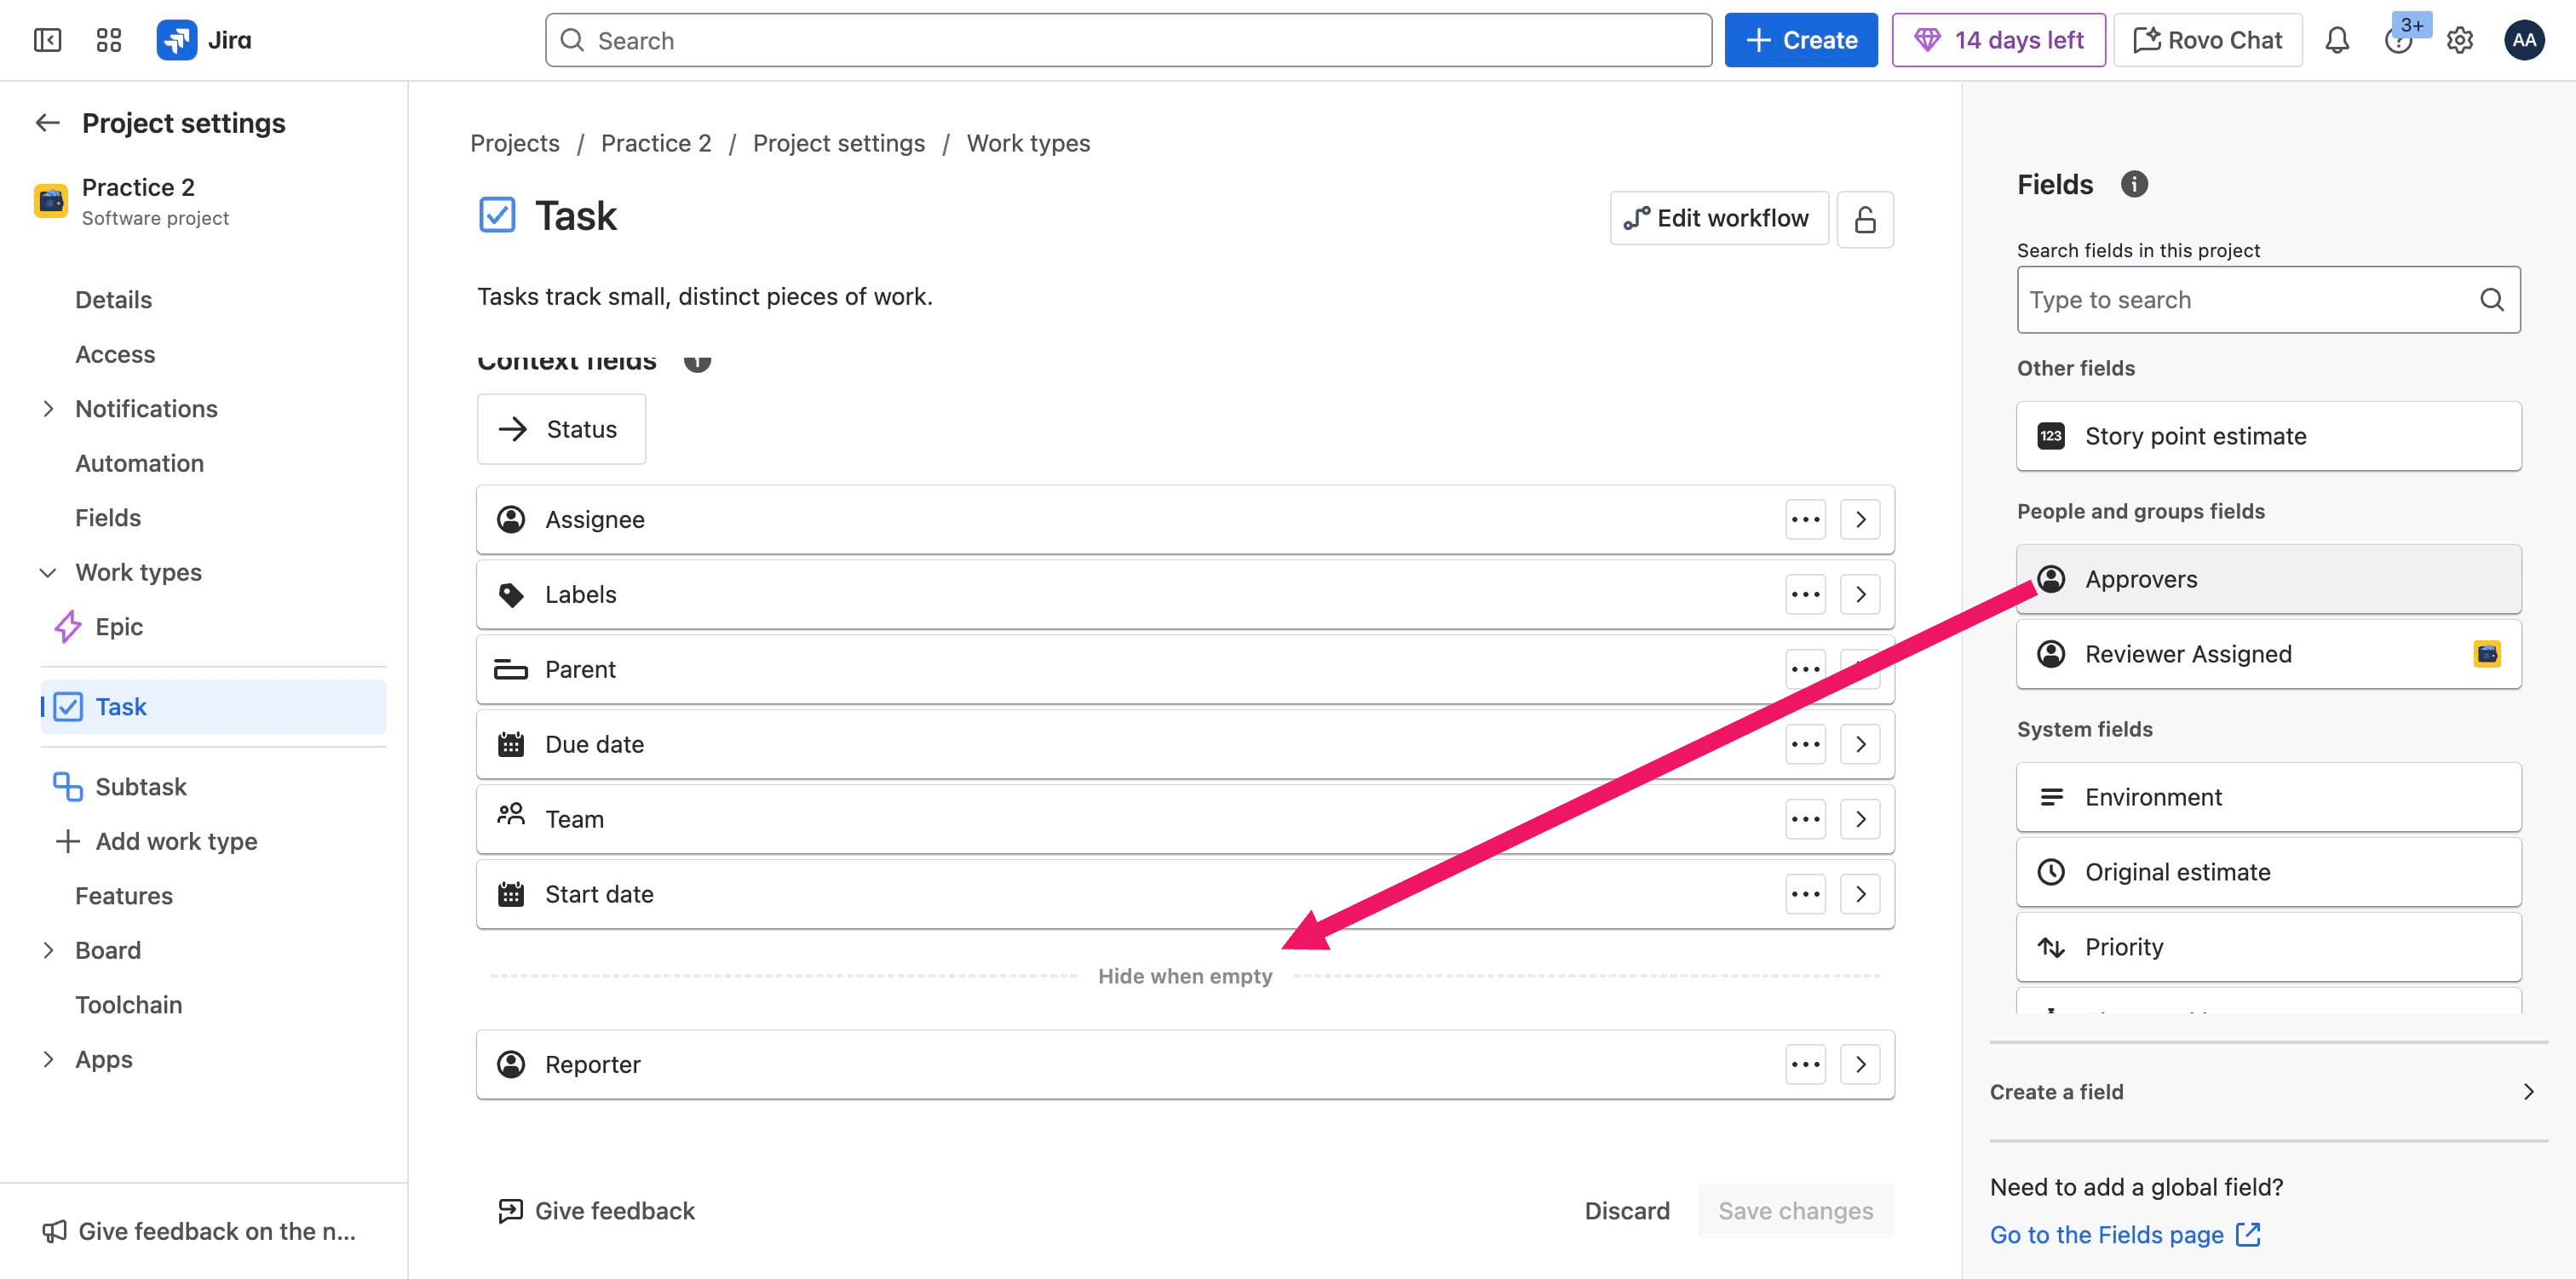
Click Fields
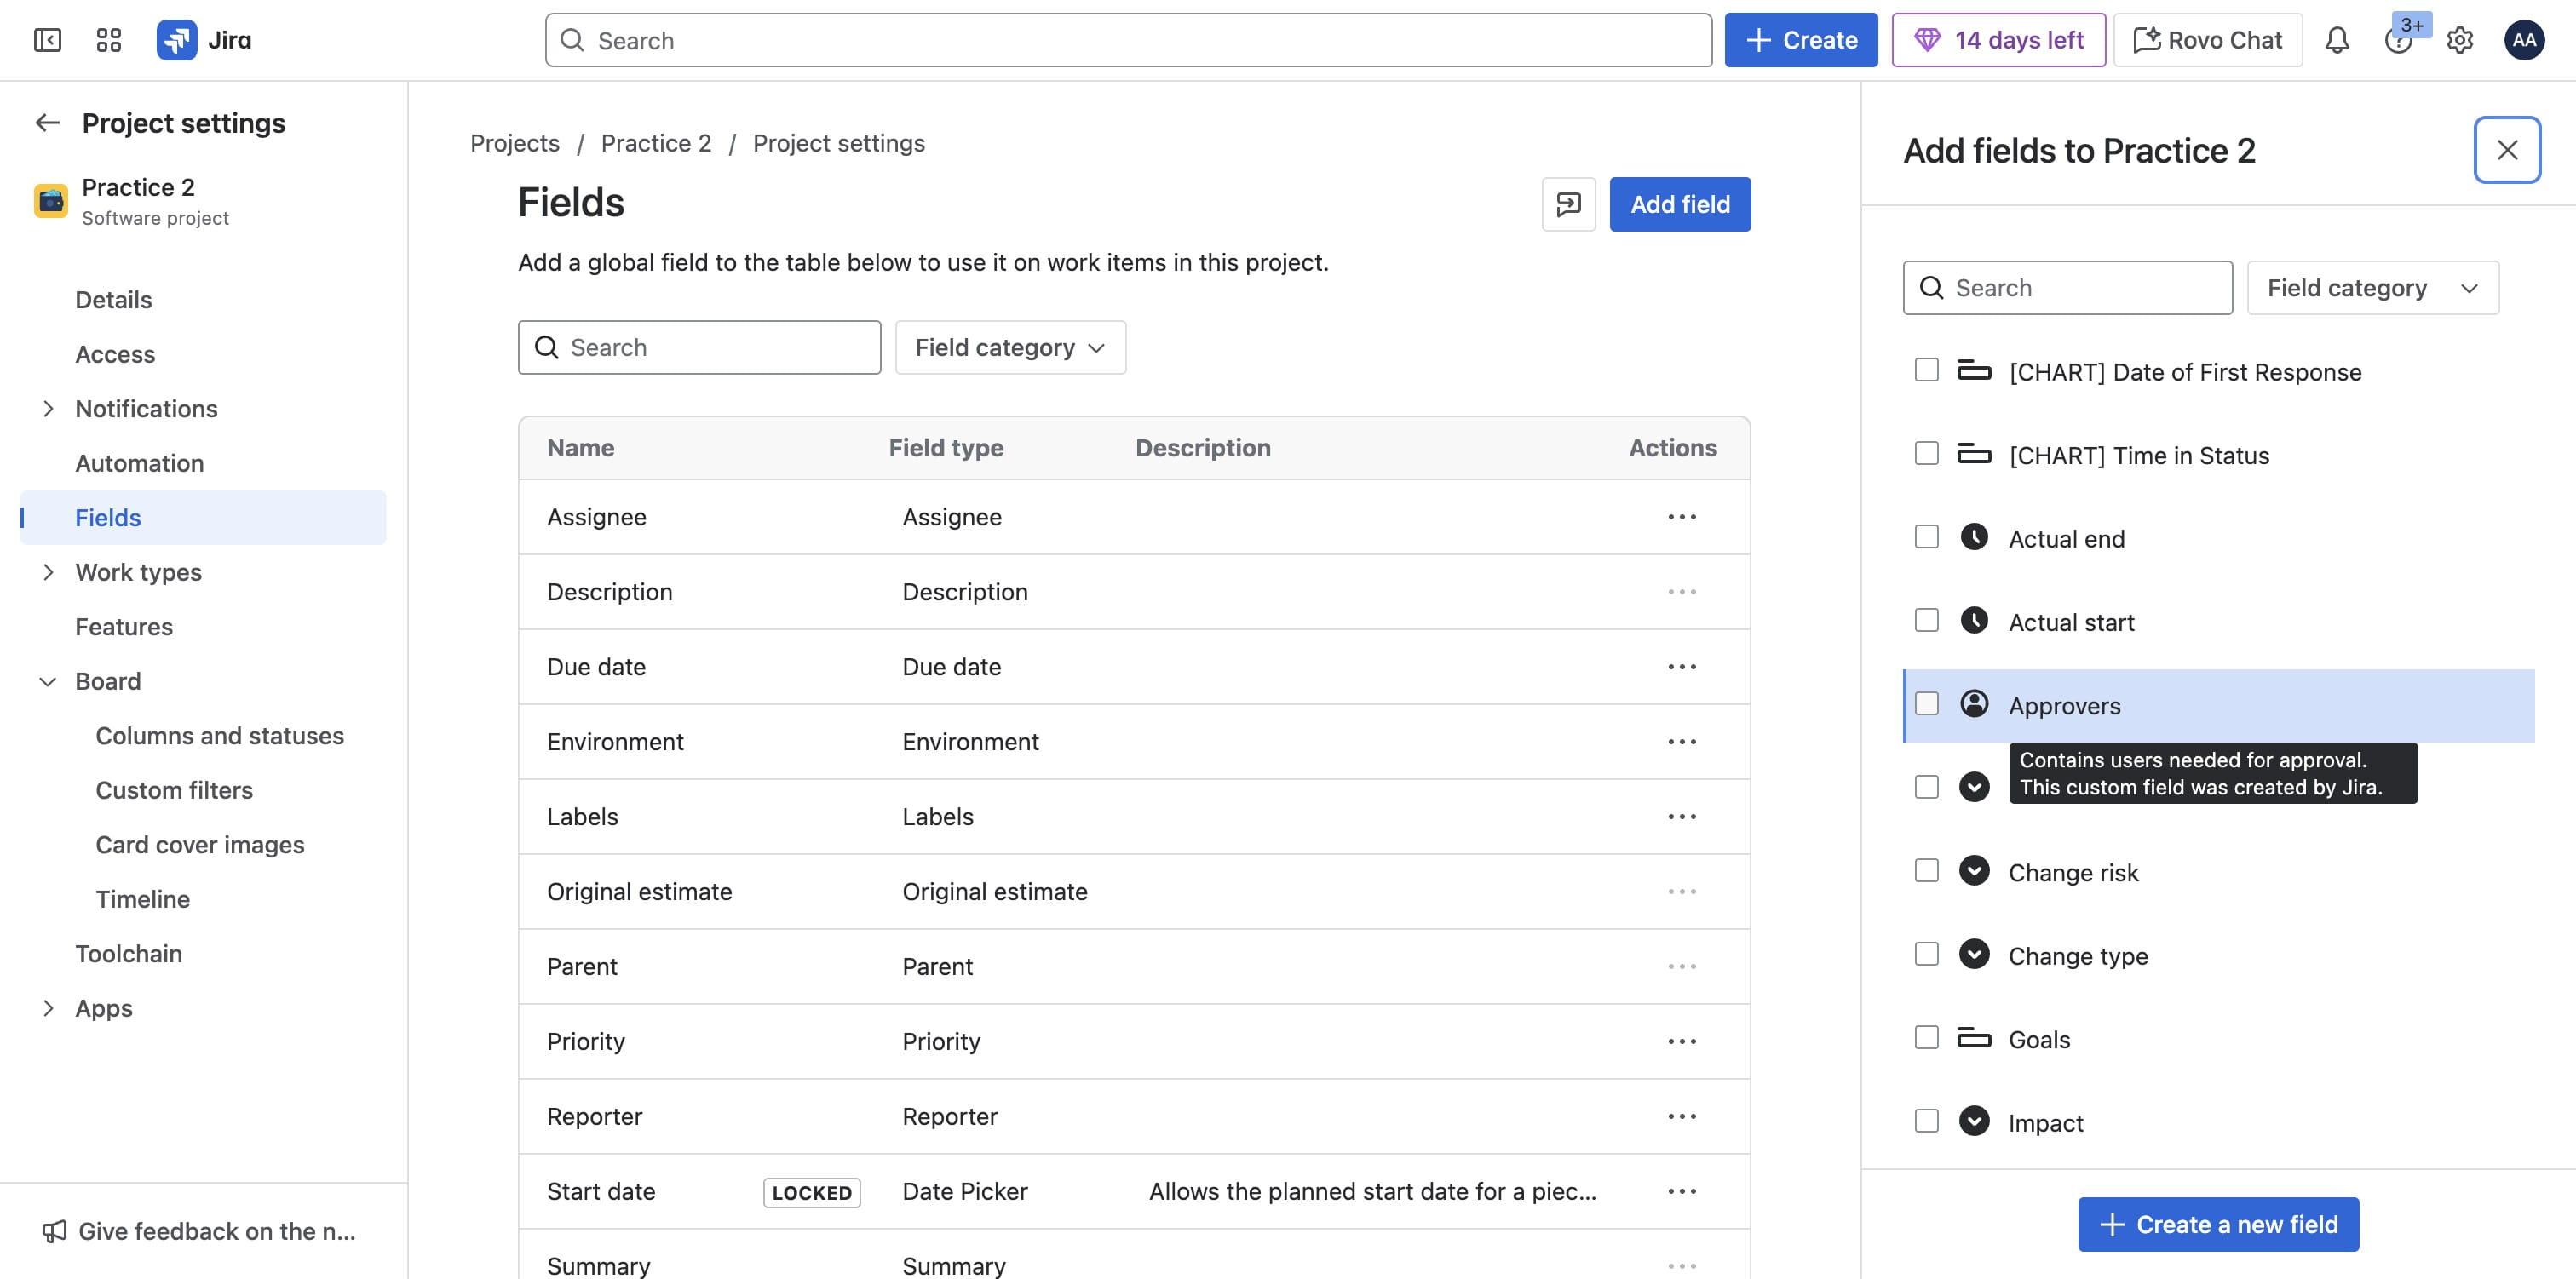
Click on "Add field" to include a field that might not exist
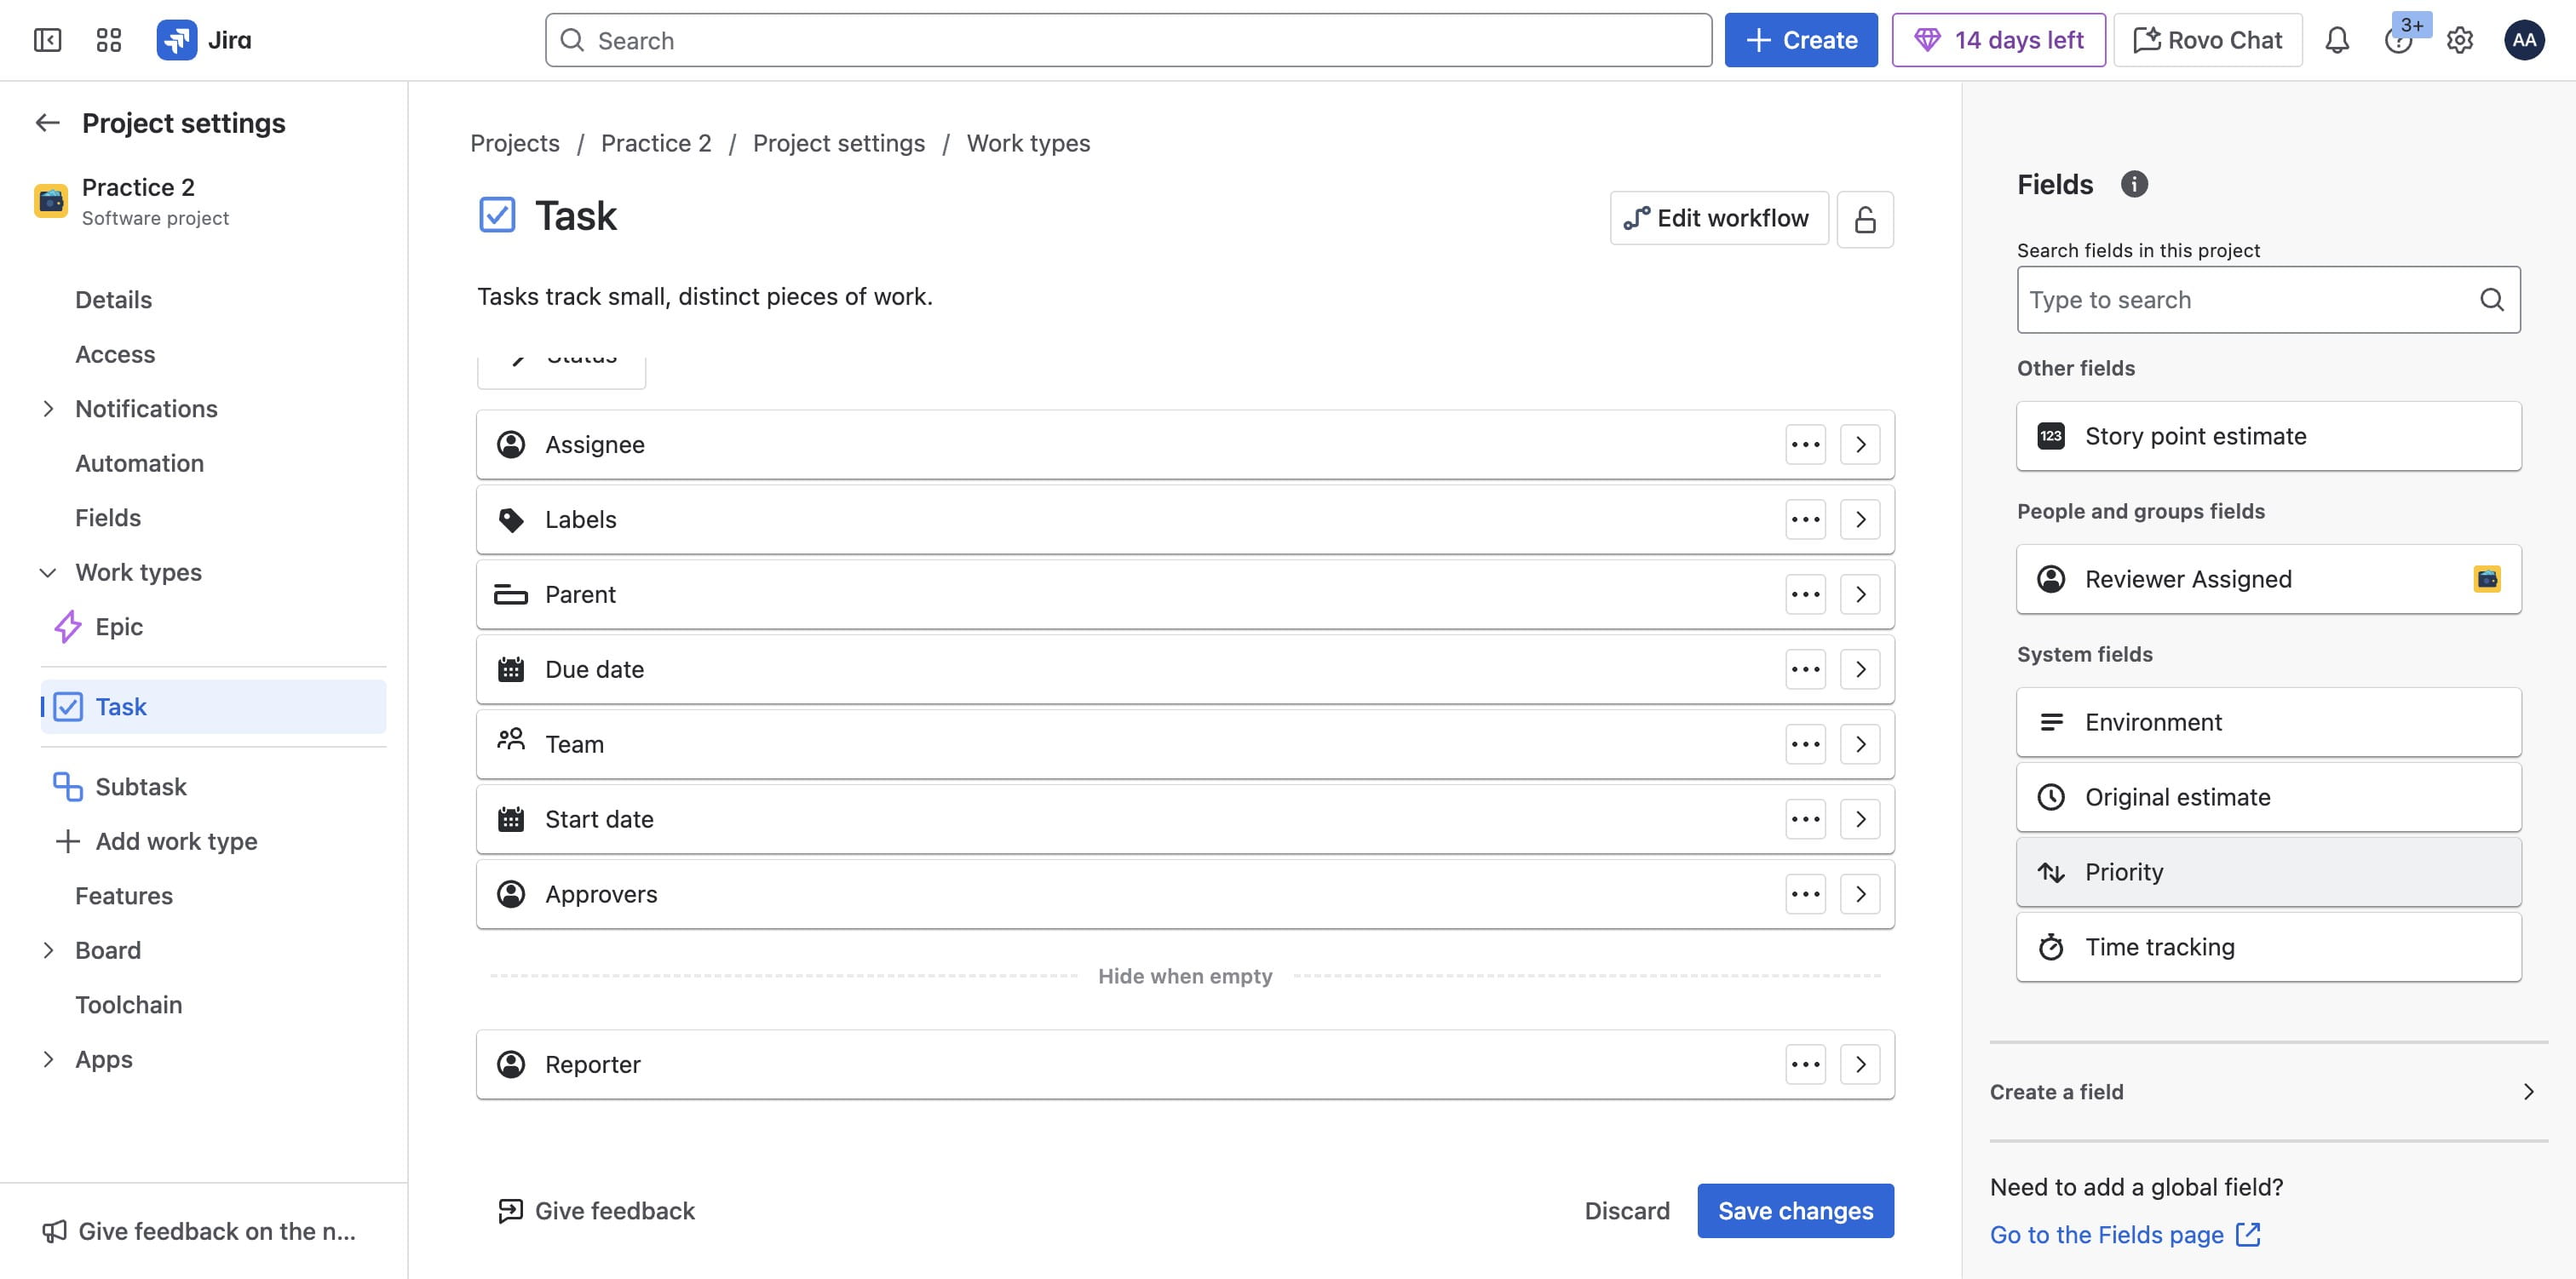
Click on "Approvers", this is a multi user selection field which can be used to add multiple users
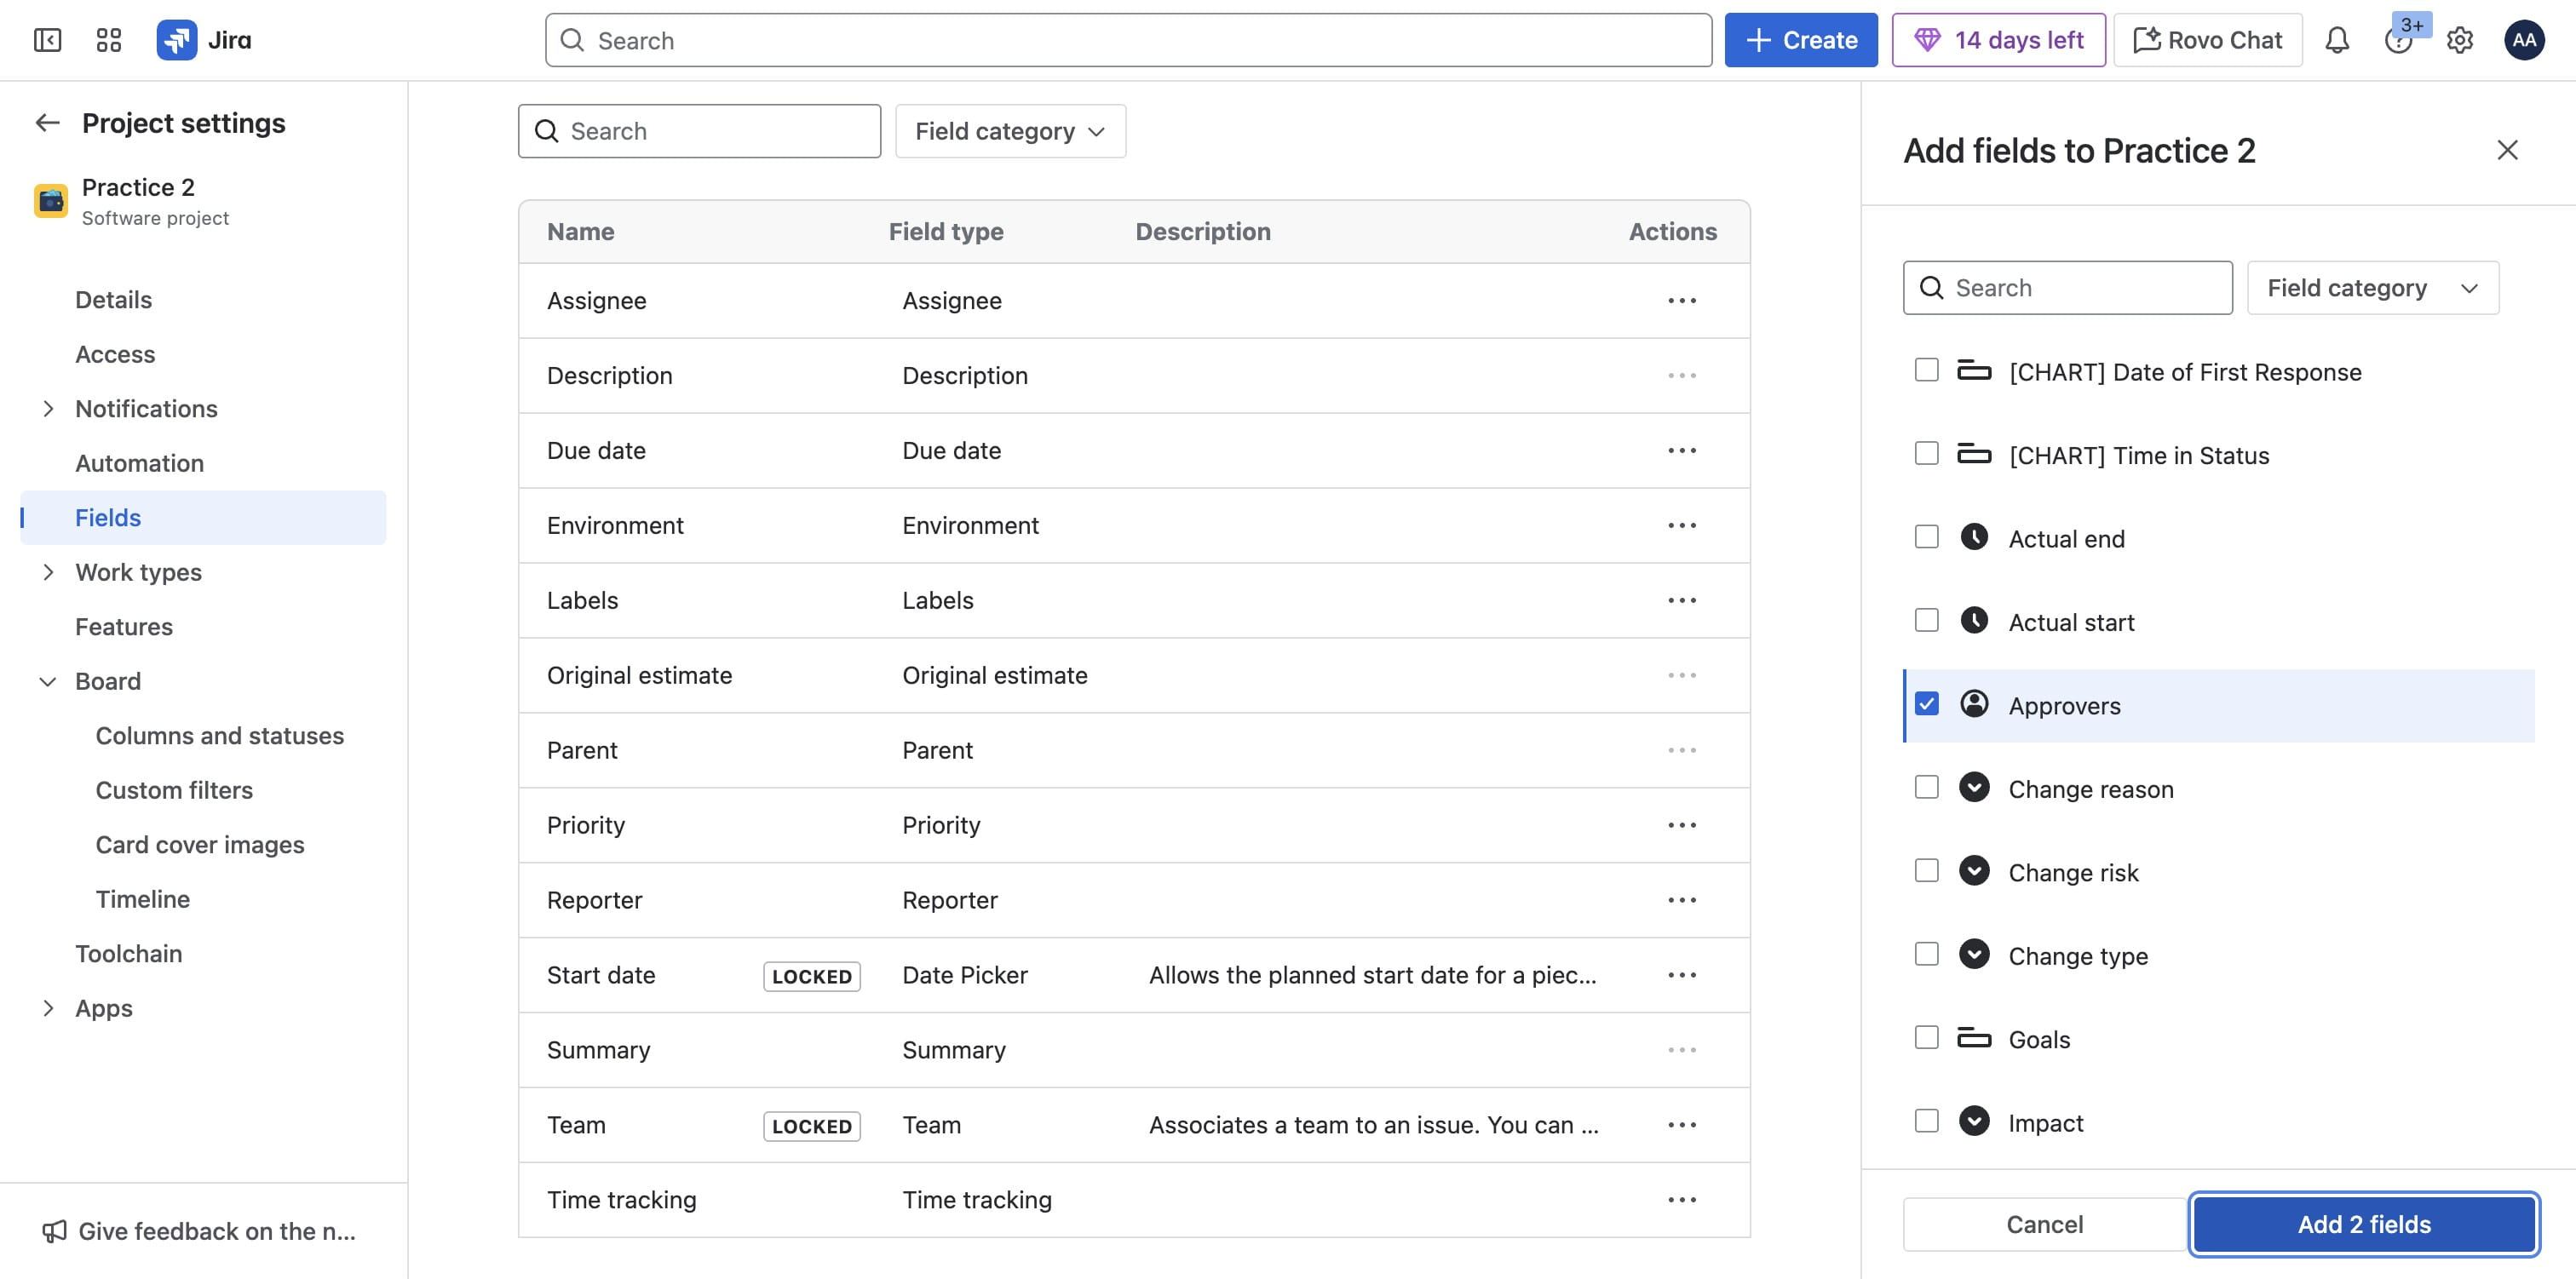
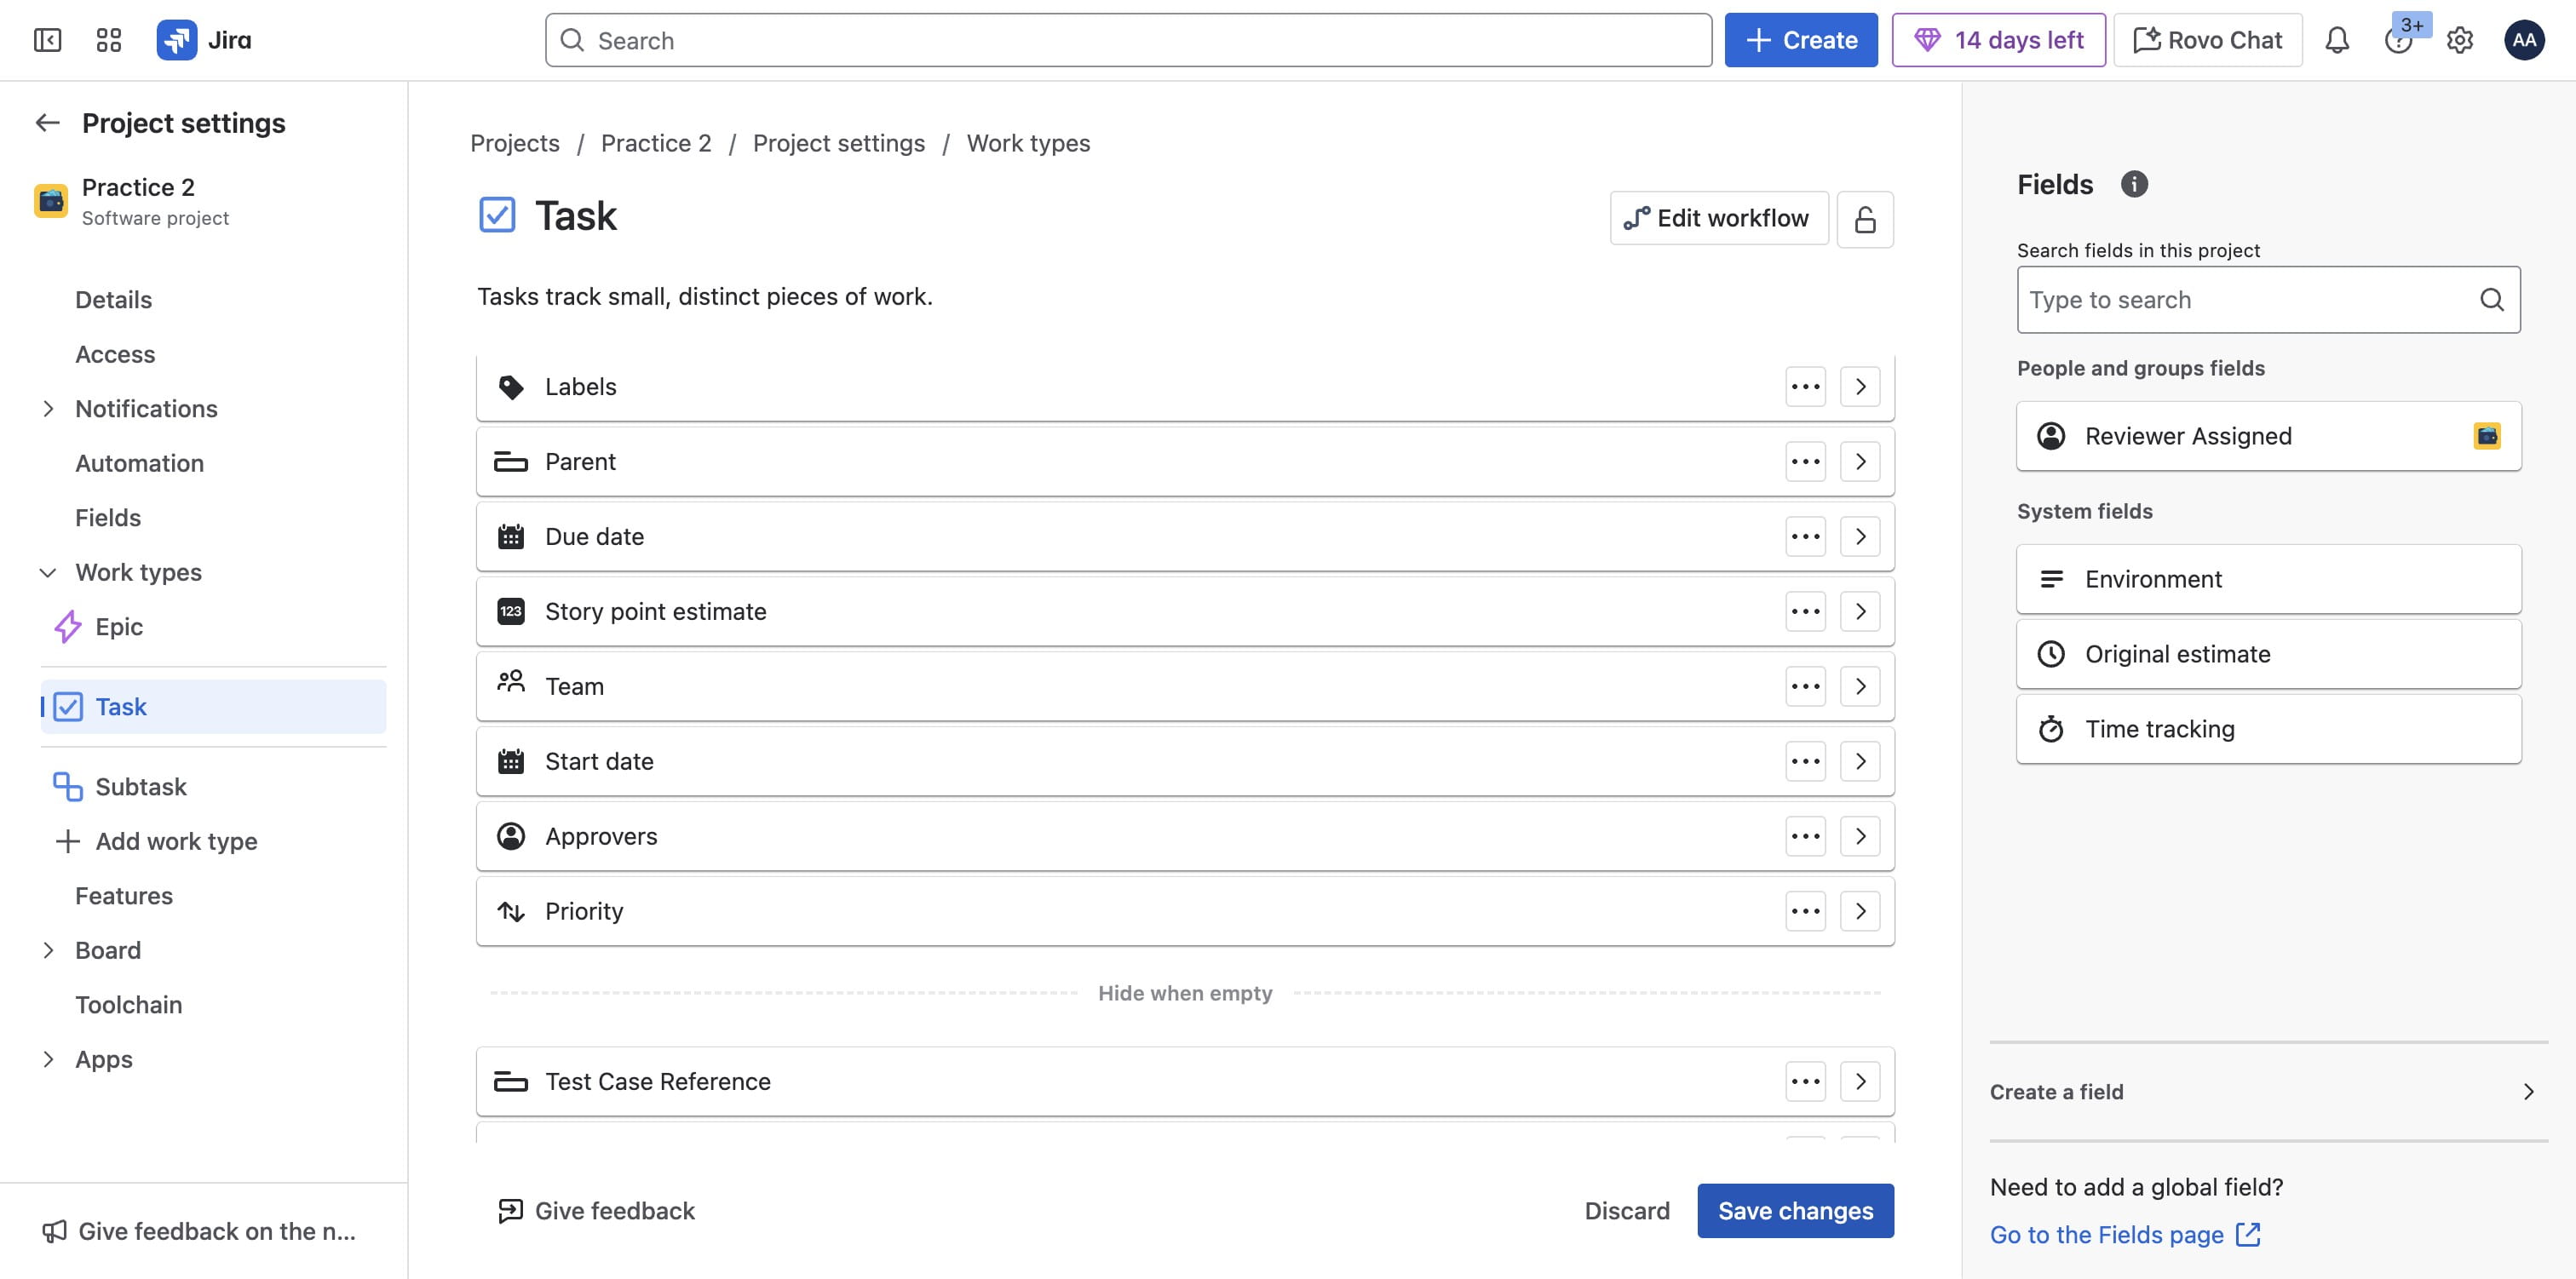
You can also add any other fields as you'll like
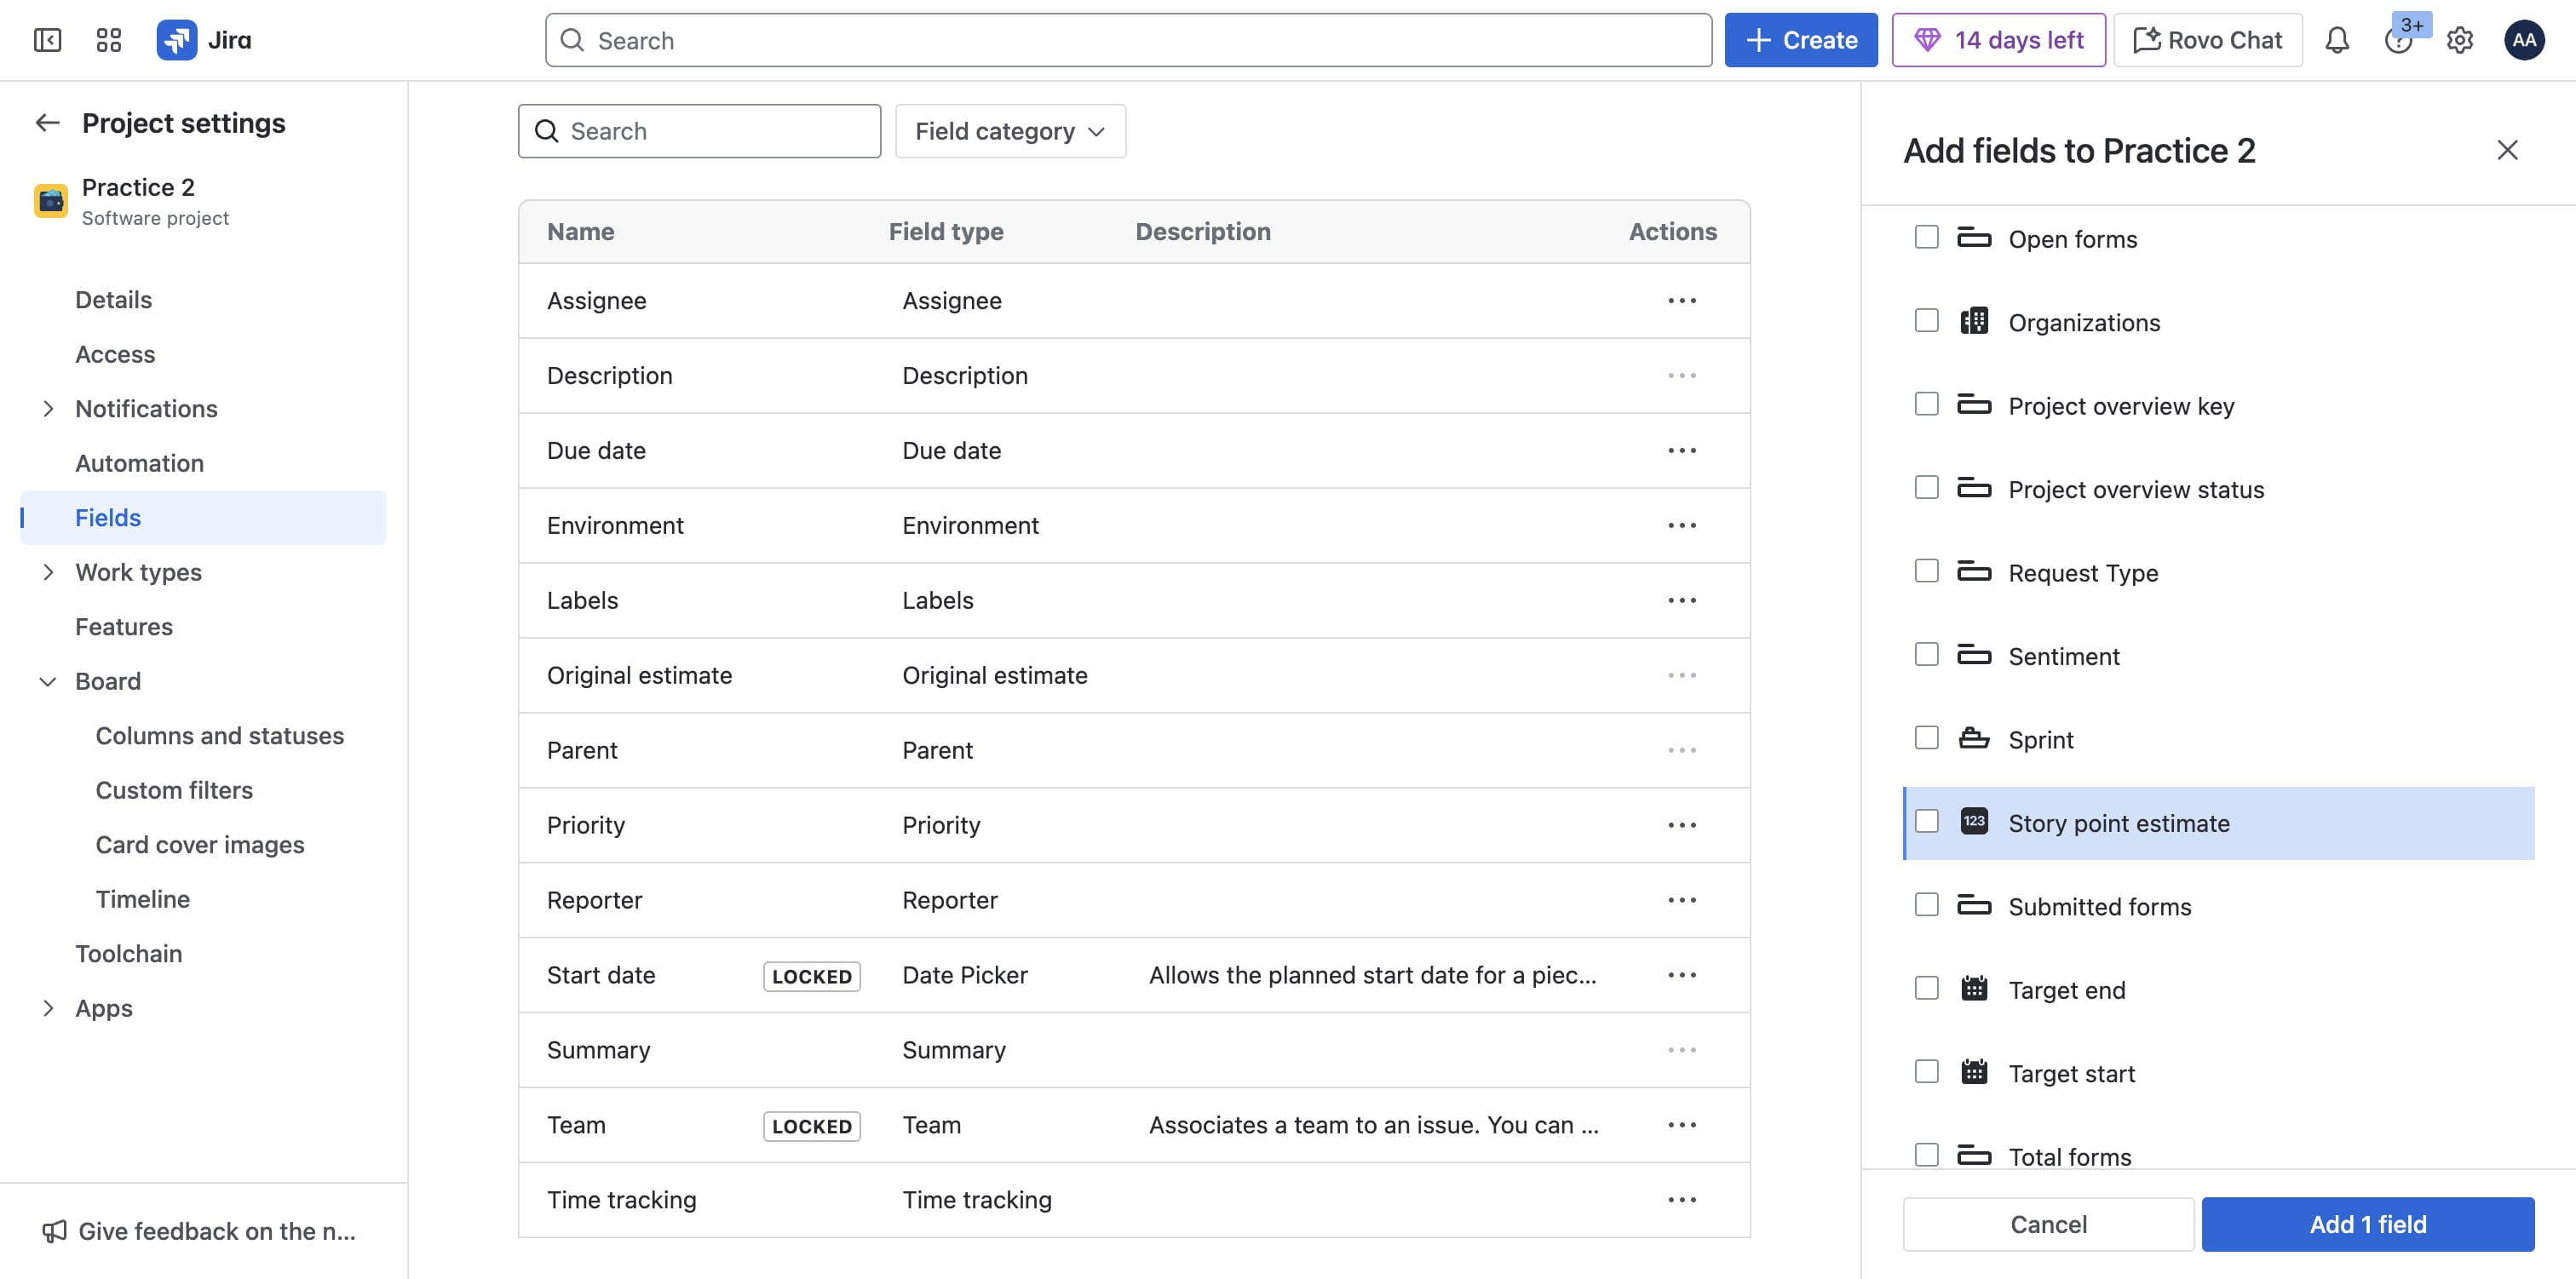
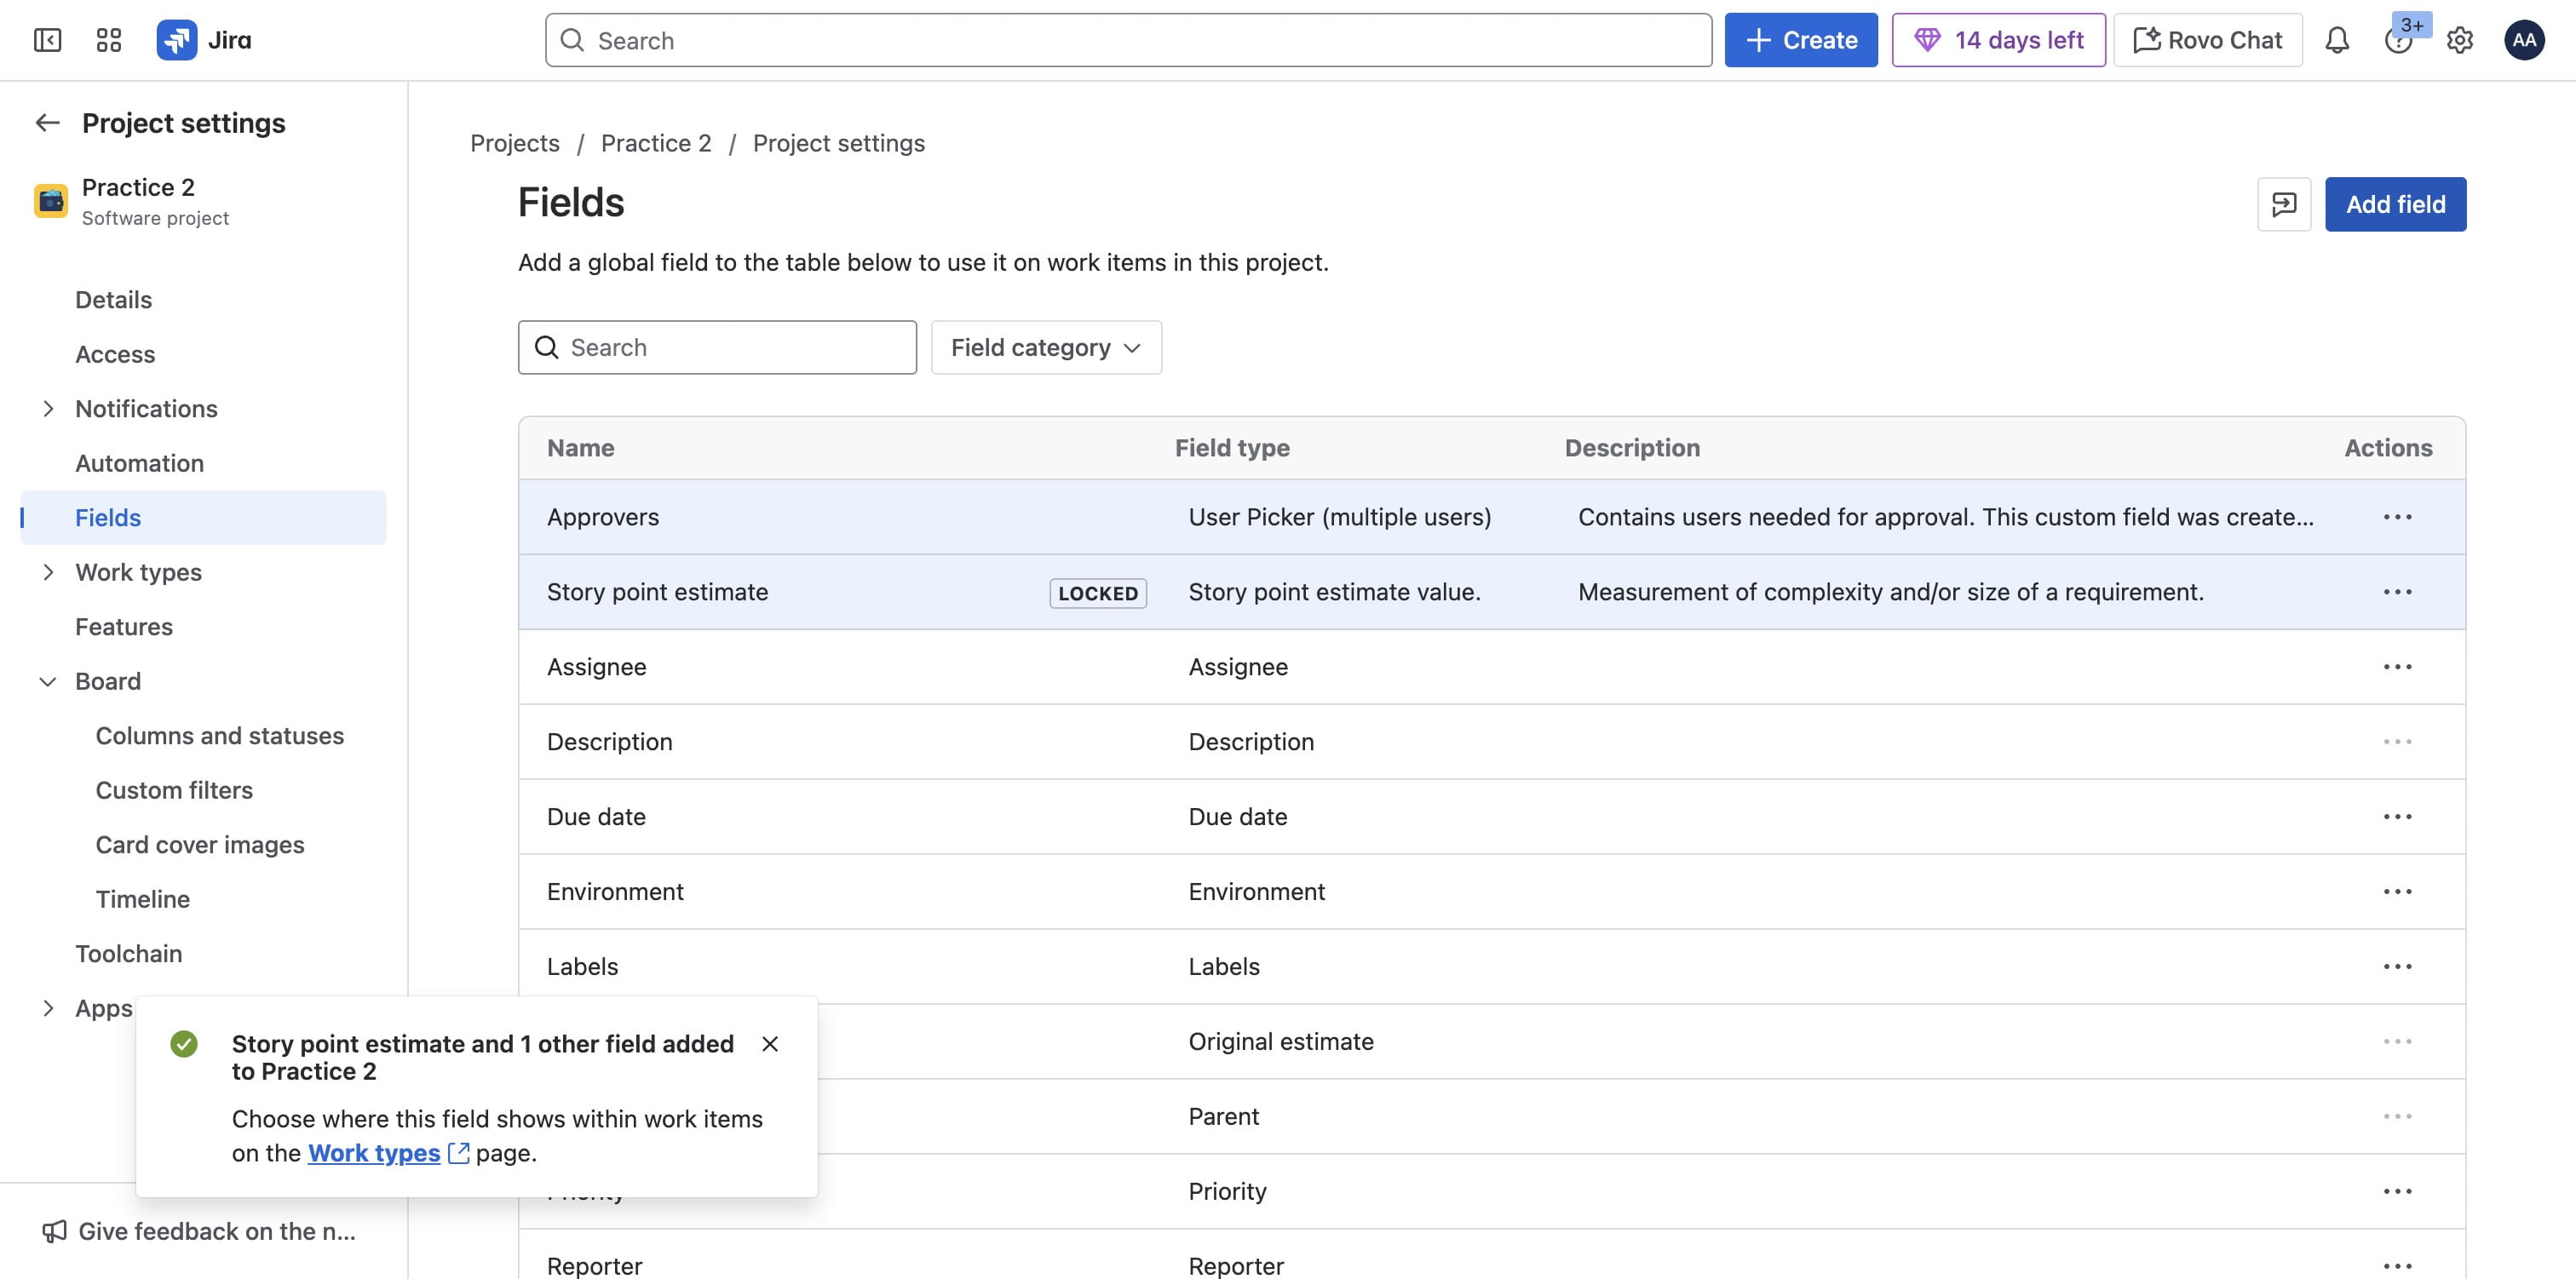
Click on "Add 2 fields"
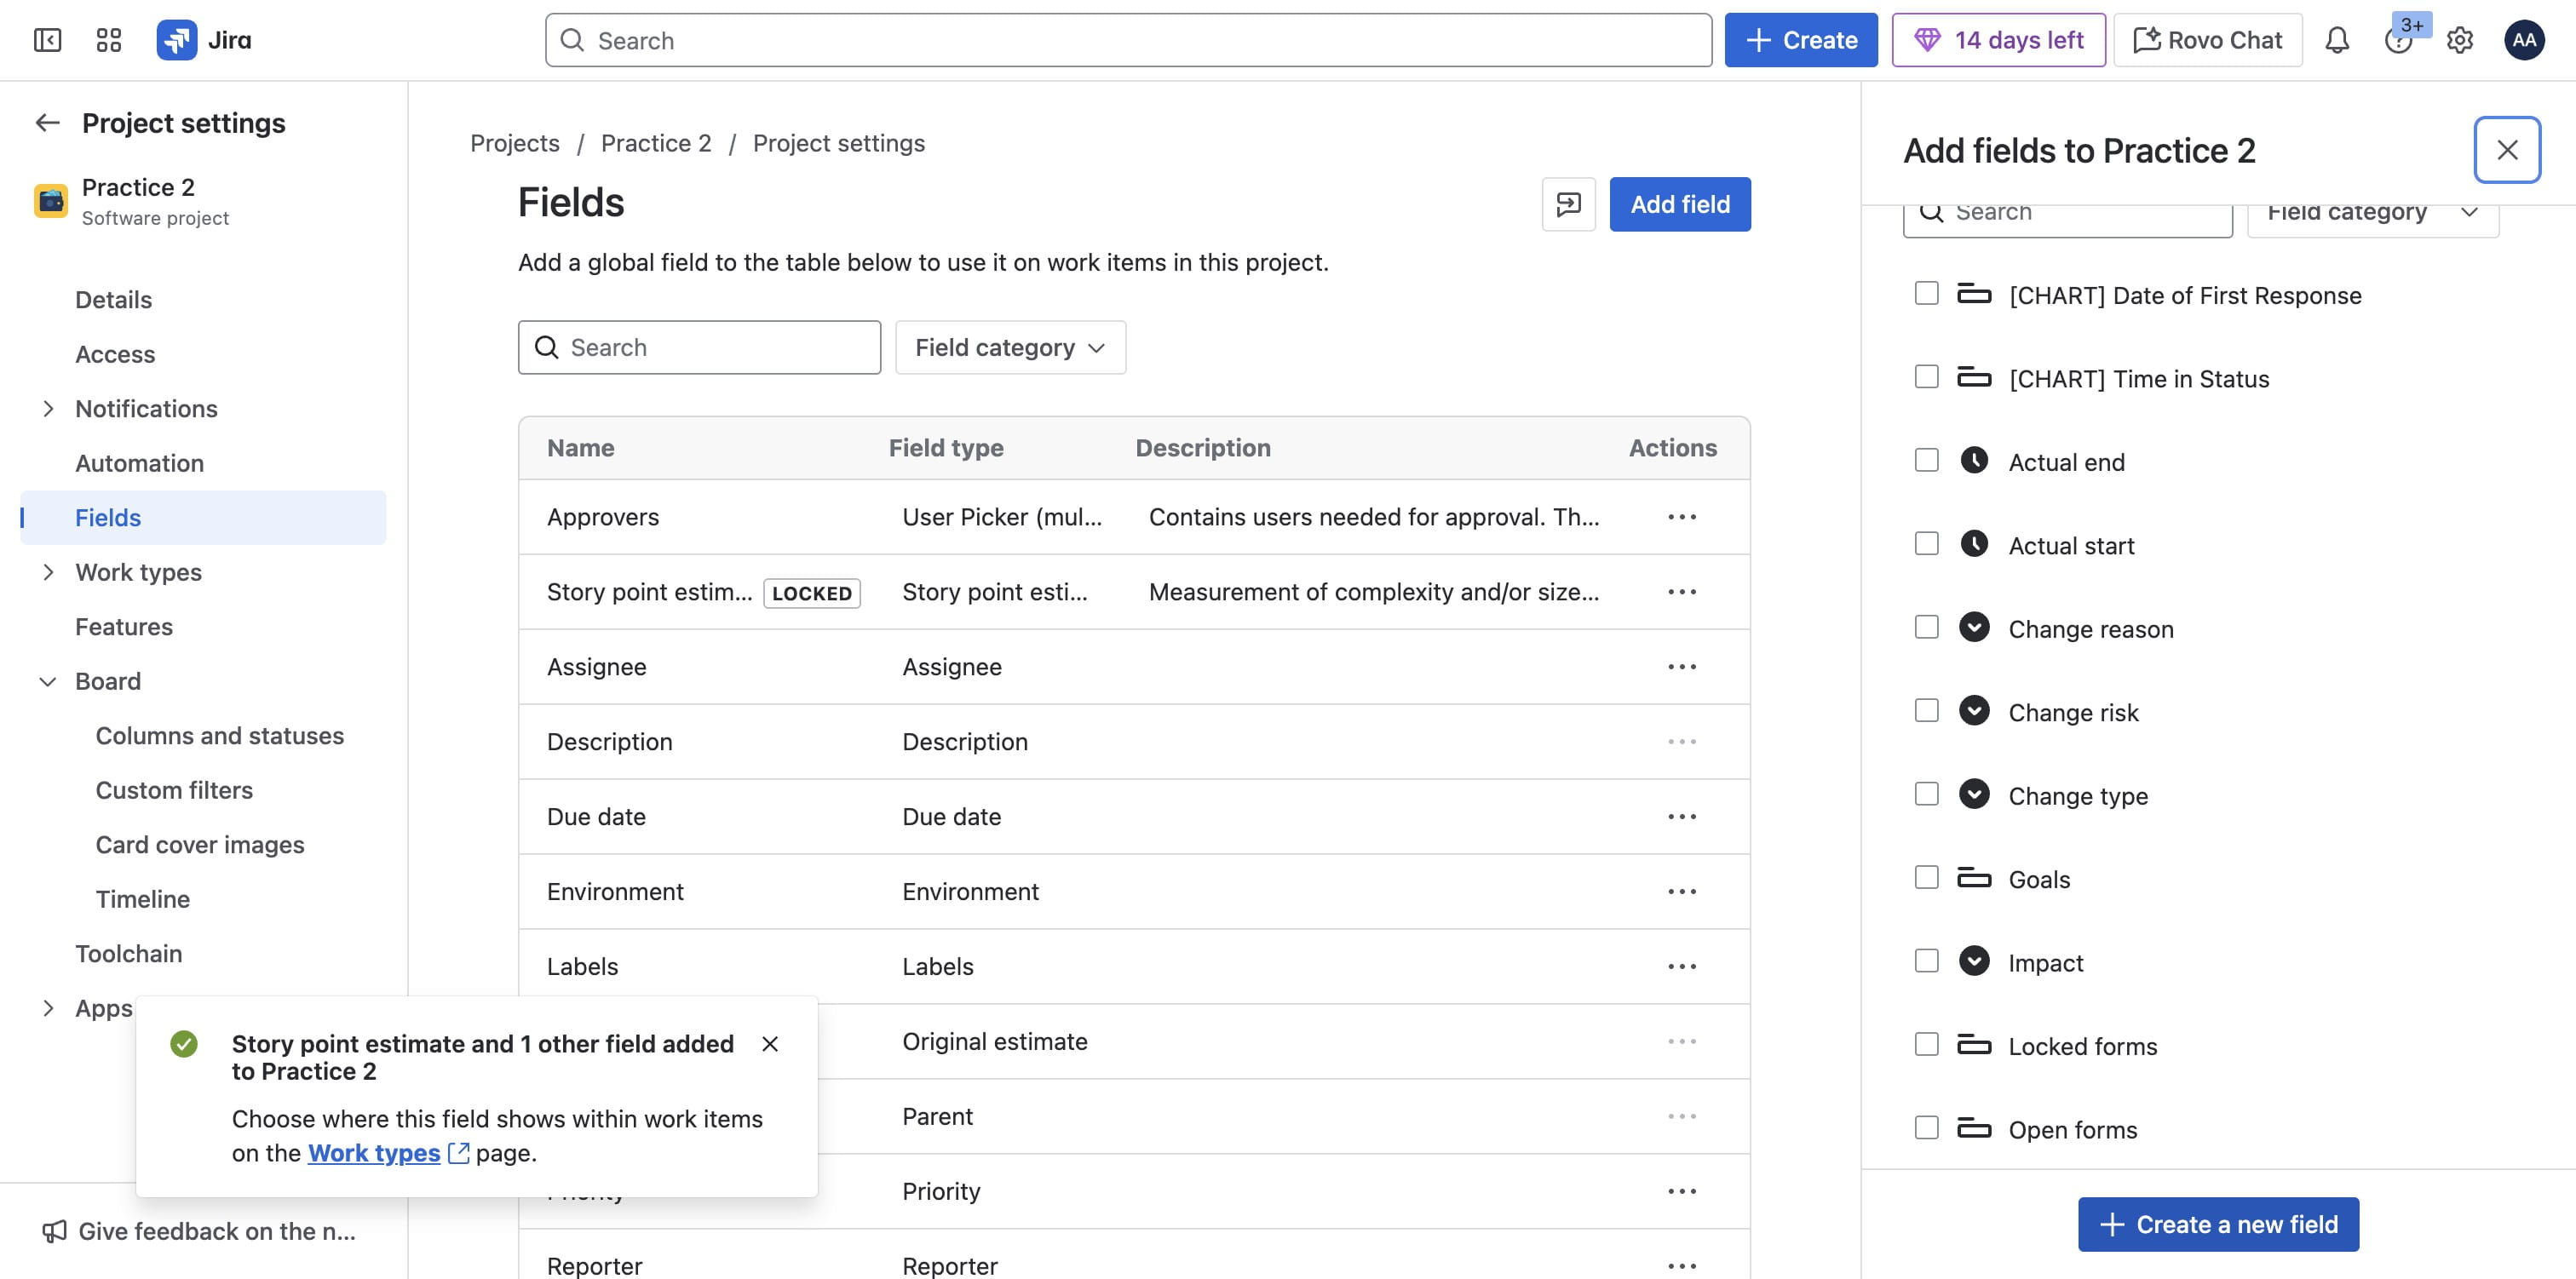
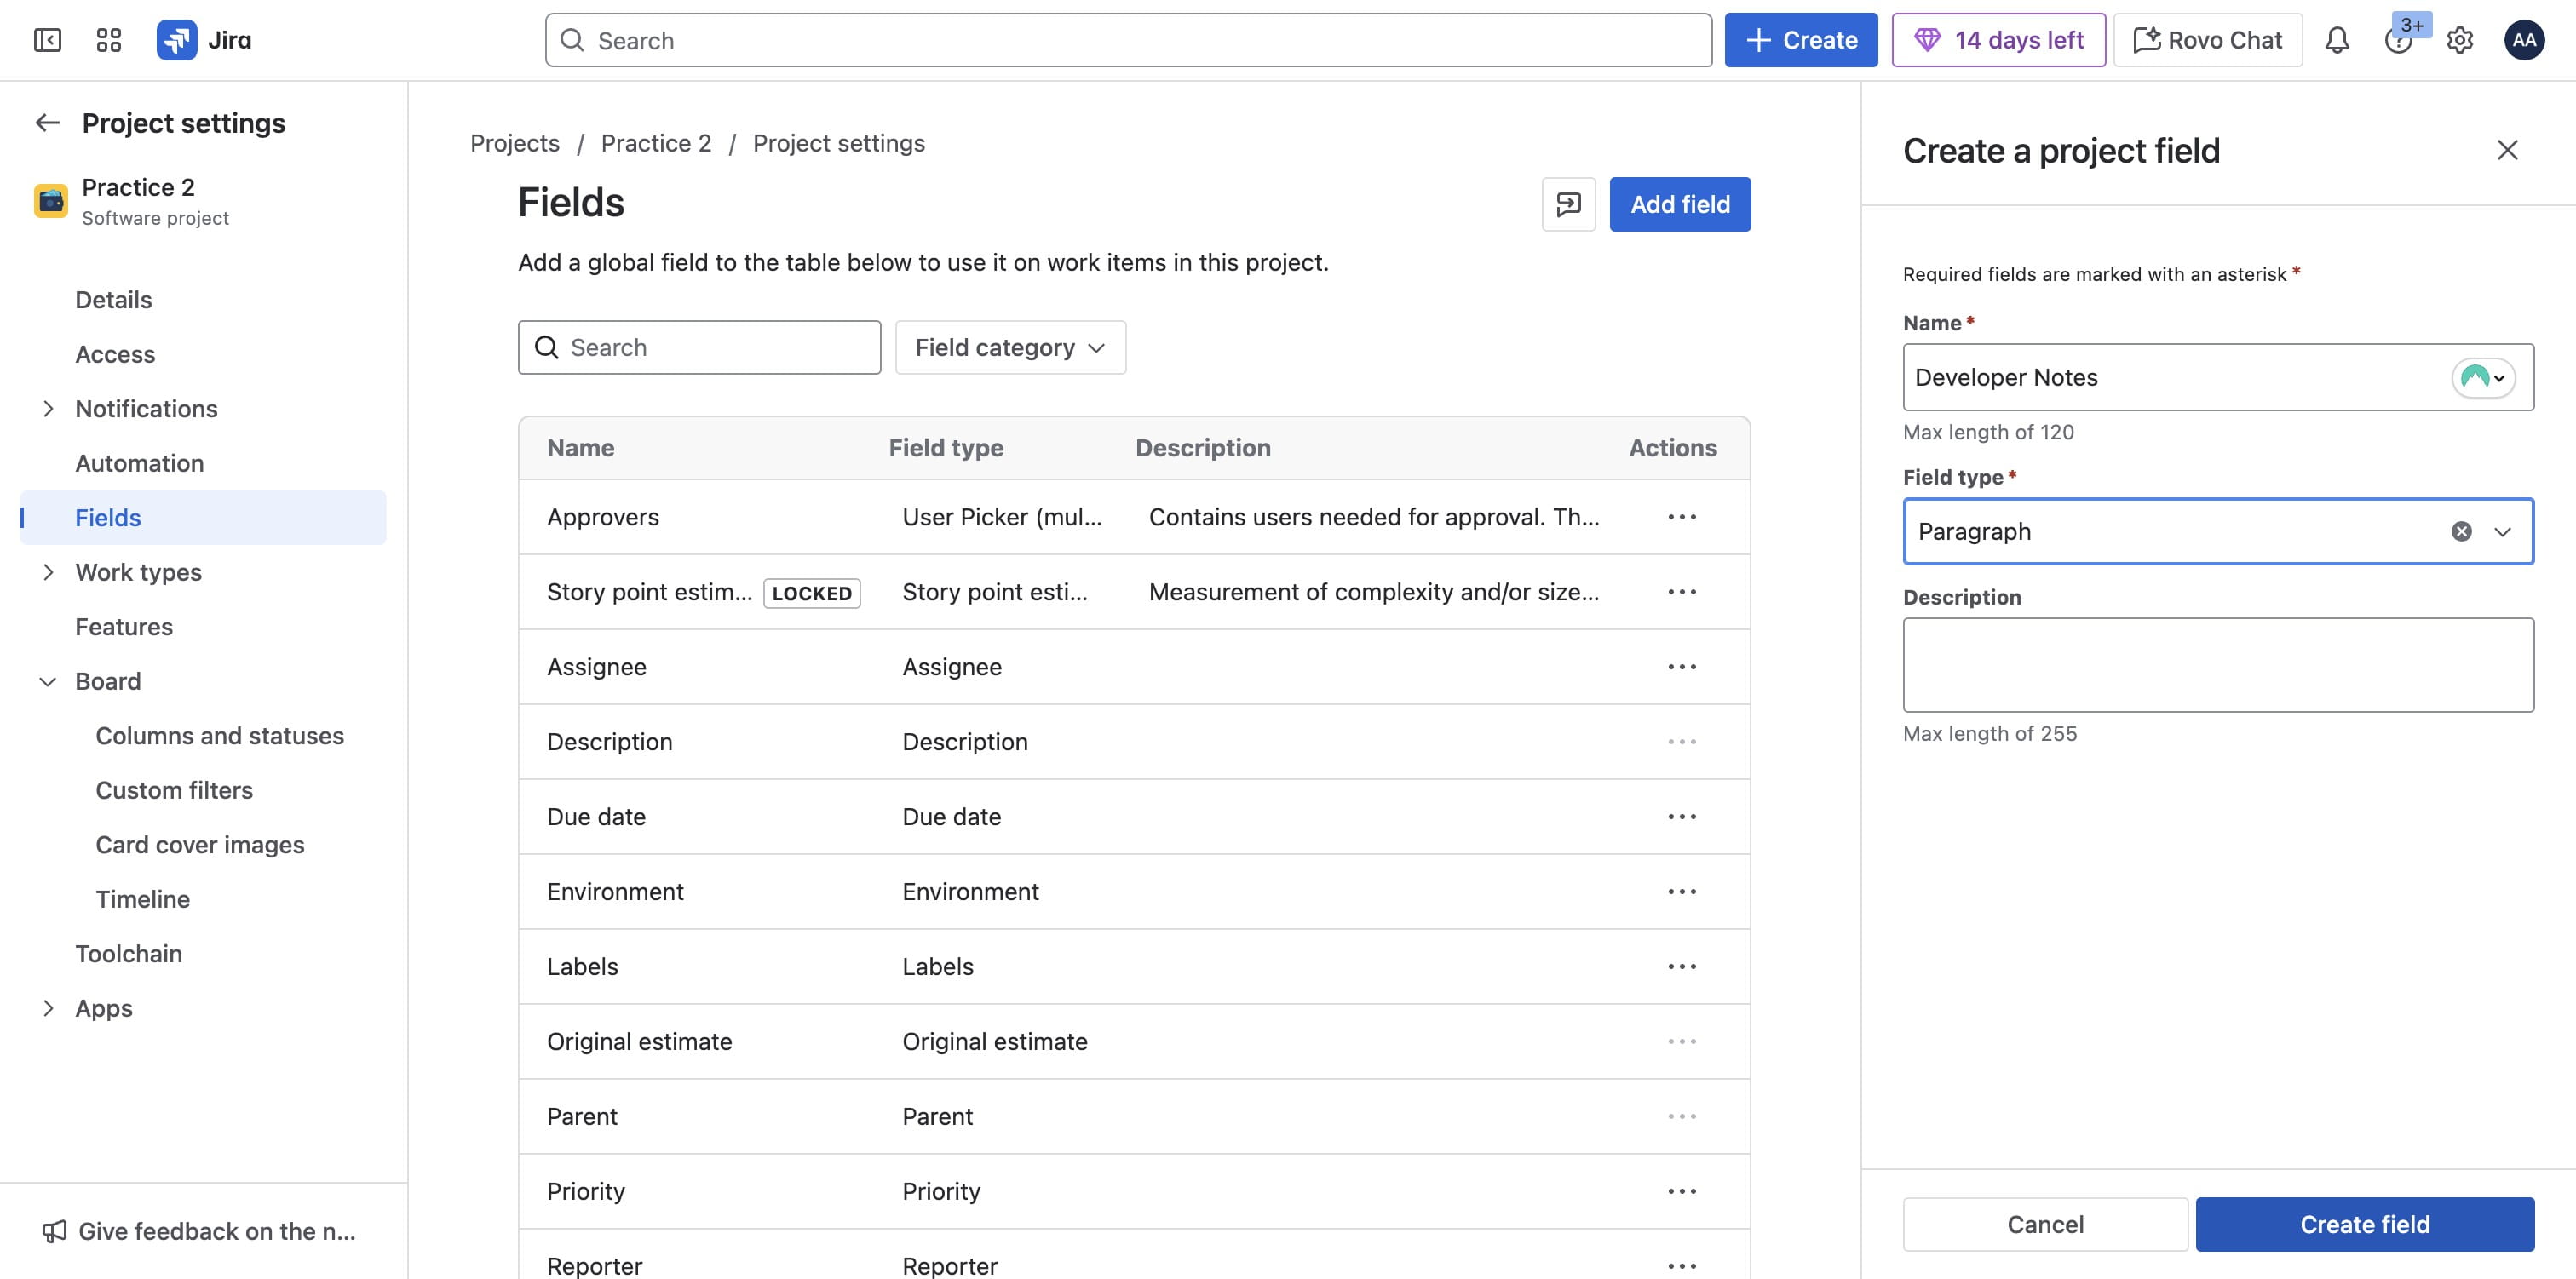
To add your own fields, Click on "Add field"
Click on "Create a new field"
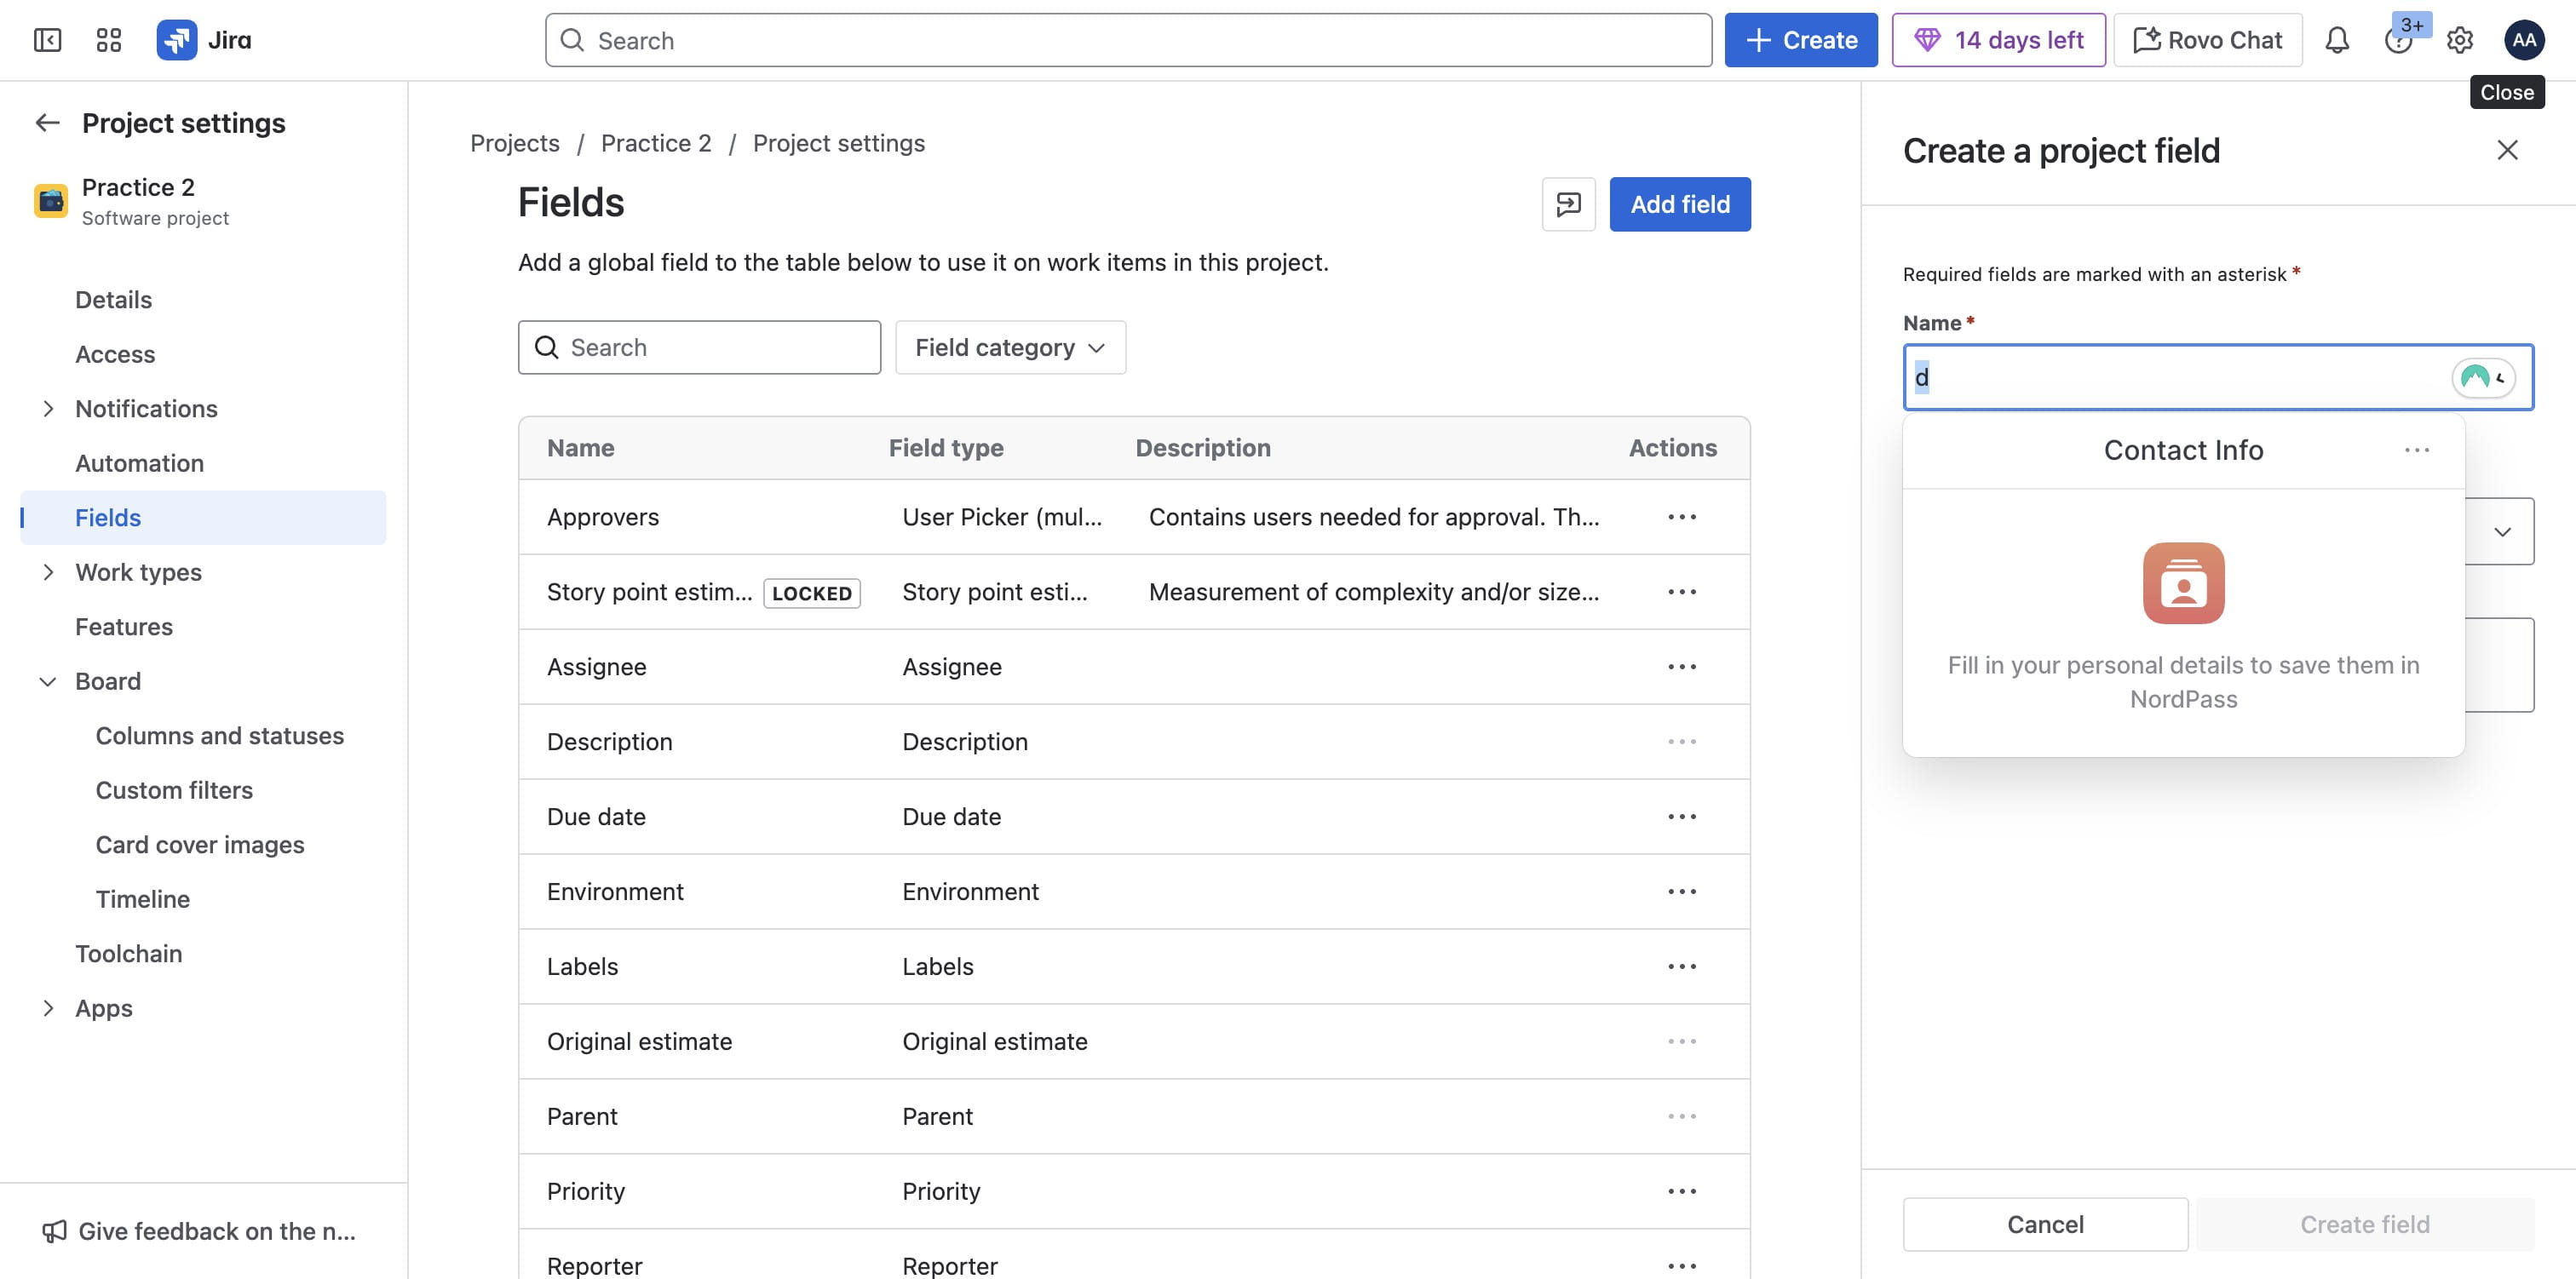
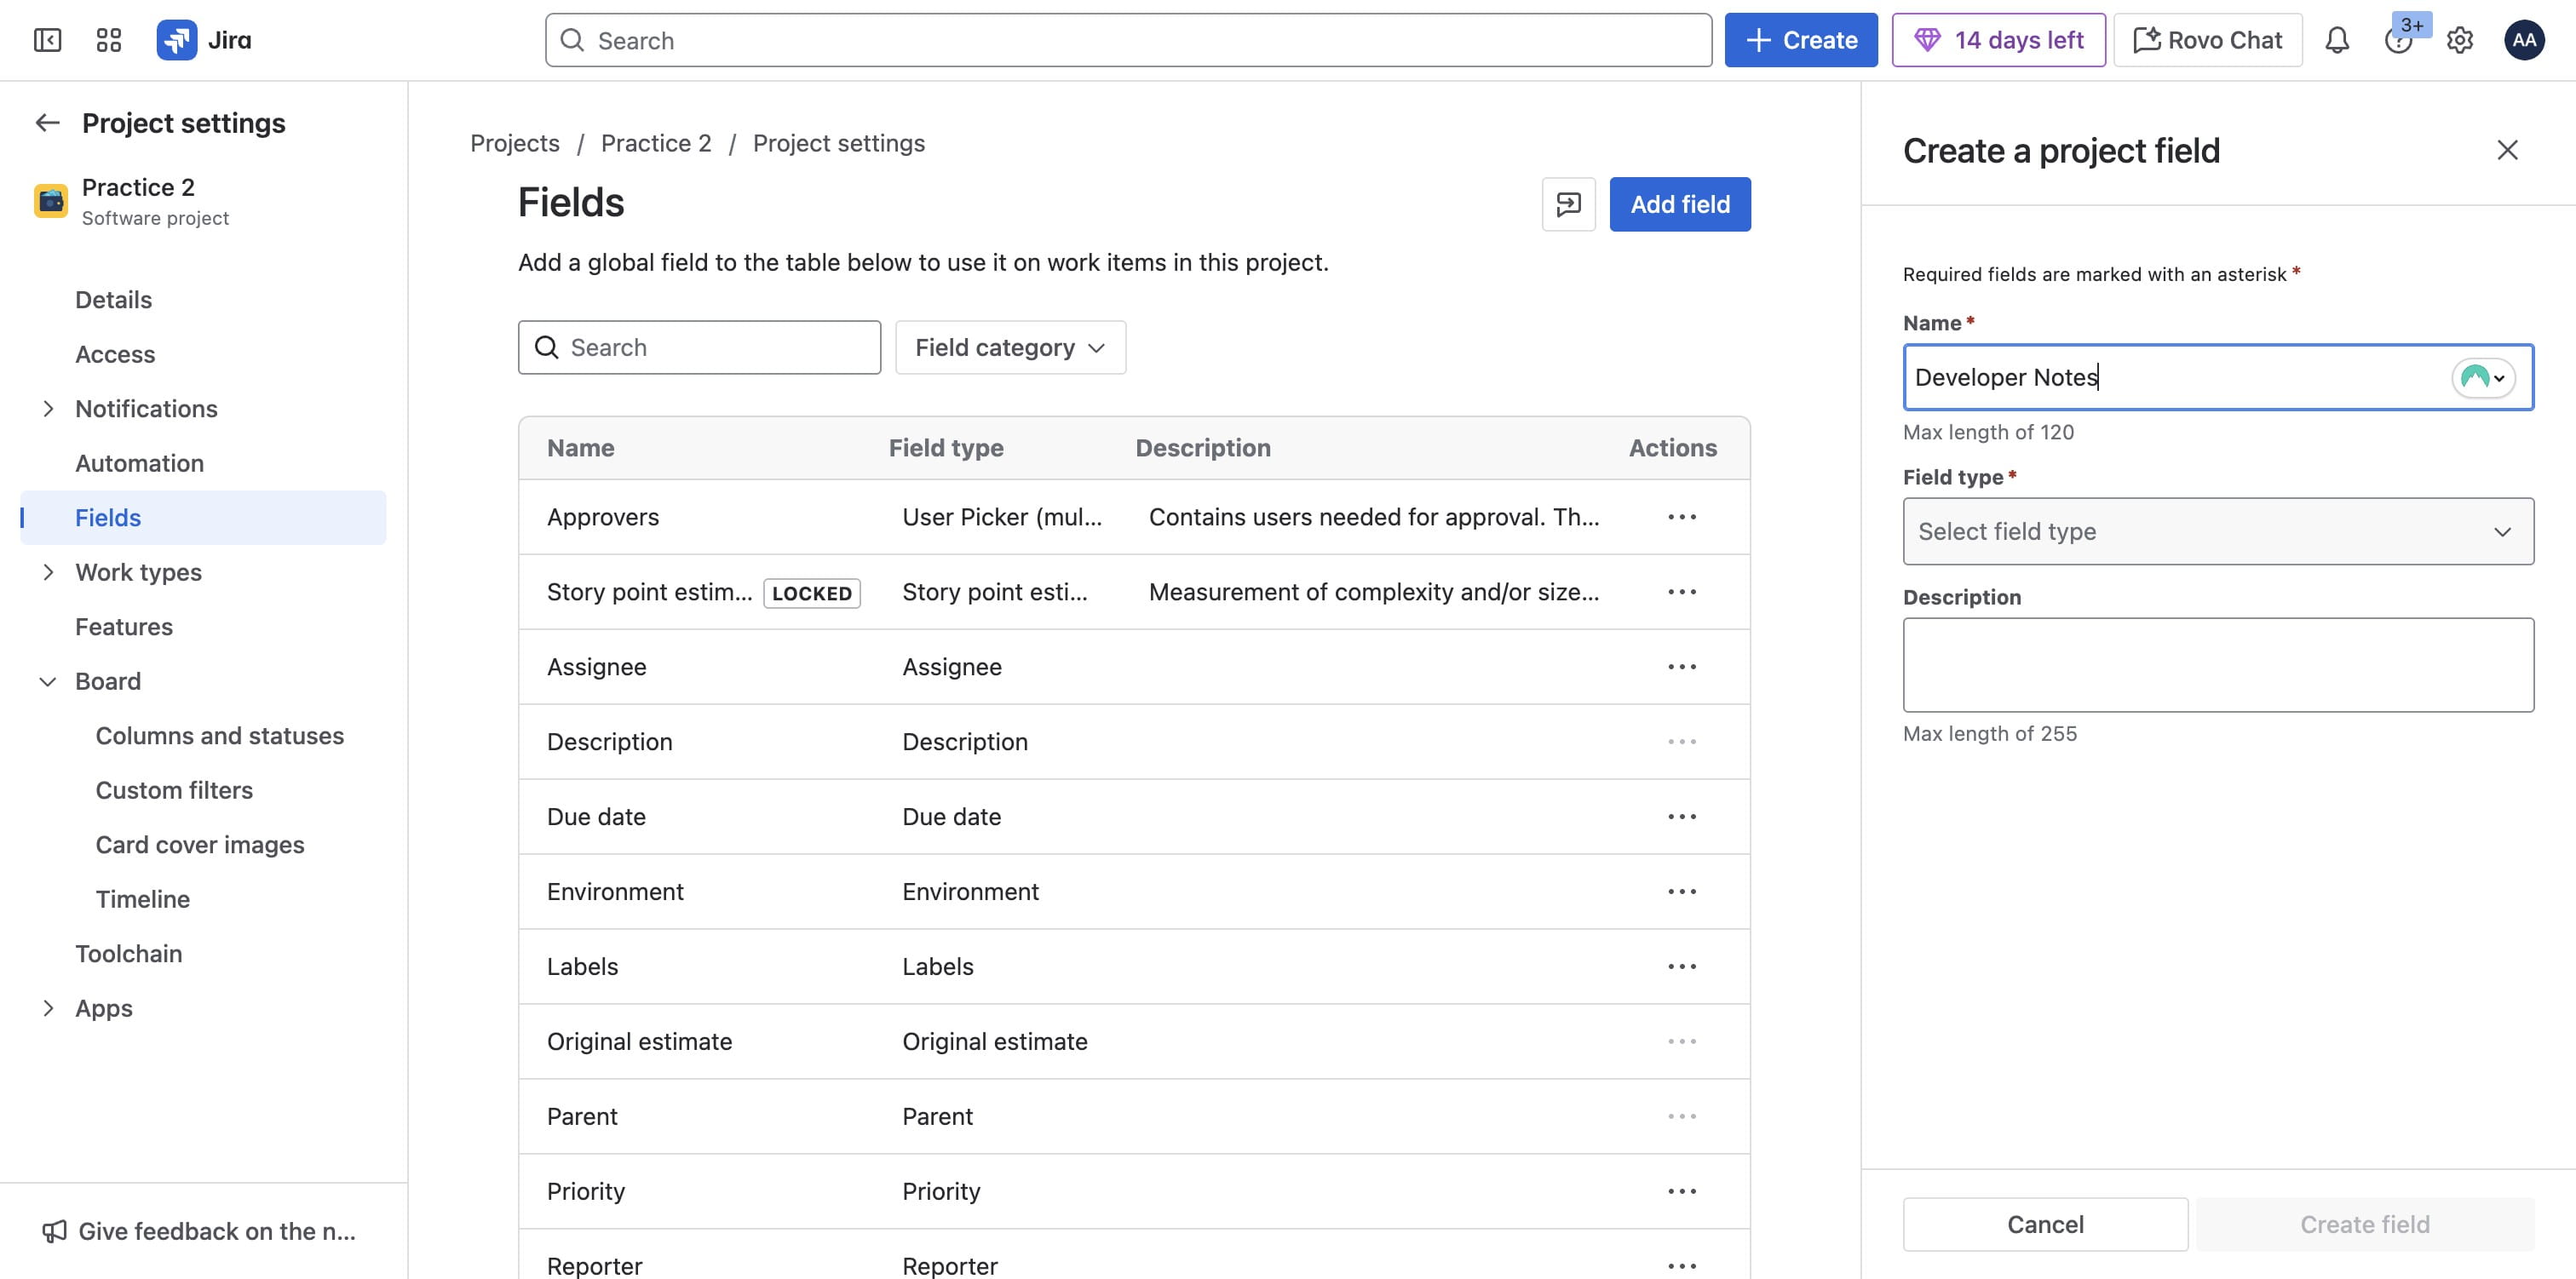
Add a name
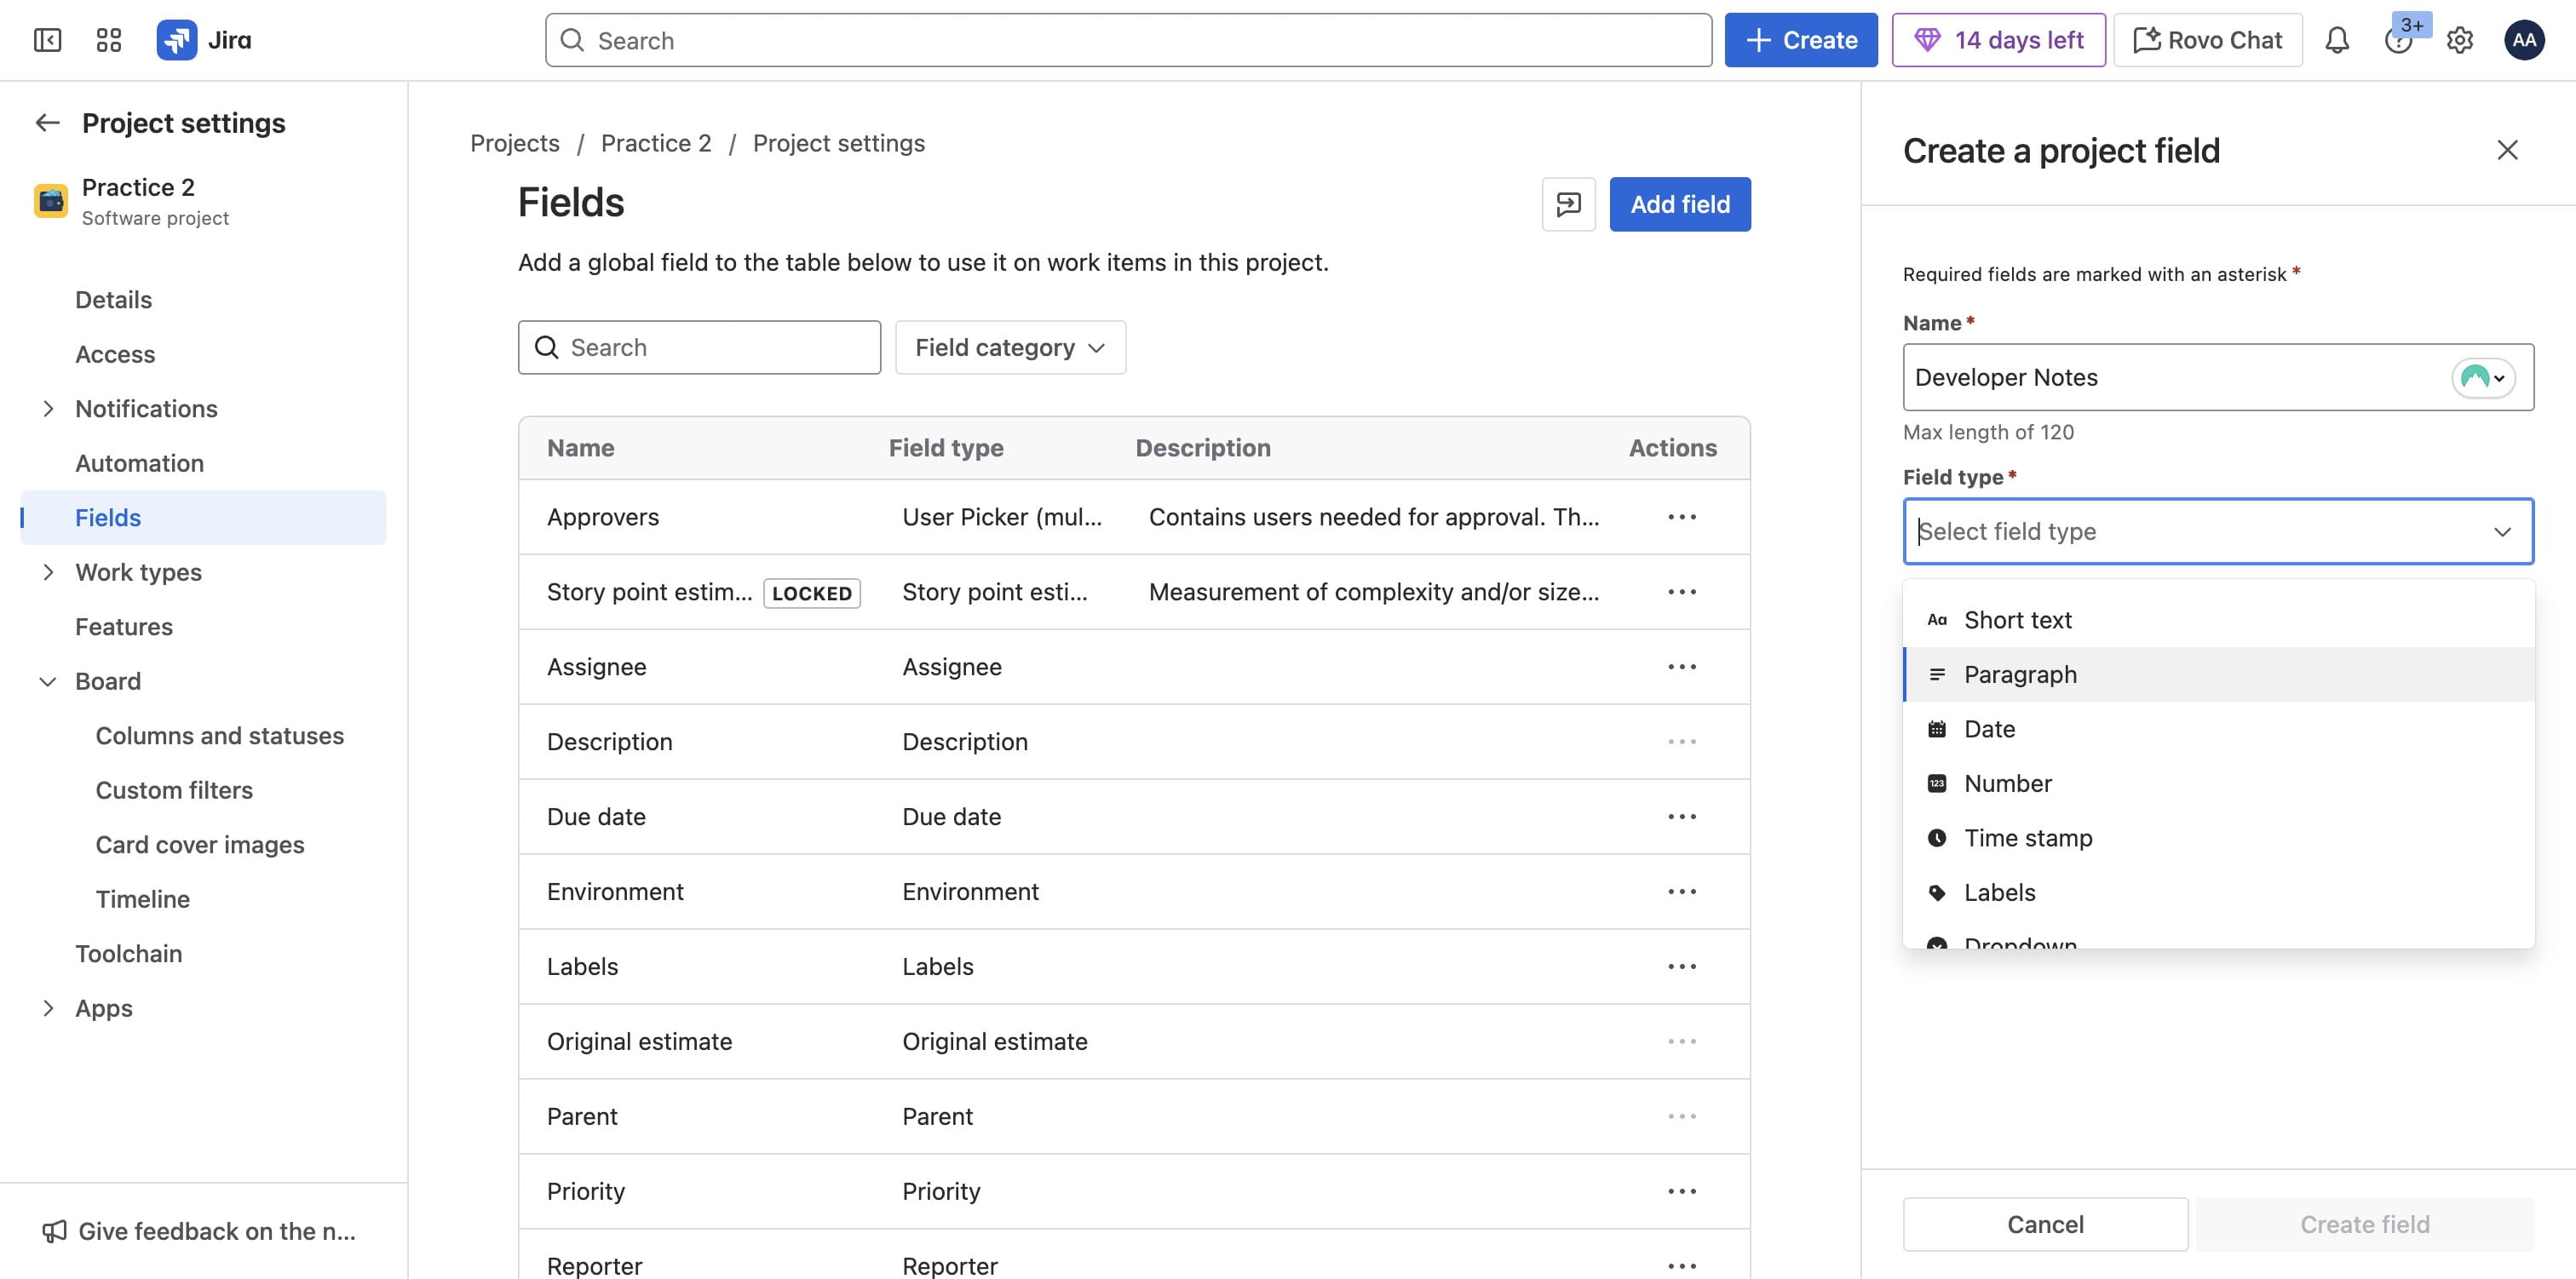
Select your field type
Select a field type that works for the field you are trying to add
Click on "Create field"
Create more fields as needed and Click on create field button

Once done, go back to project
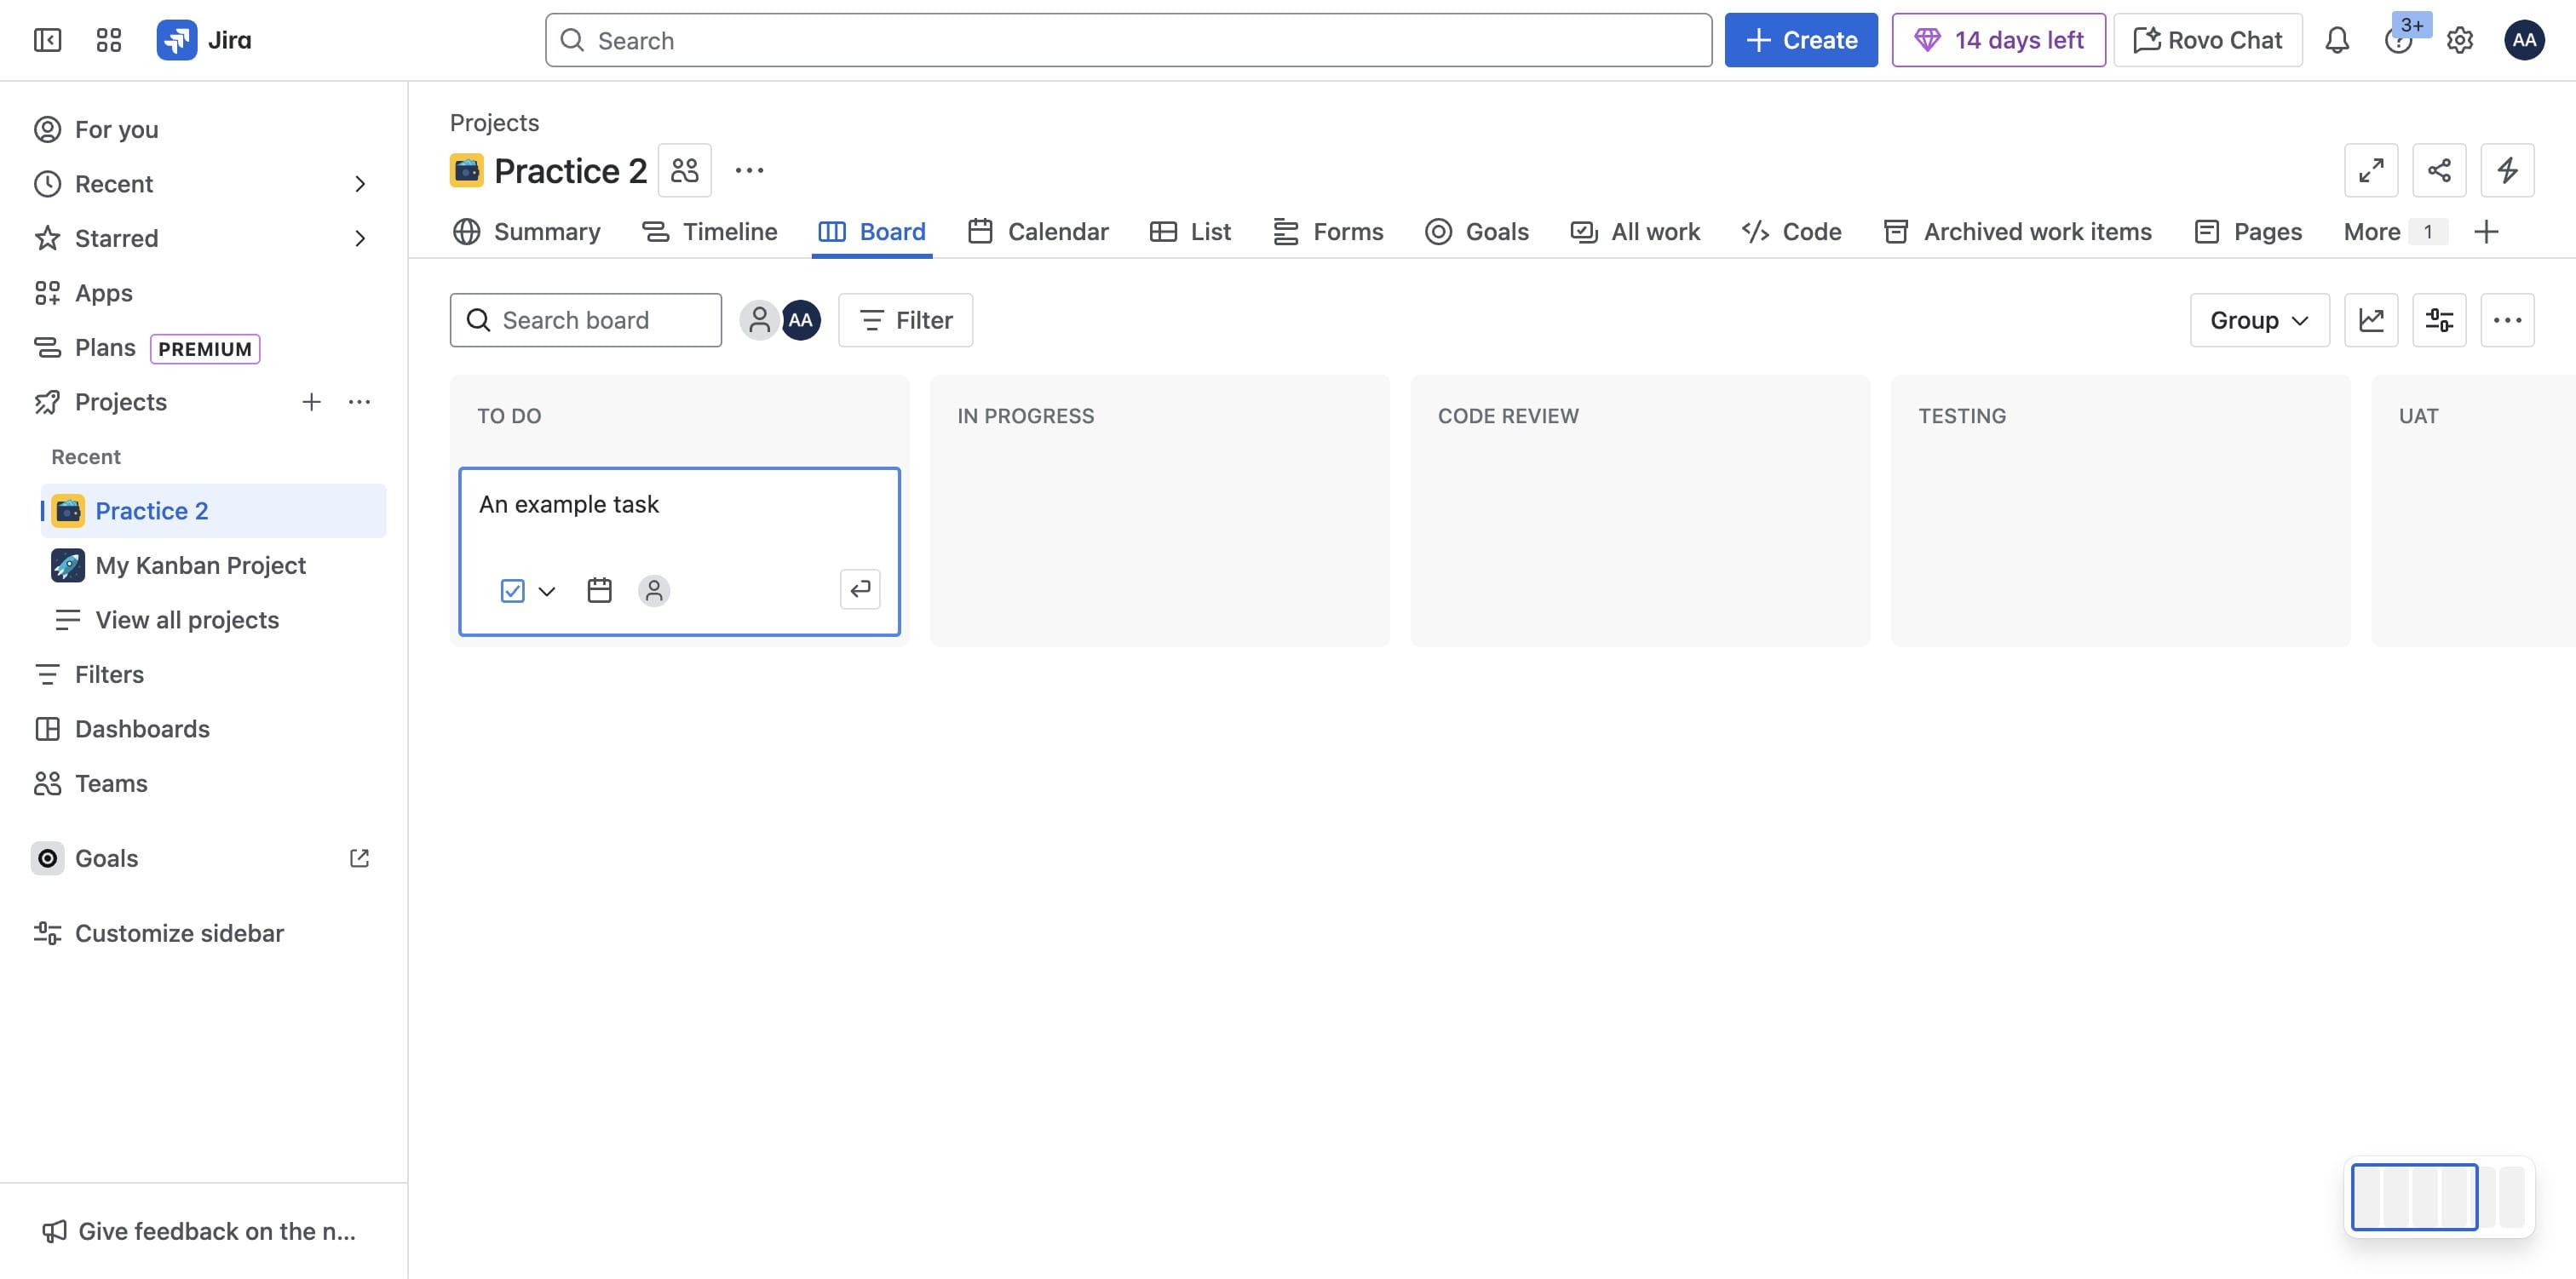
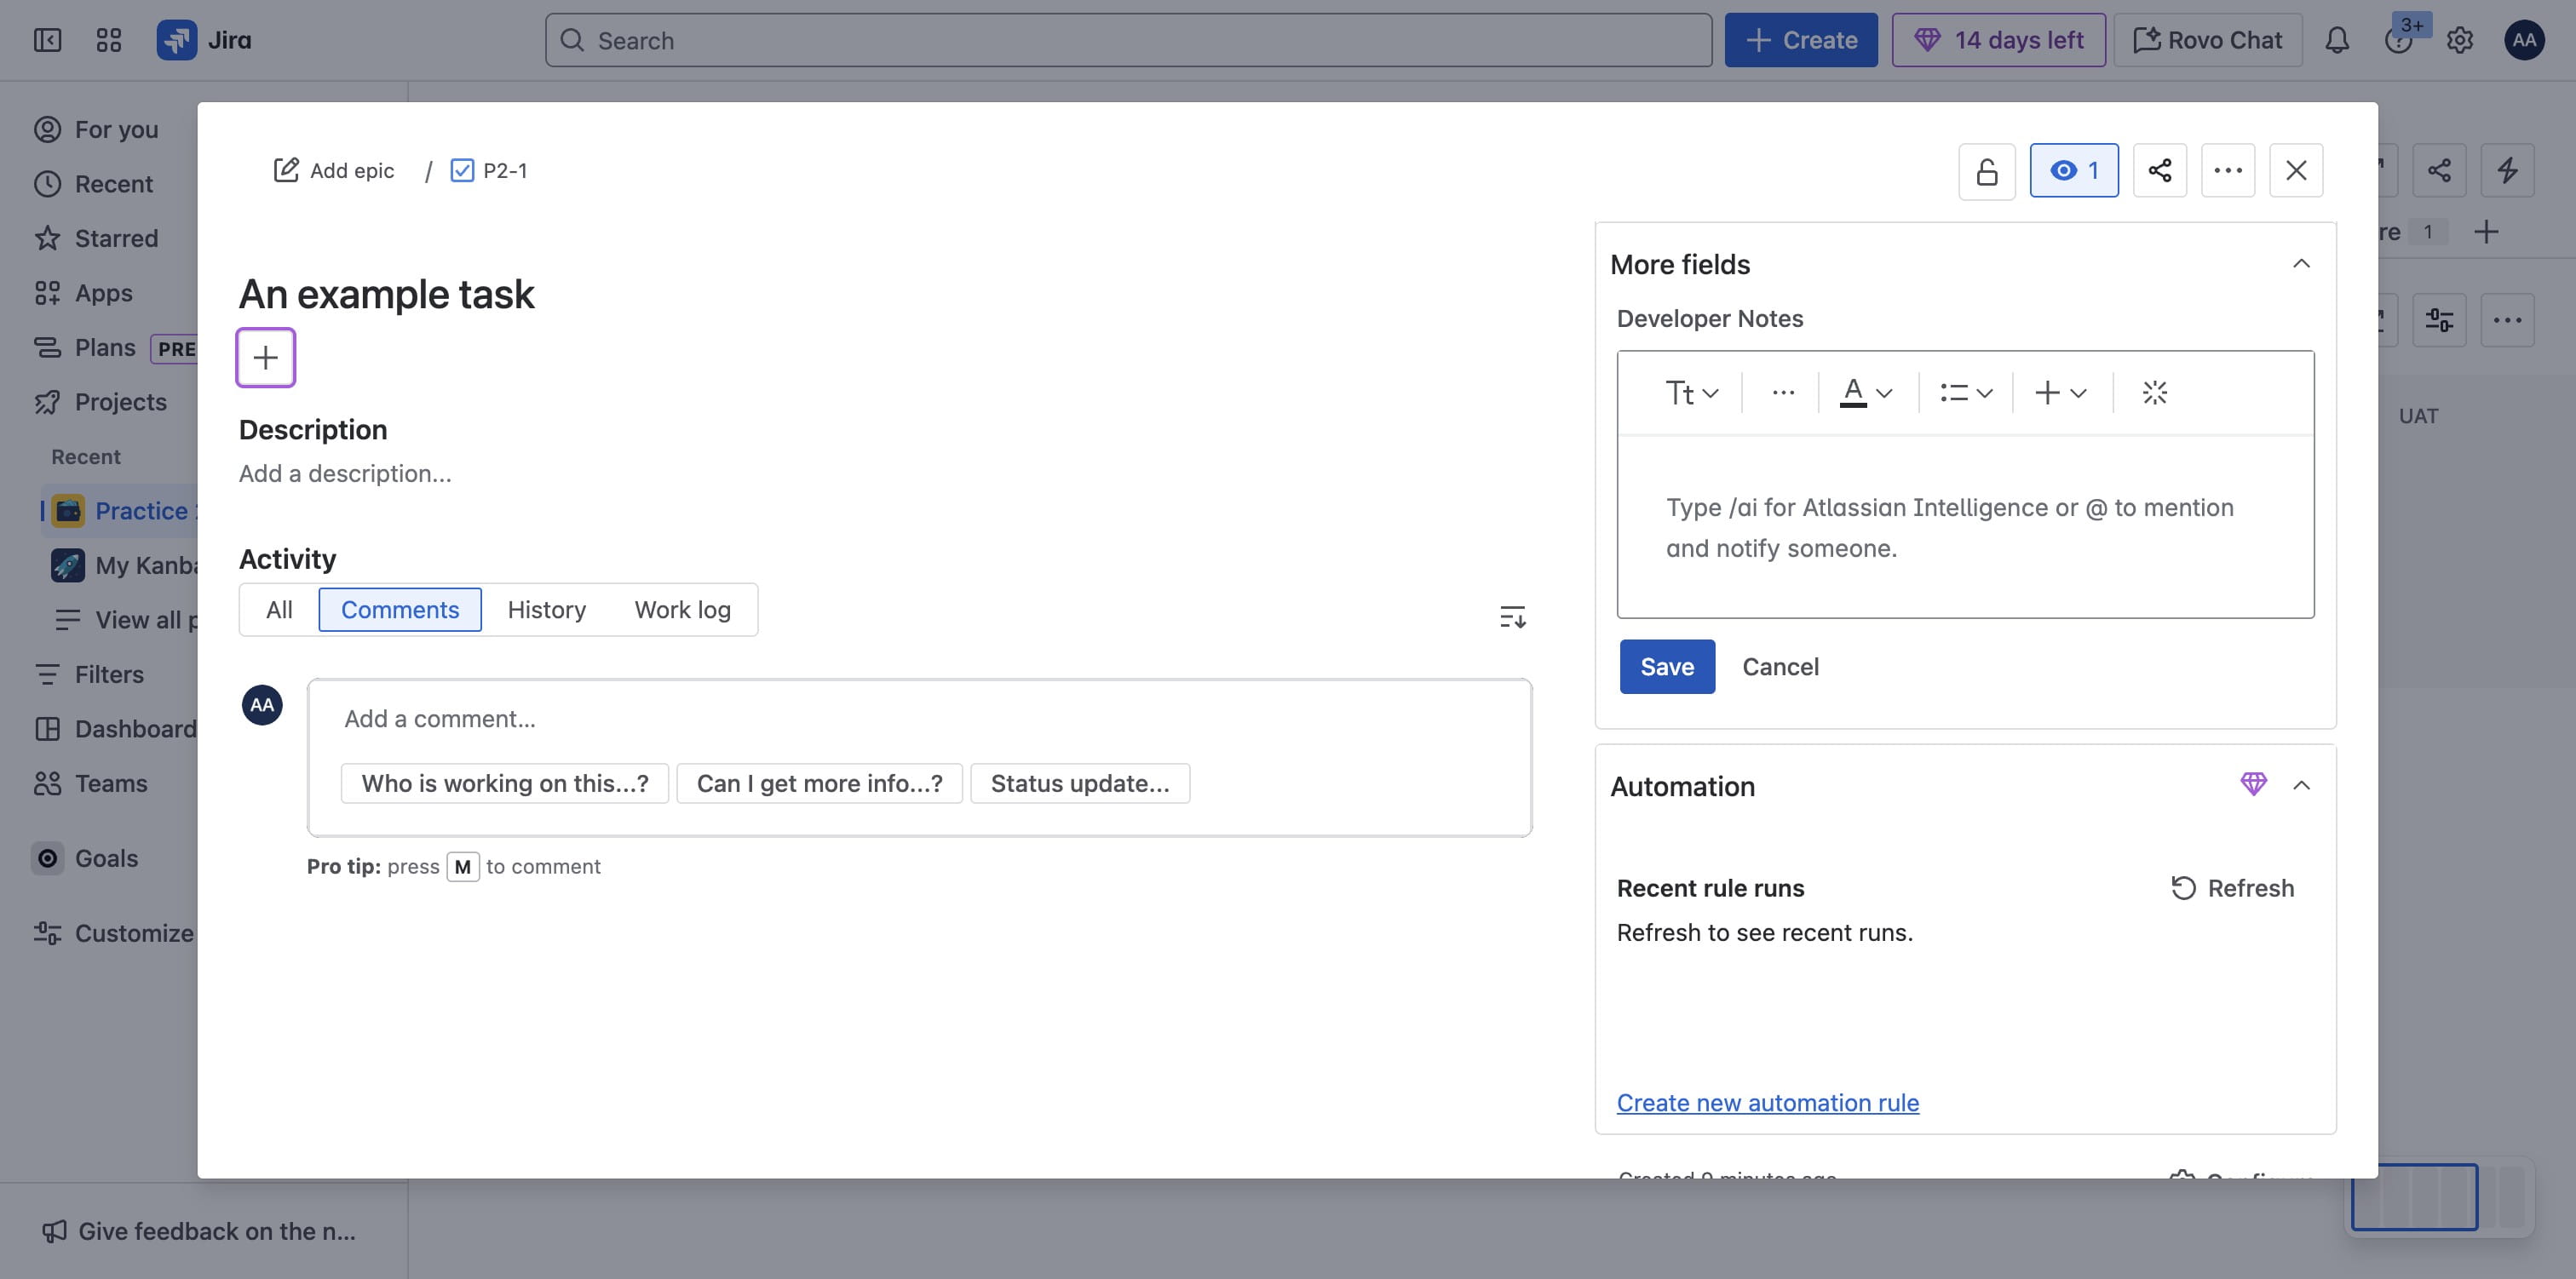
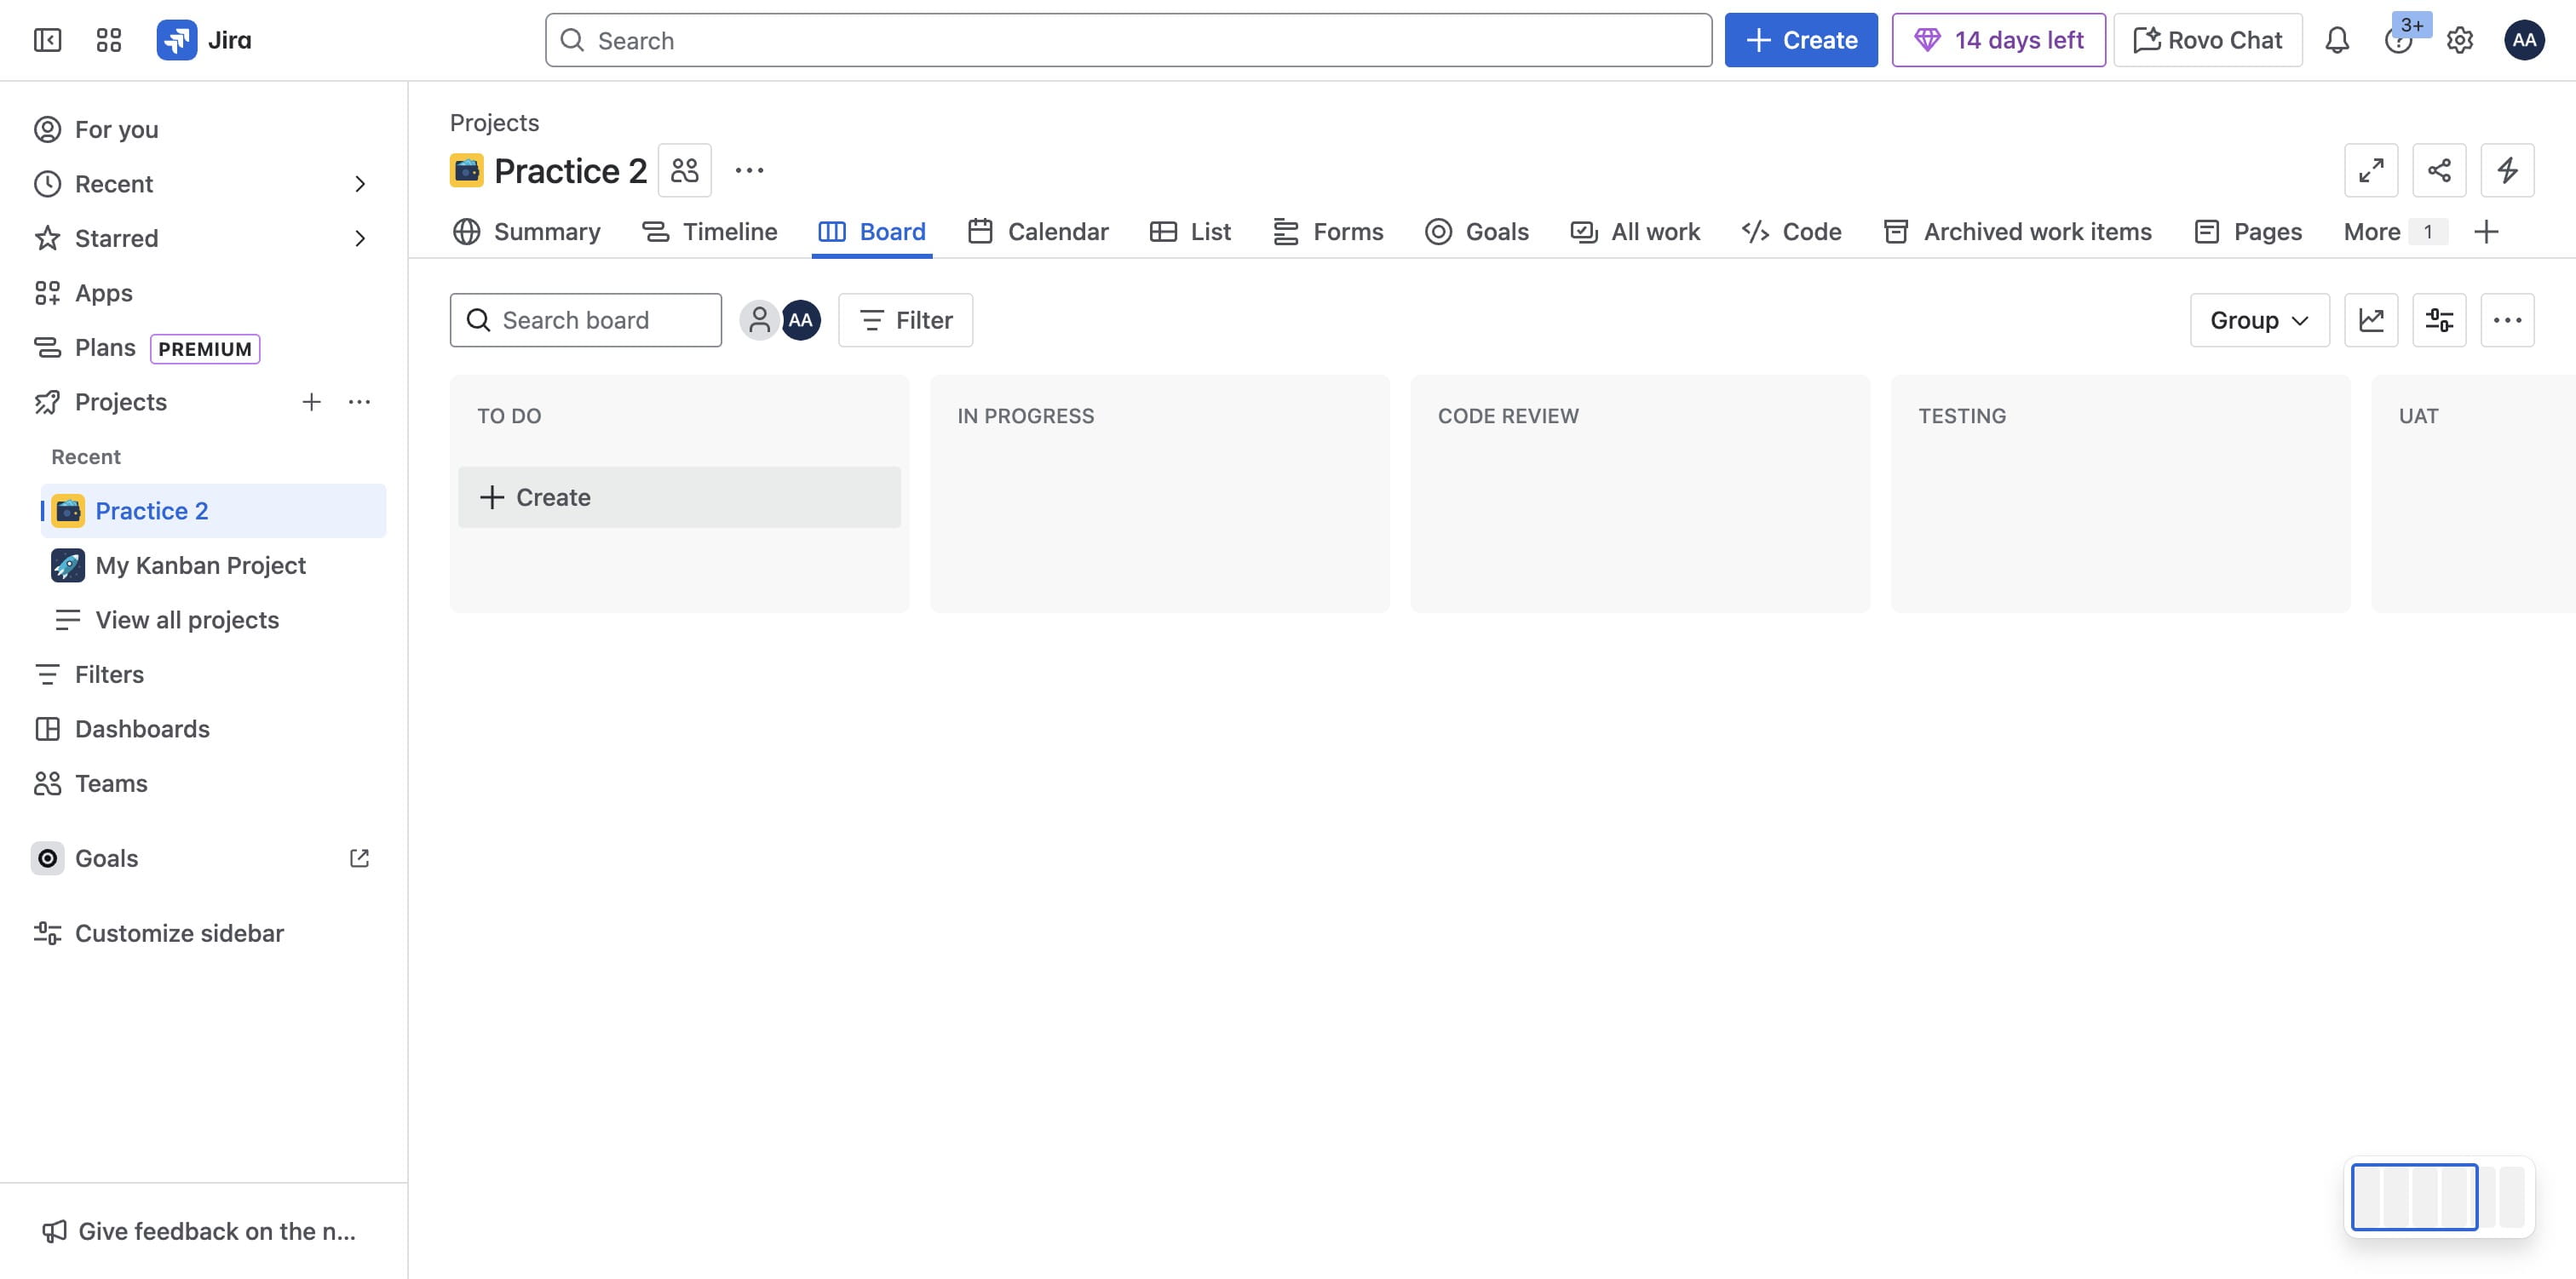
Click on "Create" under a lane to add a new task
Double click to open the task

To add the fields to the task on this board, Click on "Configure"
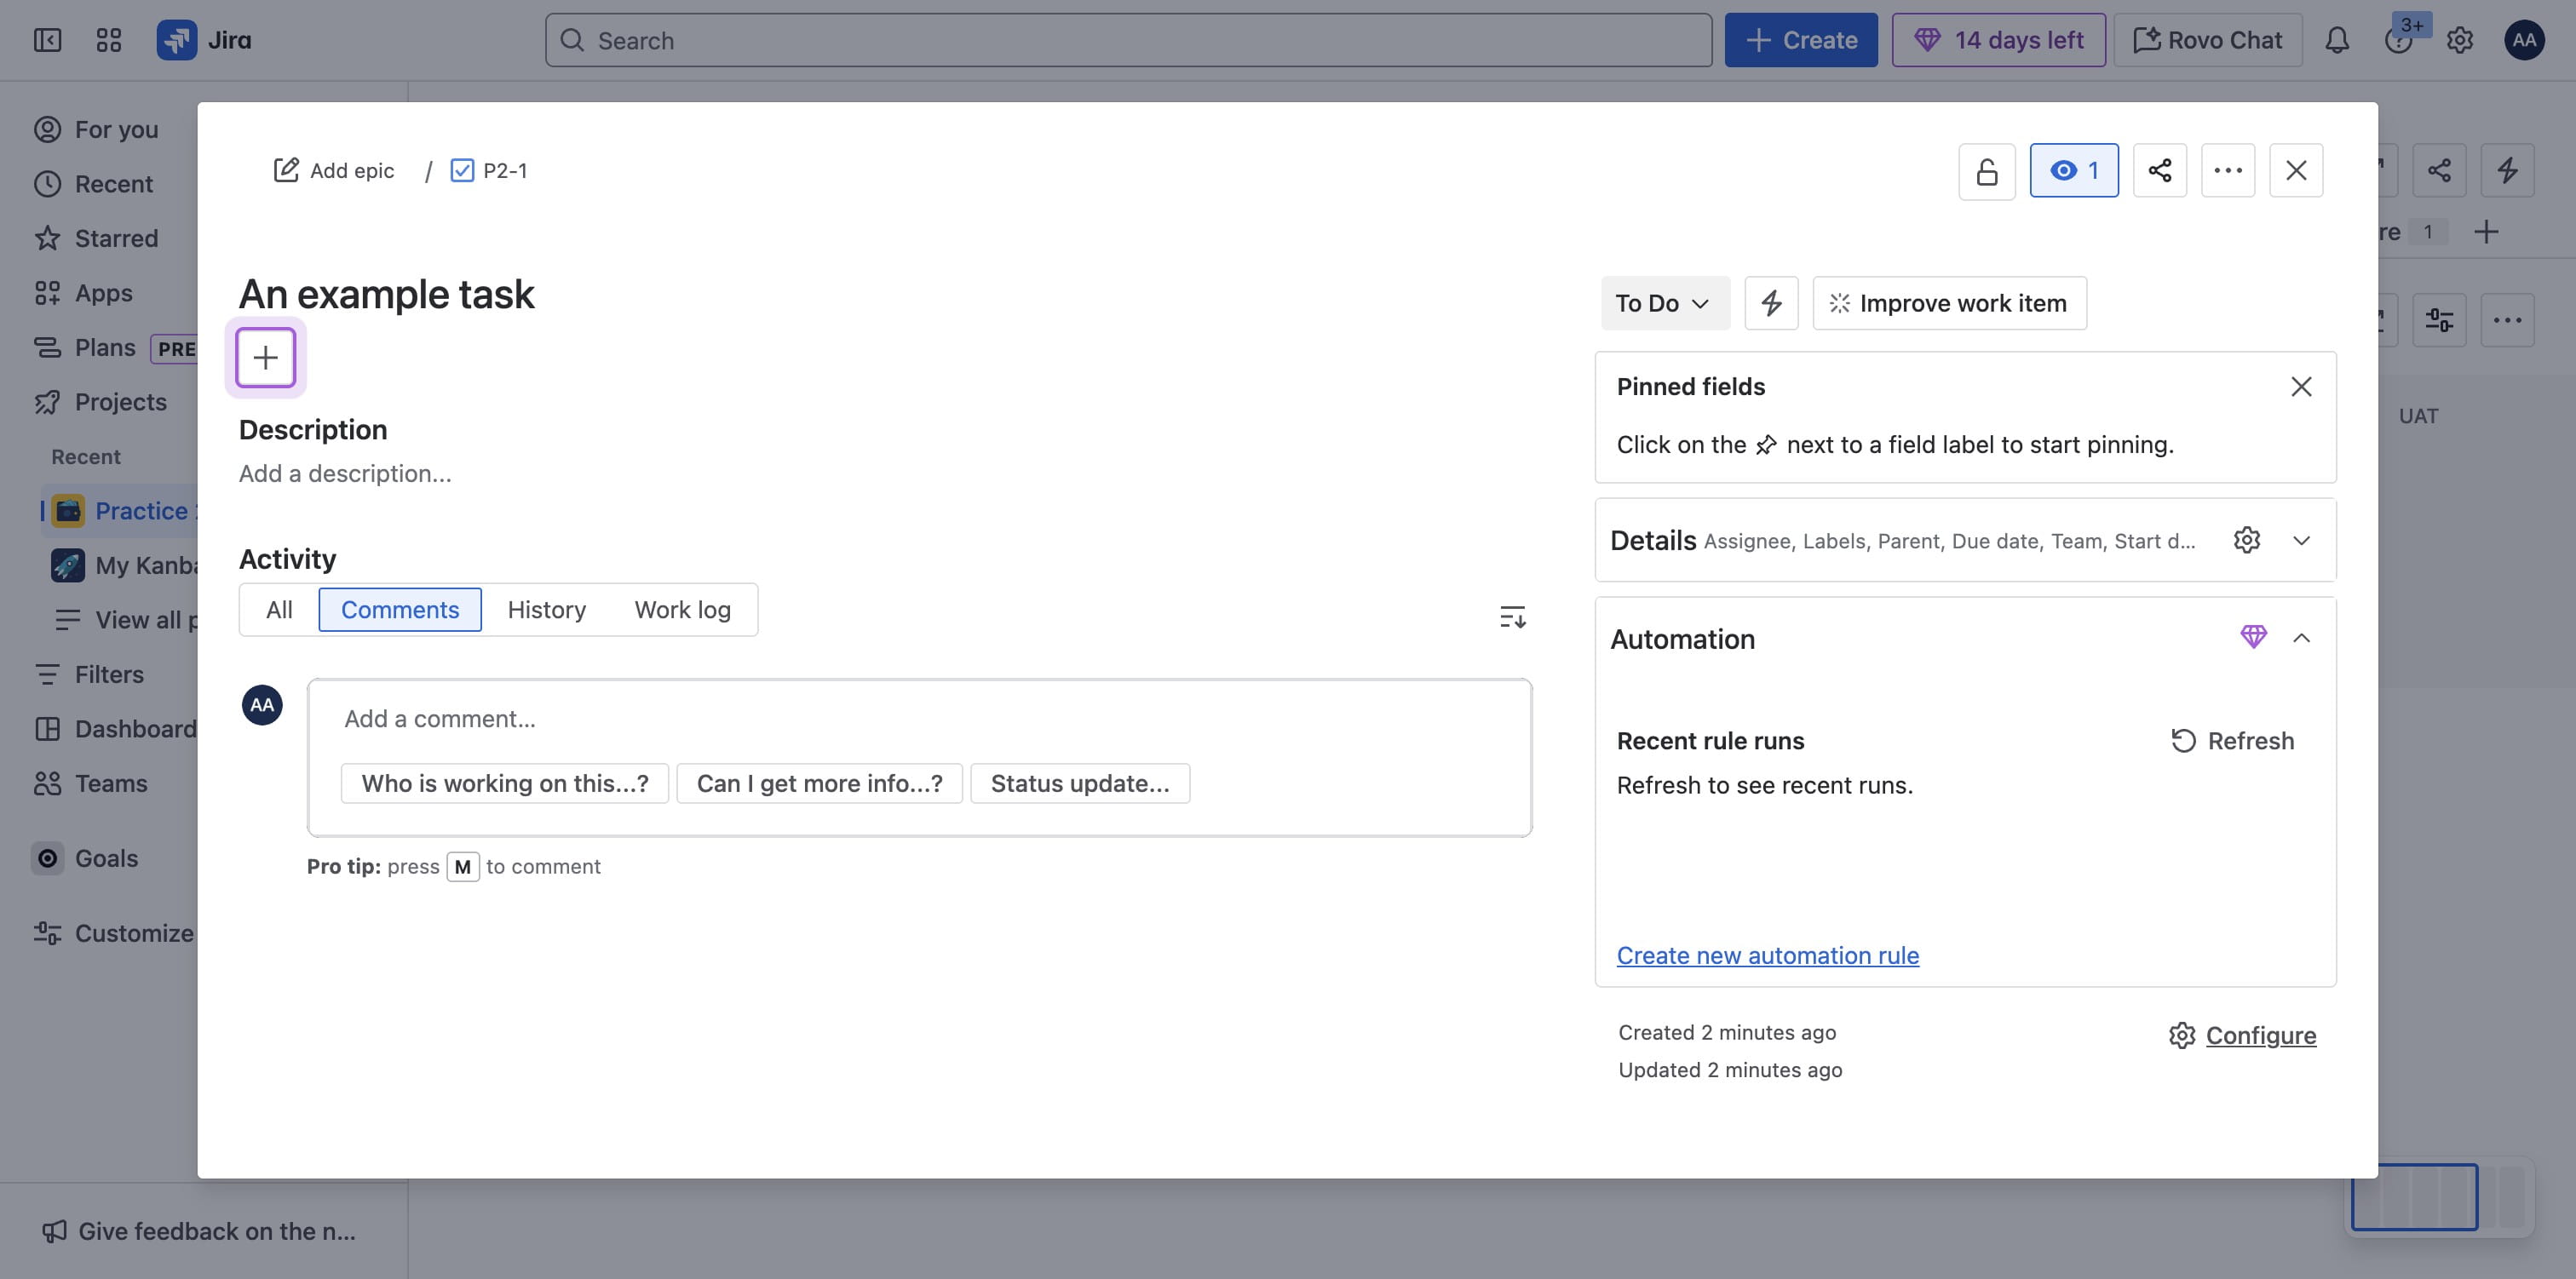
Drag the fields you want to under the list of fields to the left
Do same for other fields and save changes
Click on "Save changes"
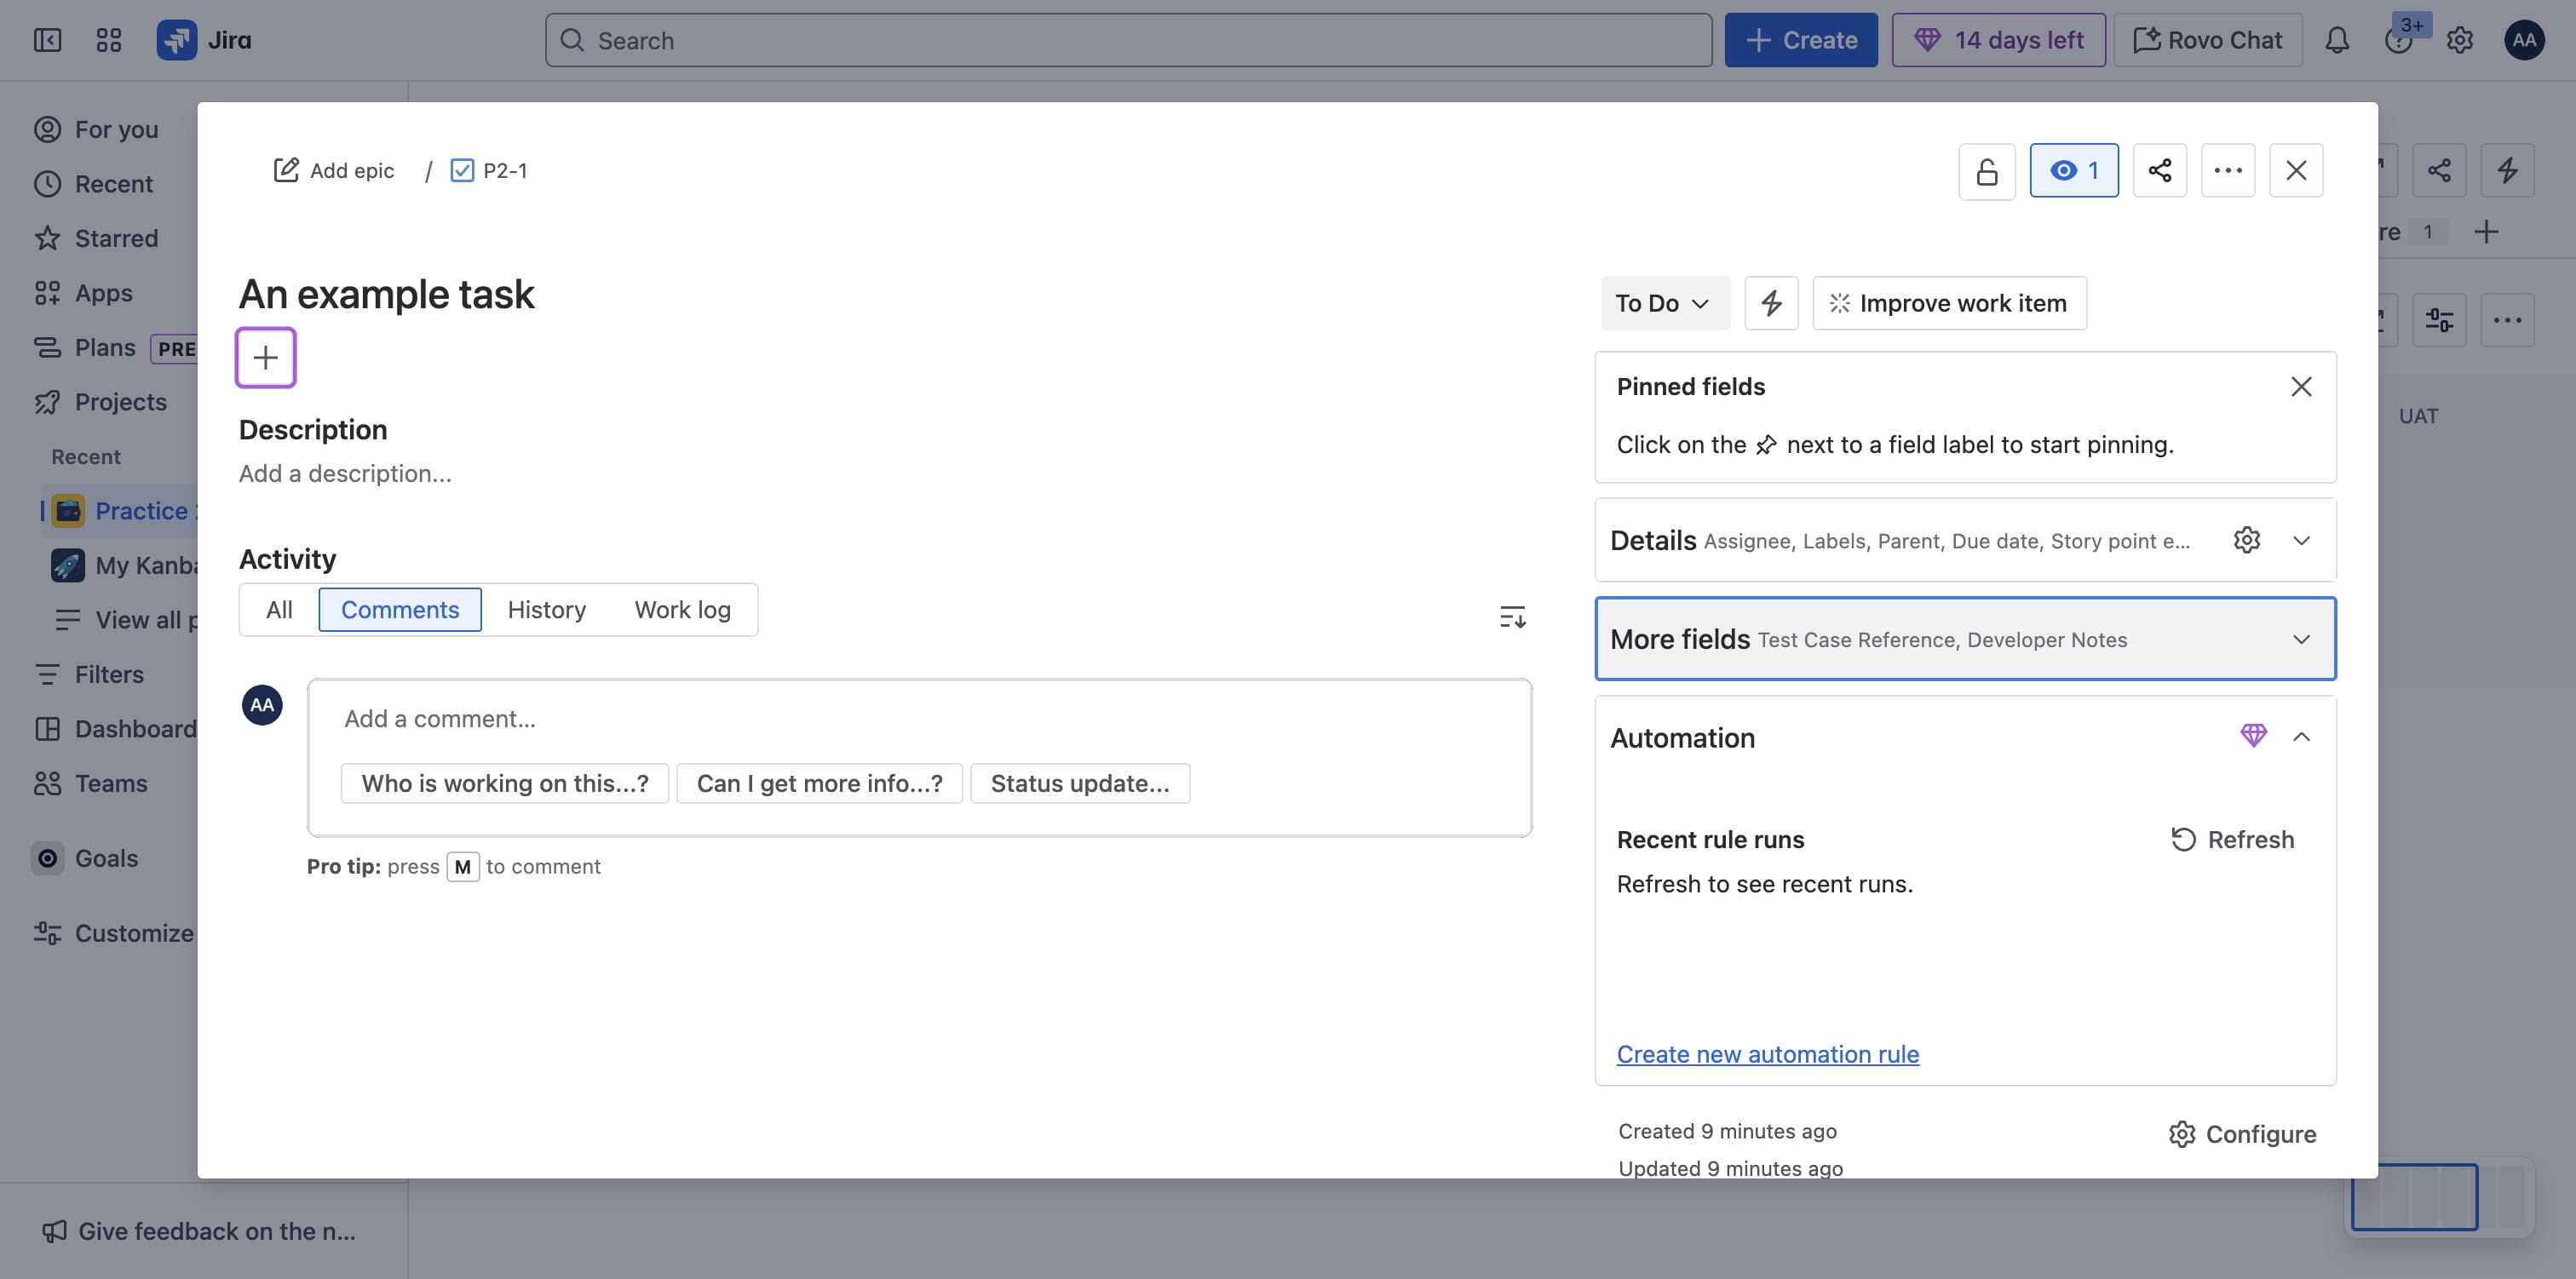
Once saved, go back to Project
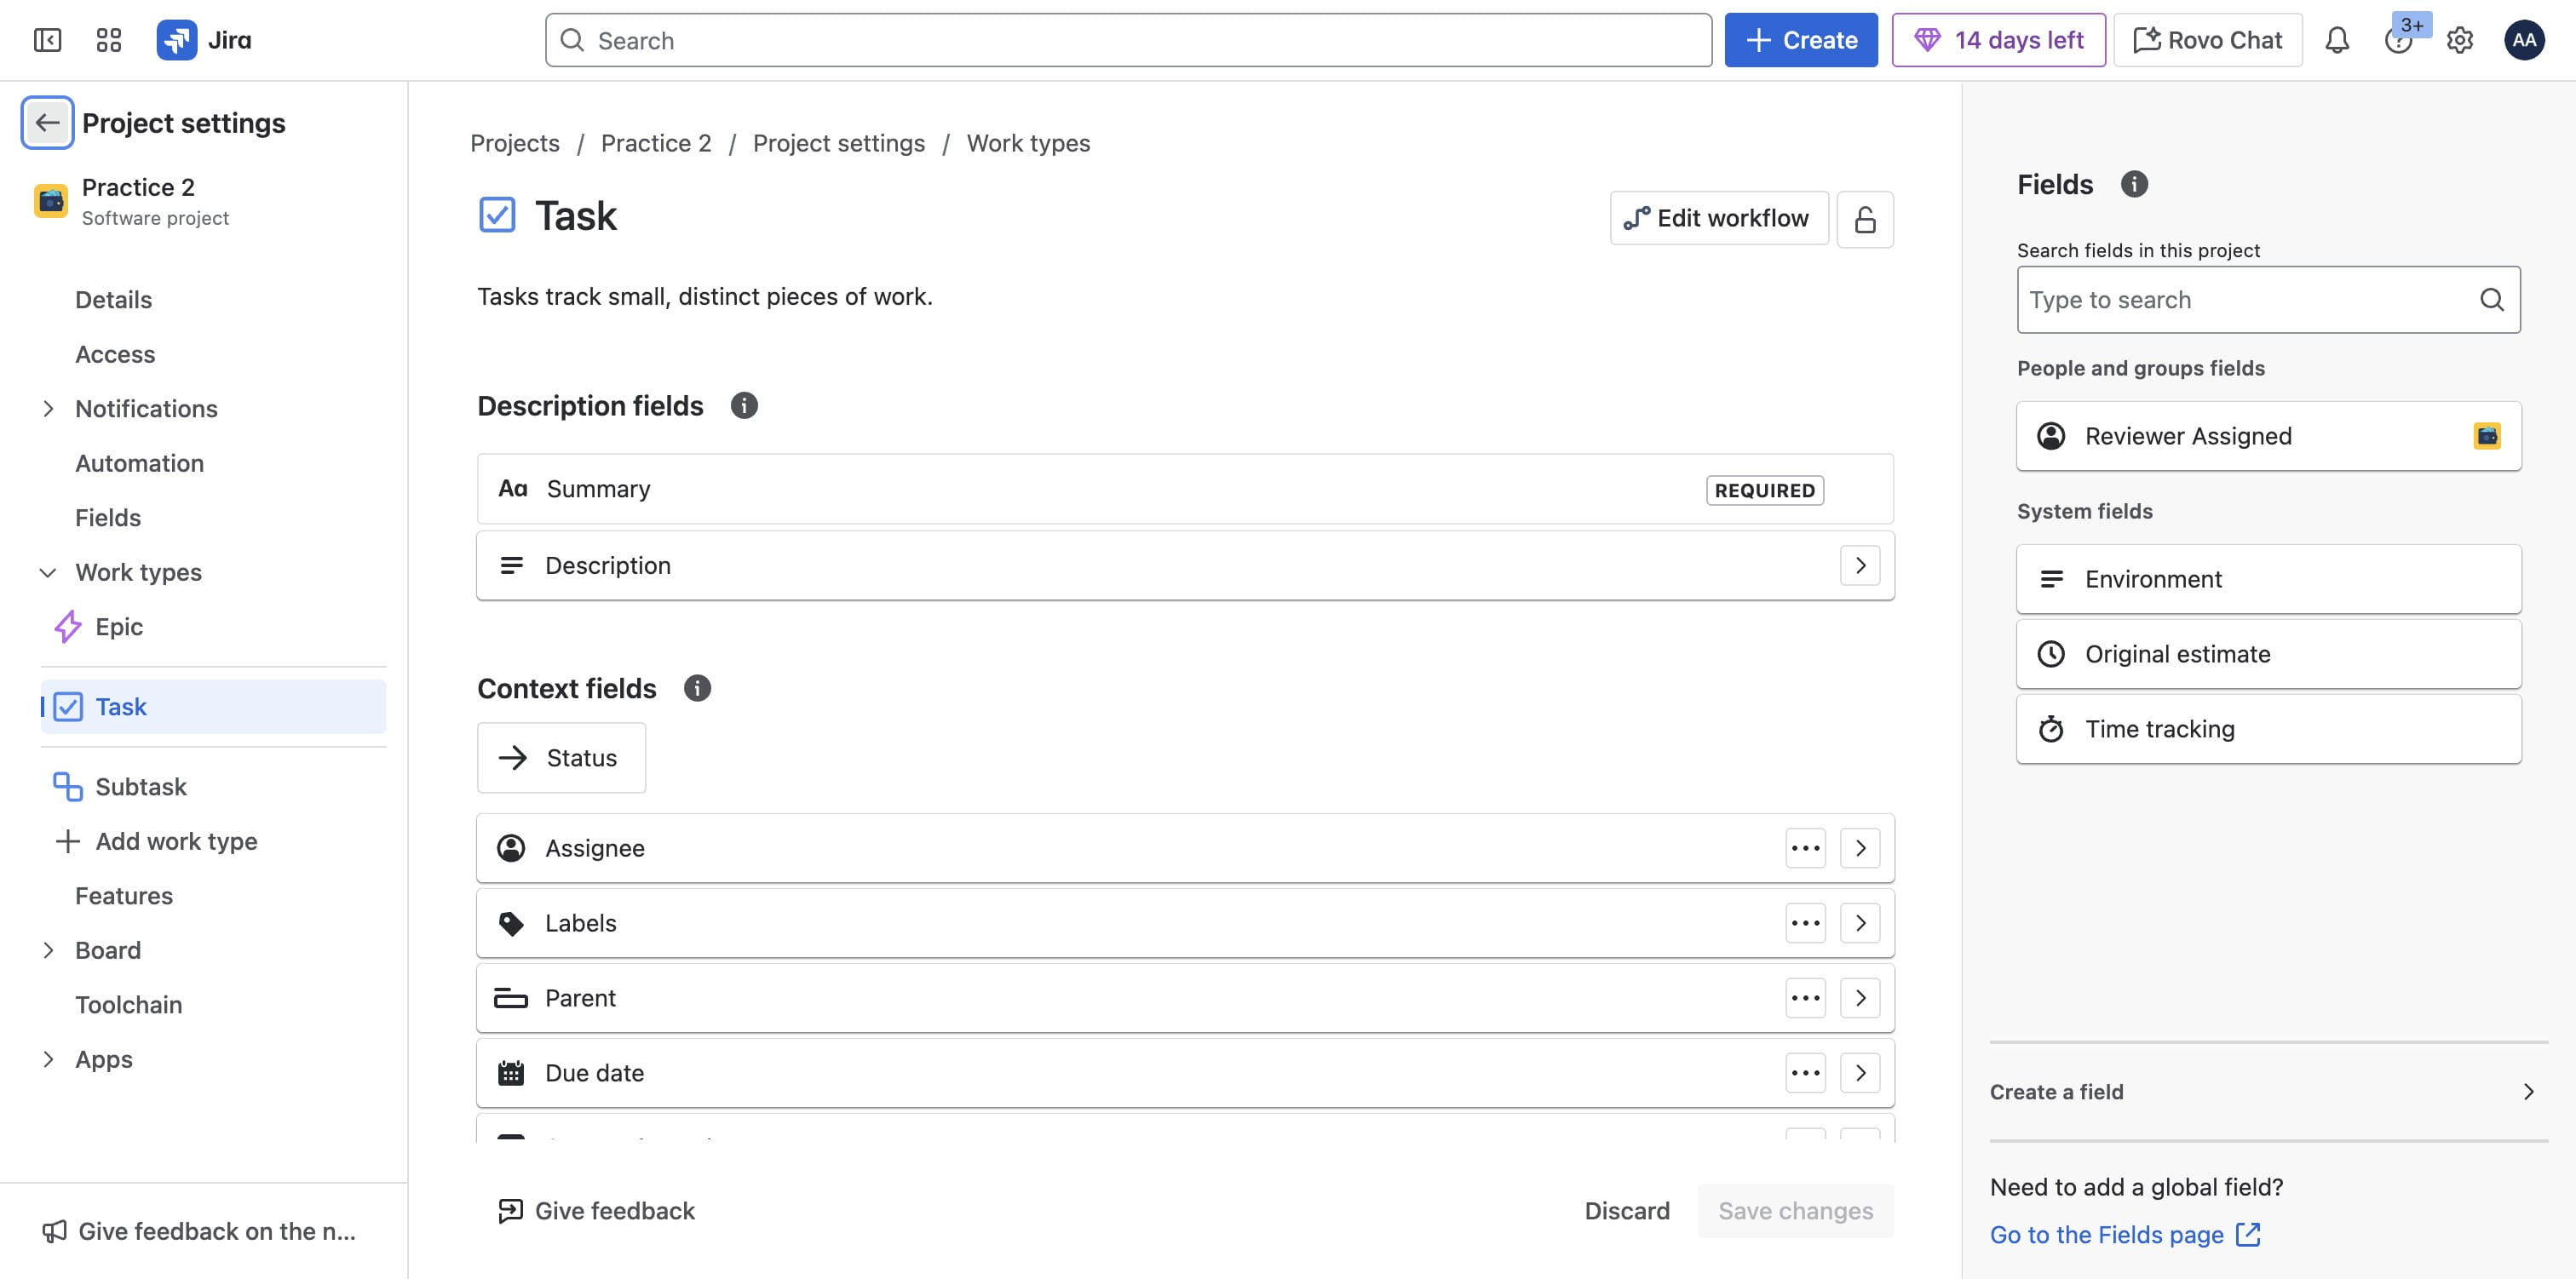
You should now see all the fields showing on the right side based on your selection. Click on "More fields" as needed
Click on the fields forms to enter details
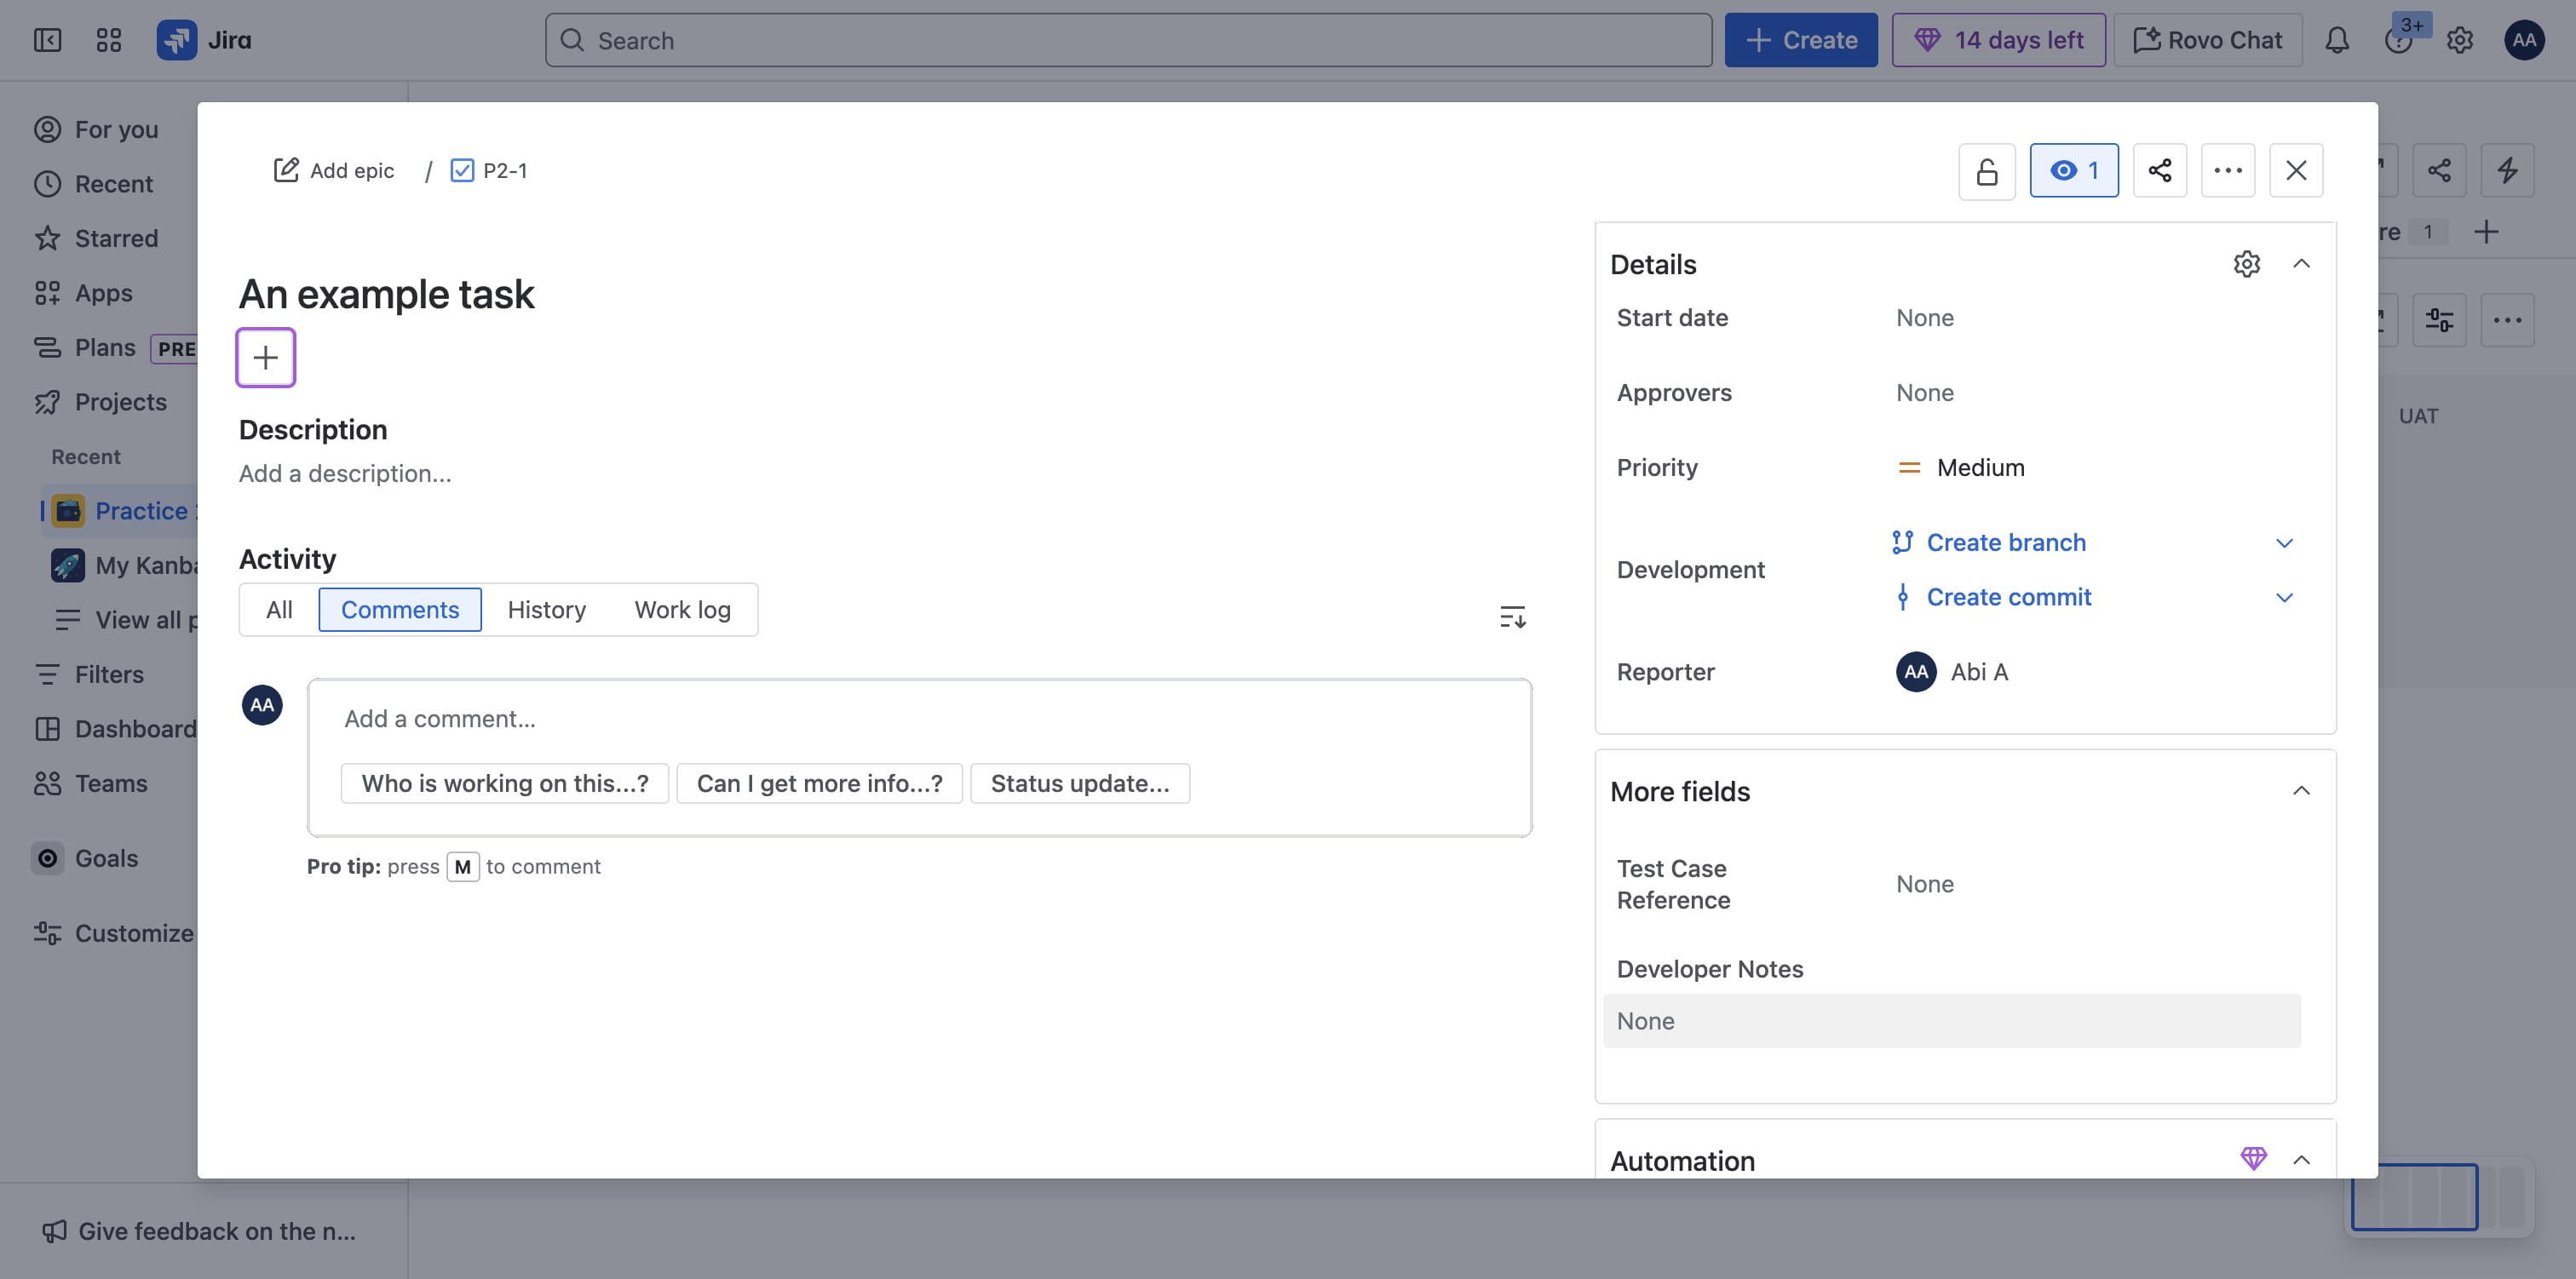
You should be able to edit content for each field