
Editing Your Canva Template
Learn how to effortlessly customize your Canva template with this step-by-step guide. From tweaking fonts and colours to adding your logo and images, this guide will help you get up and running on time.
After You Receive Your Template Email or Downloaded Document:
If you downloaded our Free Template, it should be in your email. For shop purchases, you'll receive both an email and a downloadable document.
Click Get Template Now to download the template or use the link accordingly

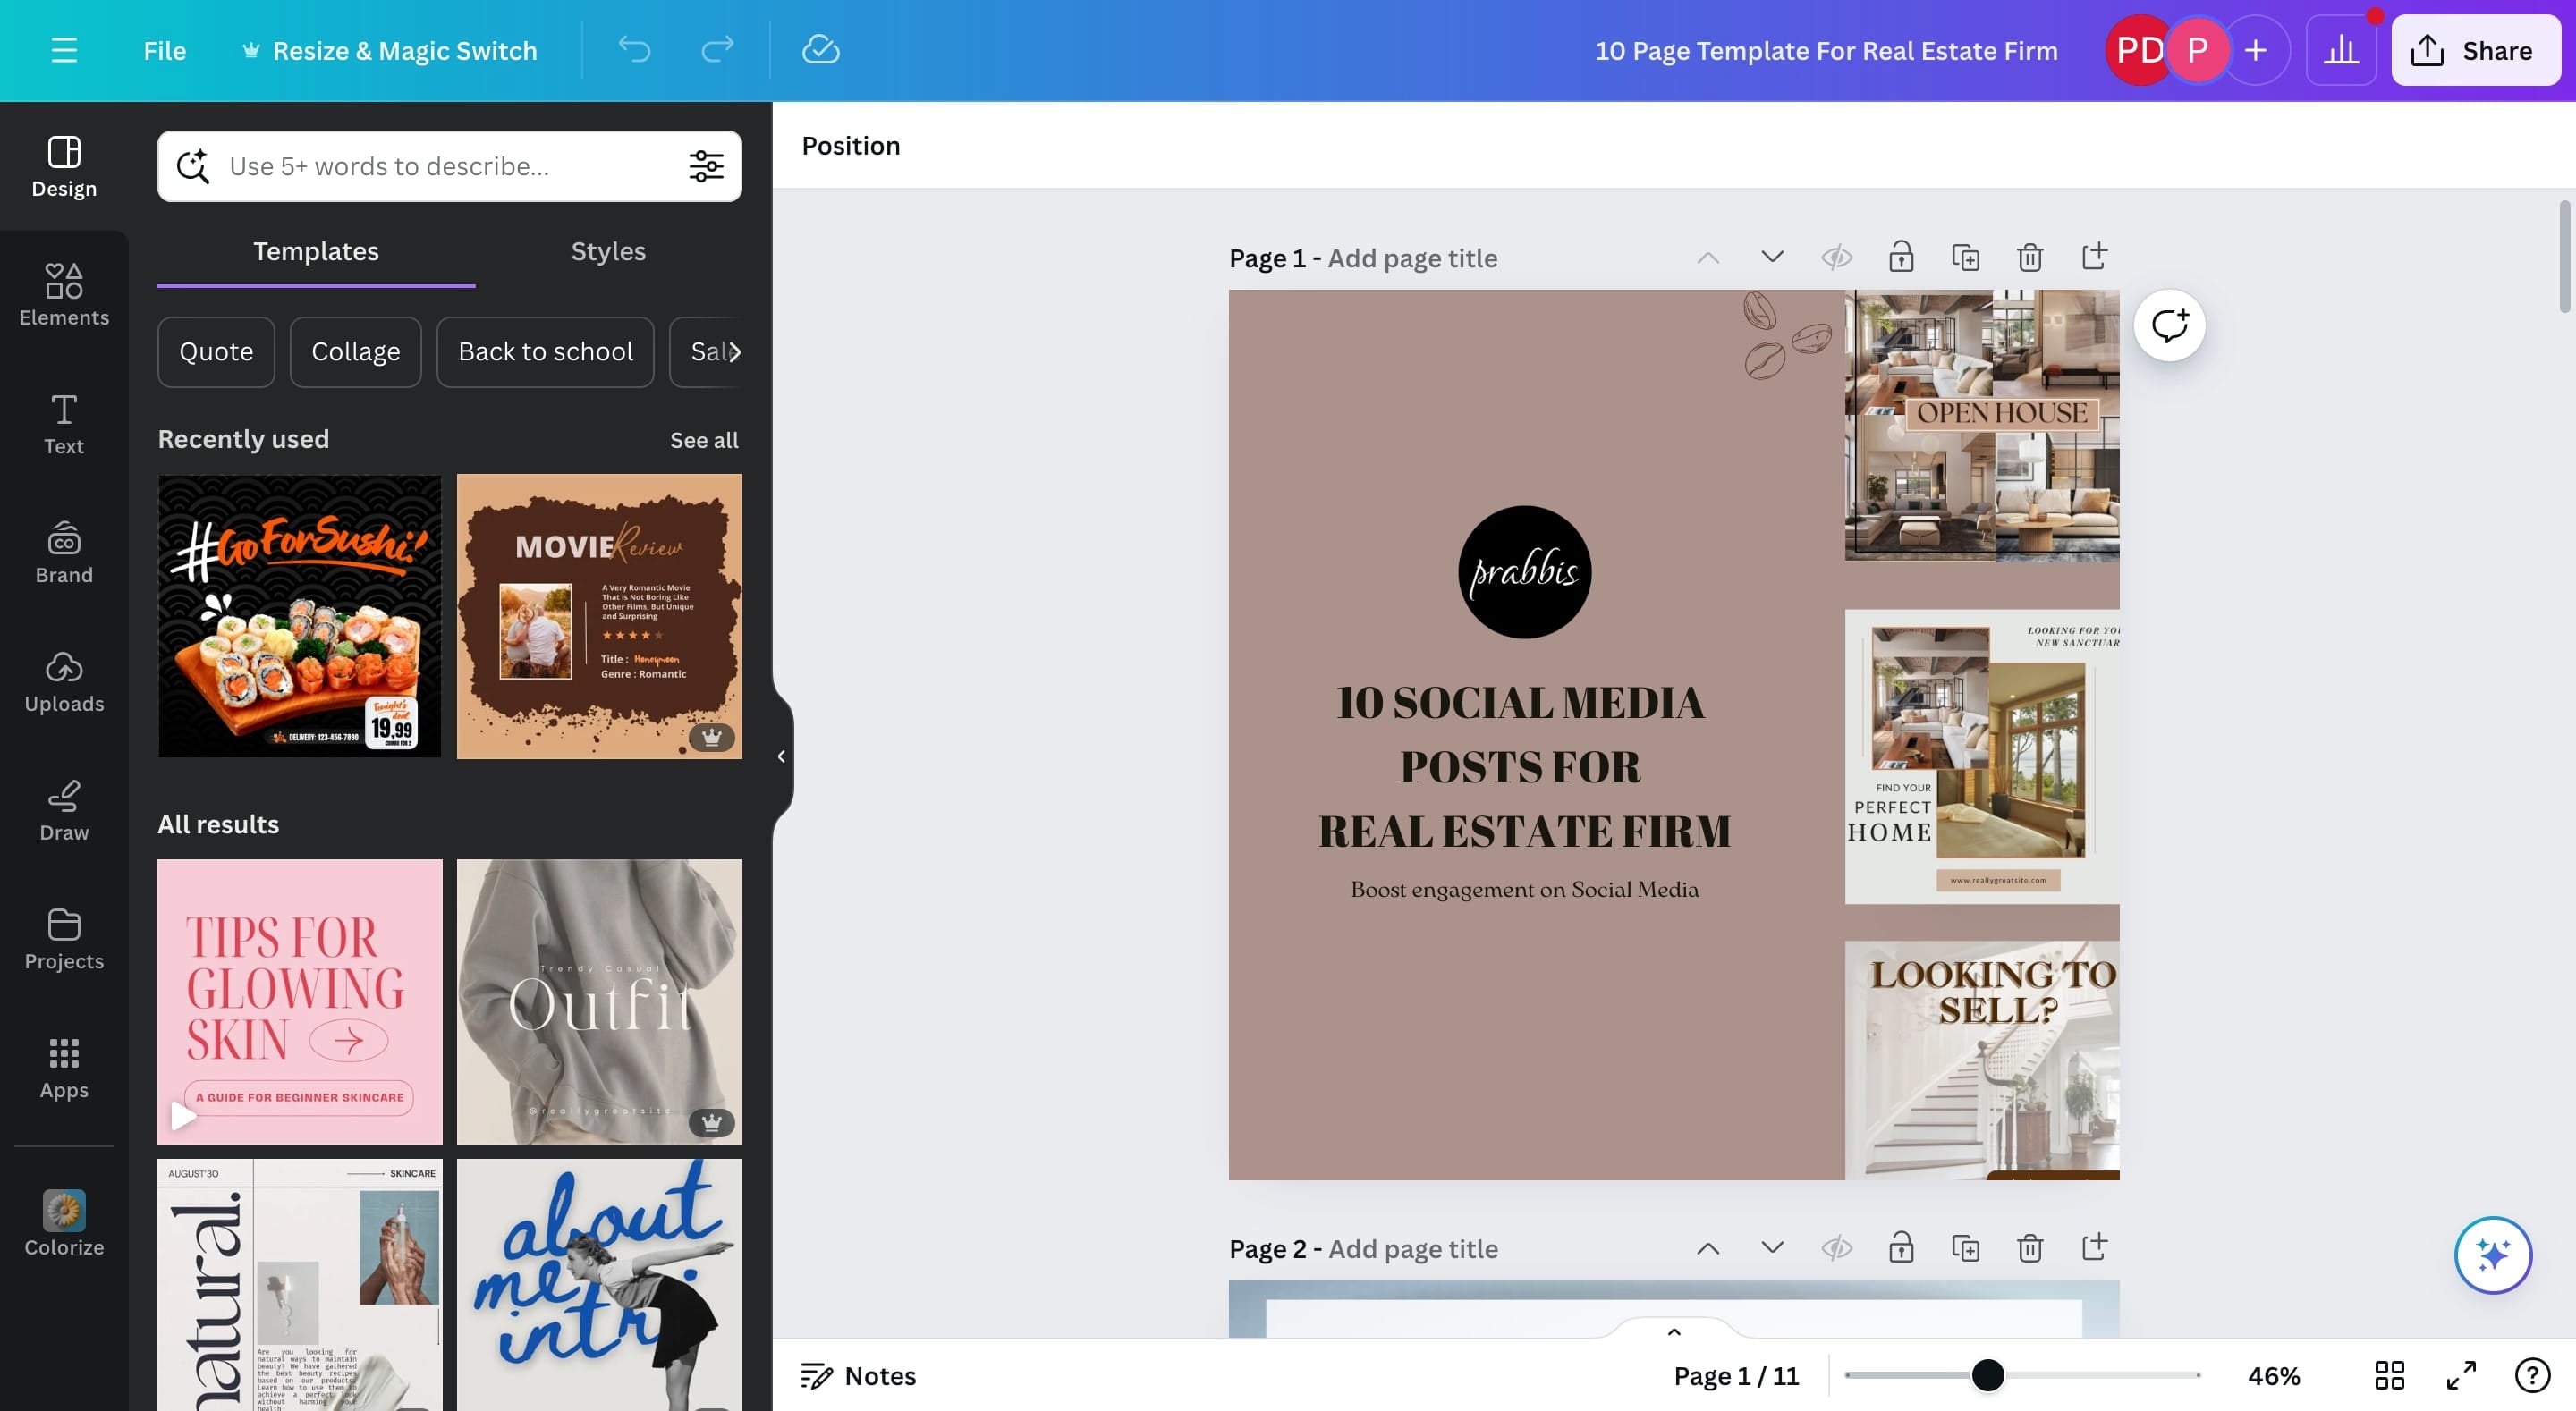
Once the canva page loads, Click on "Edit template"

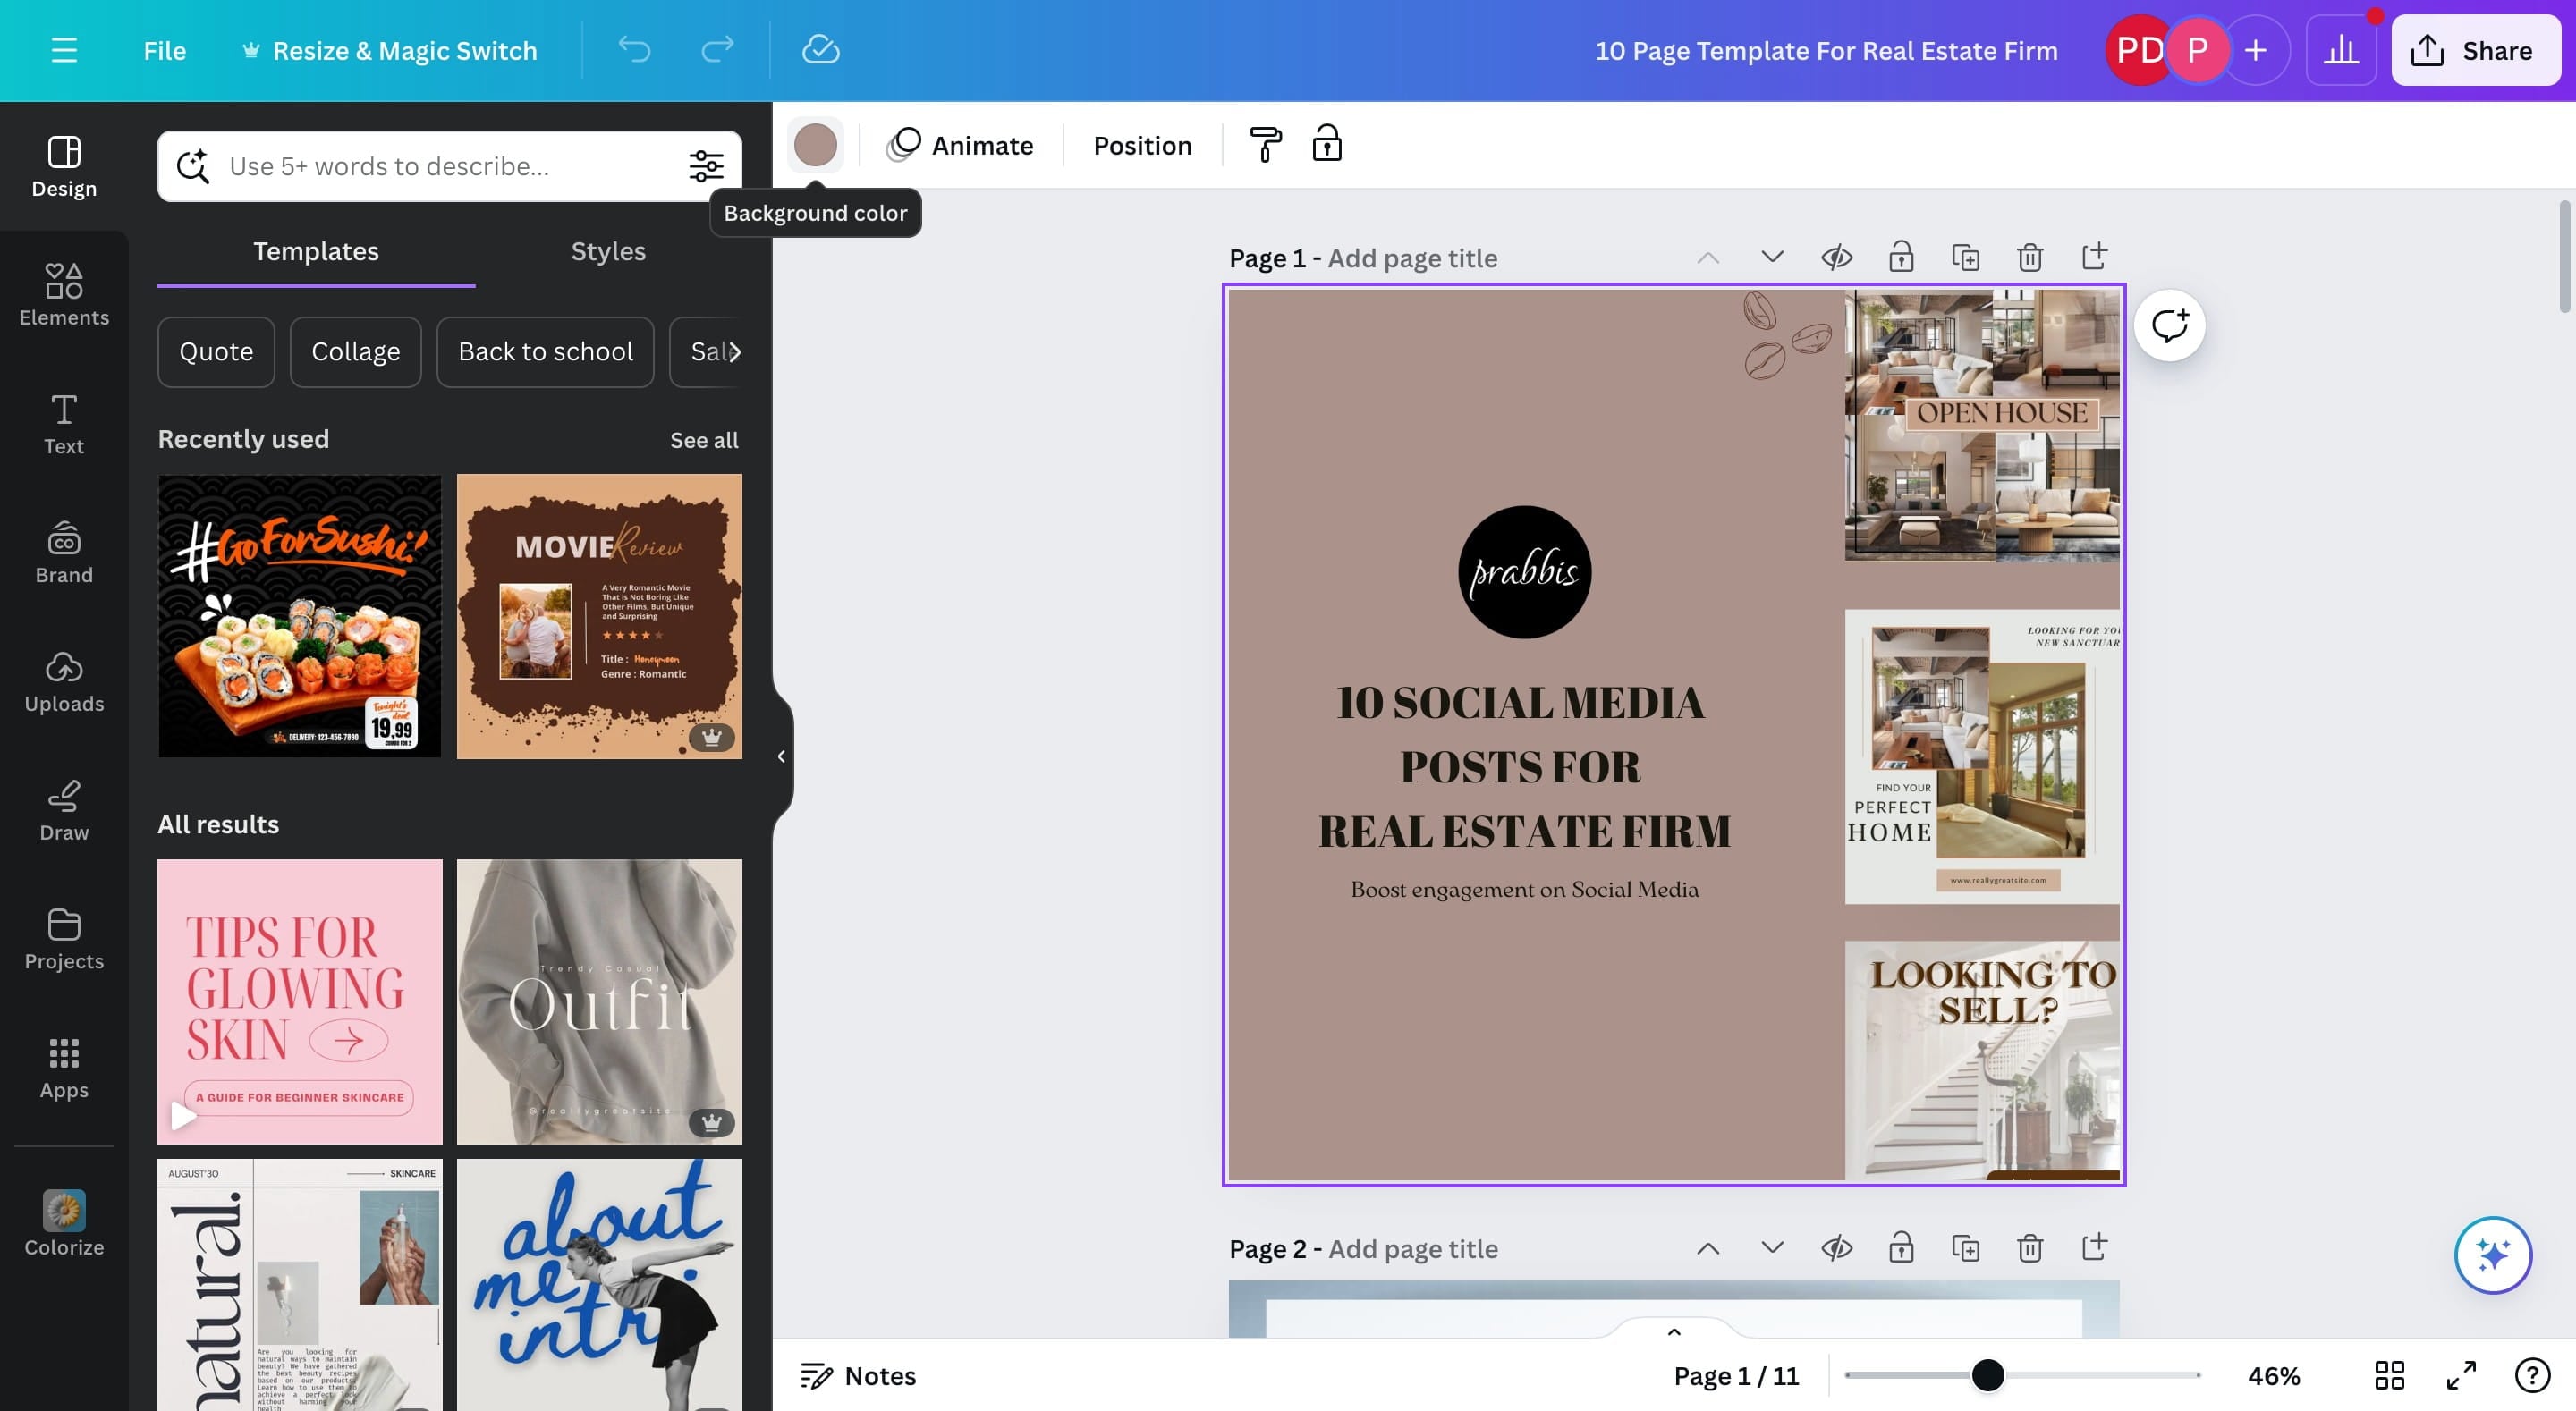
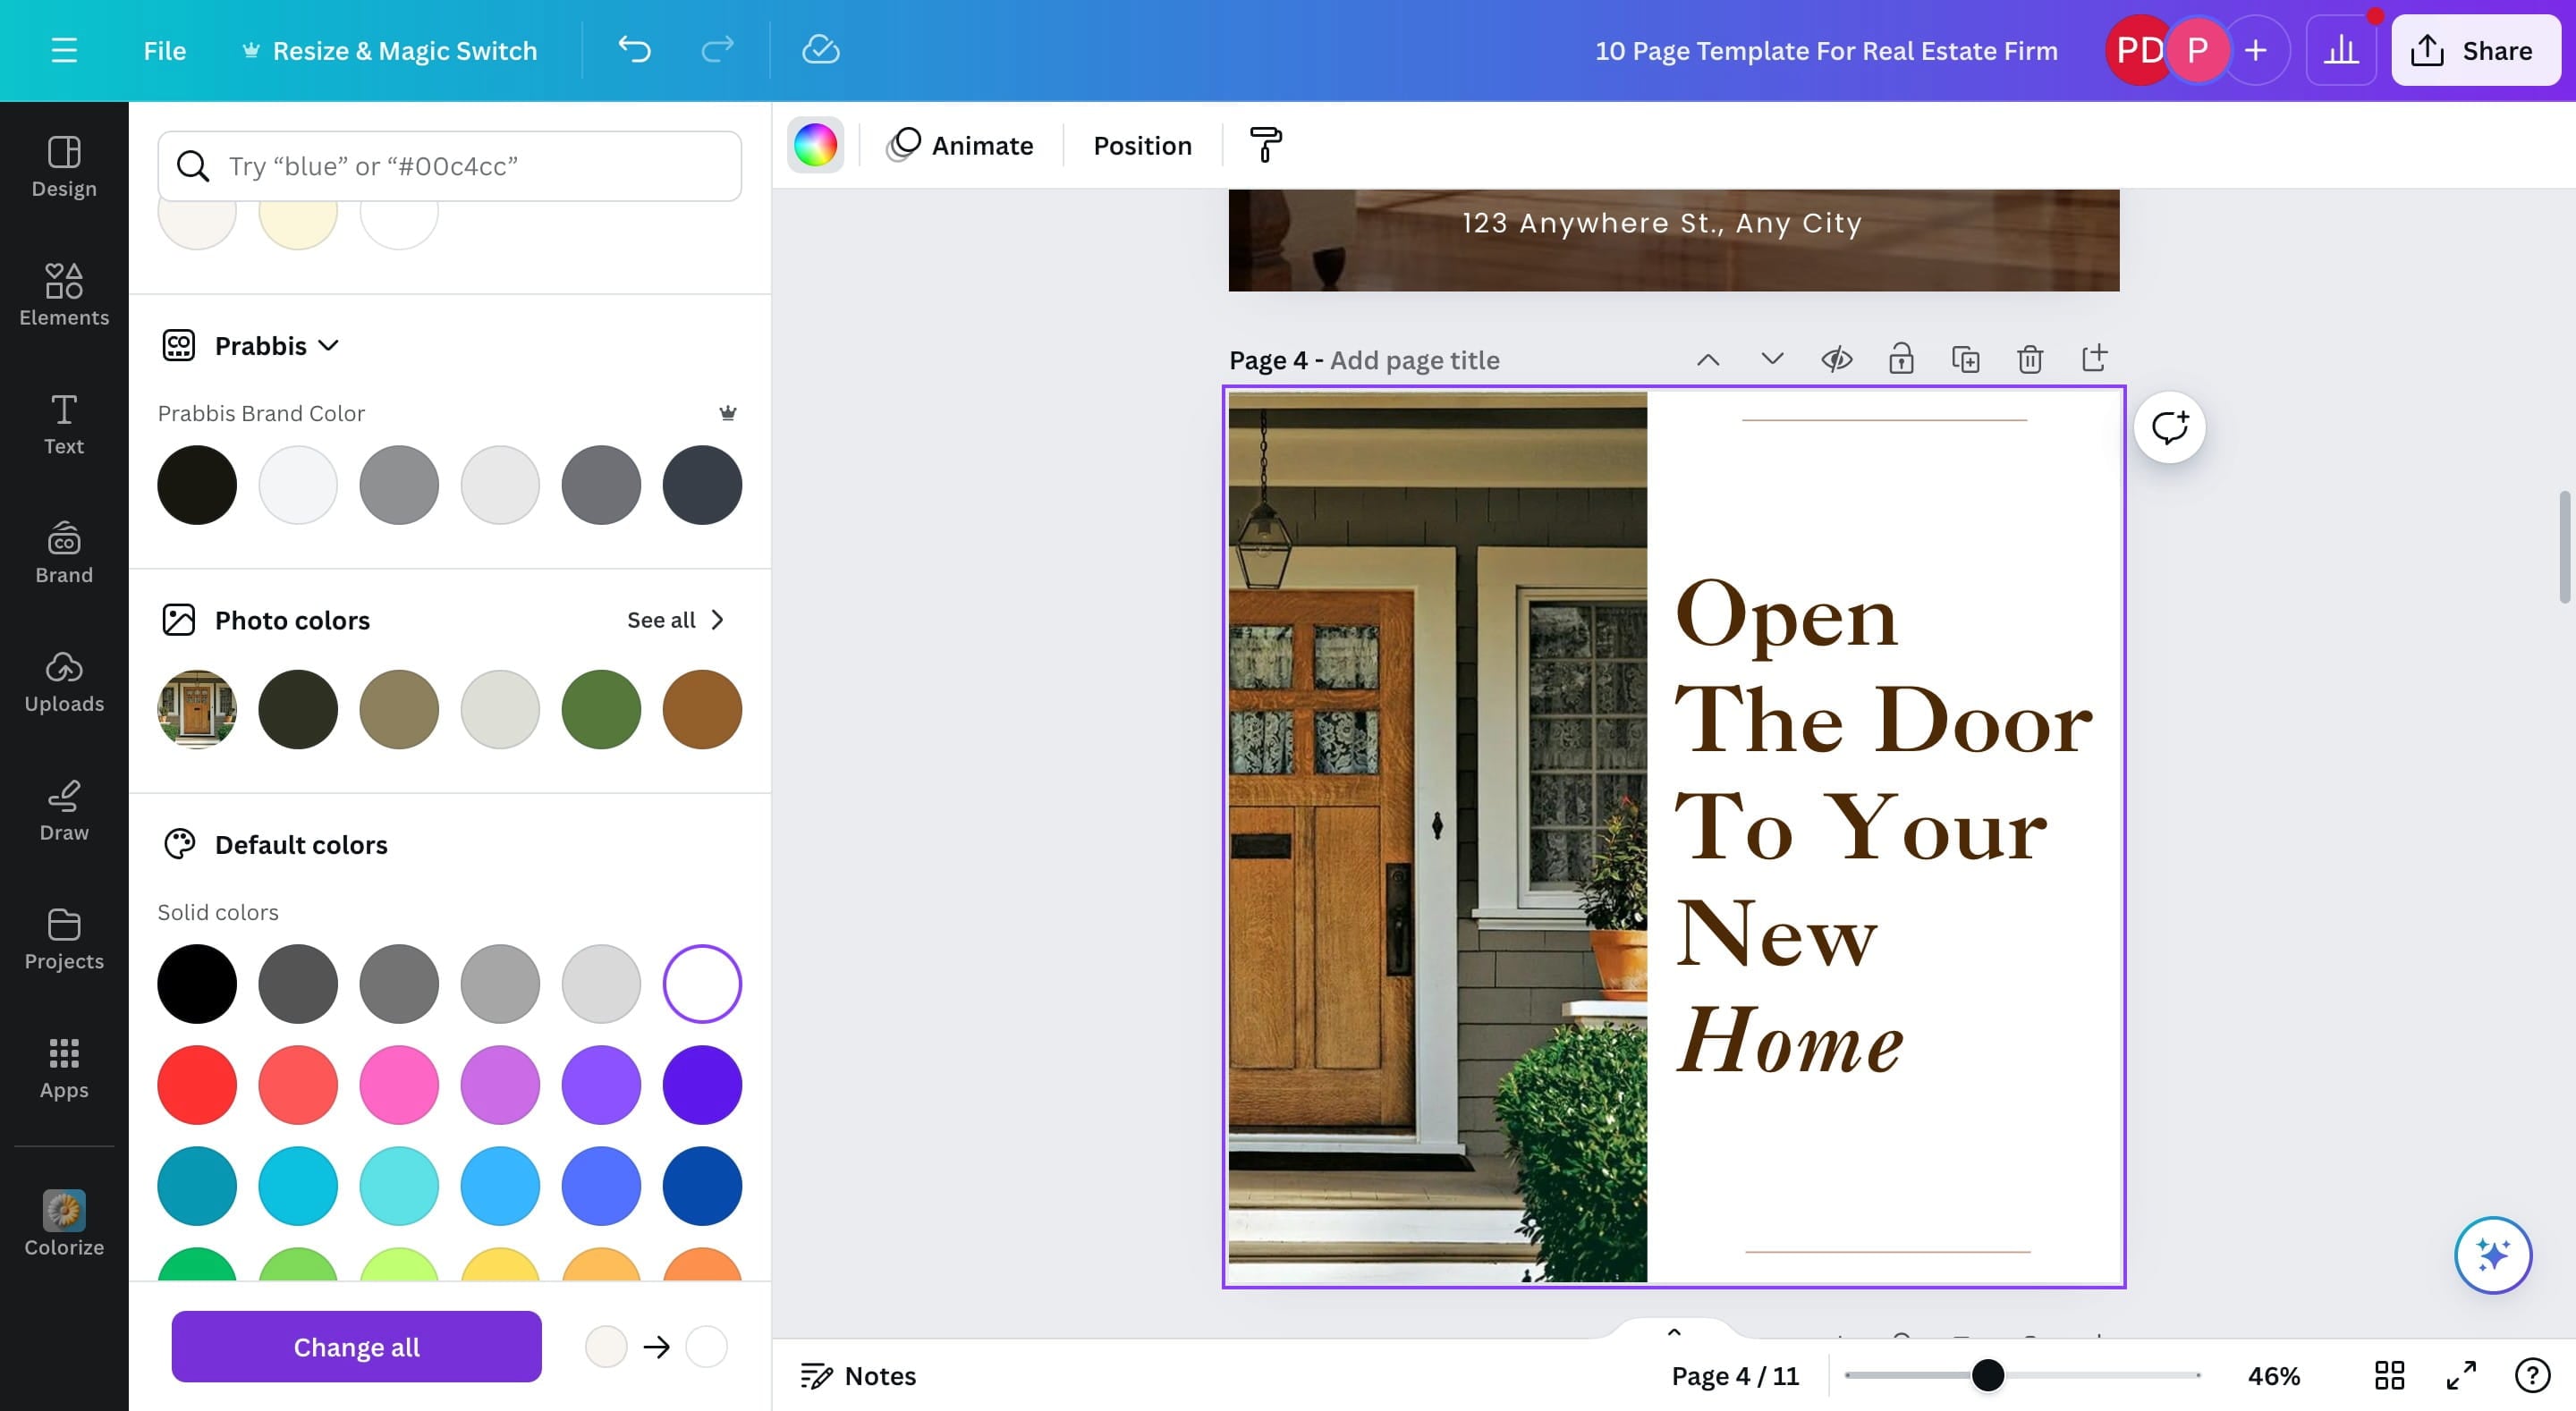
Editing Colors
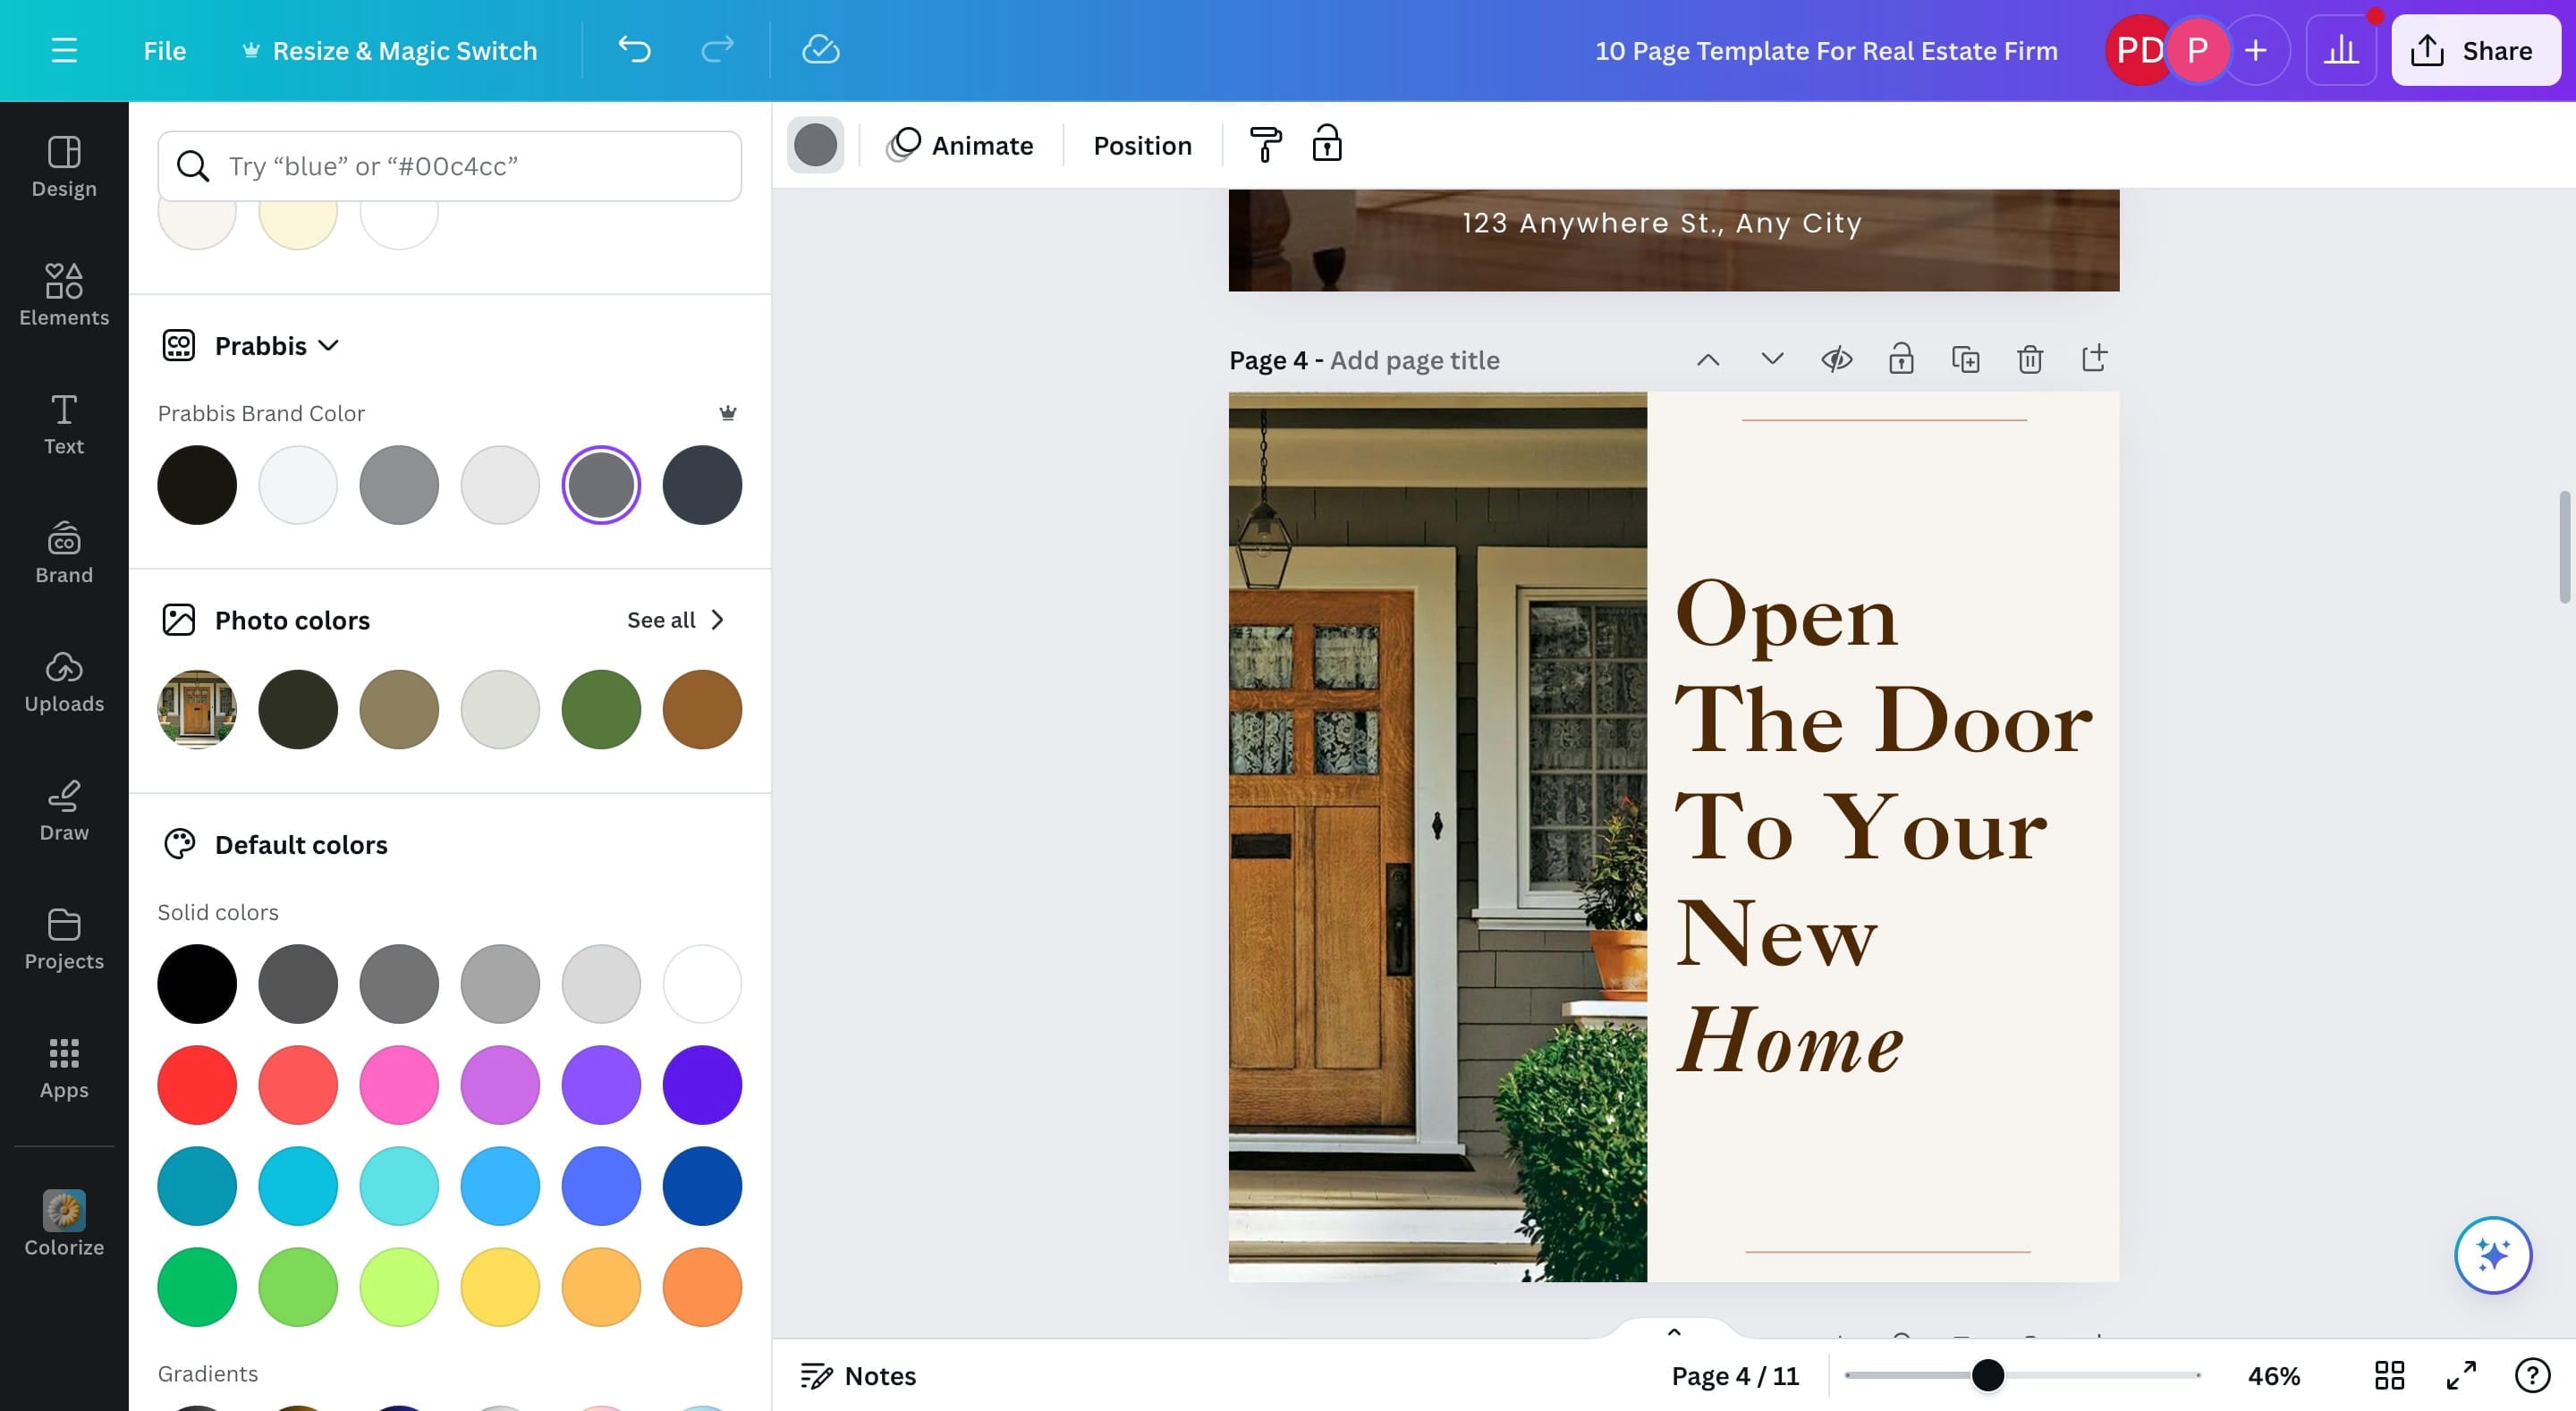
Click on sections containing your colors and change accordingly.
Use the color picker to see the list of colors
Click here
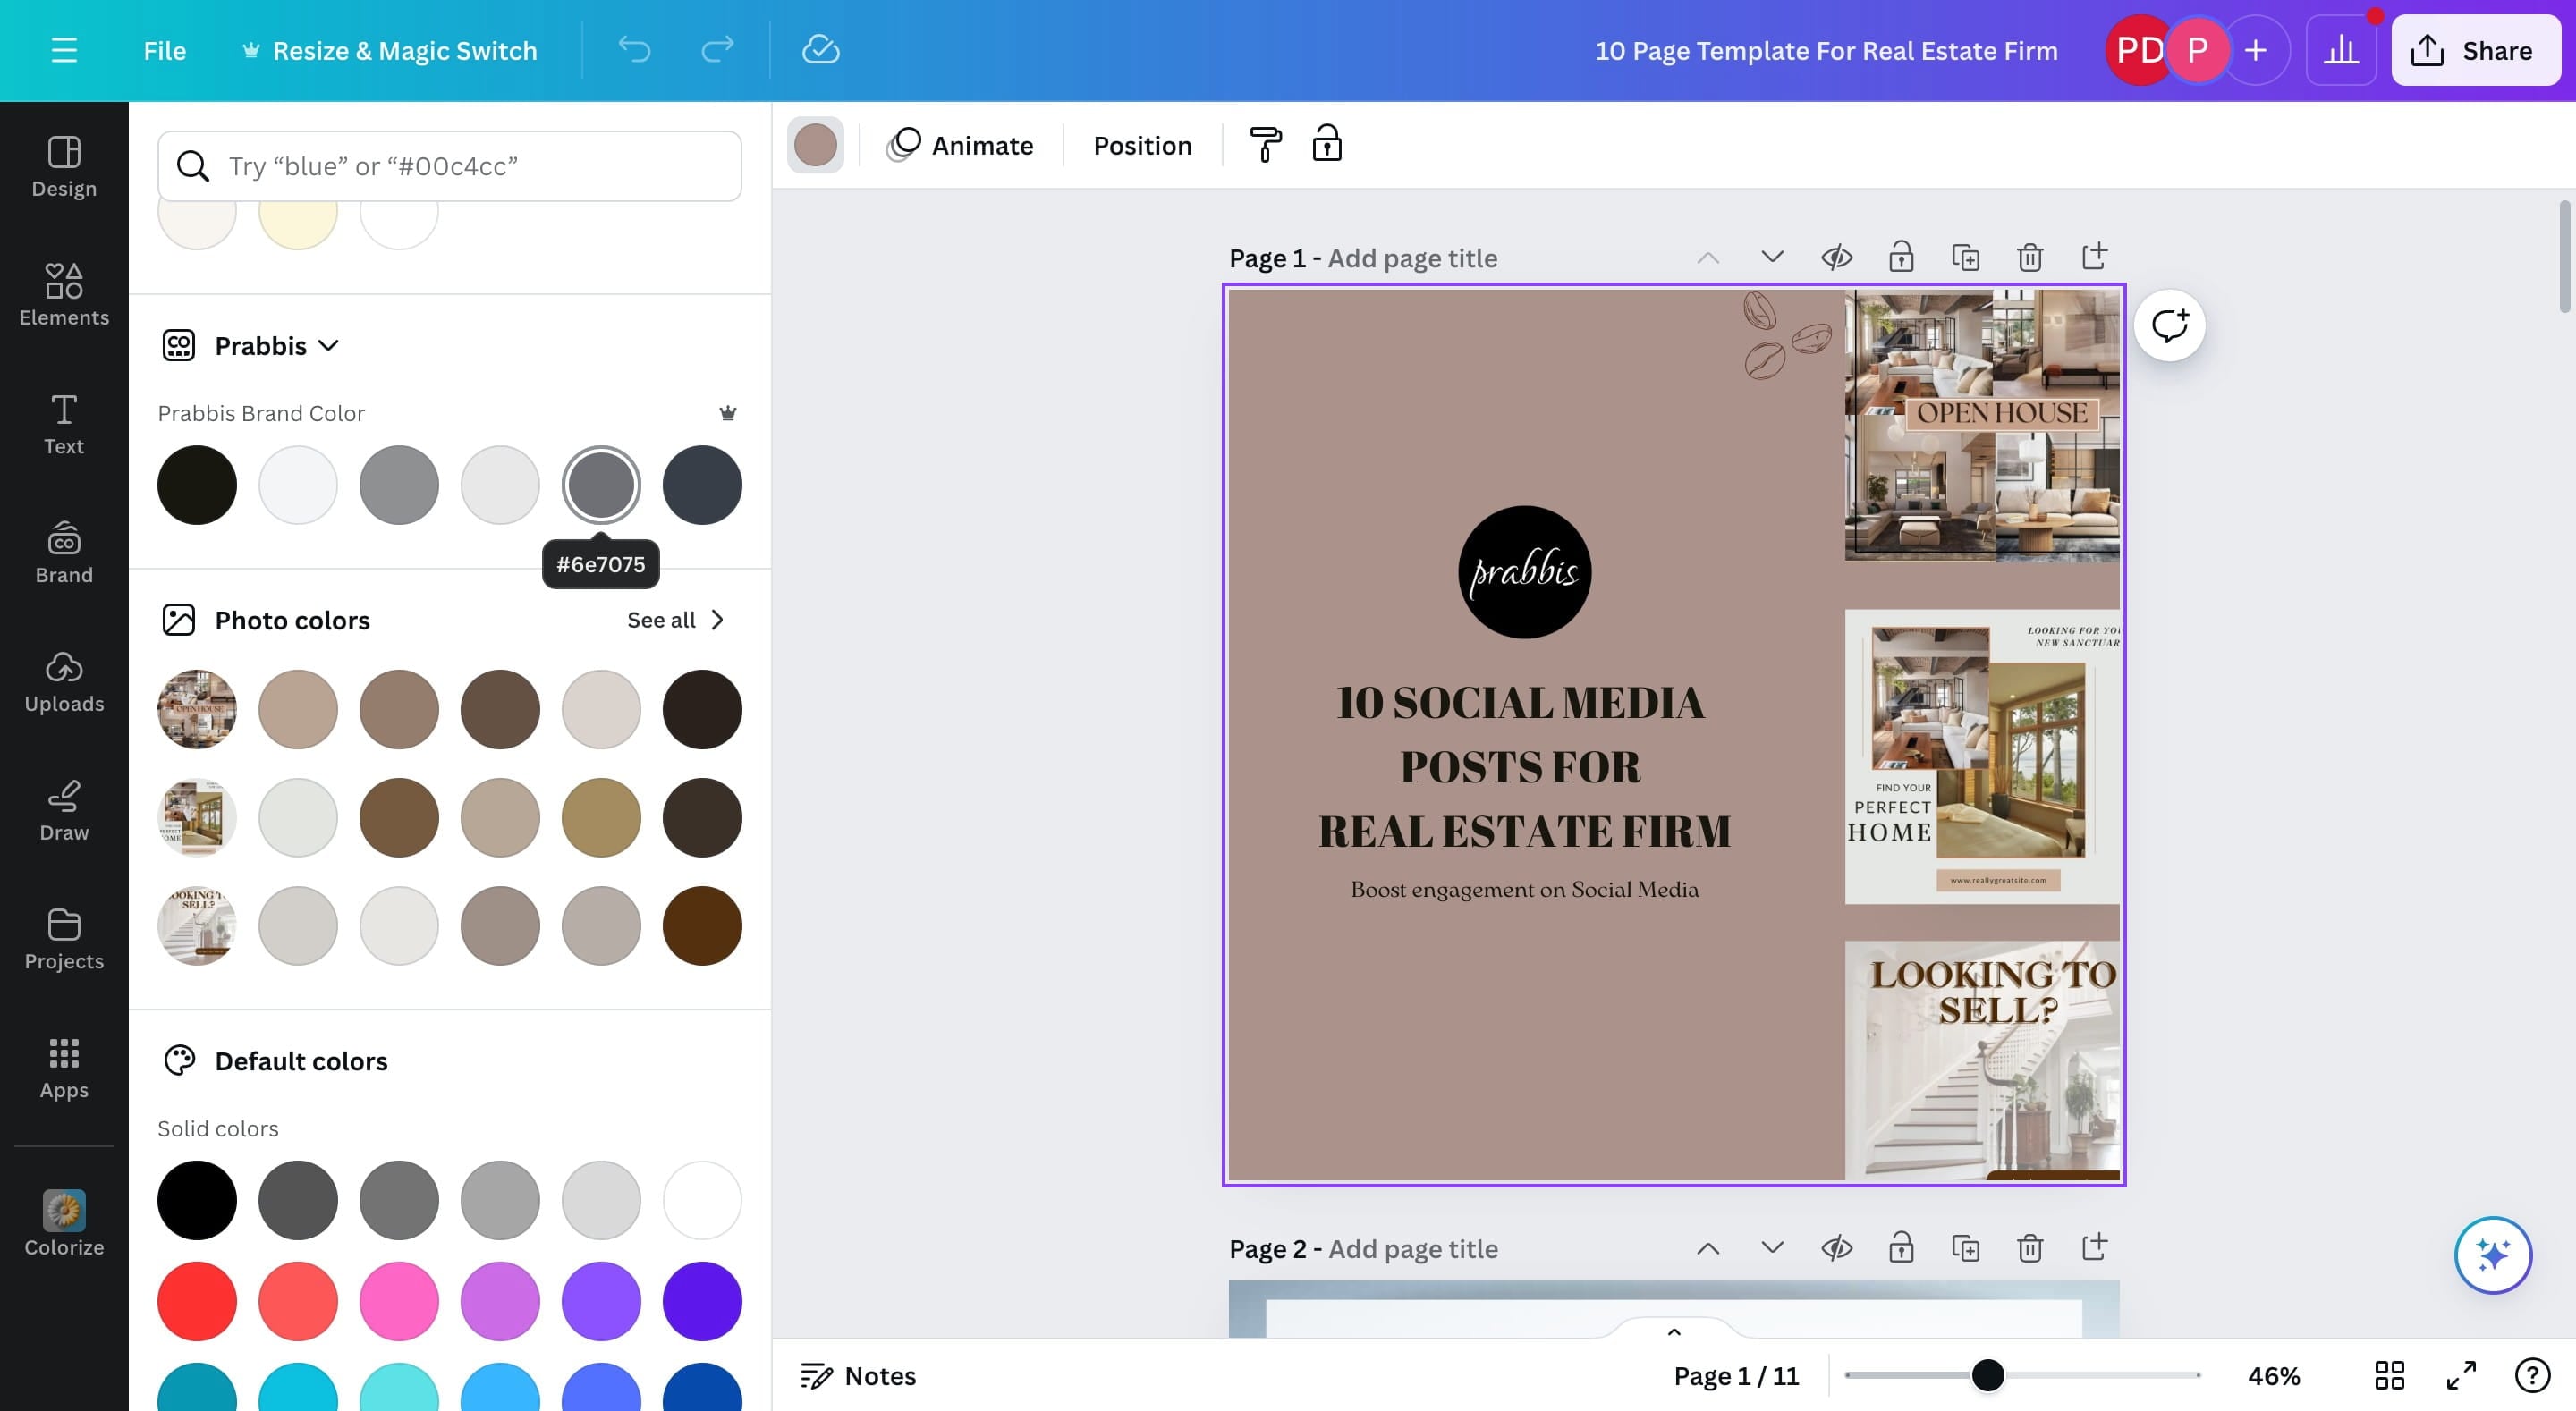
You can either select your brand colors or add a new color.
If a color appears in multiple places across the document, you can click on "Change all" to change everywhere.
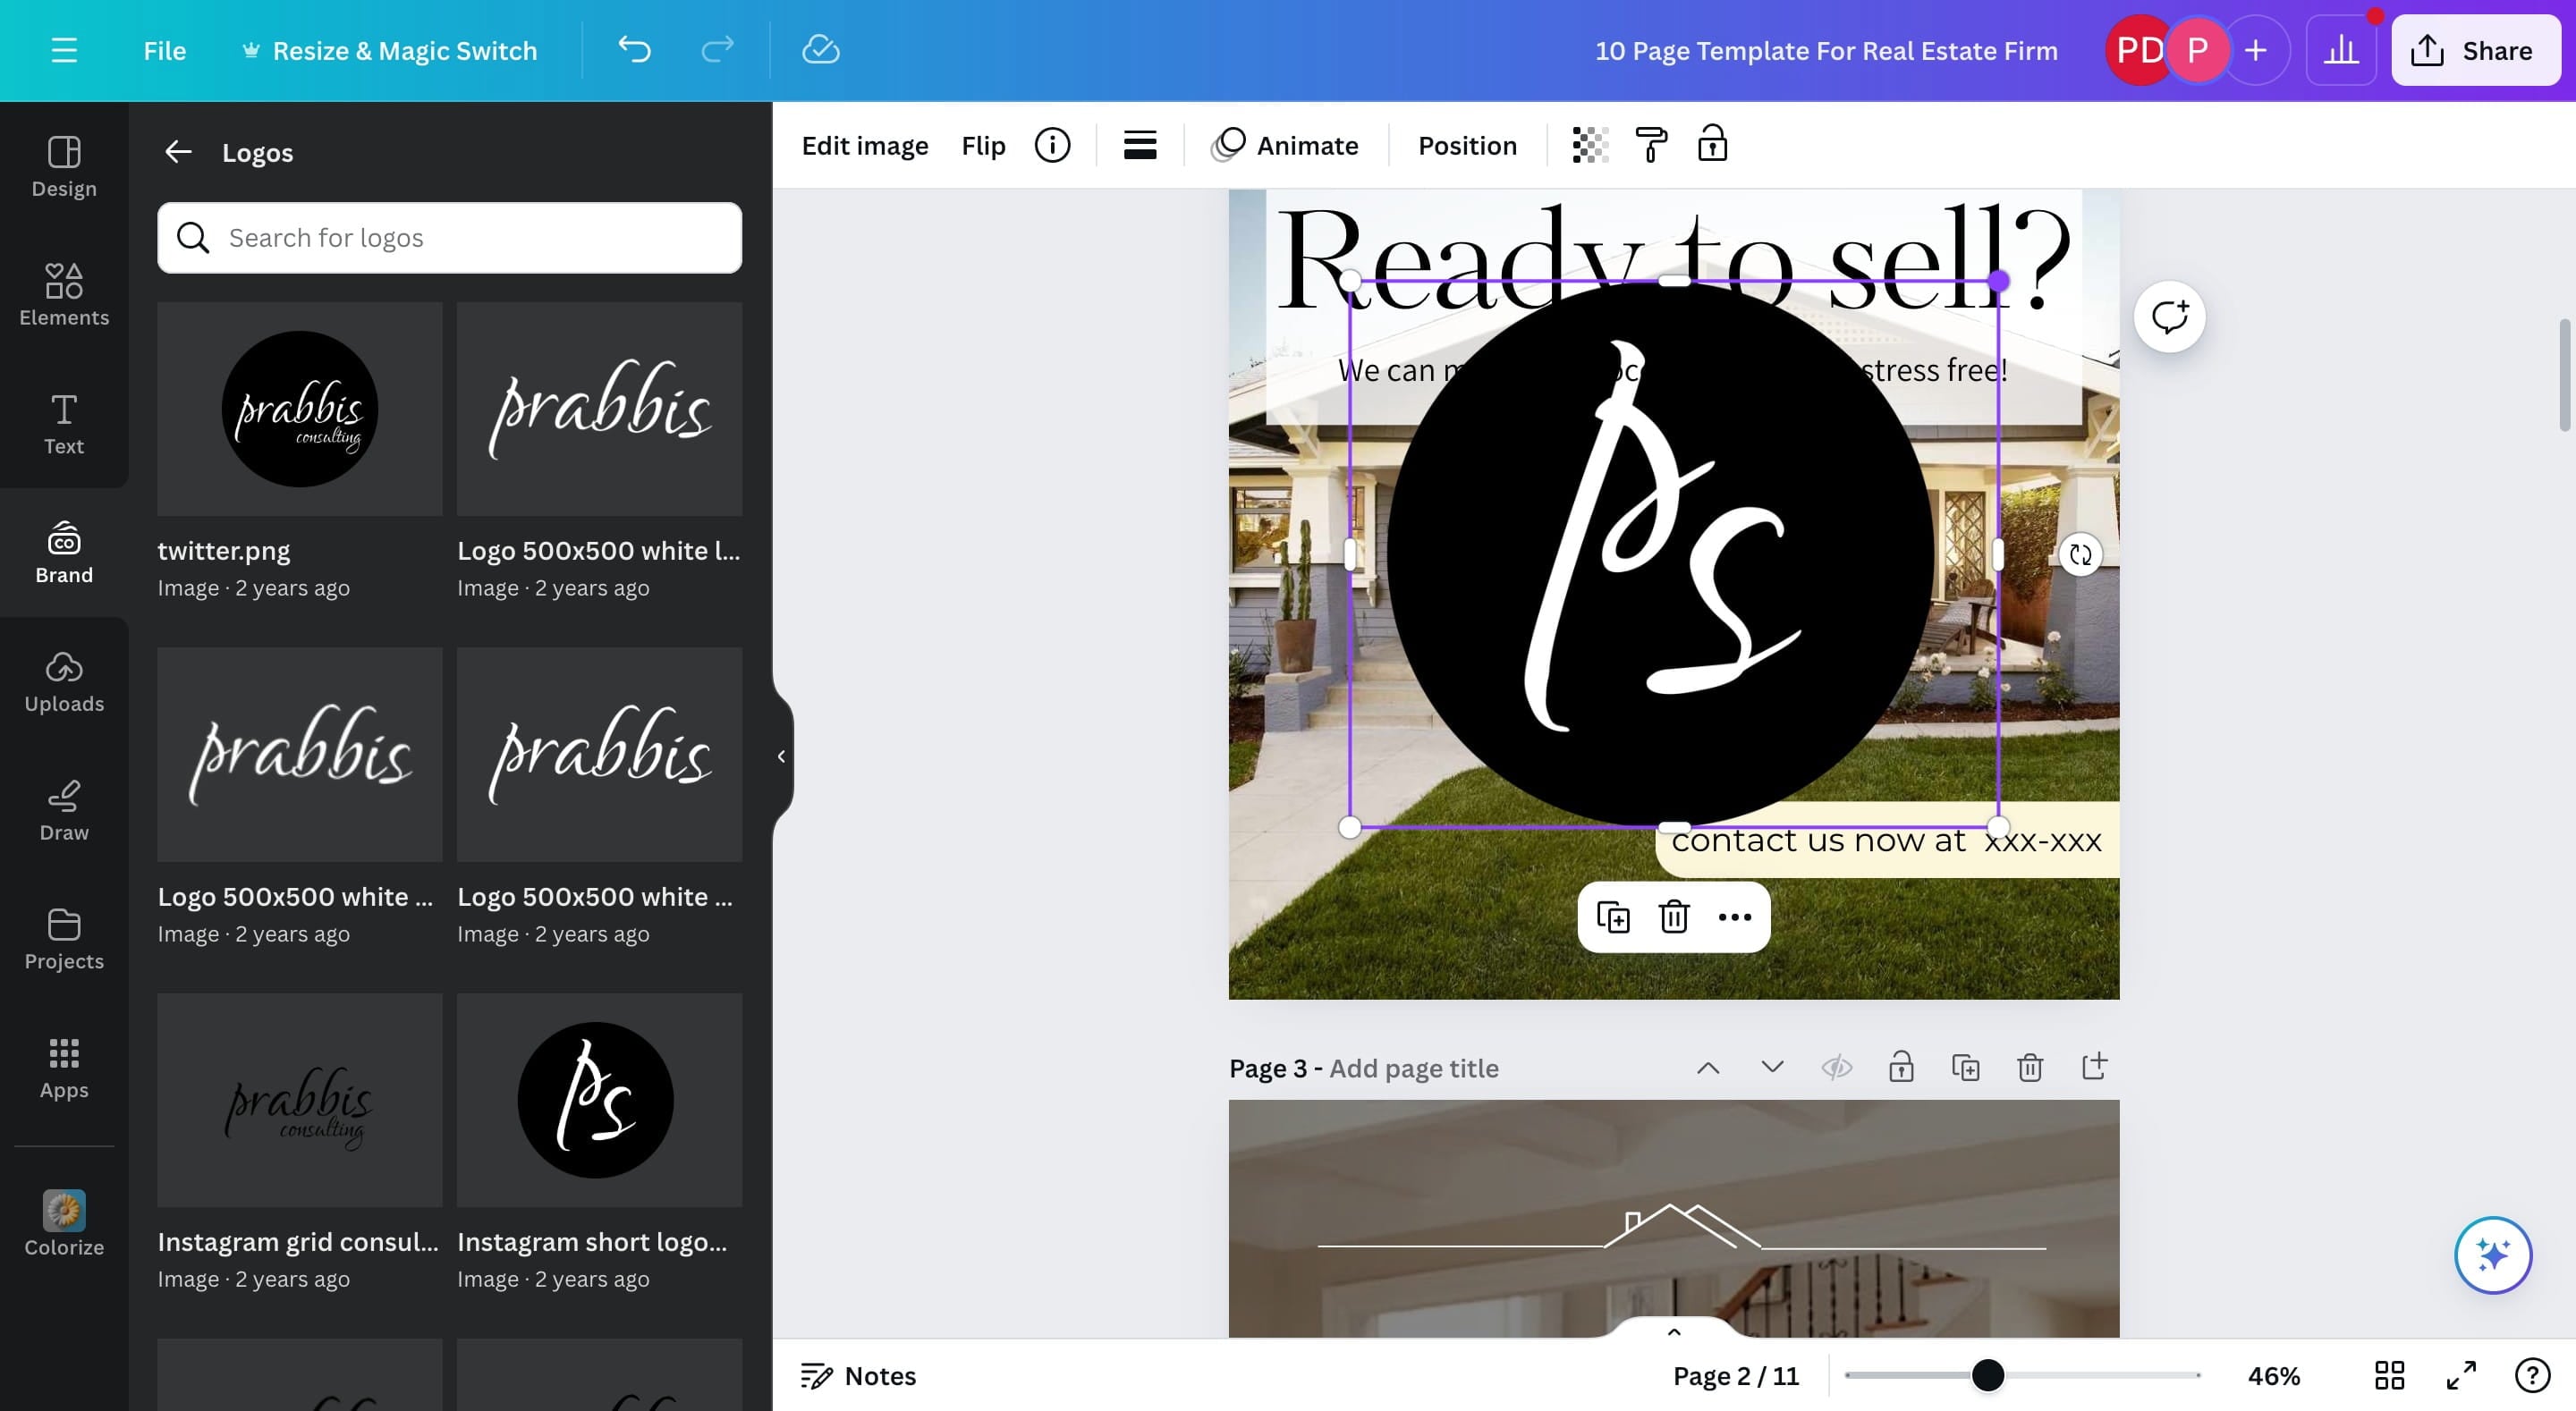
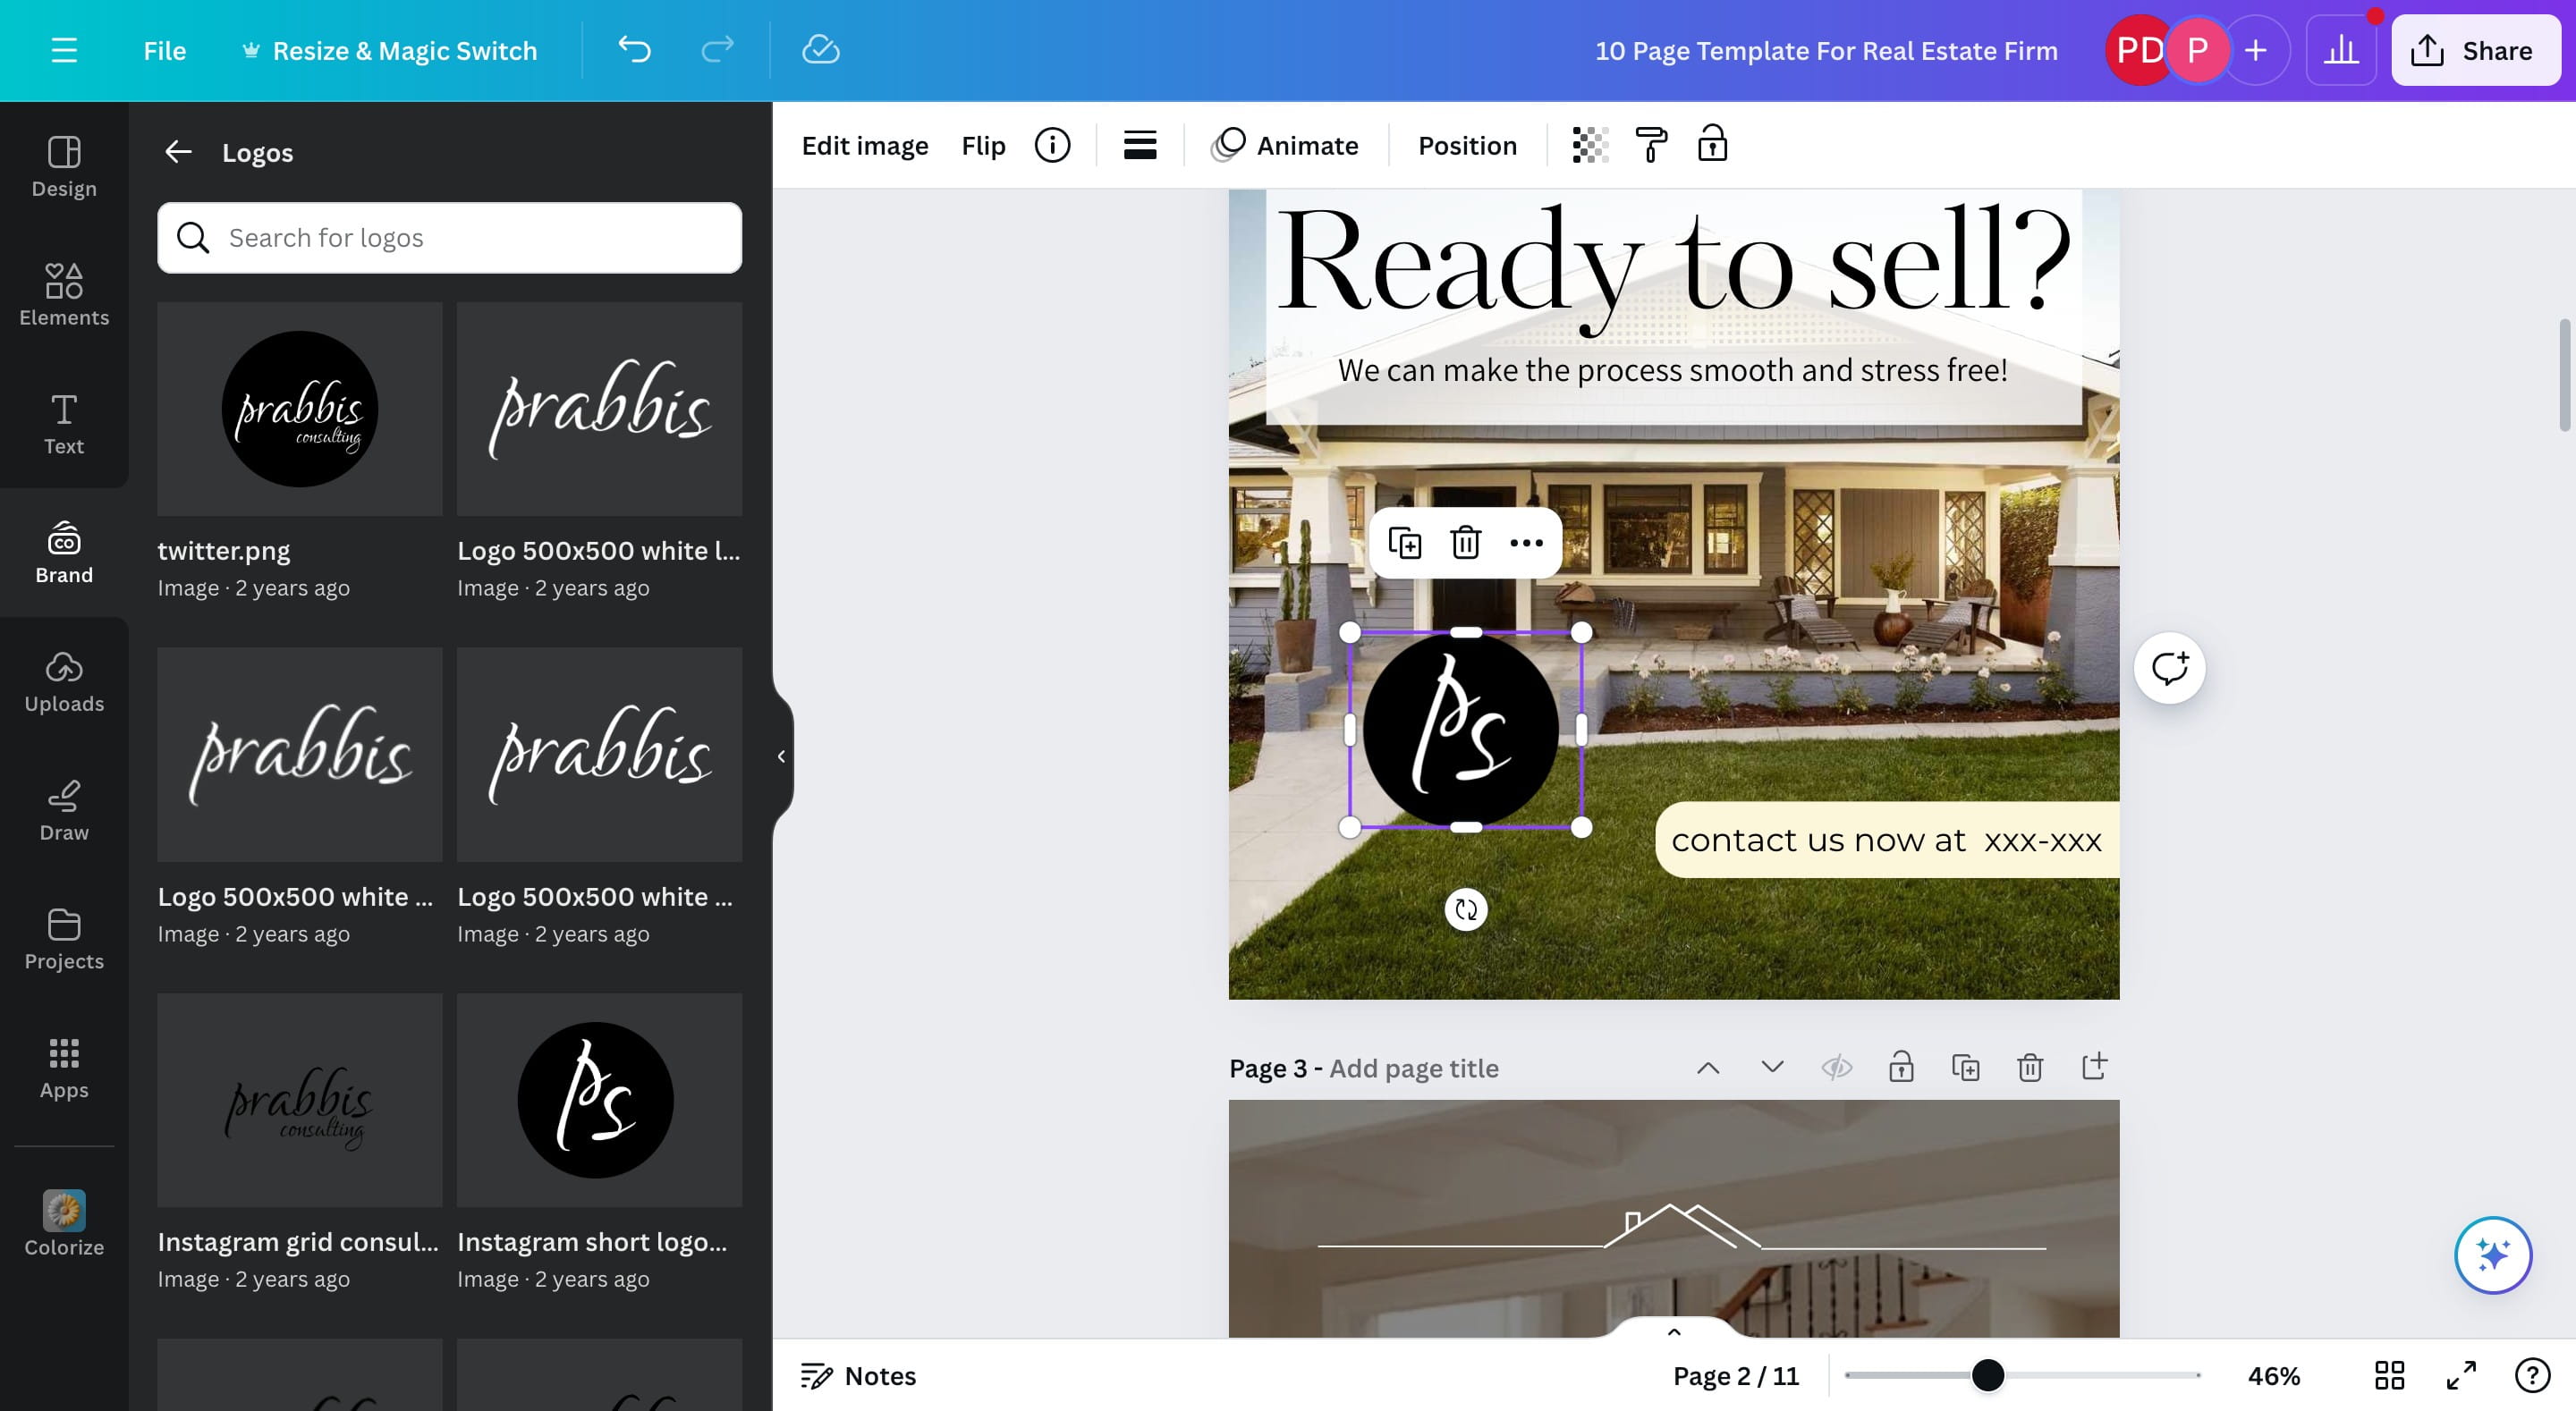
Uploading Your Logo
This section is dependant on how you setup Canva, if you have setup your brand, you can click on Brand on the left sidebar
Choose a logo of choice
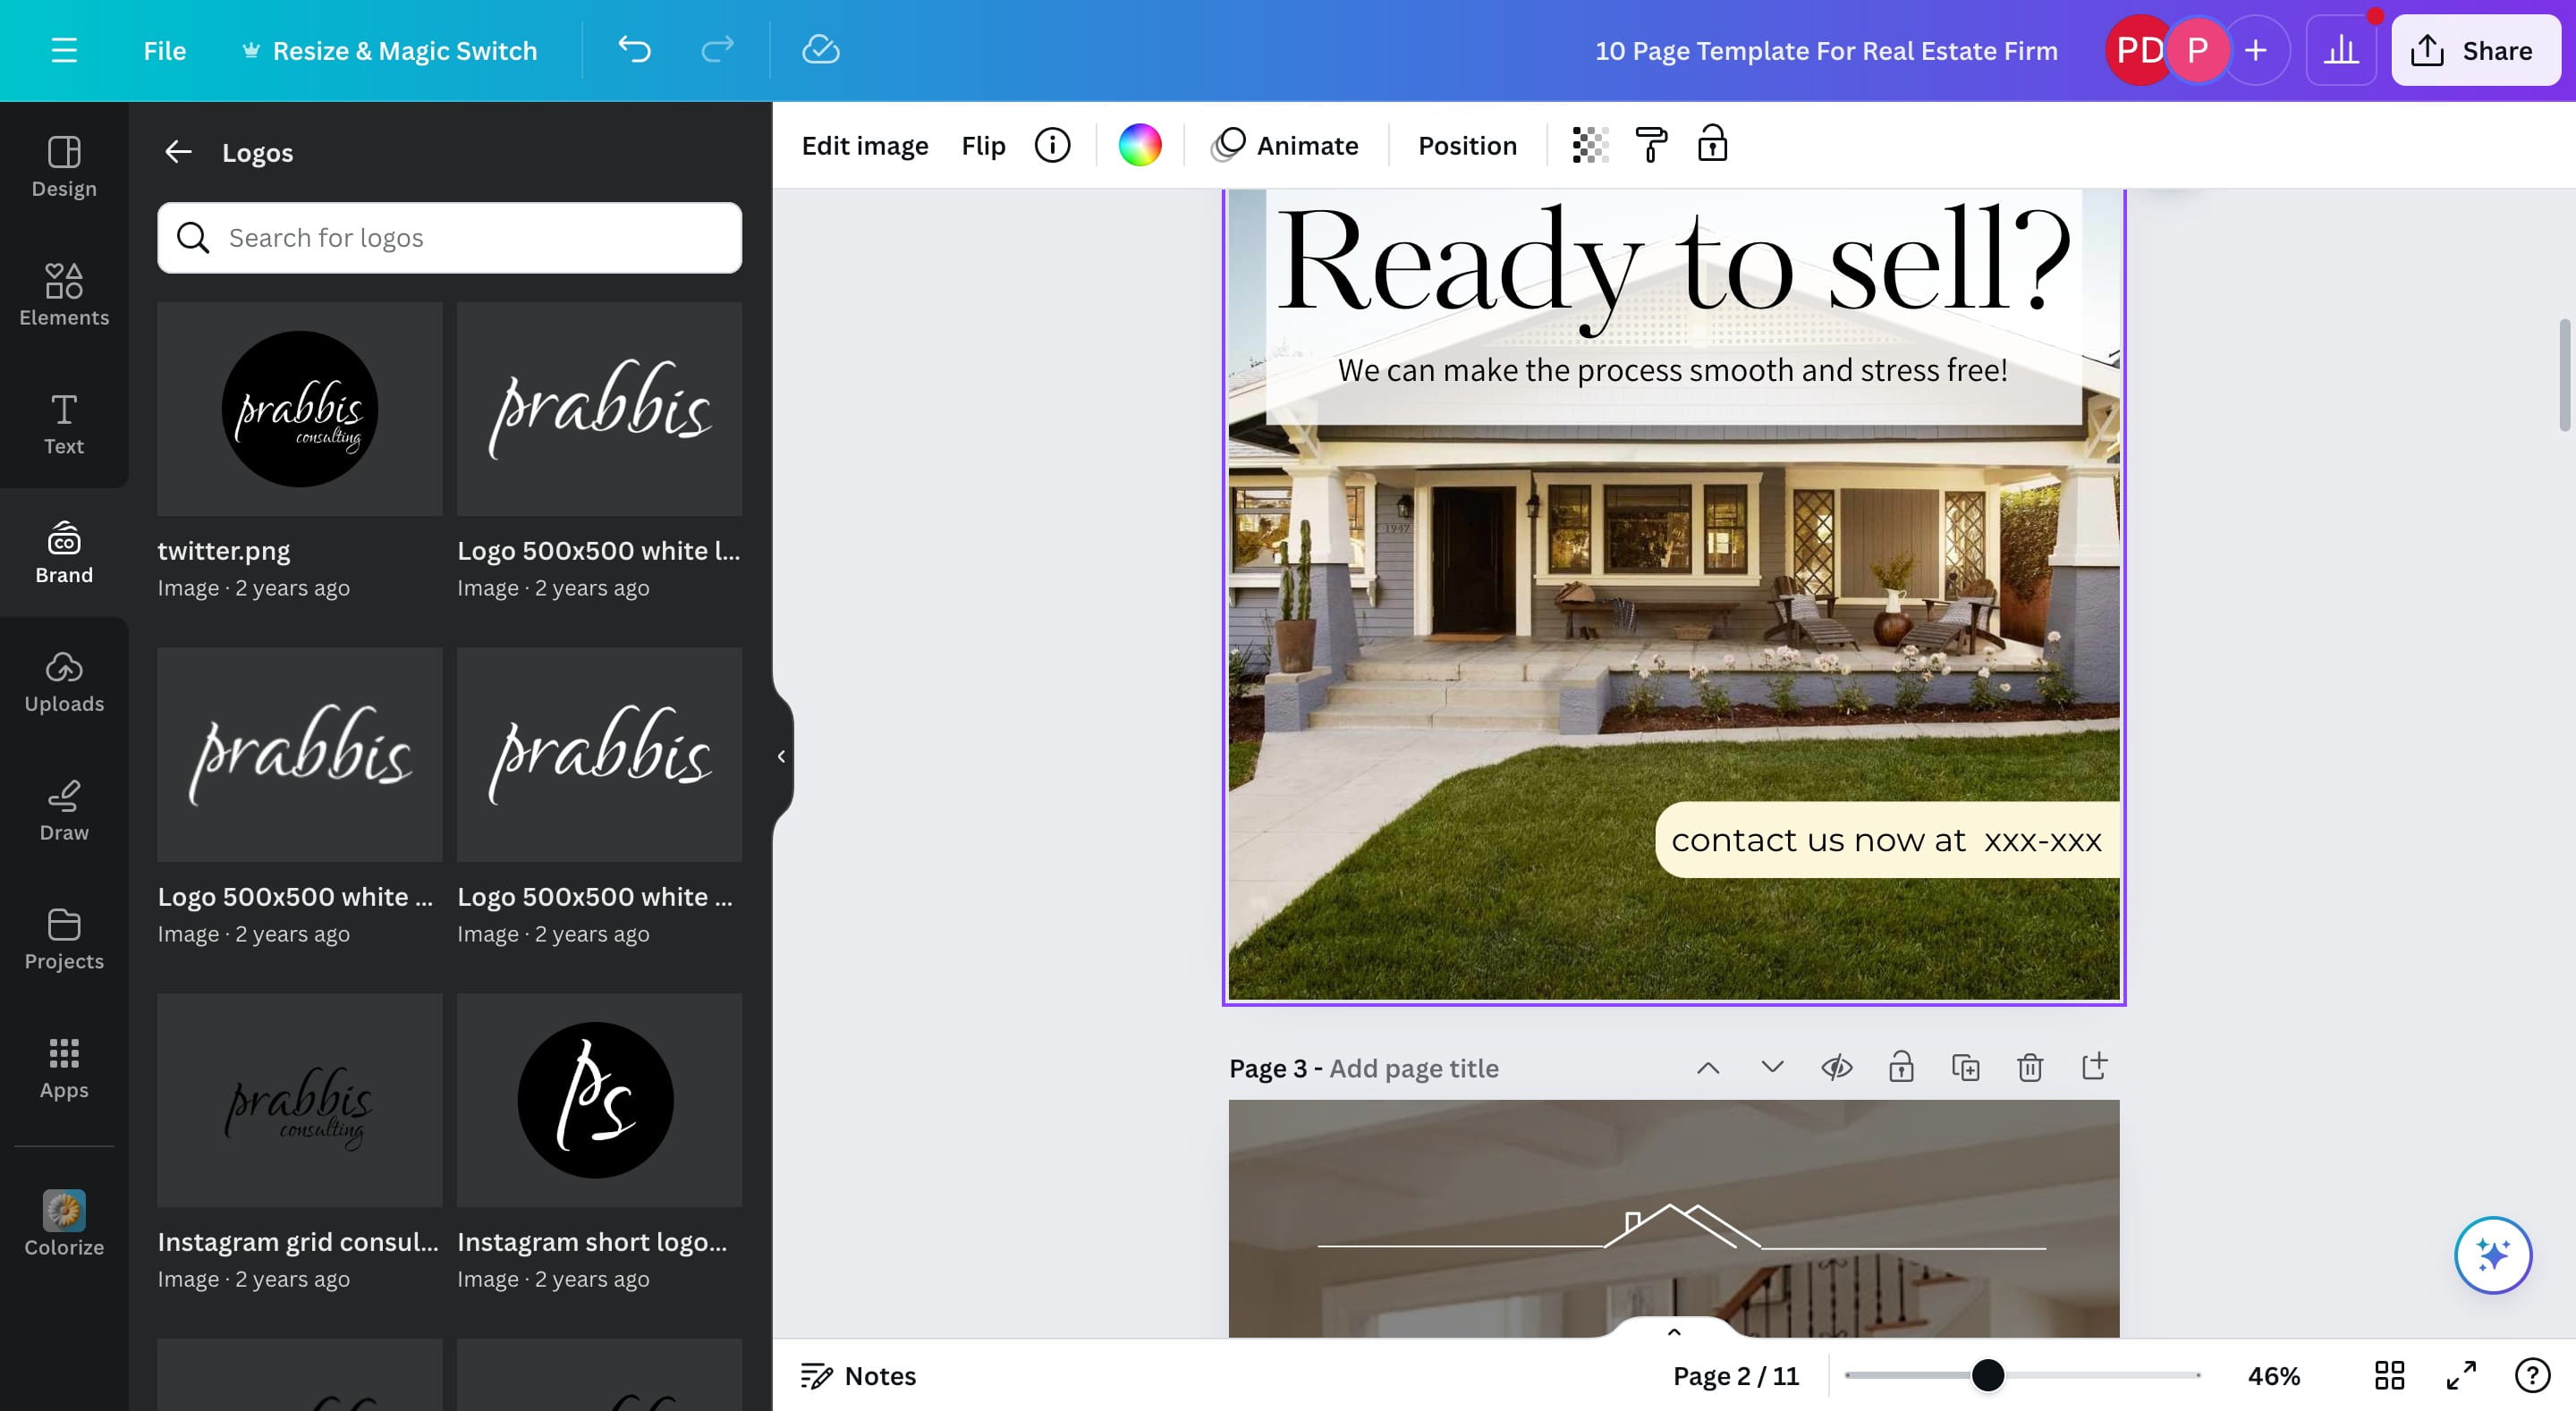
Add to the page and resize as needed.
You can also go to Uploads to upload an image.
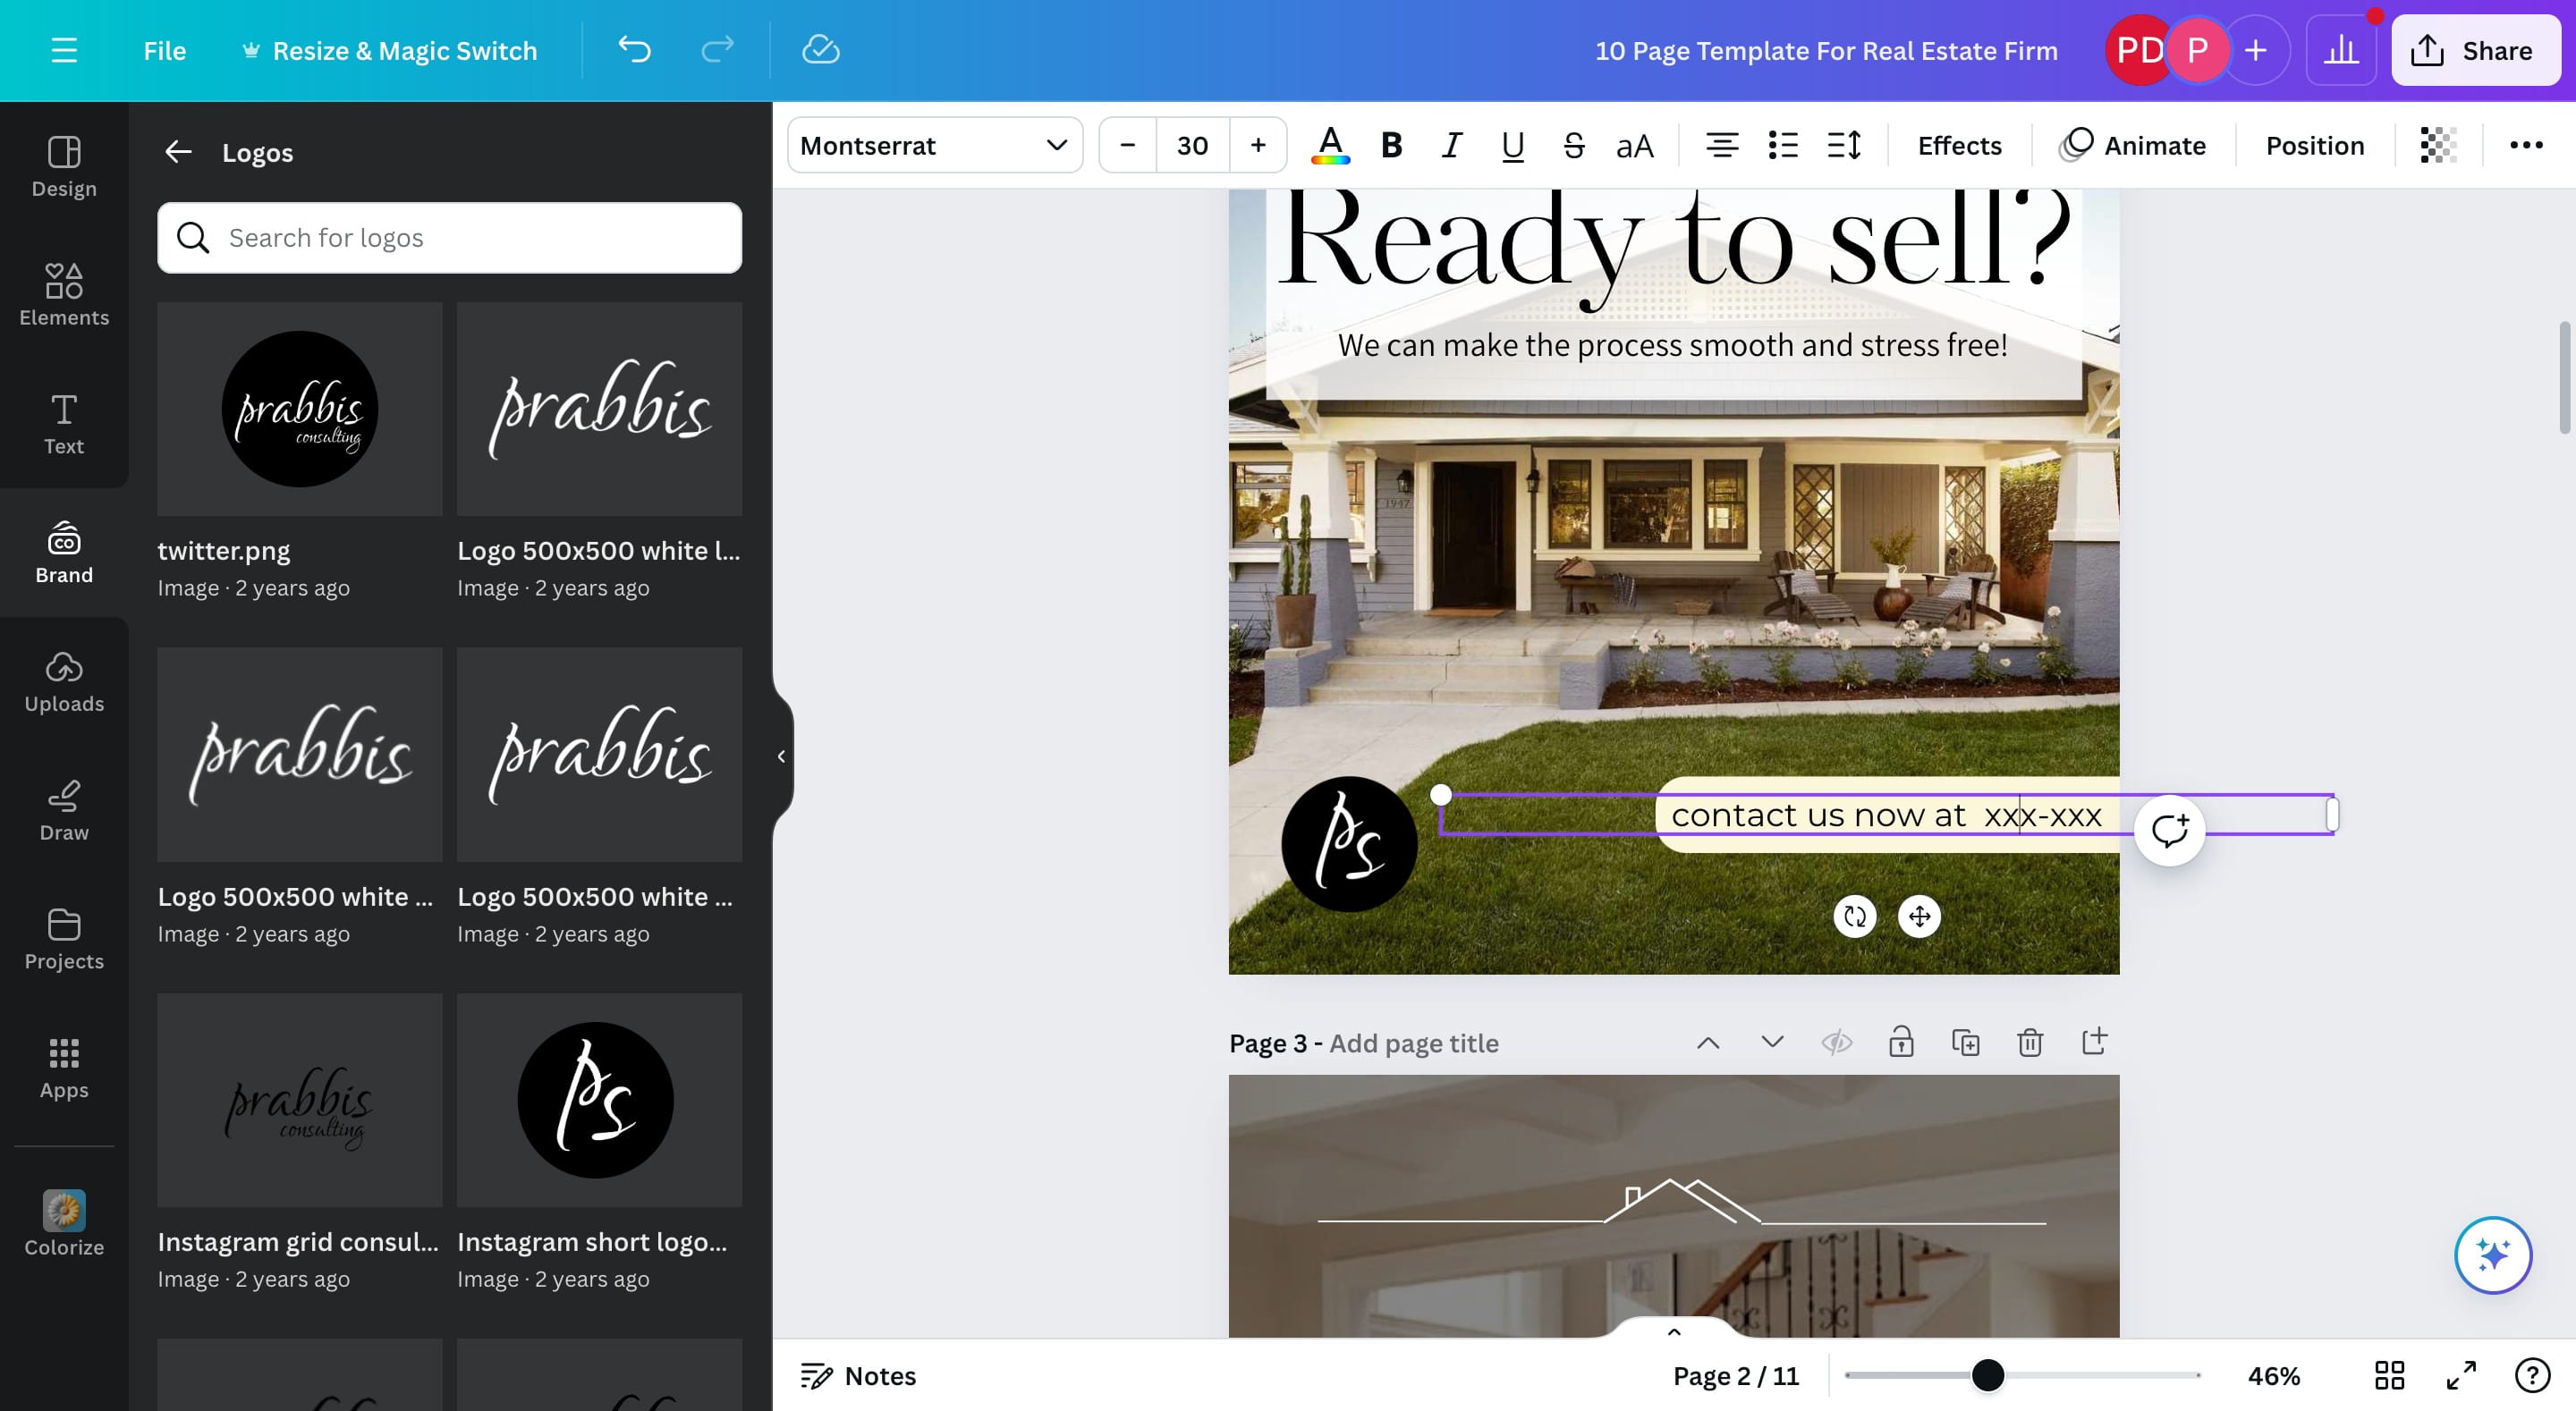
Make edits to other parts of the document to fit your brand
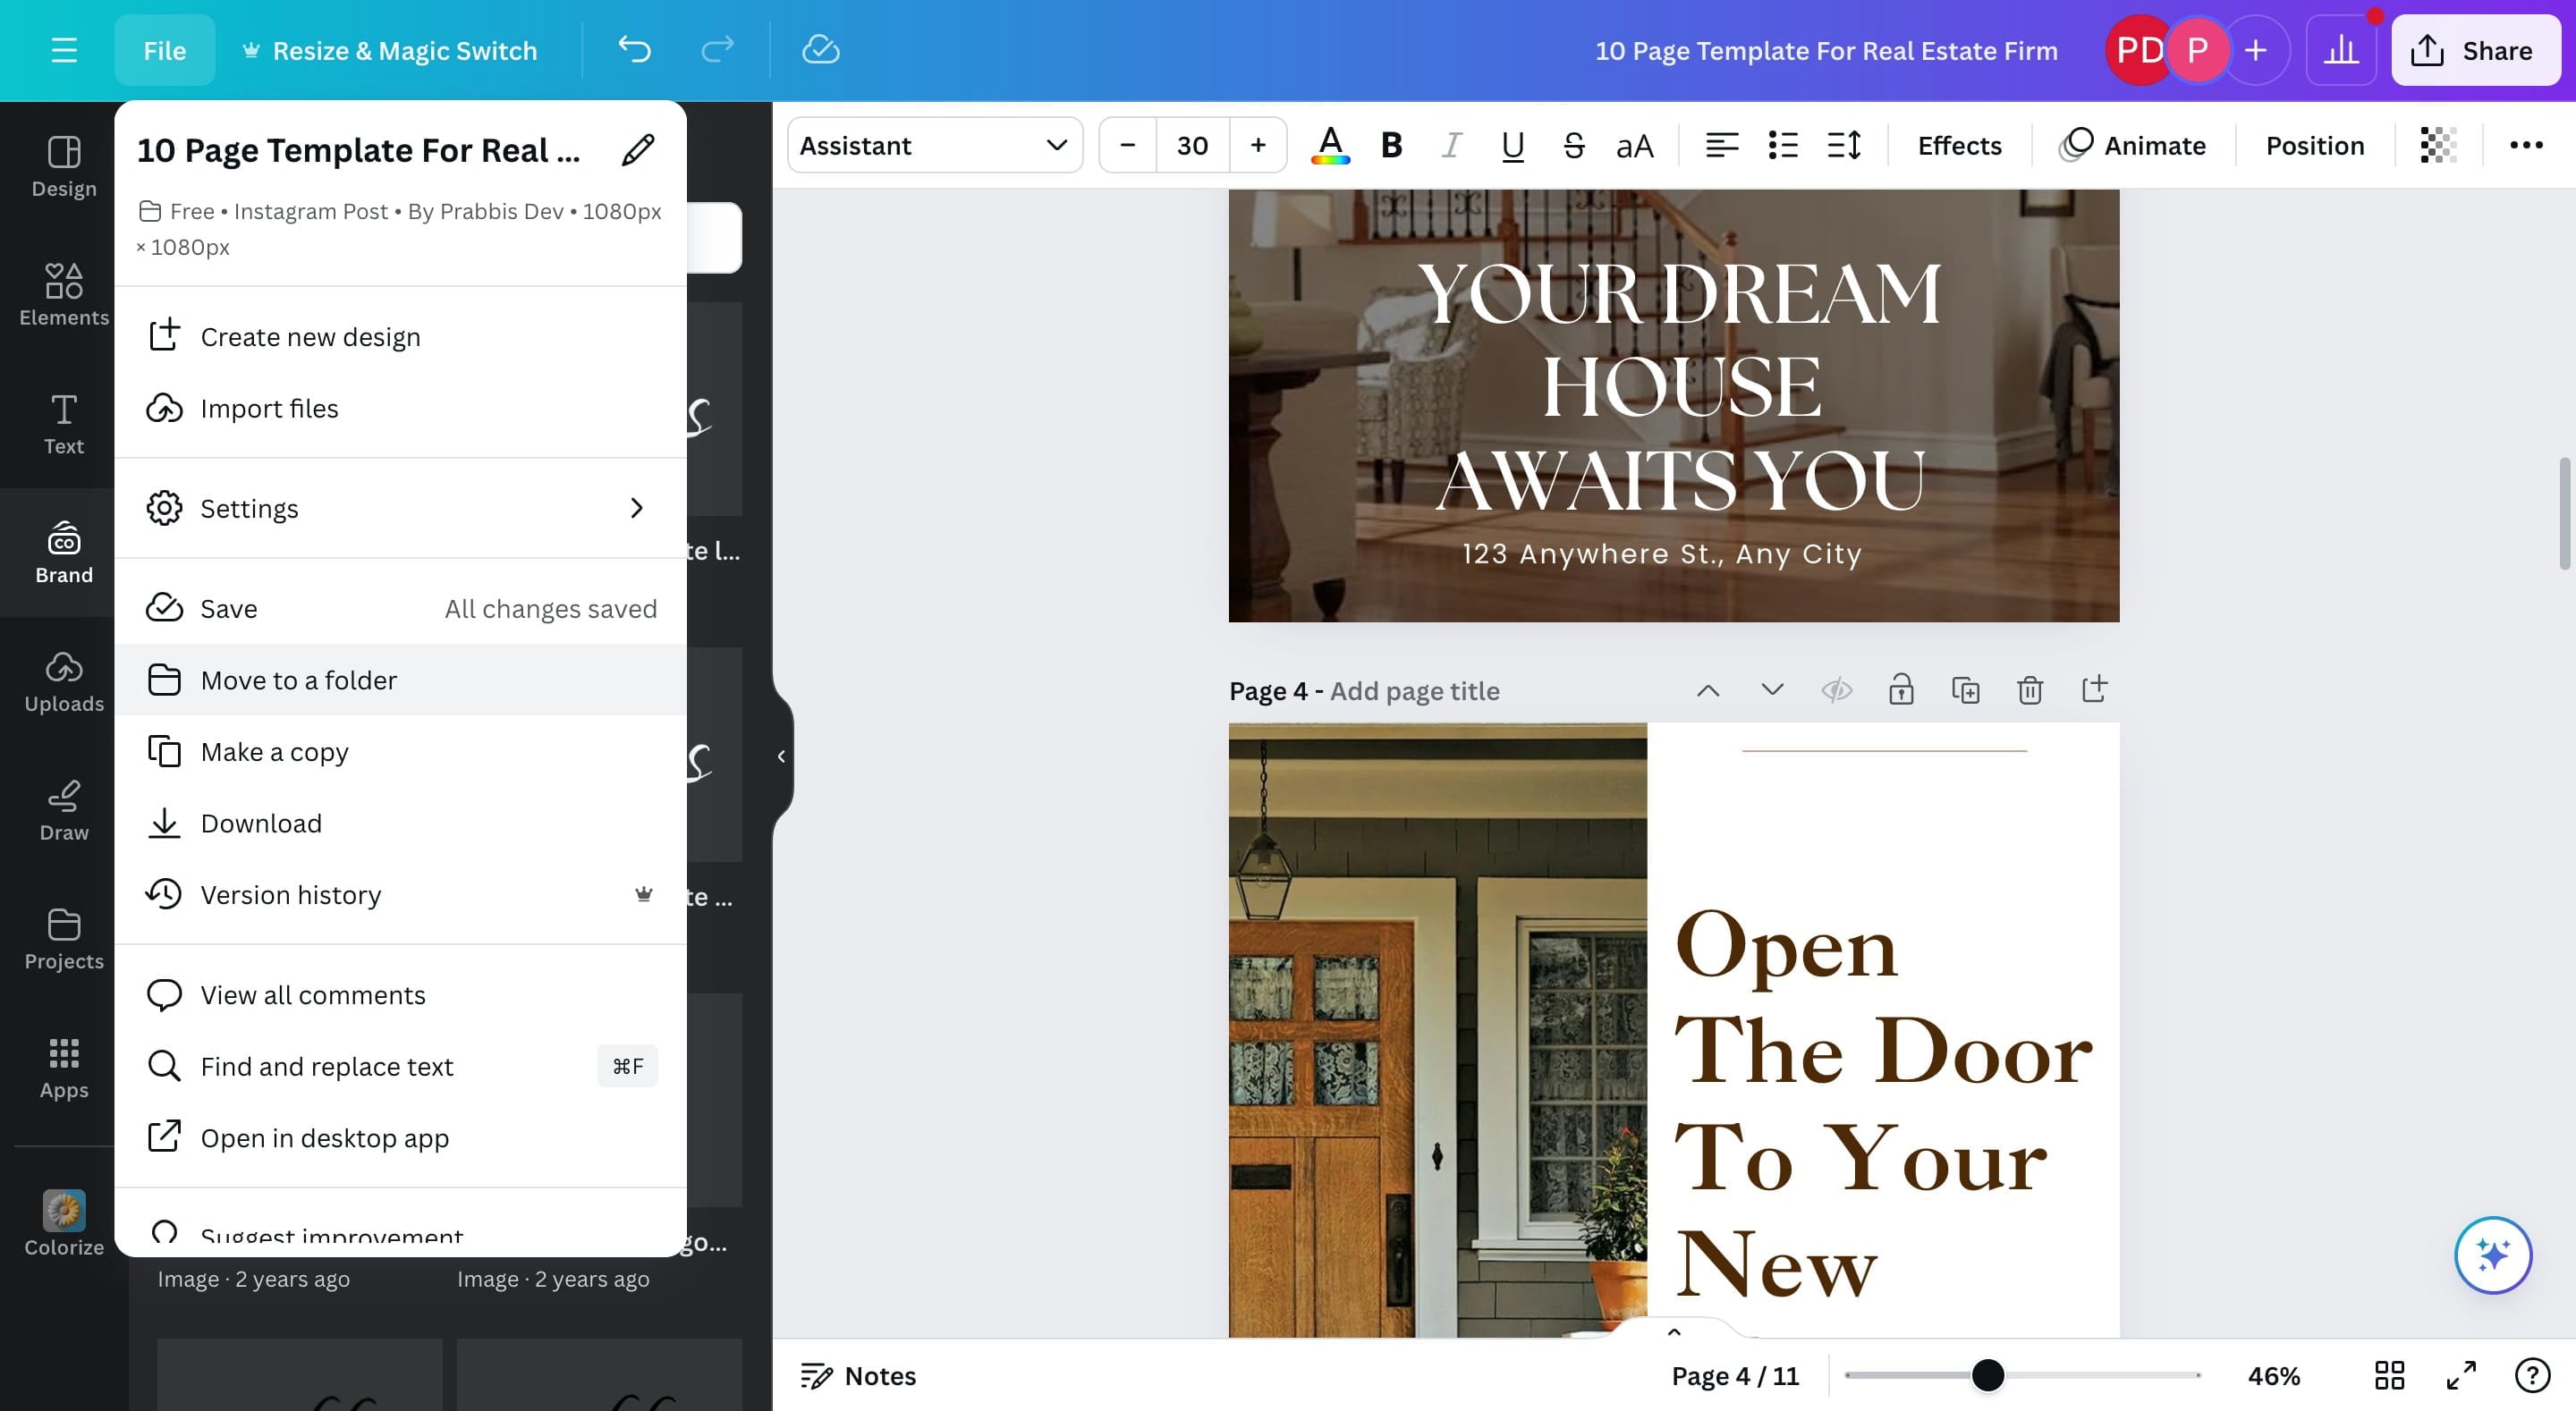
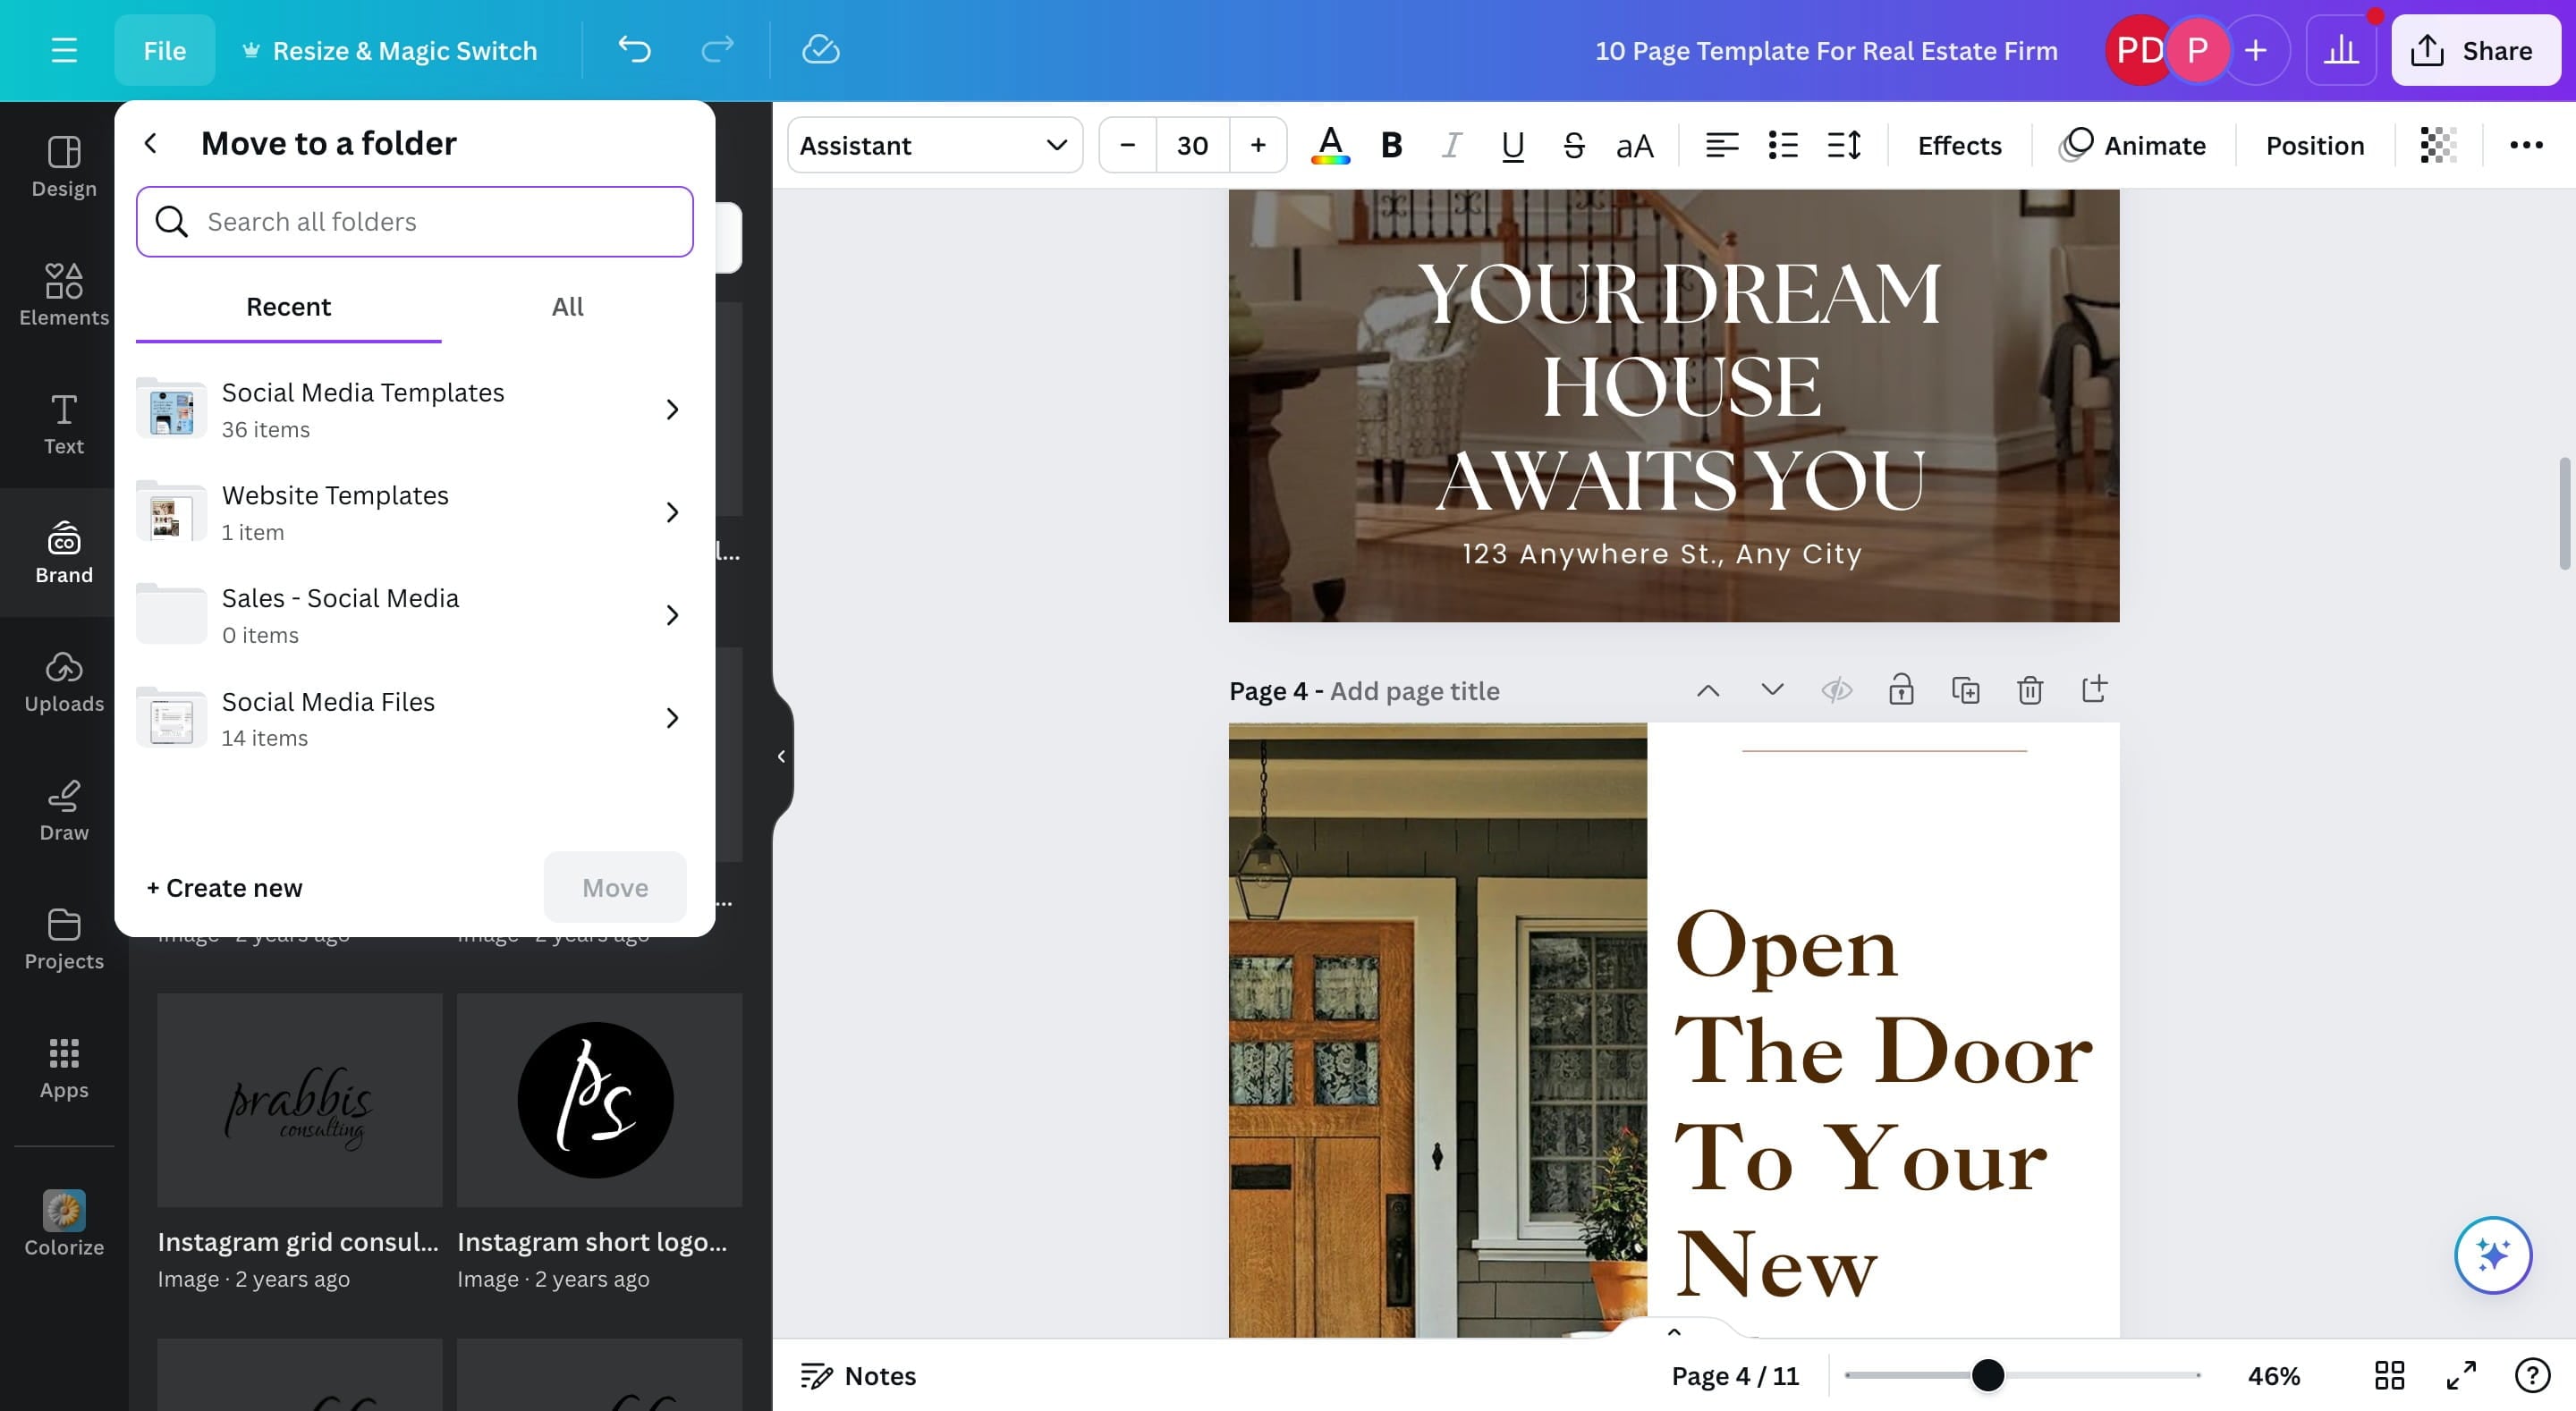
Add Design To a Folder
Click on "File"
Click on "Move to a folder"
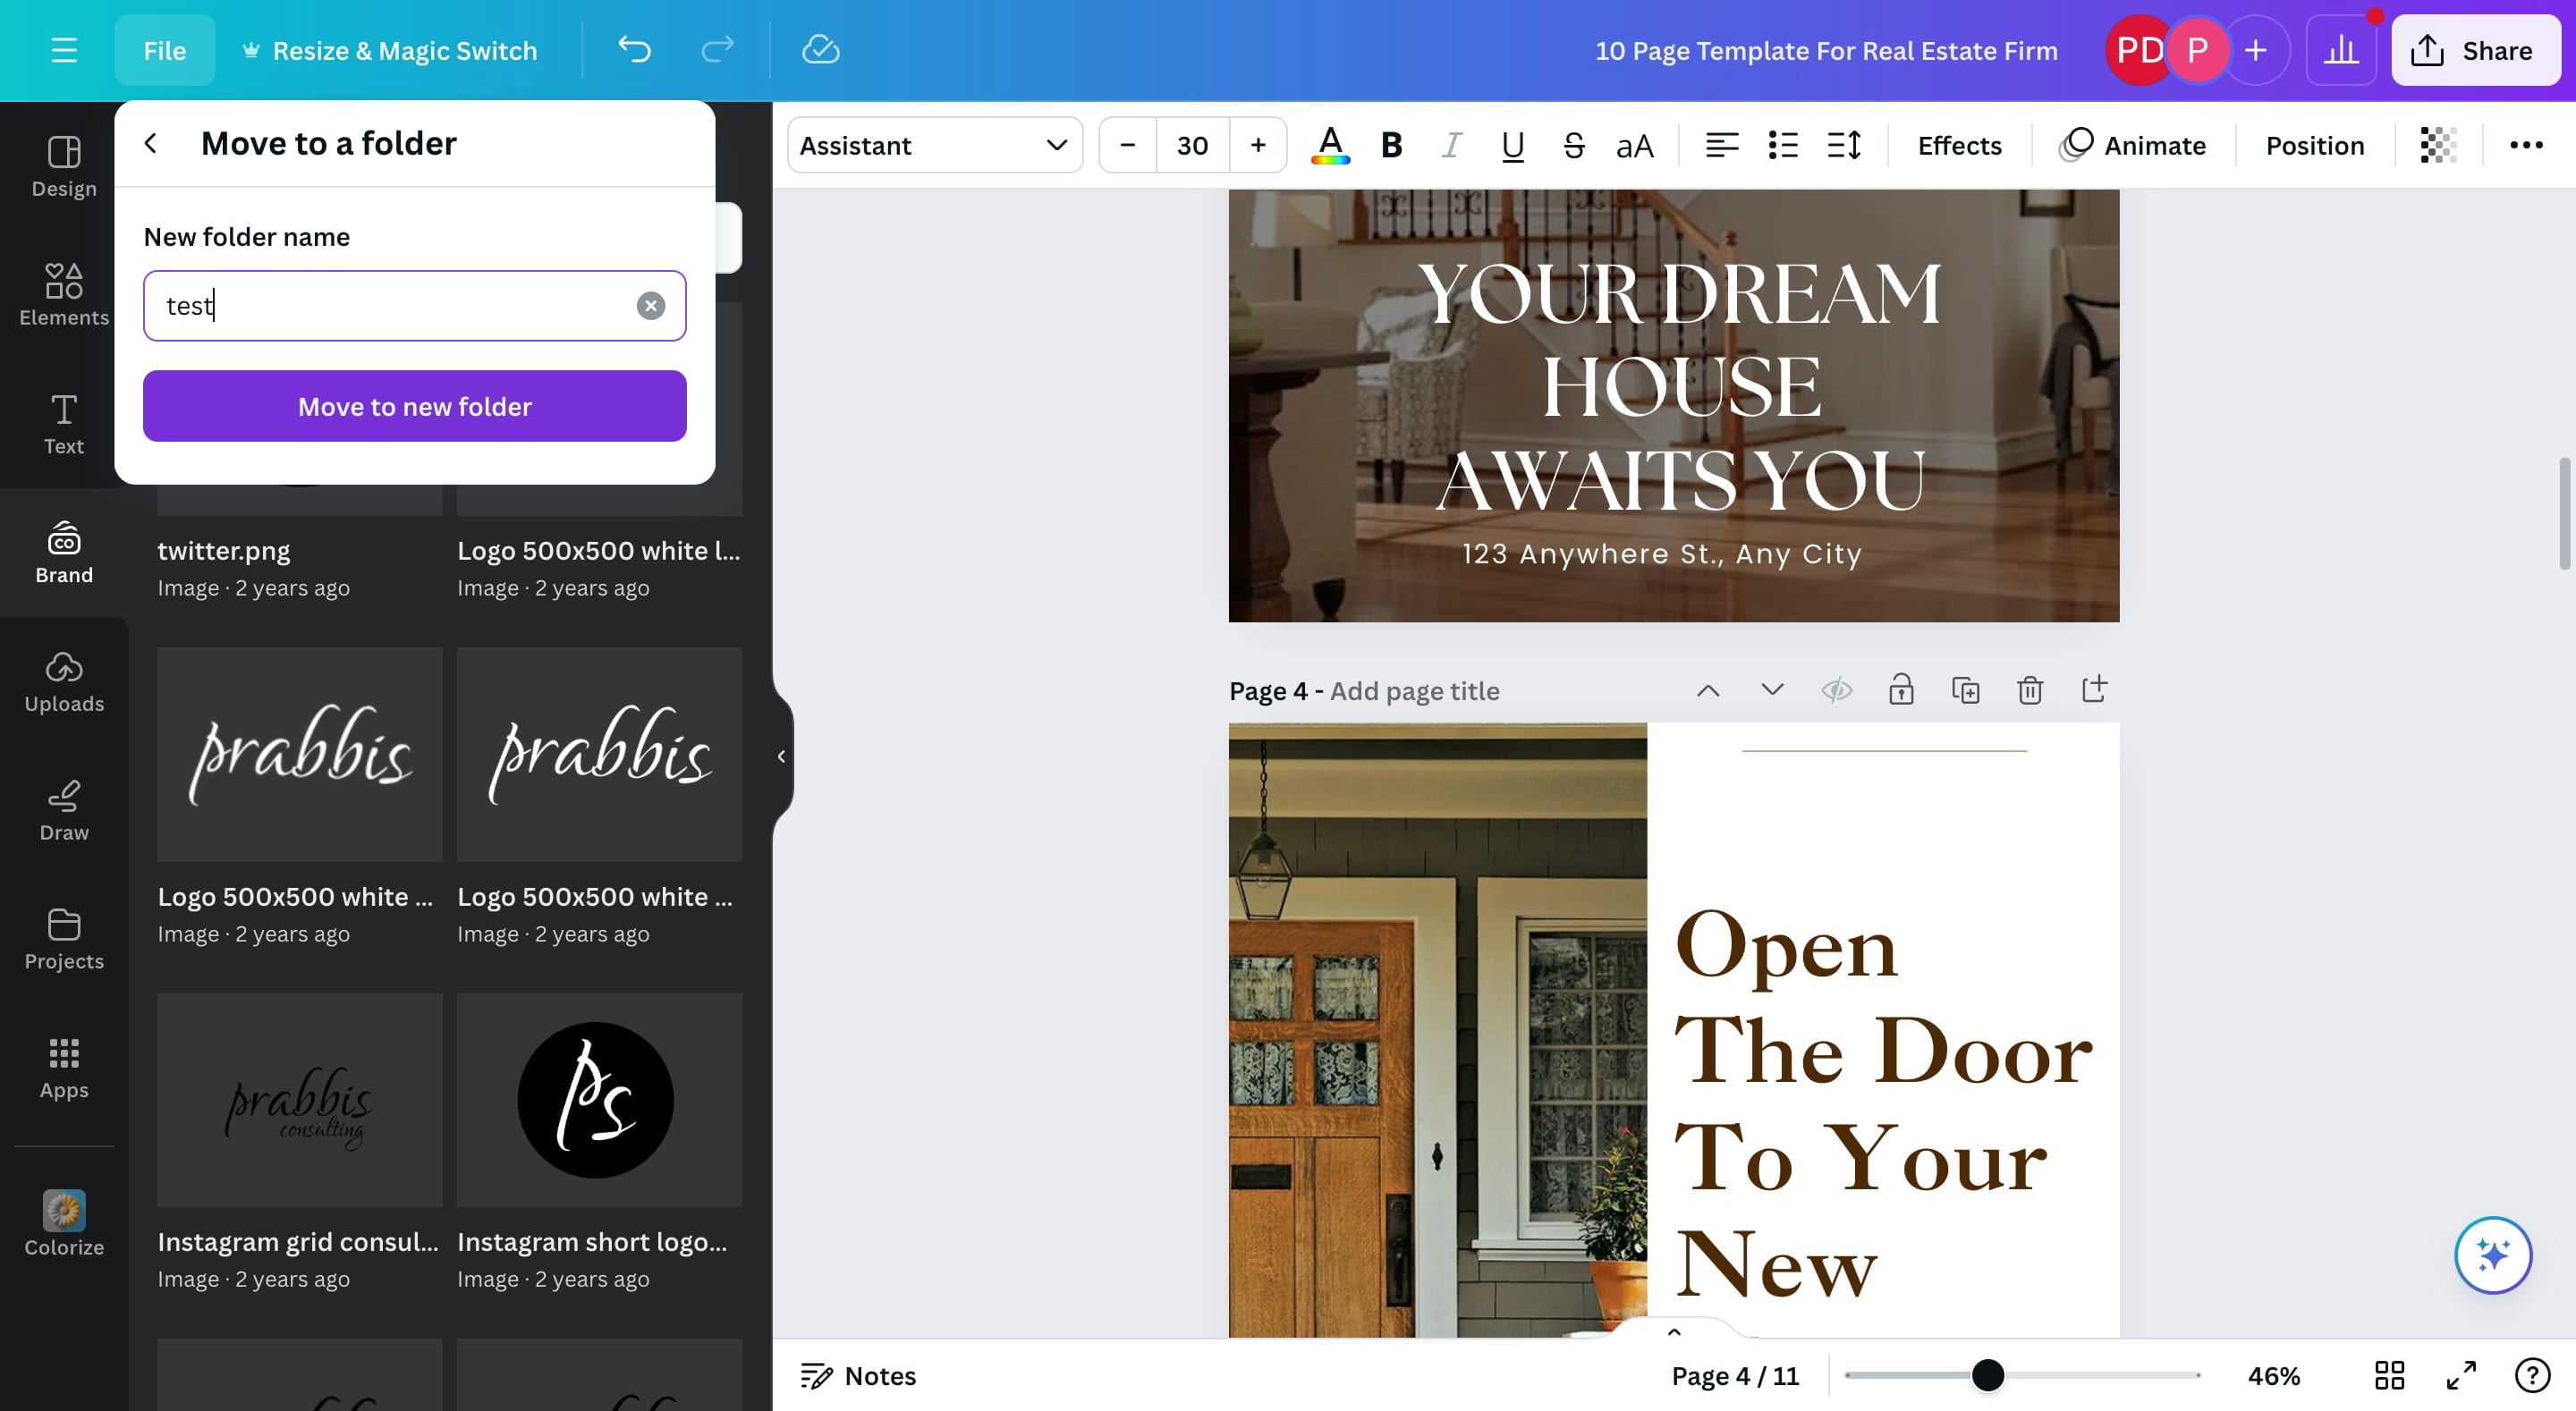
Click on "+ Create new" or use any existing folders
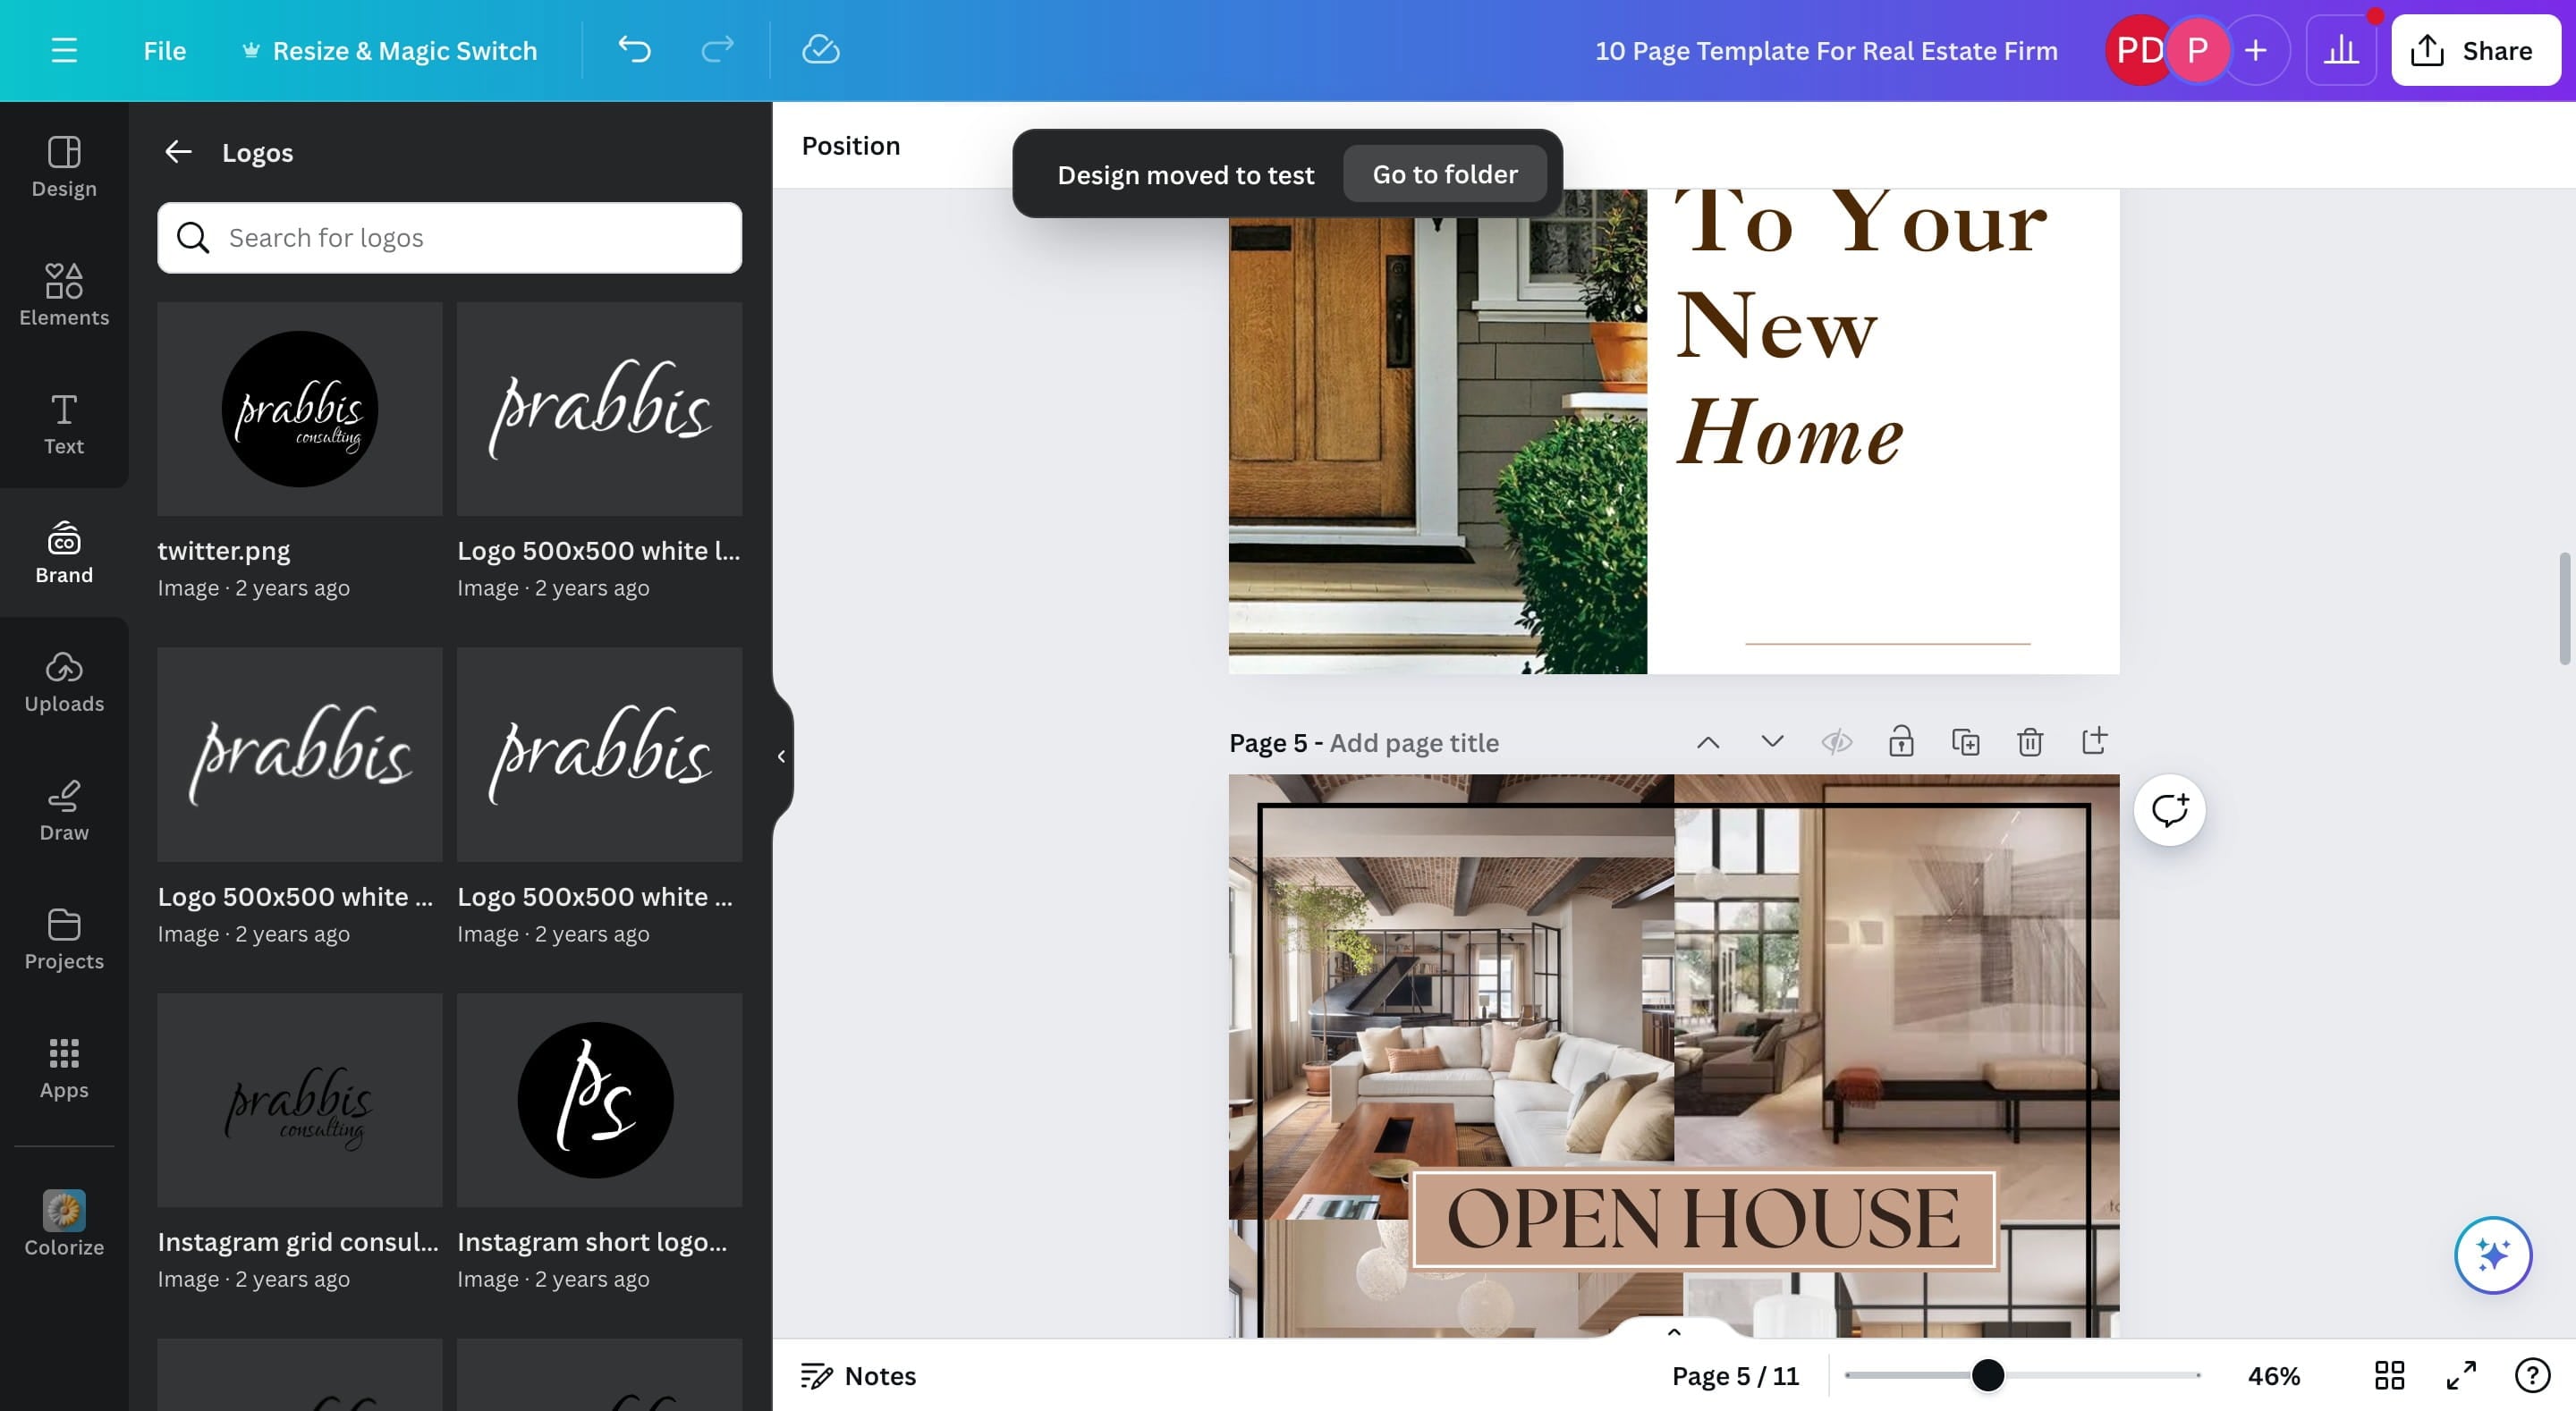
Click on "Move to new folder"
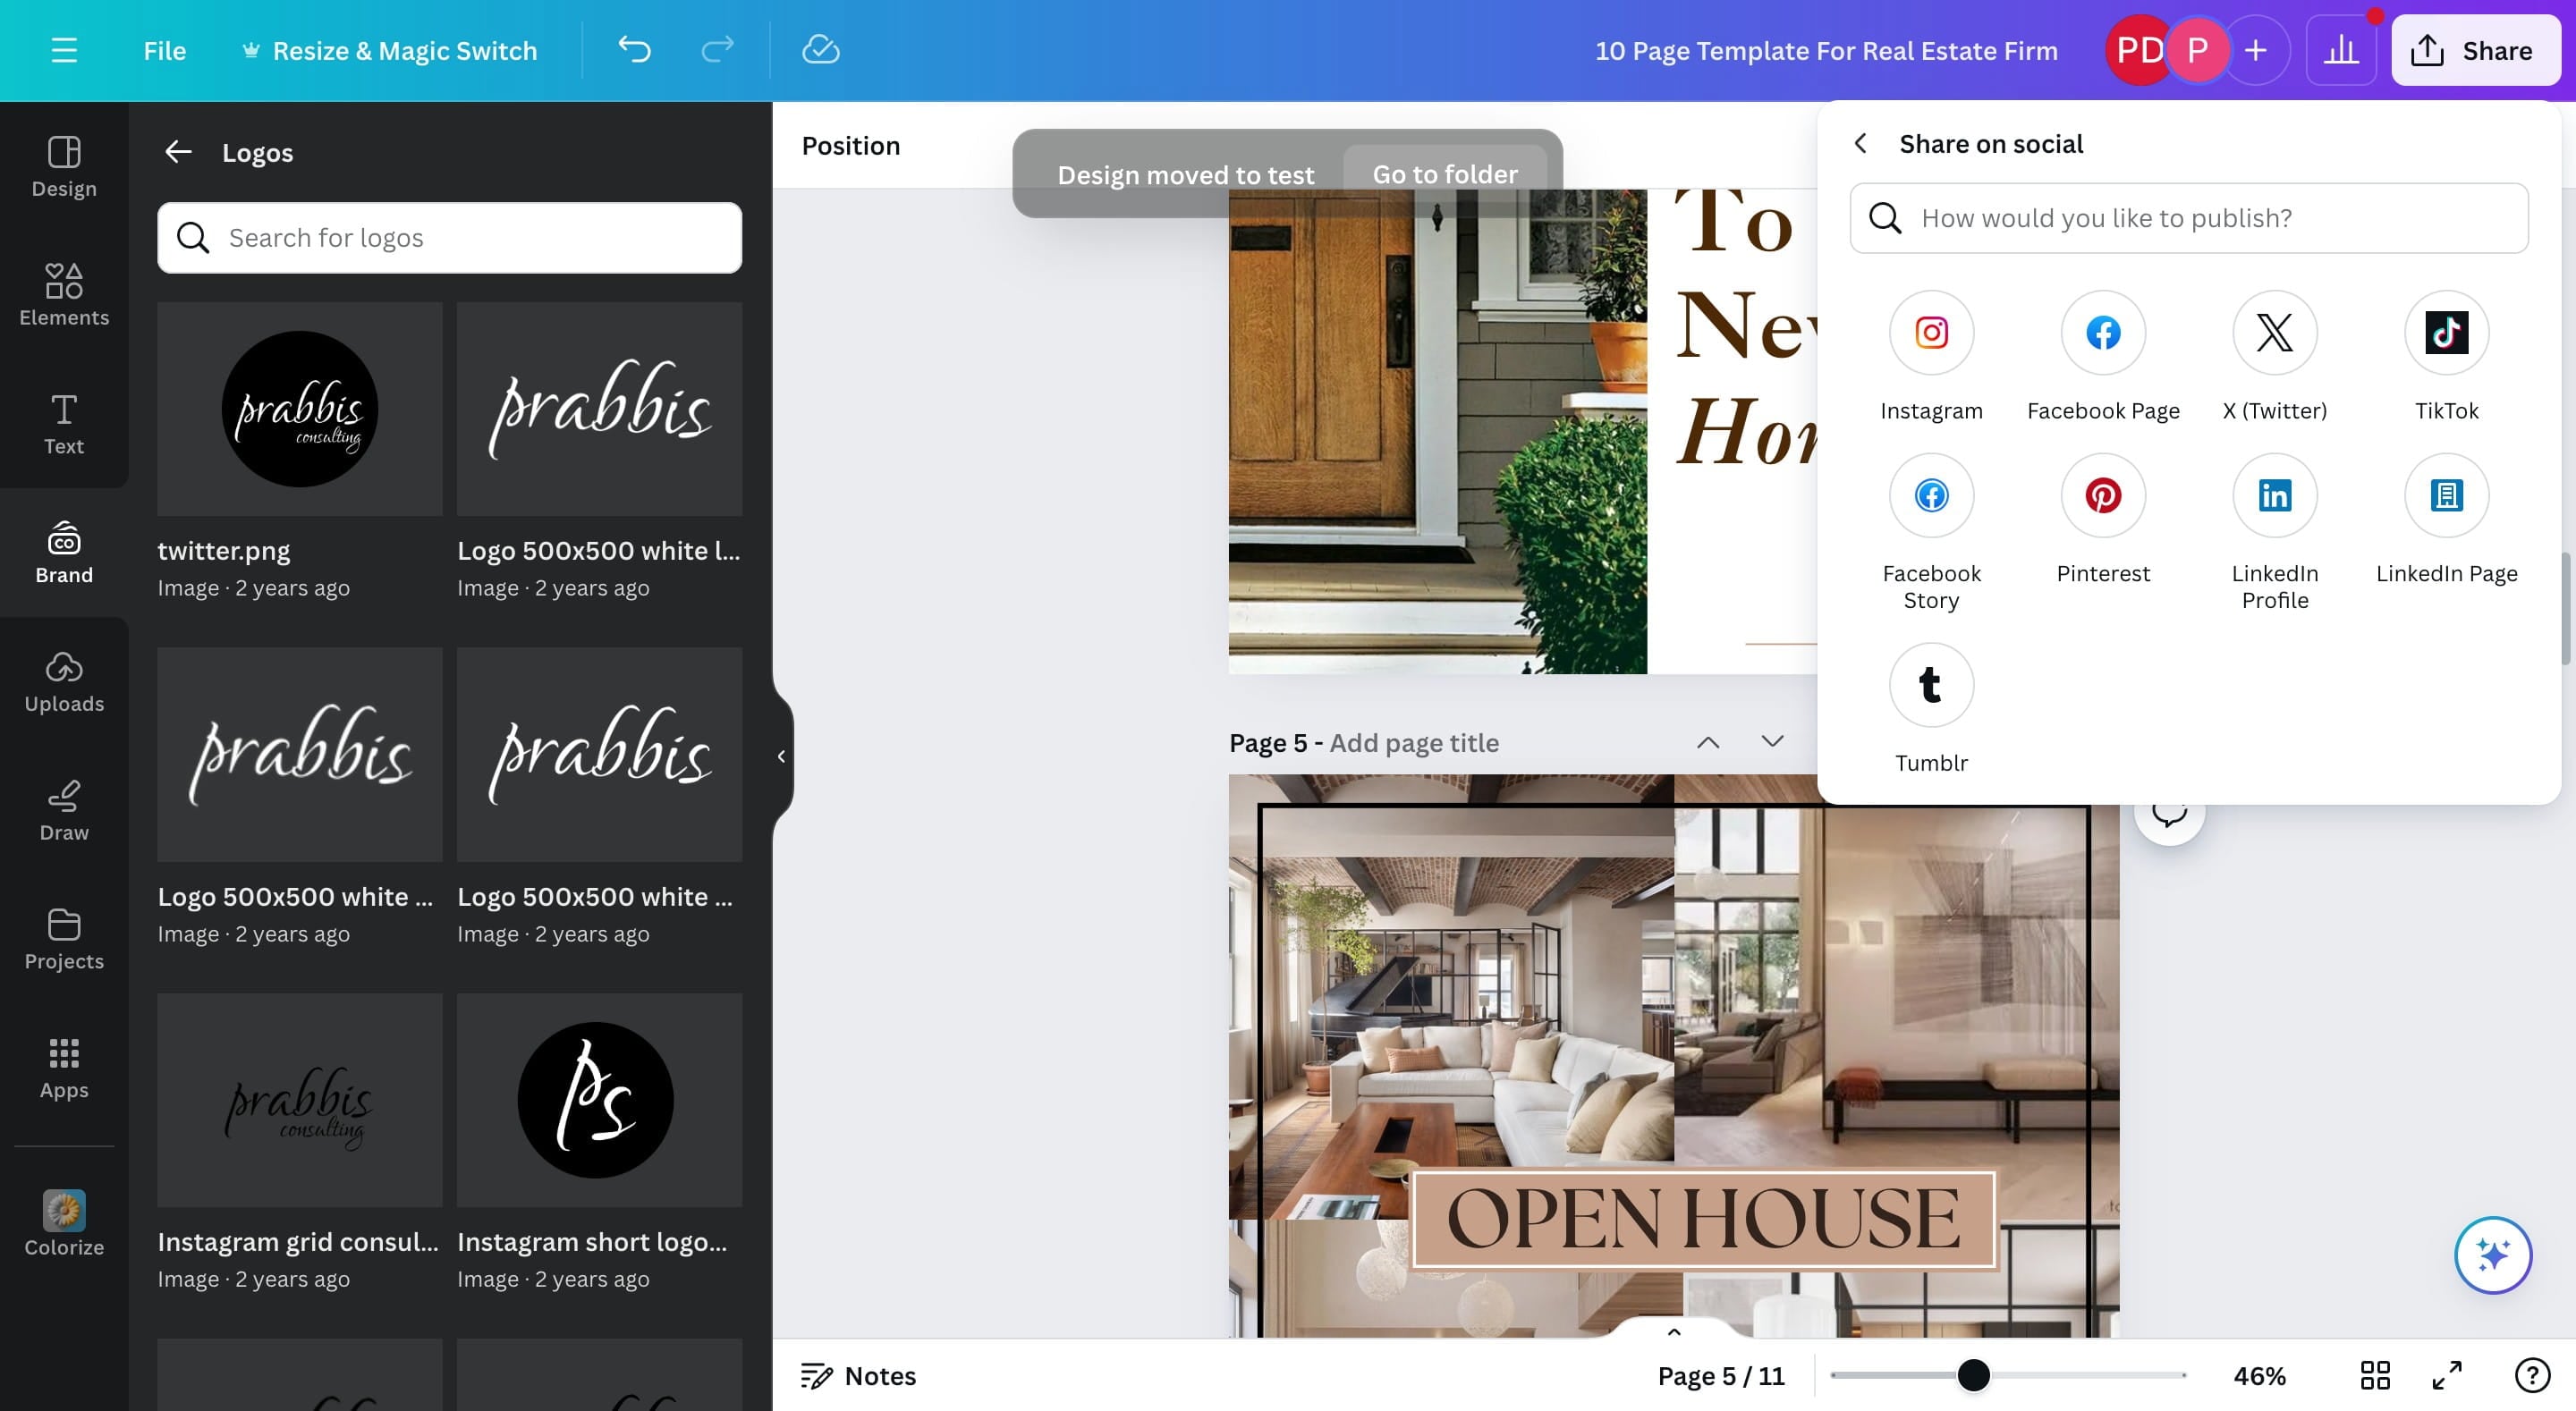
Share on Social Media
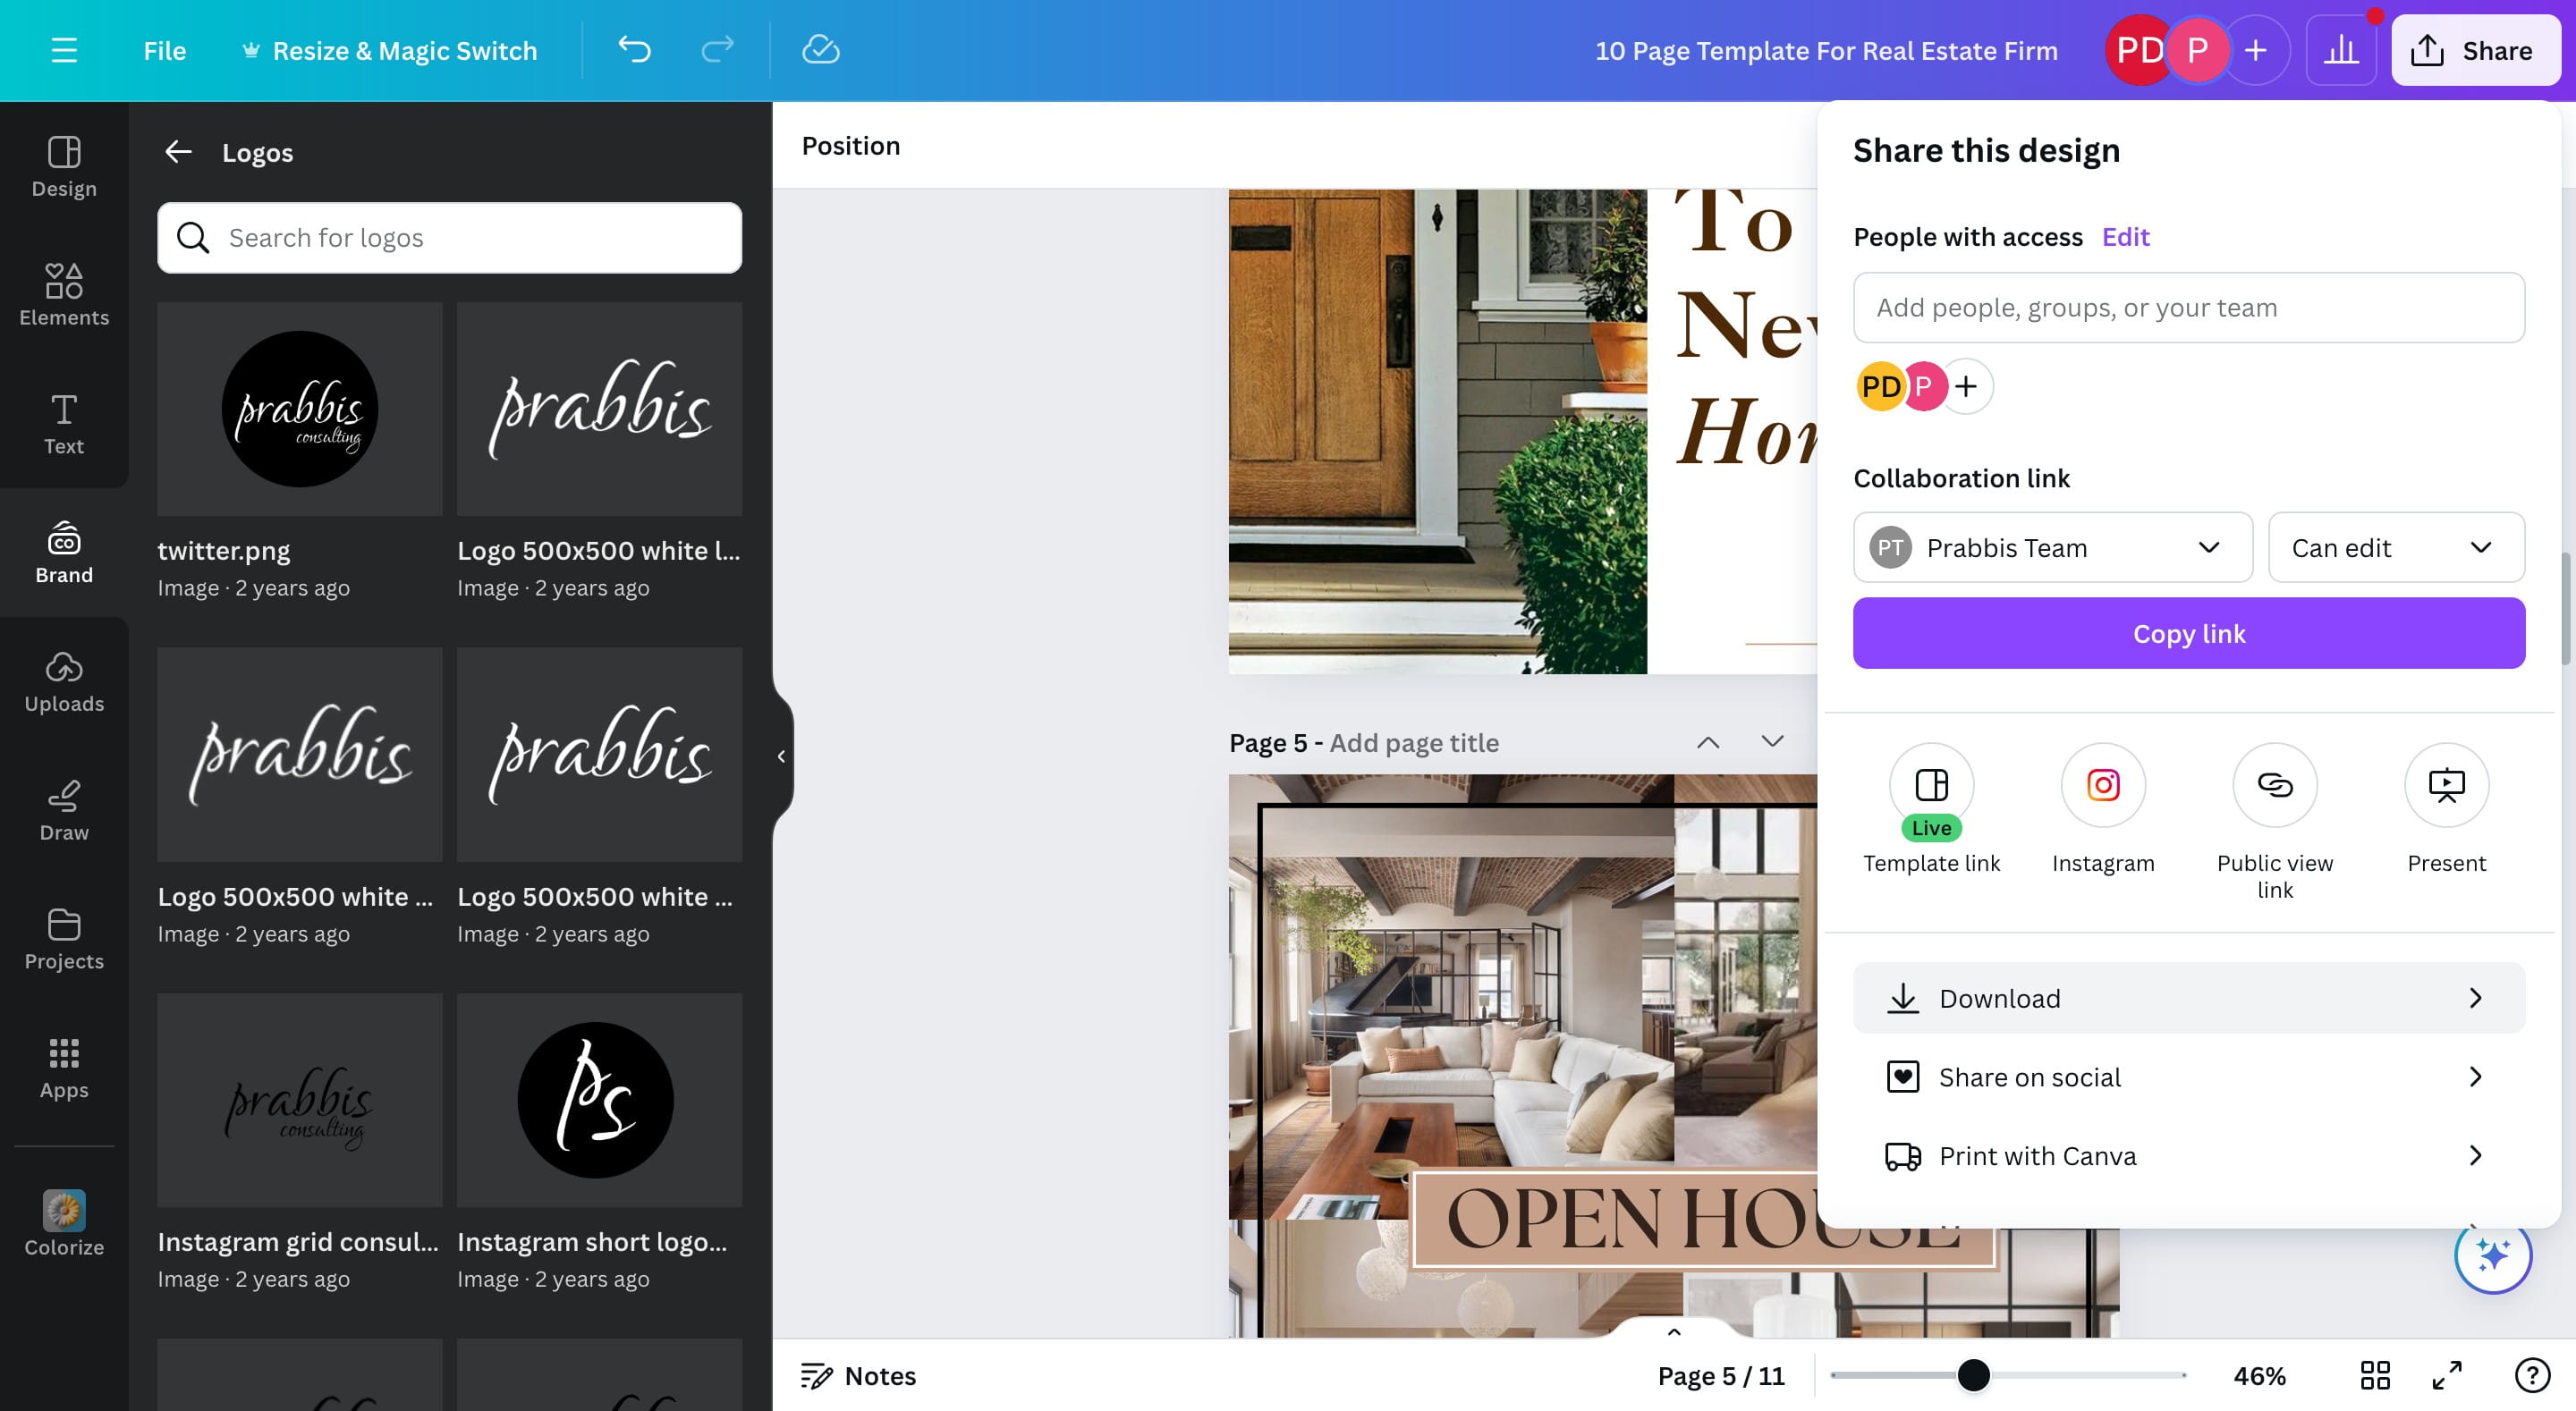
Click on the Share Button
Click on "Share on social"
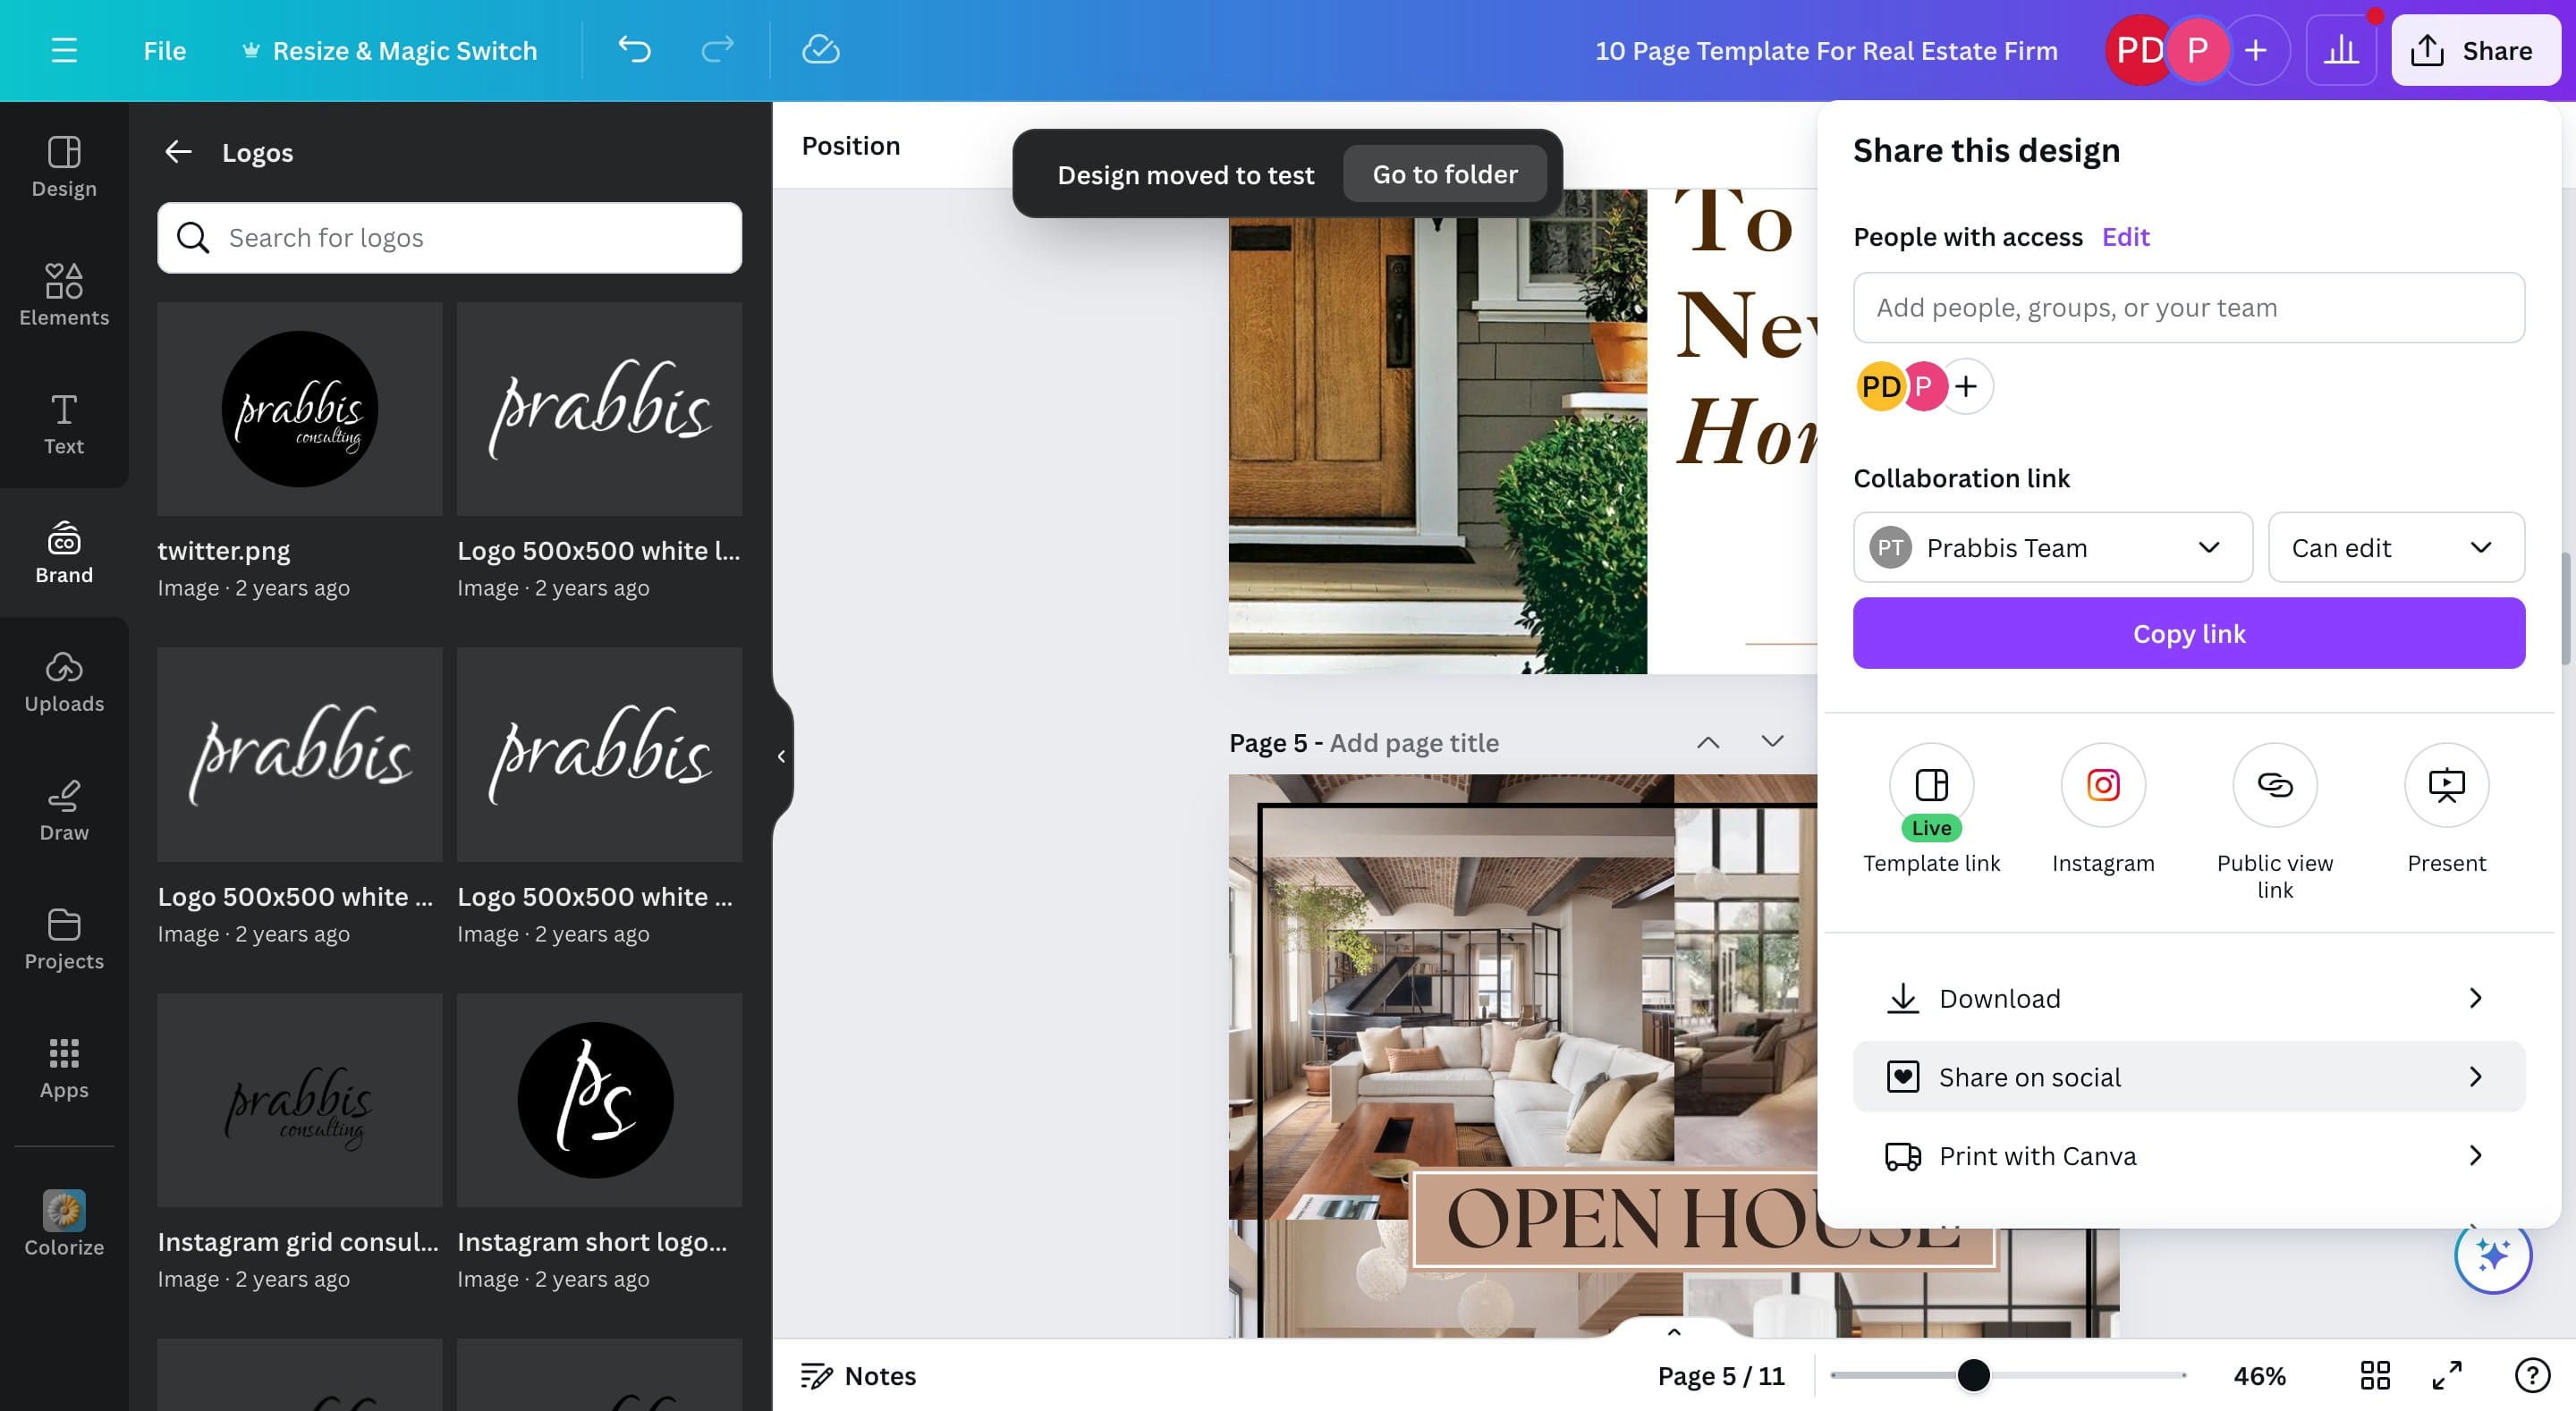
Select any of the social media platforms you will like to publish your data to.
Download
Using the same Share Button, Click on "Download"
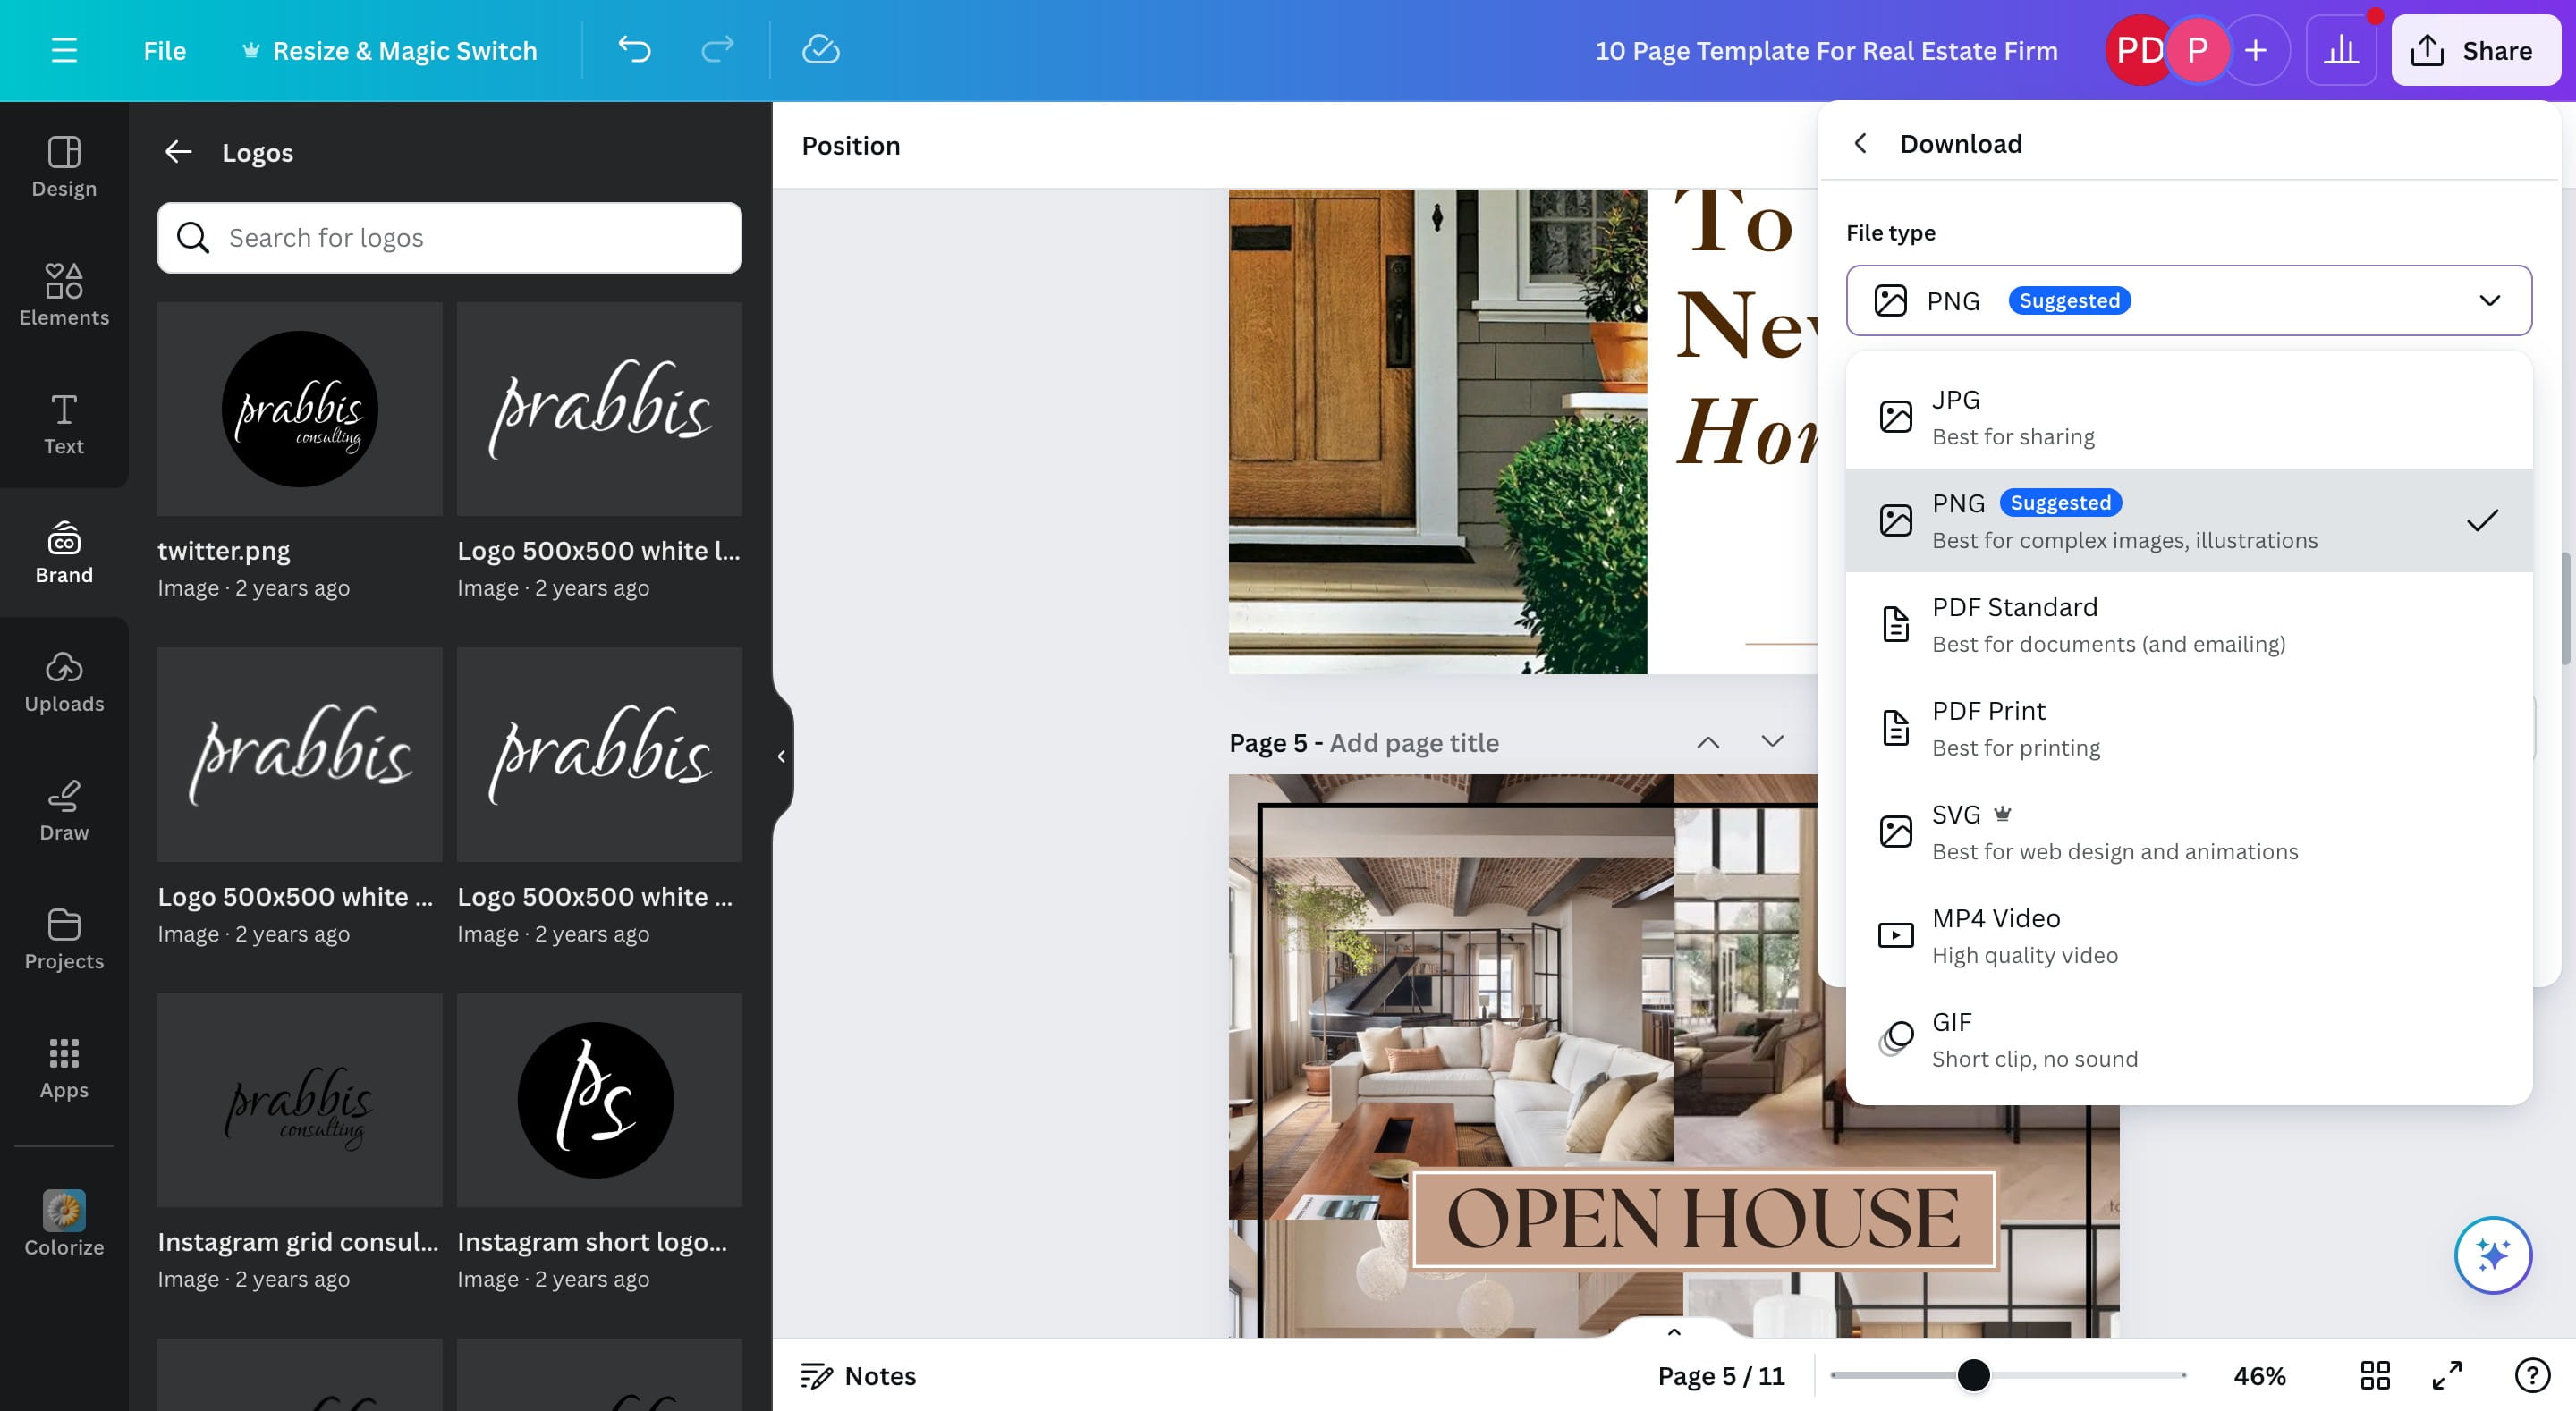
Click on File Type dropdown to select the type of media you'll like downloaded.
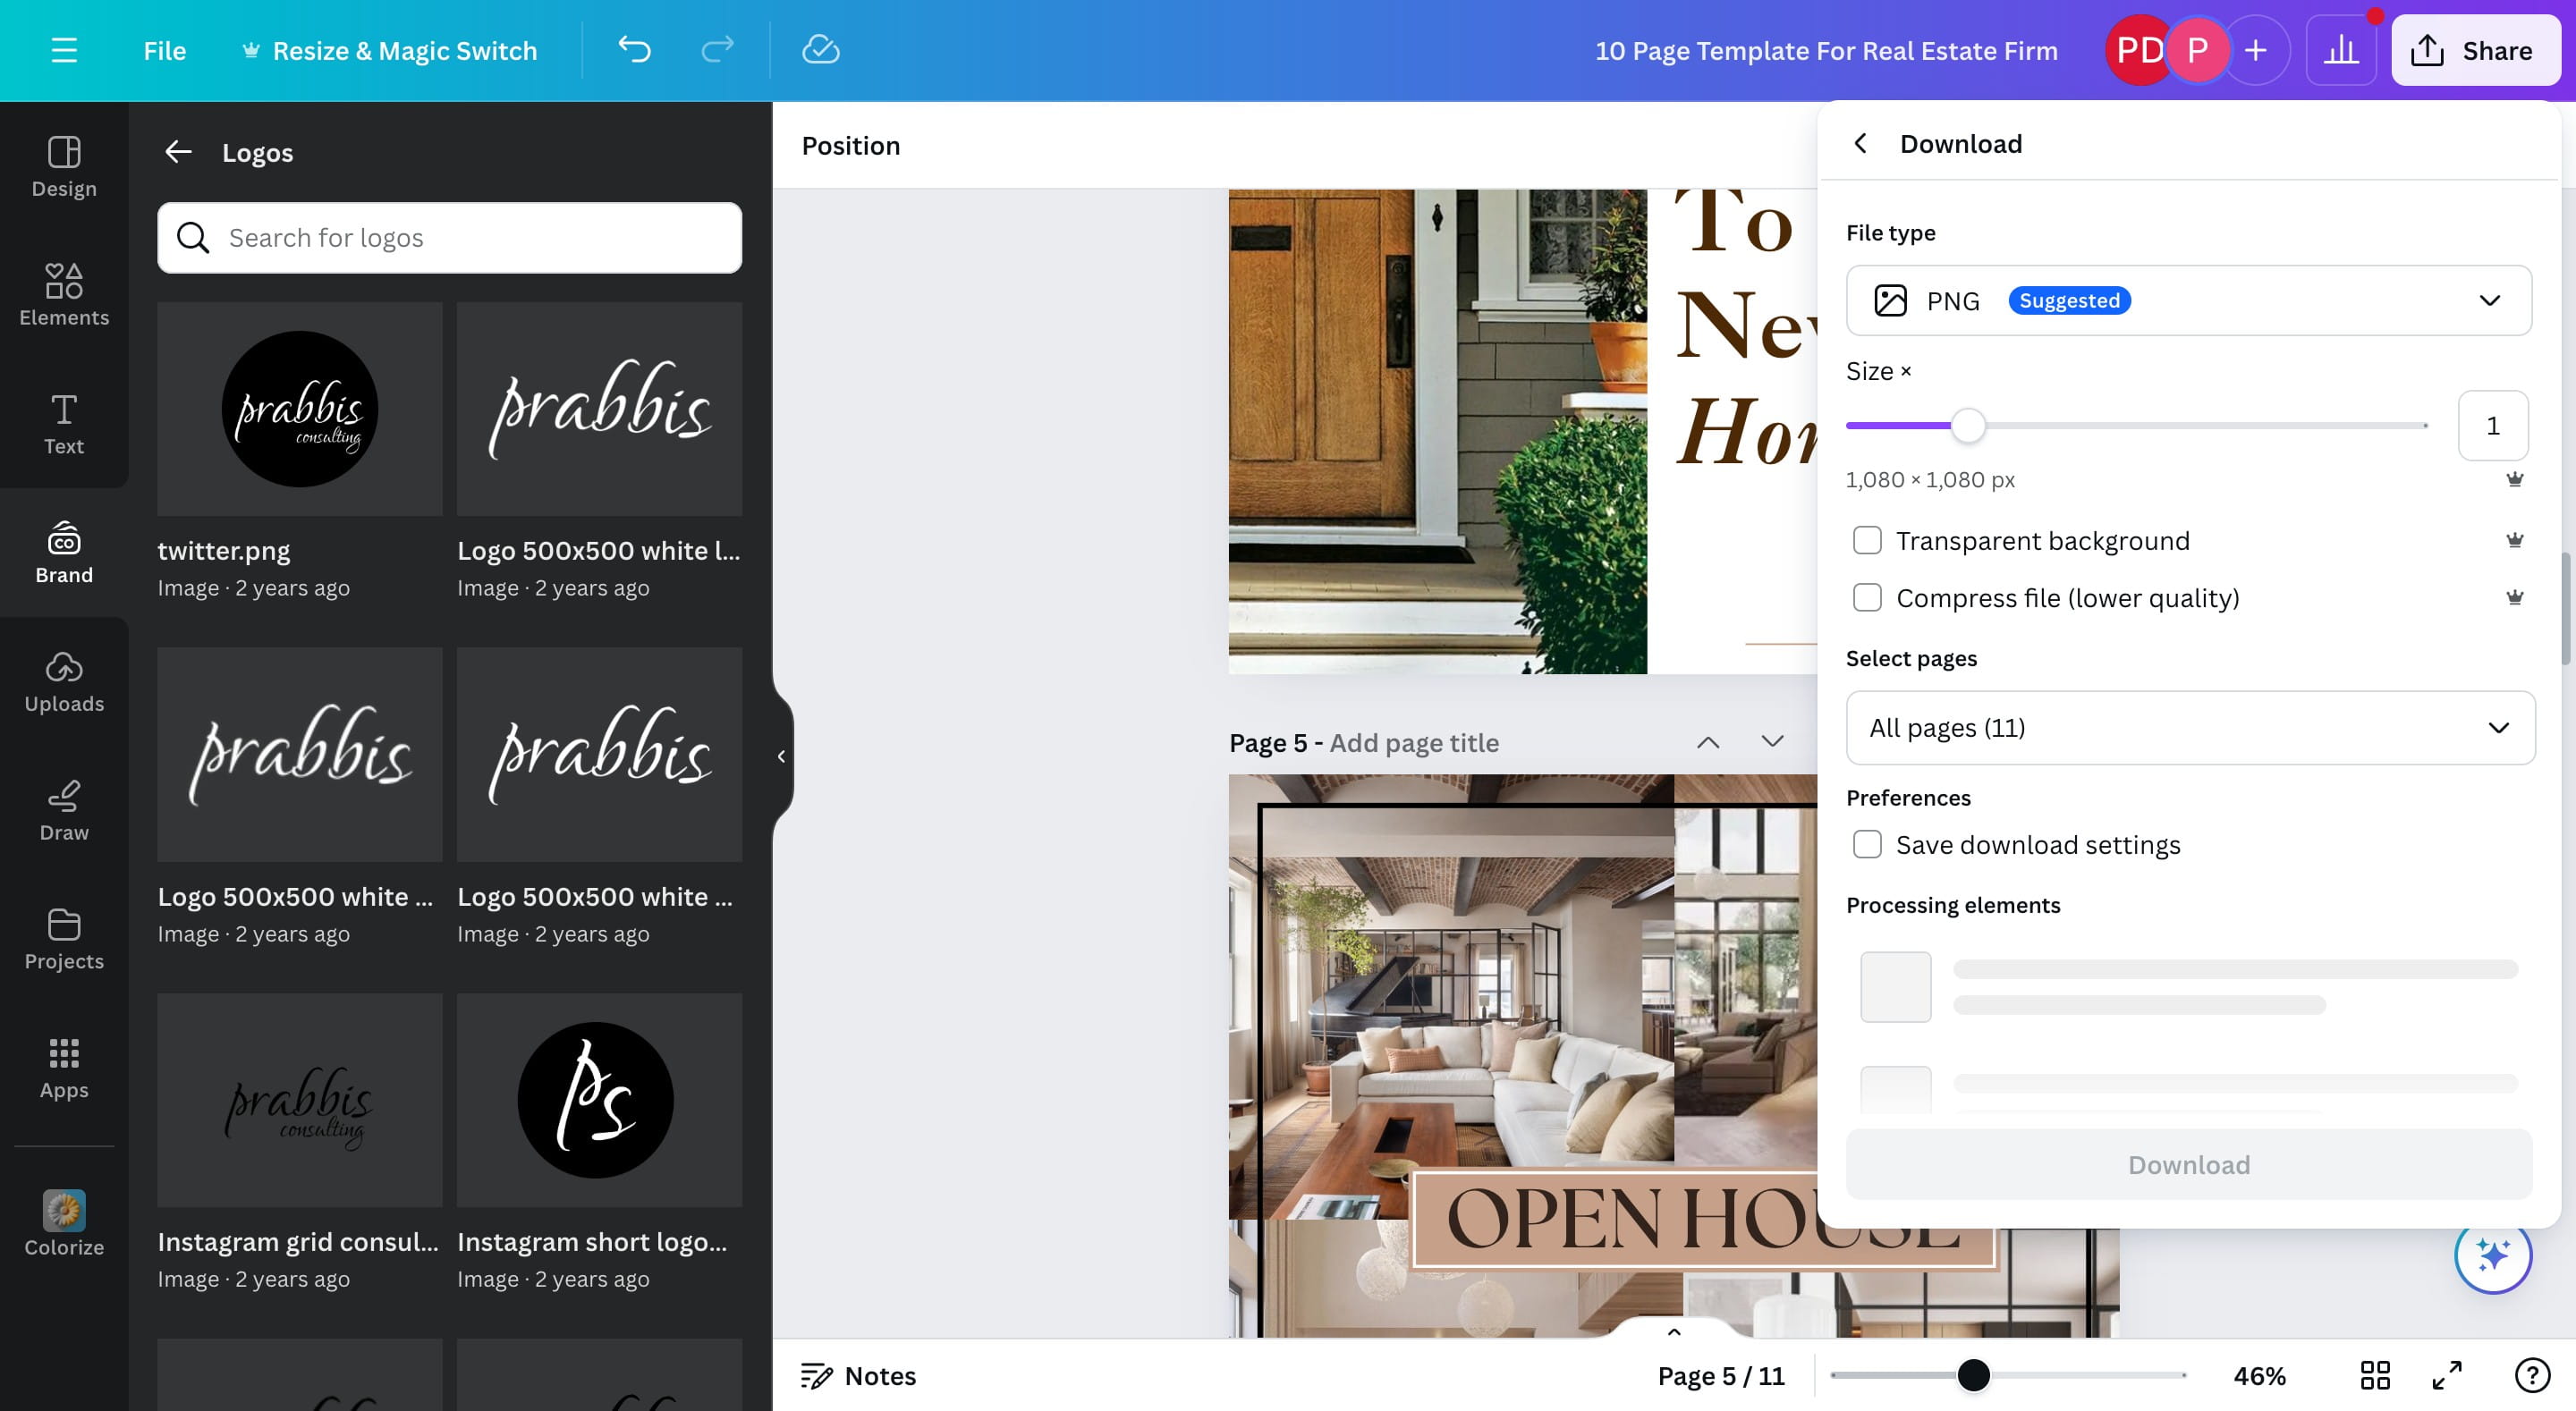
Select a media type
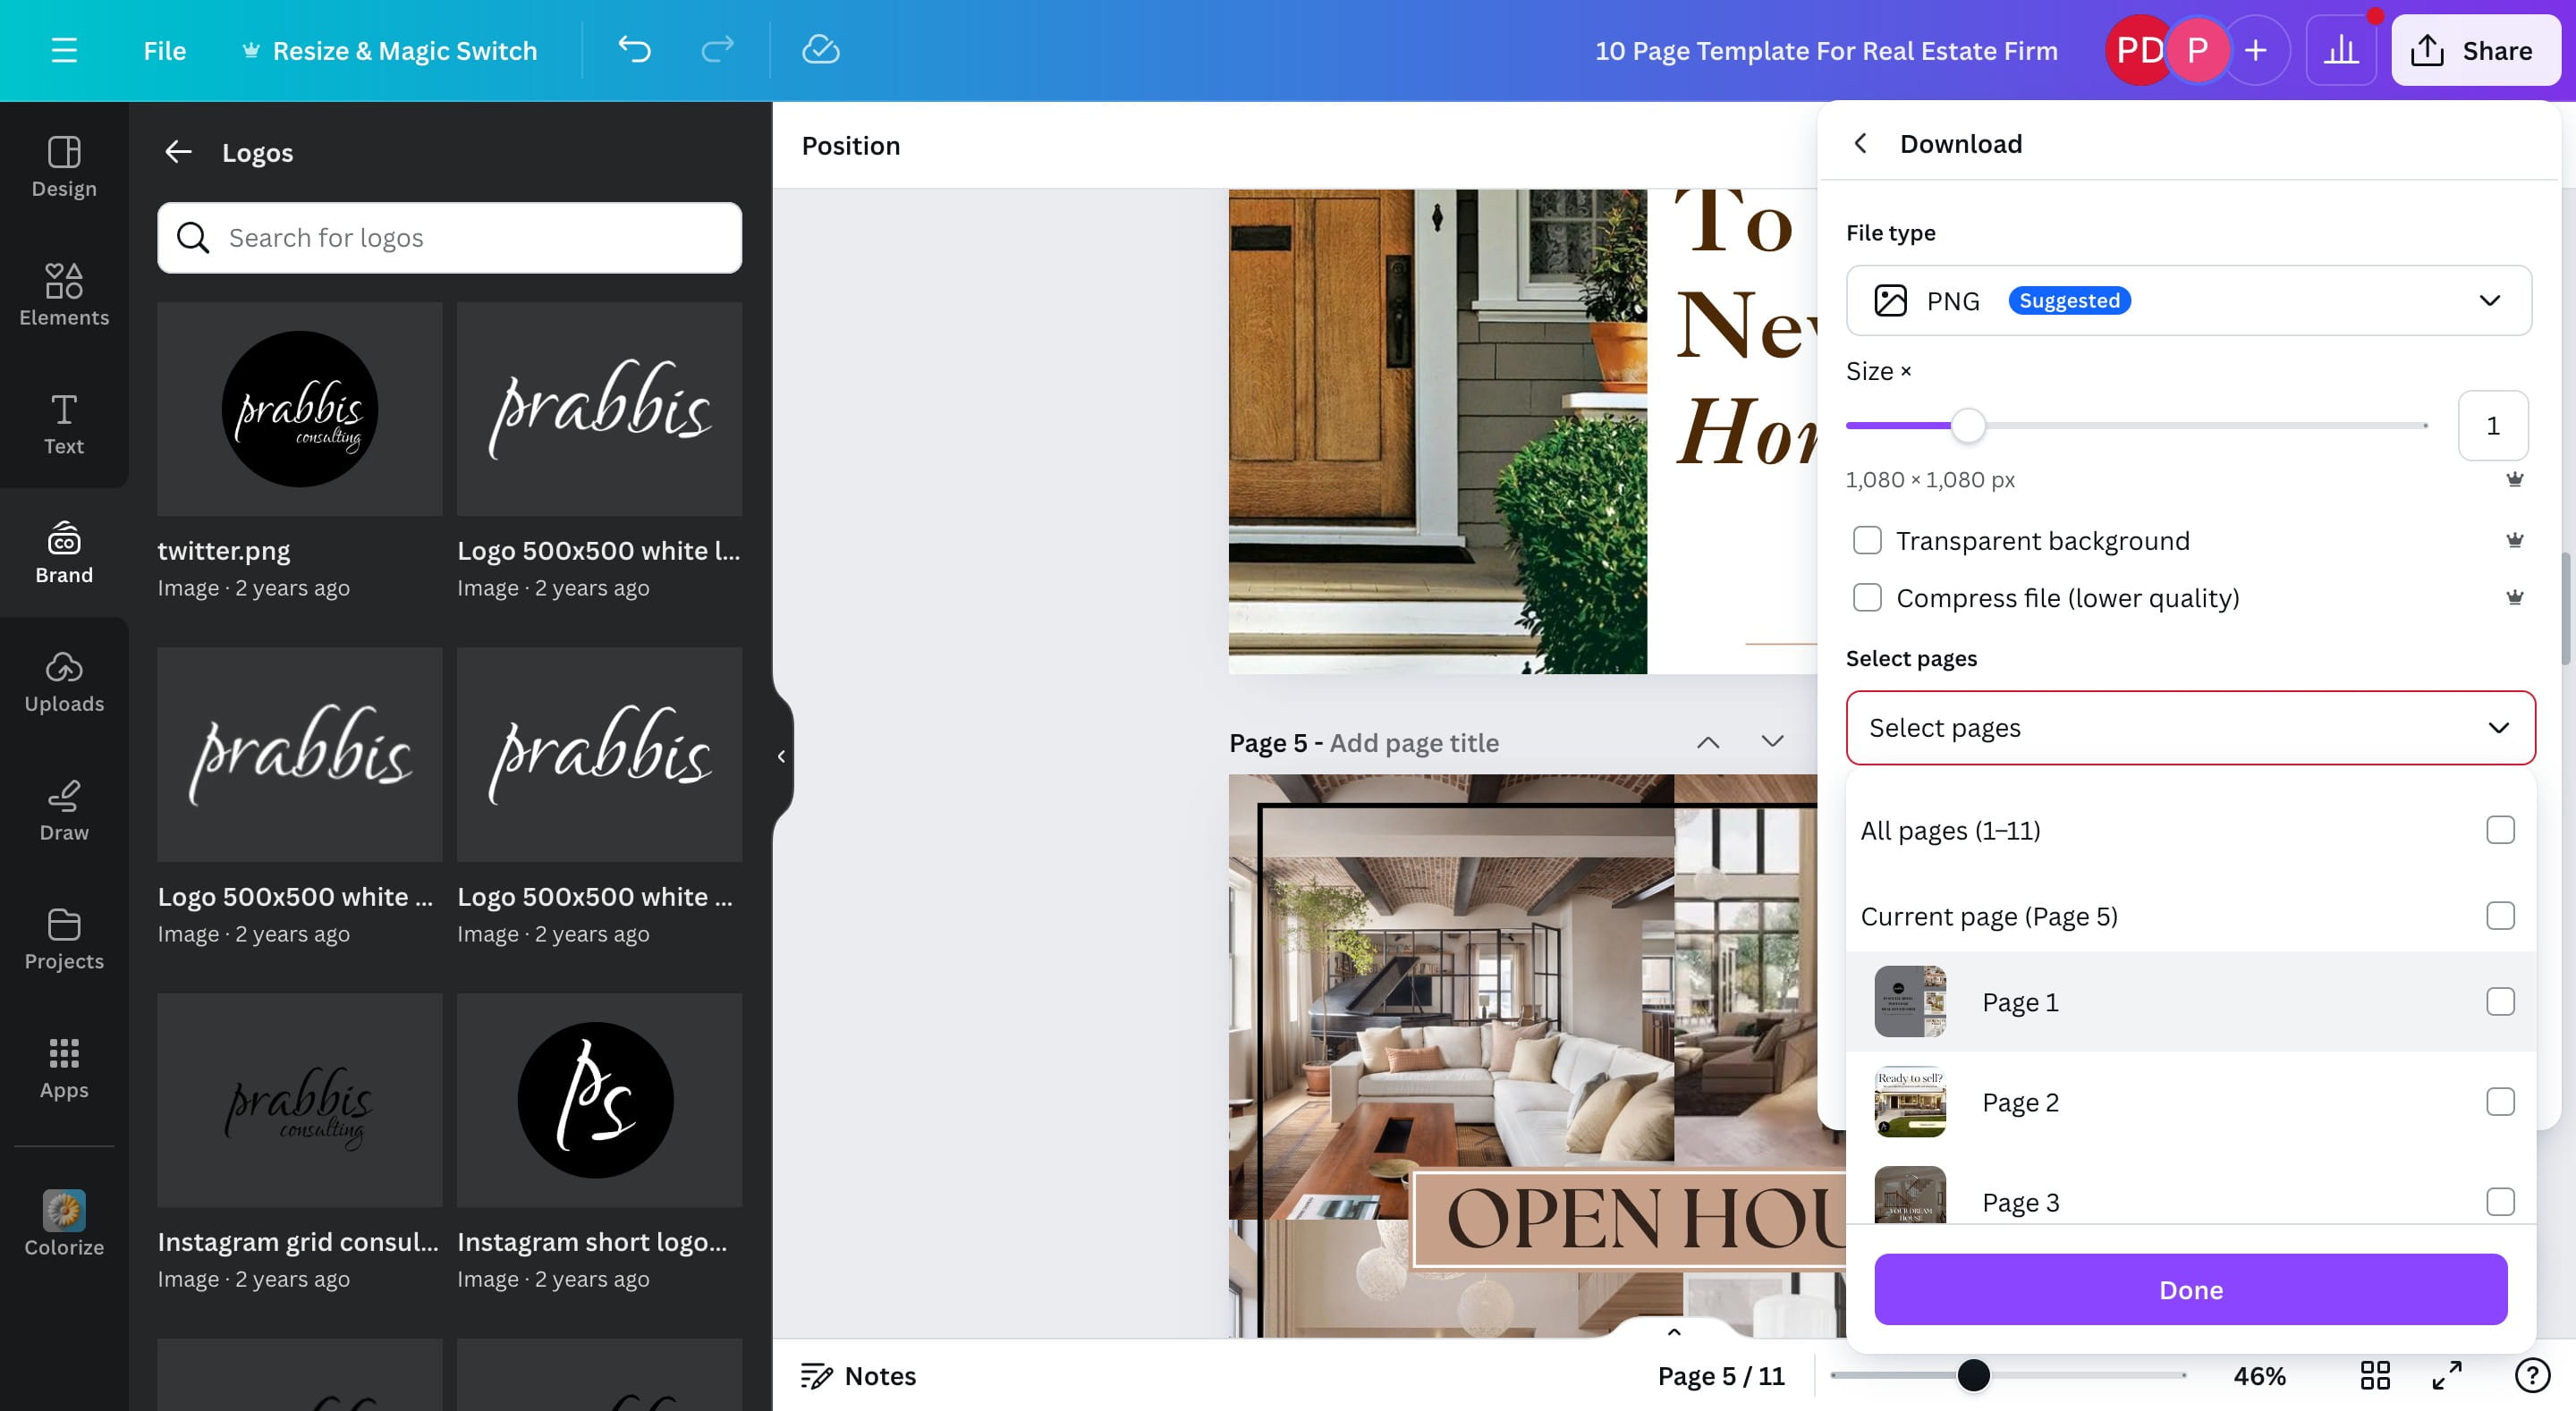
Select the pages dropdown
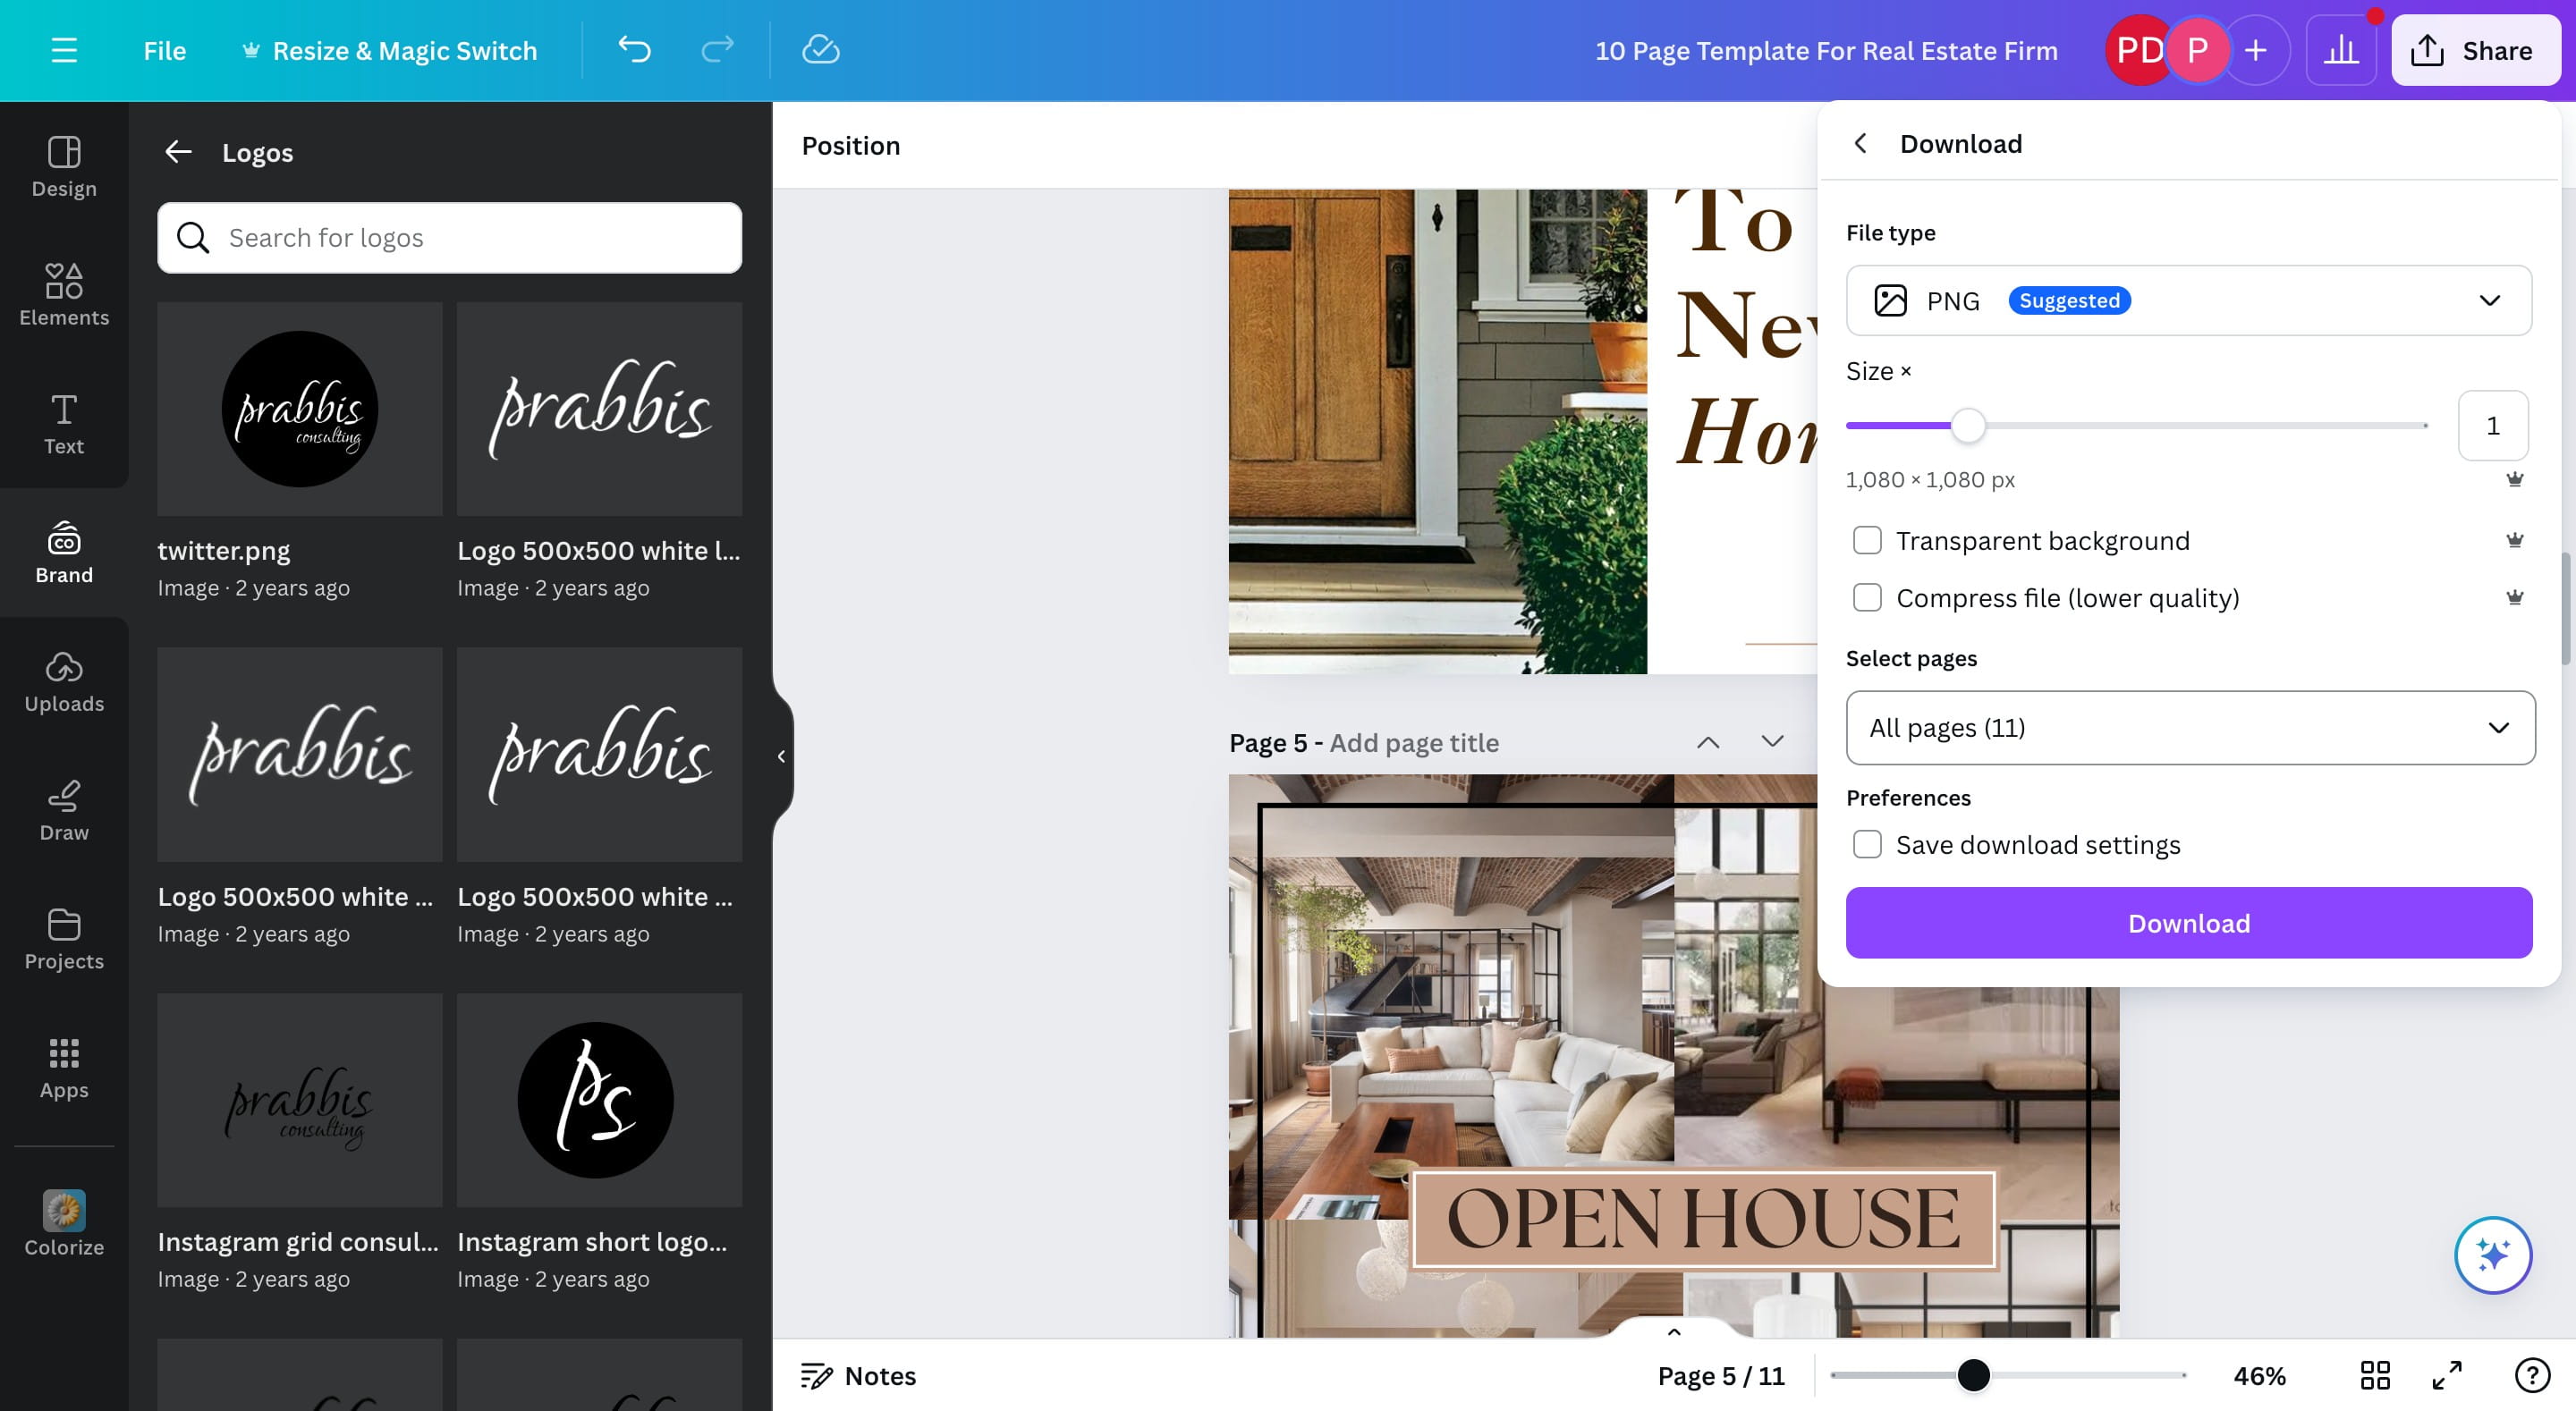
Select a page or click on All pages
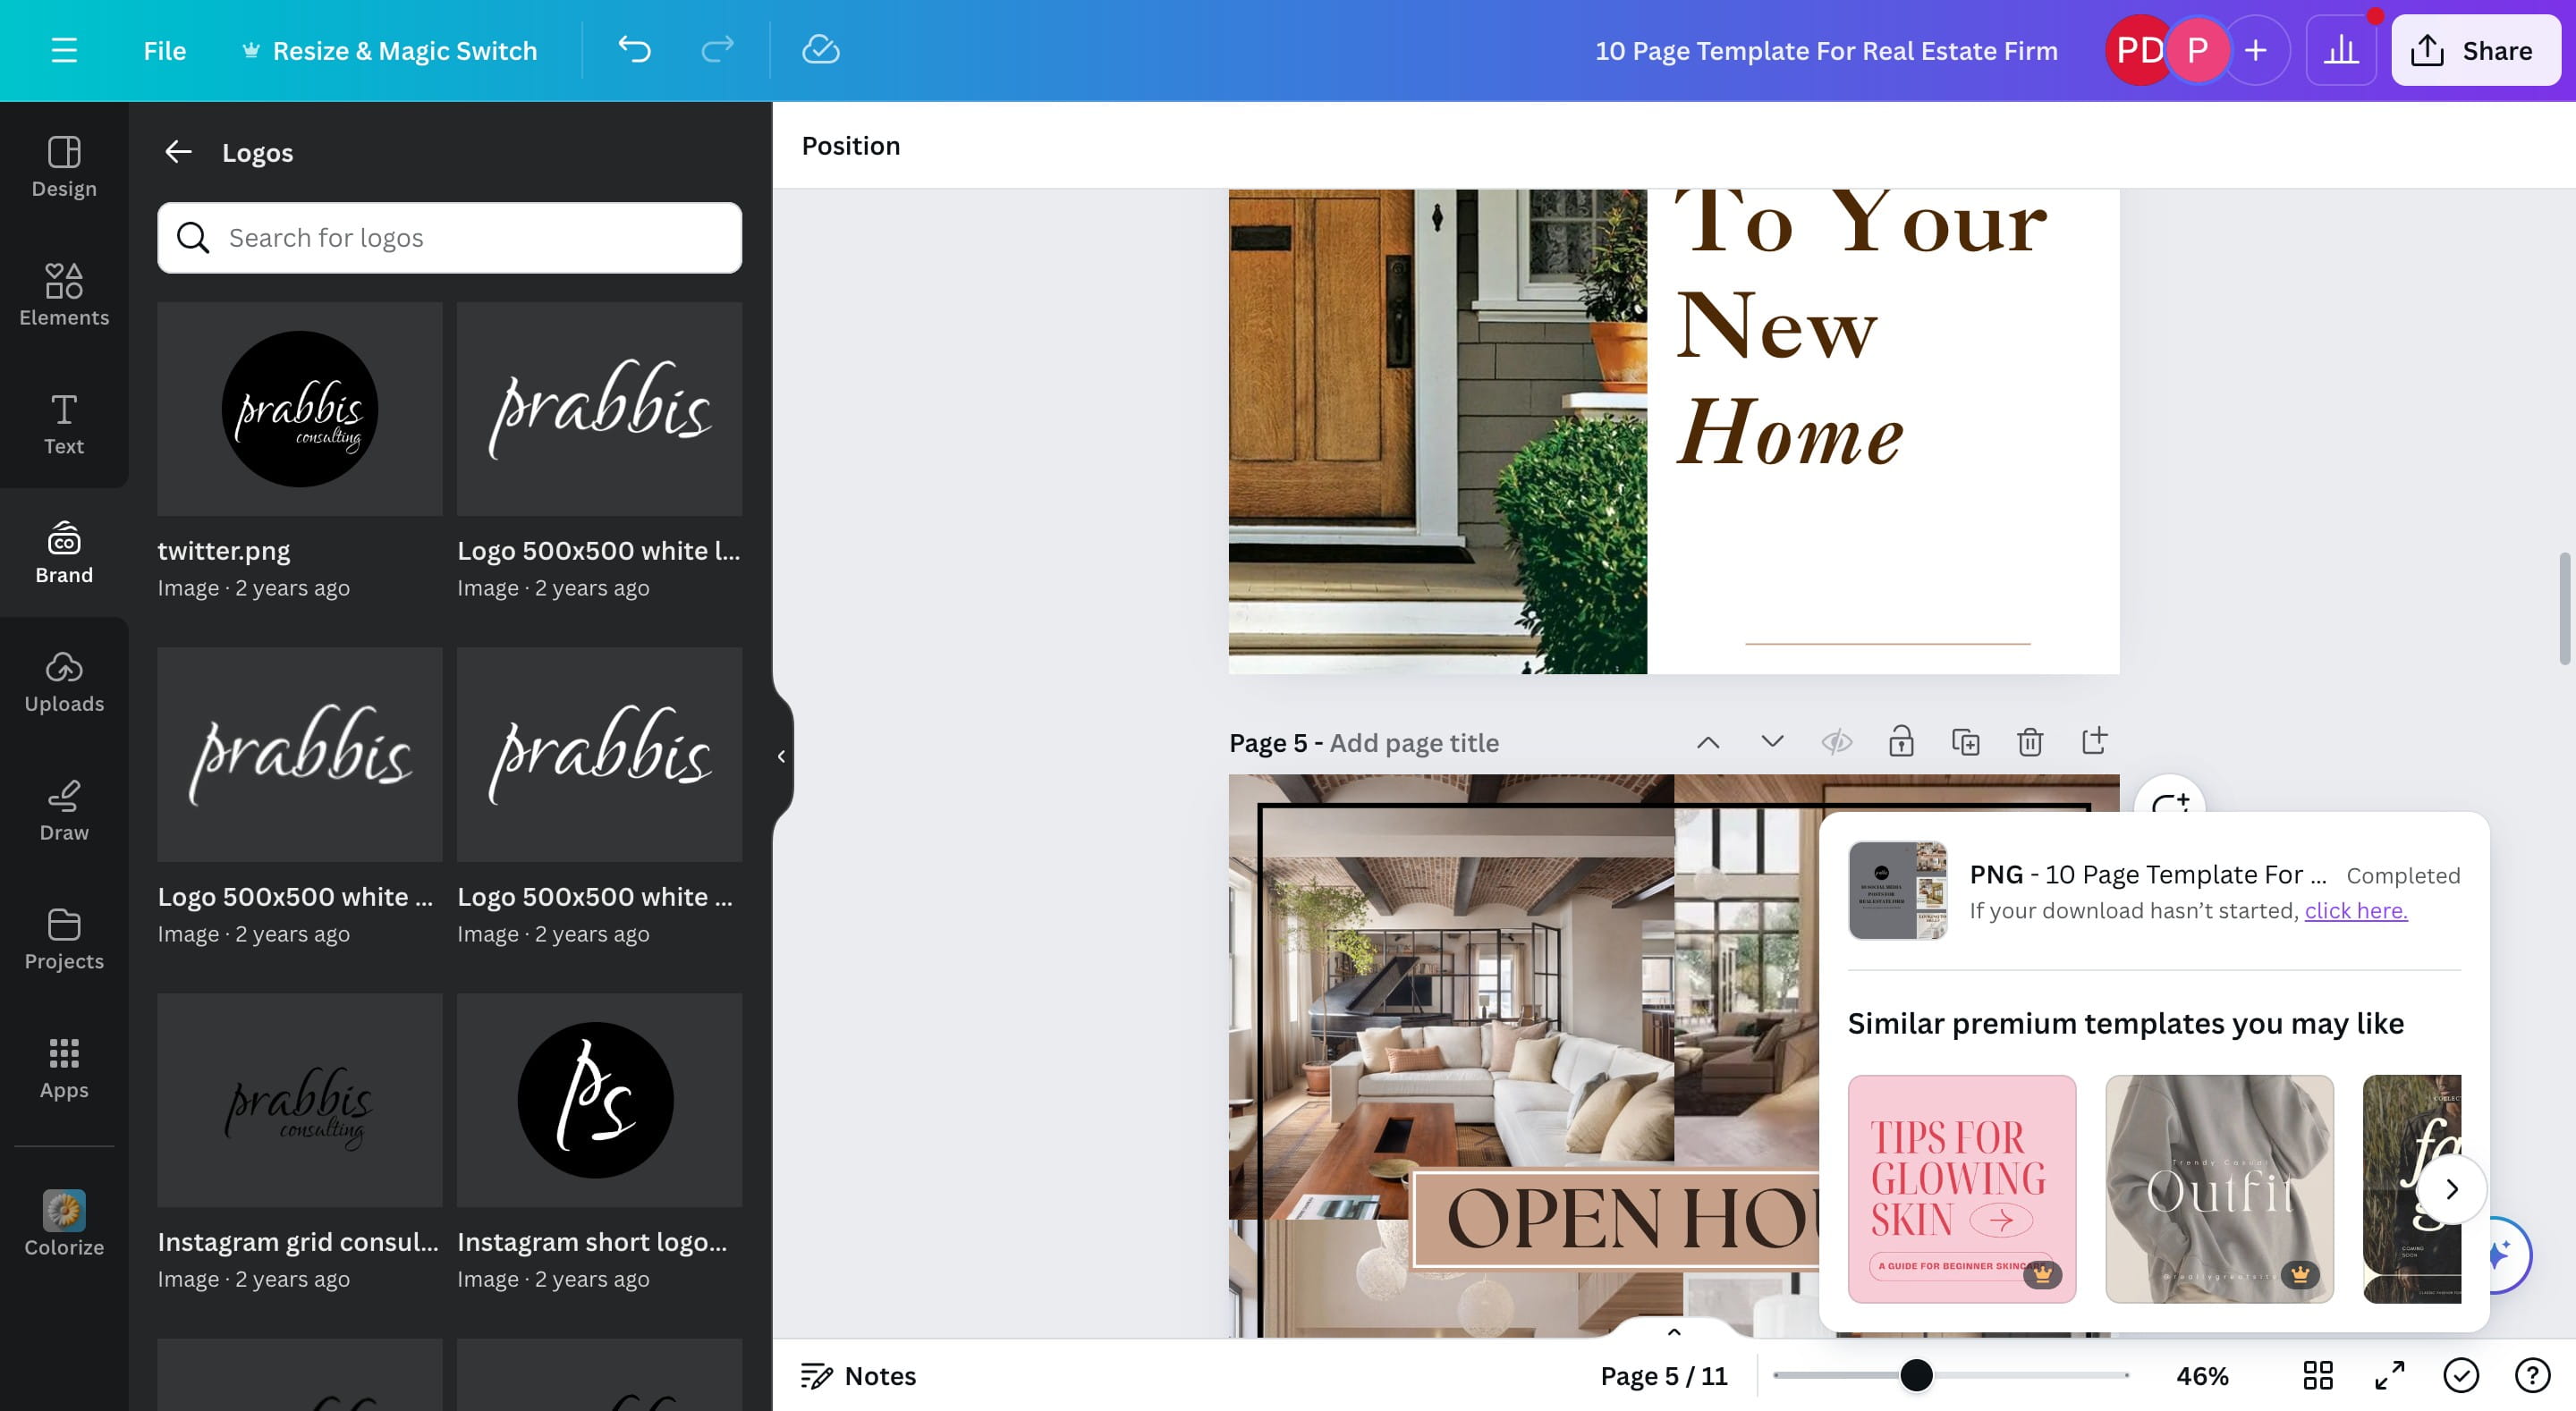
Click on "Download"

Your download should be complete.
Drop us a message on our website if you get stuck or need help! Don't forget to give us a thumbs up if it helps.