Clickup Kanban Board
Go to your Clickup workspace
Click on "New Space"
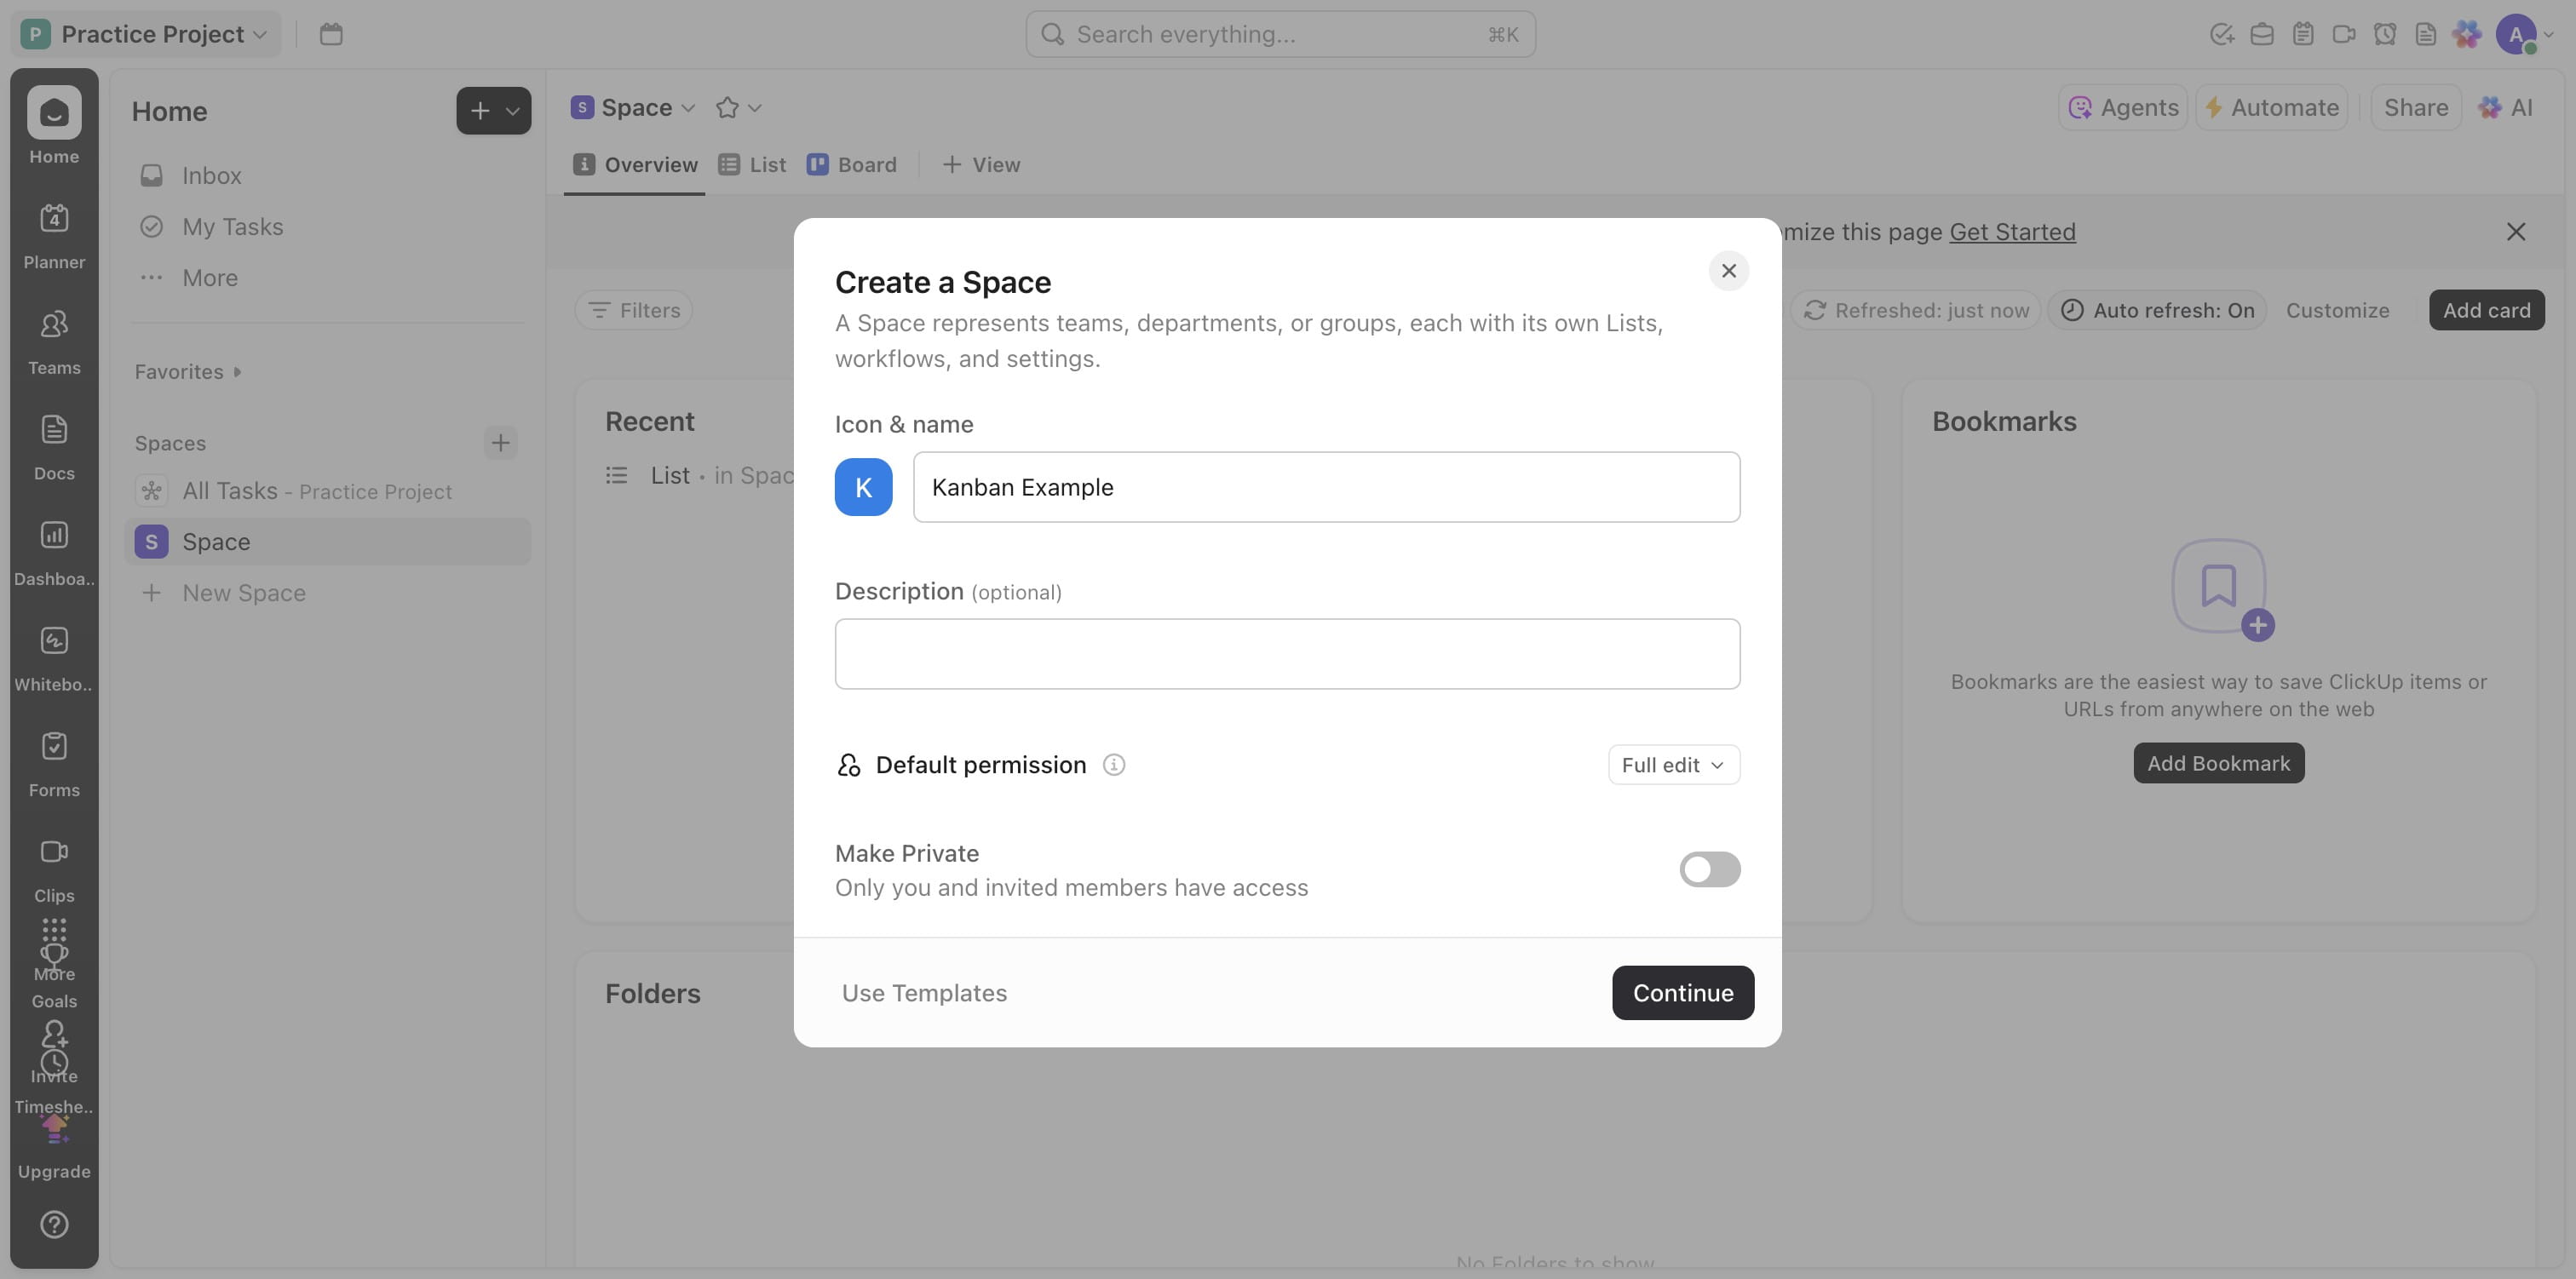
Add a name and Click on "Continue"
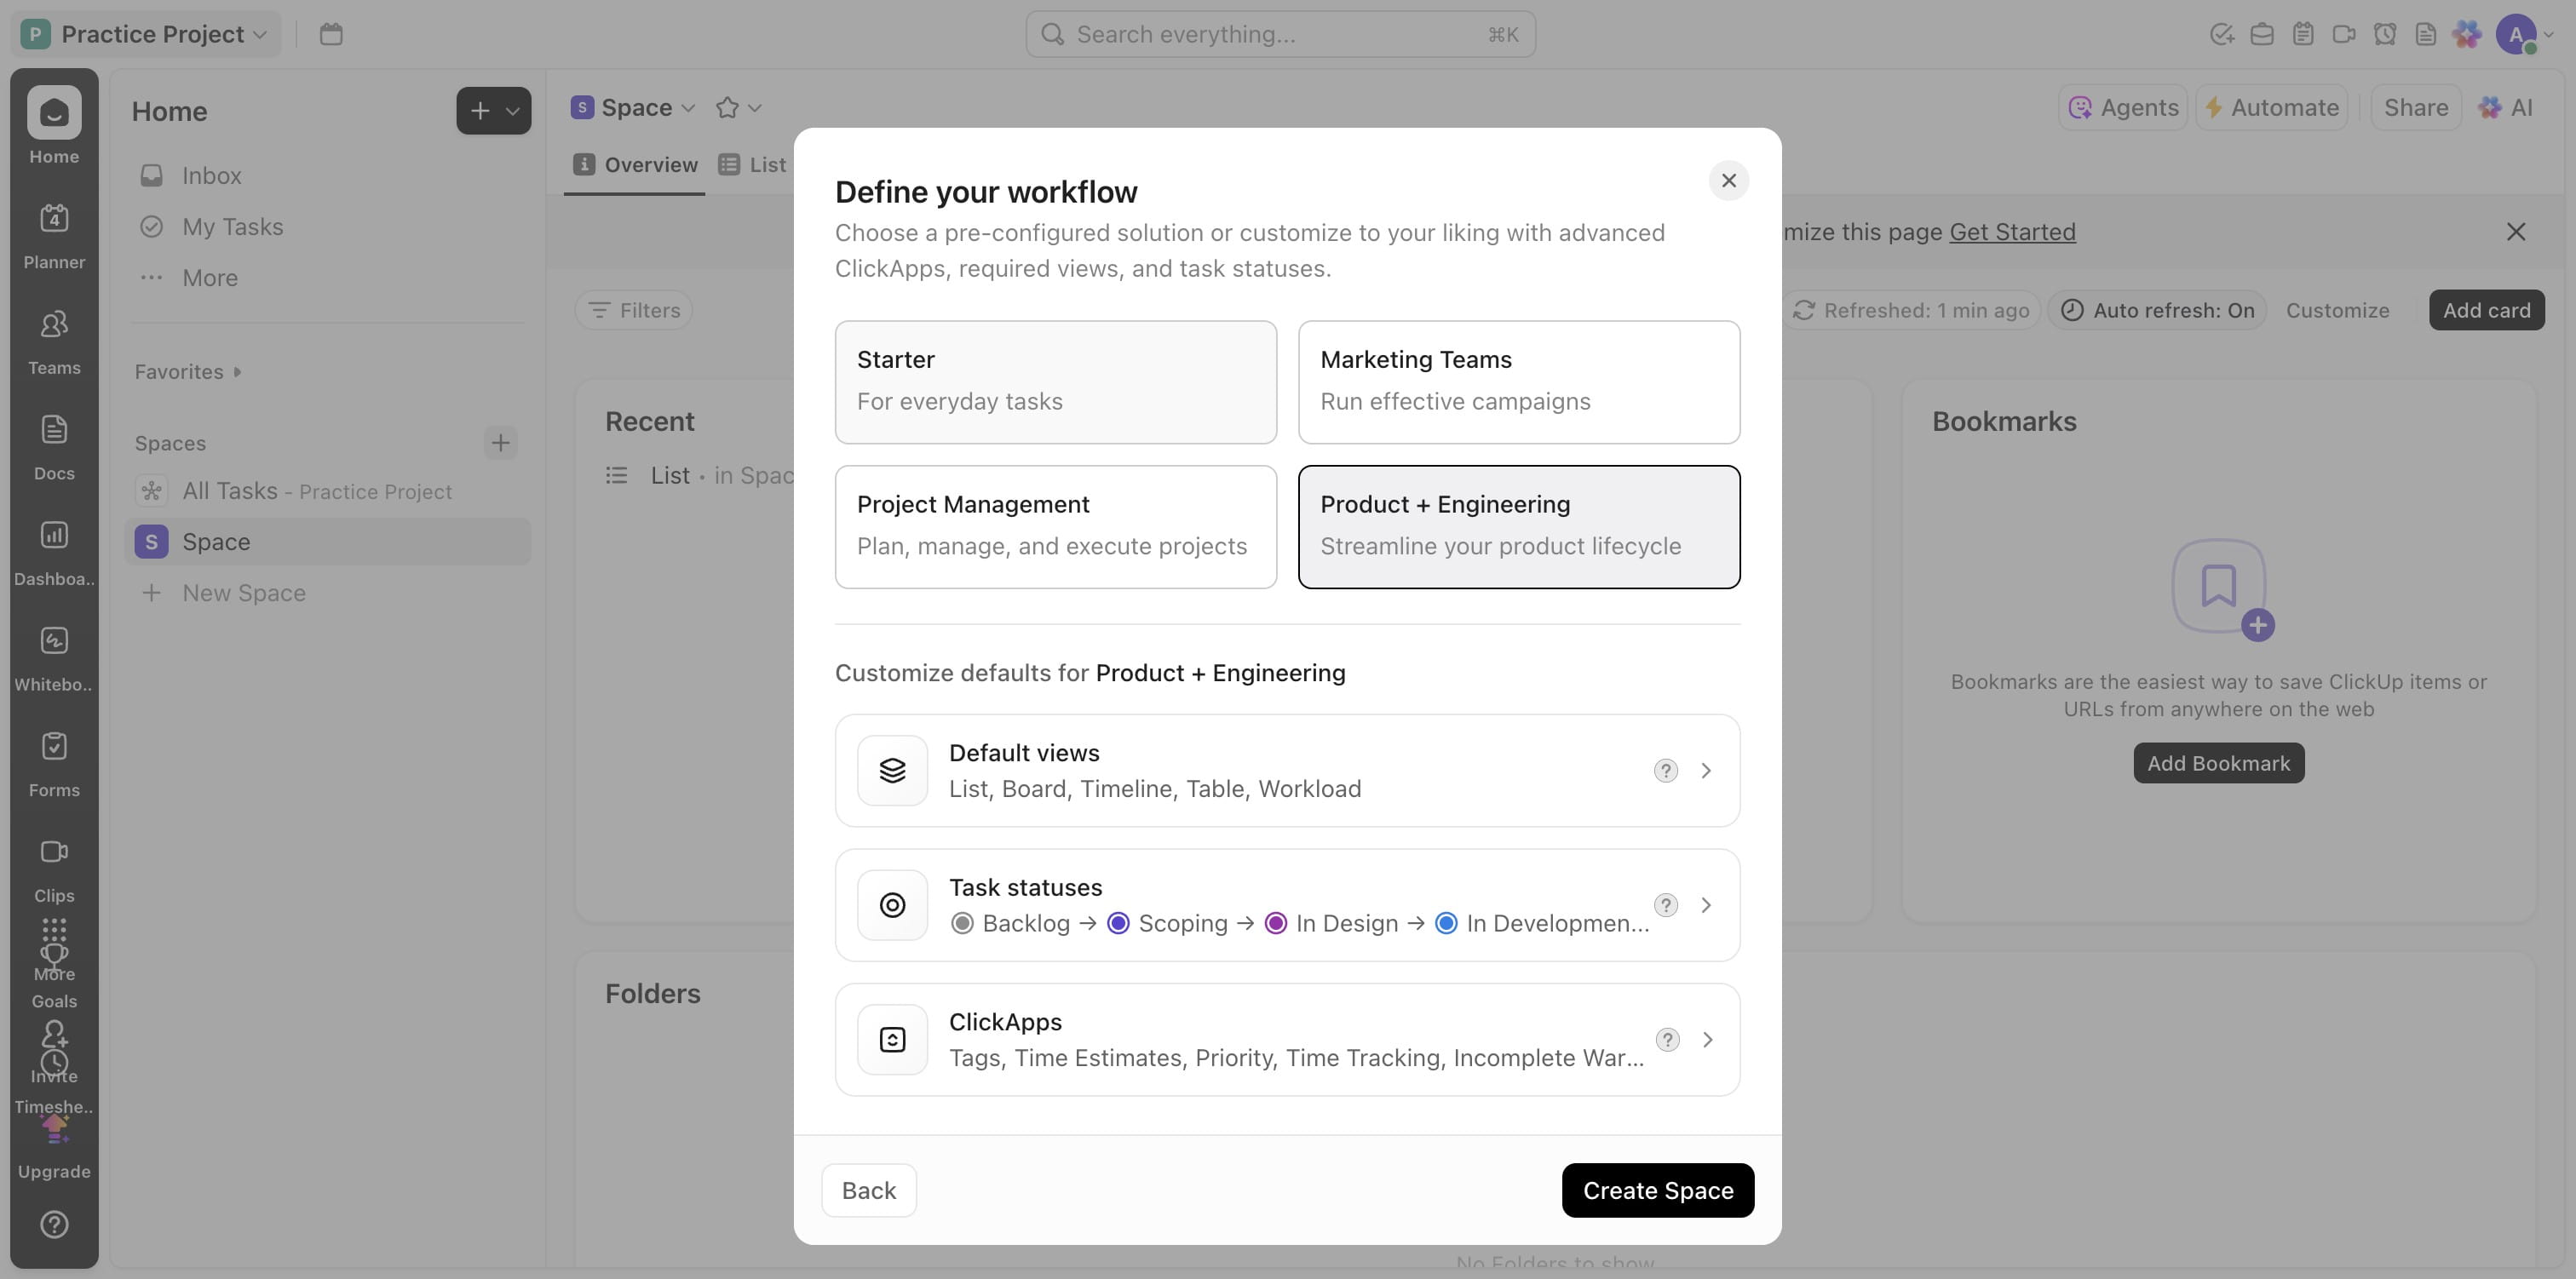
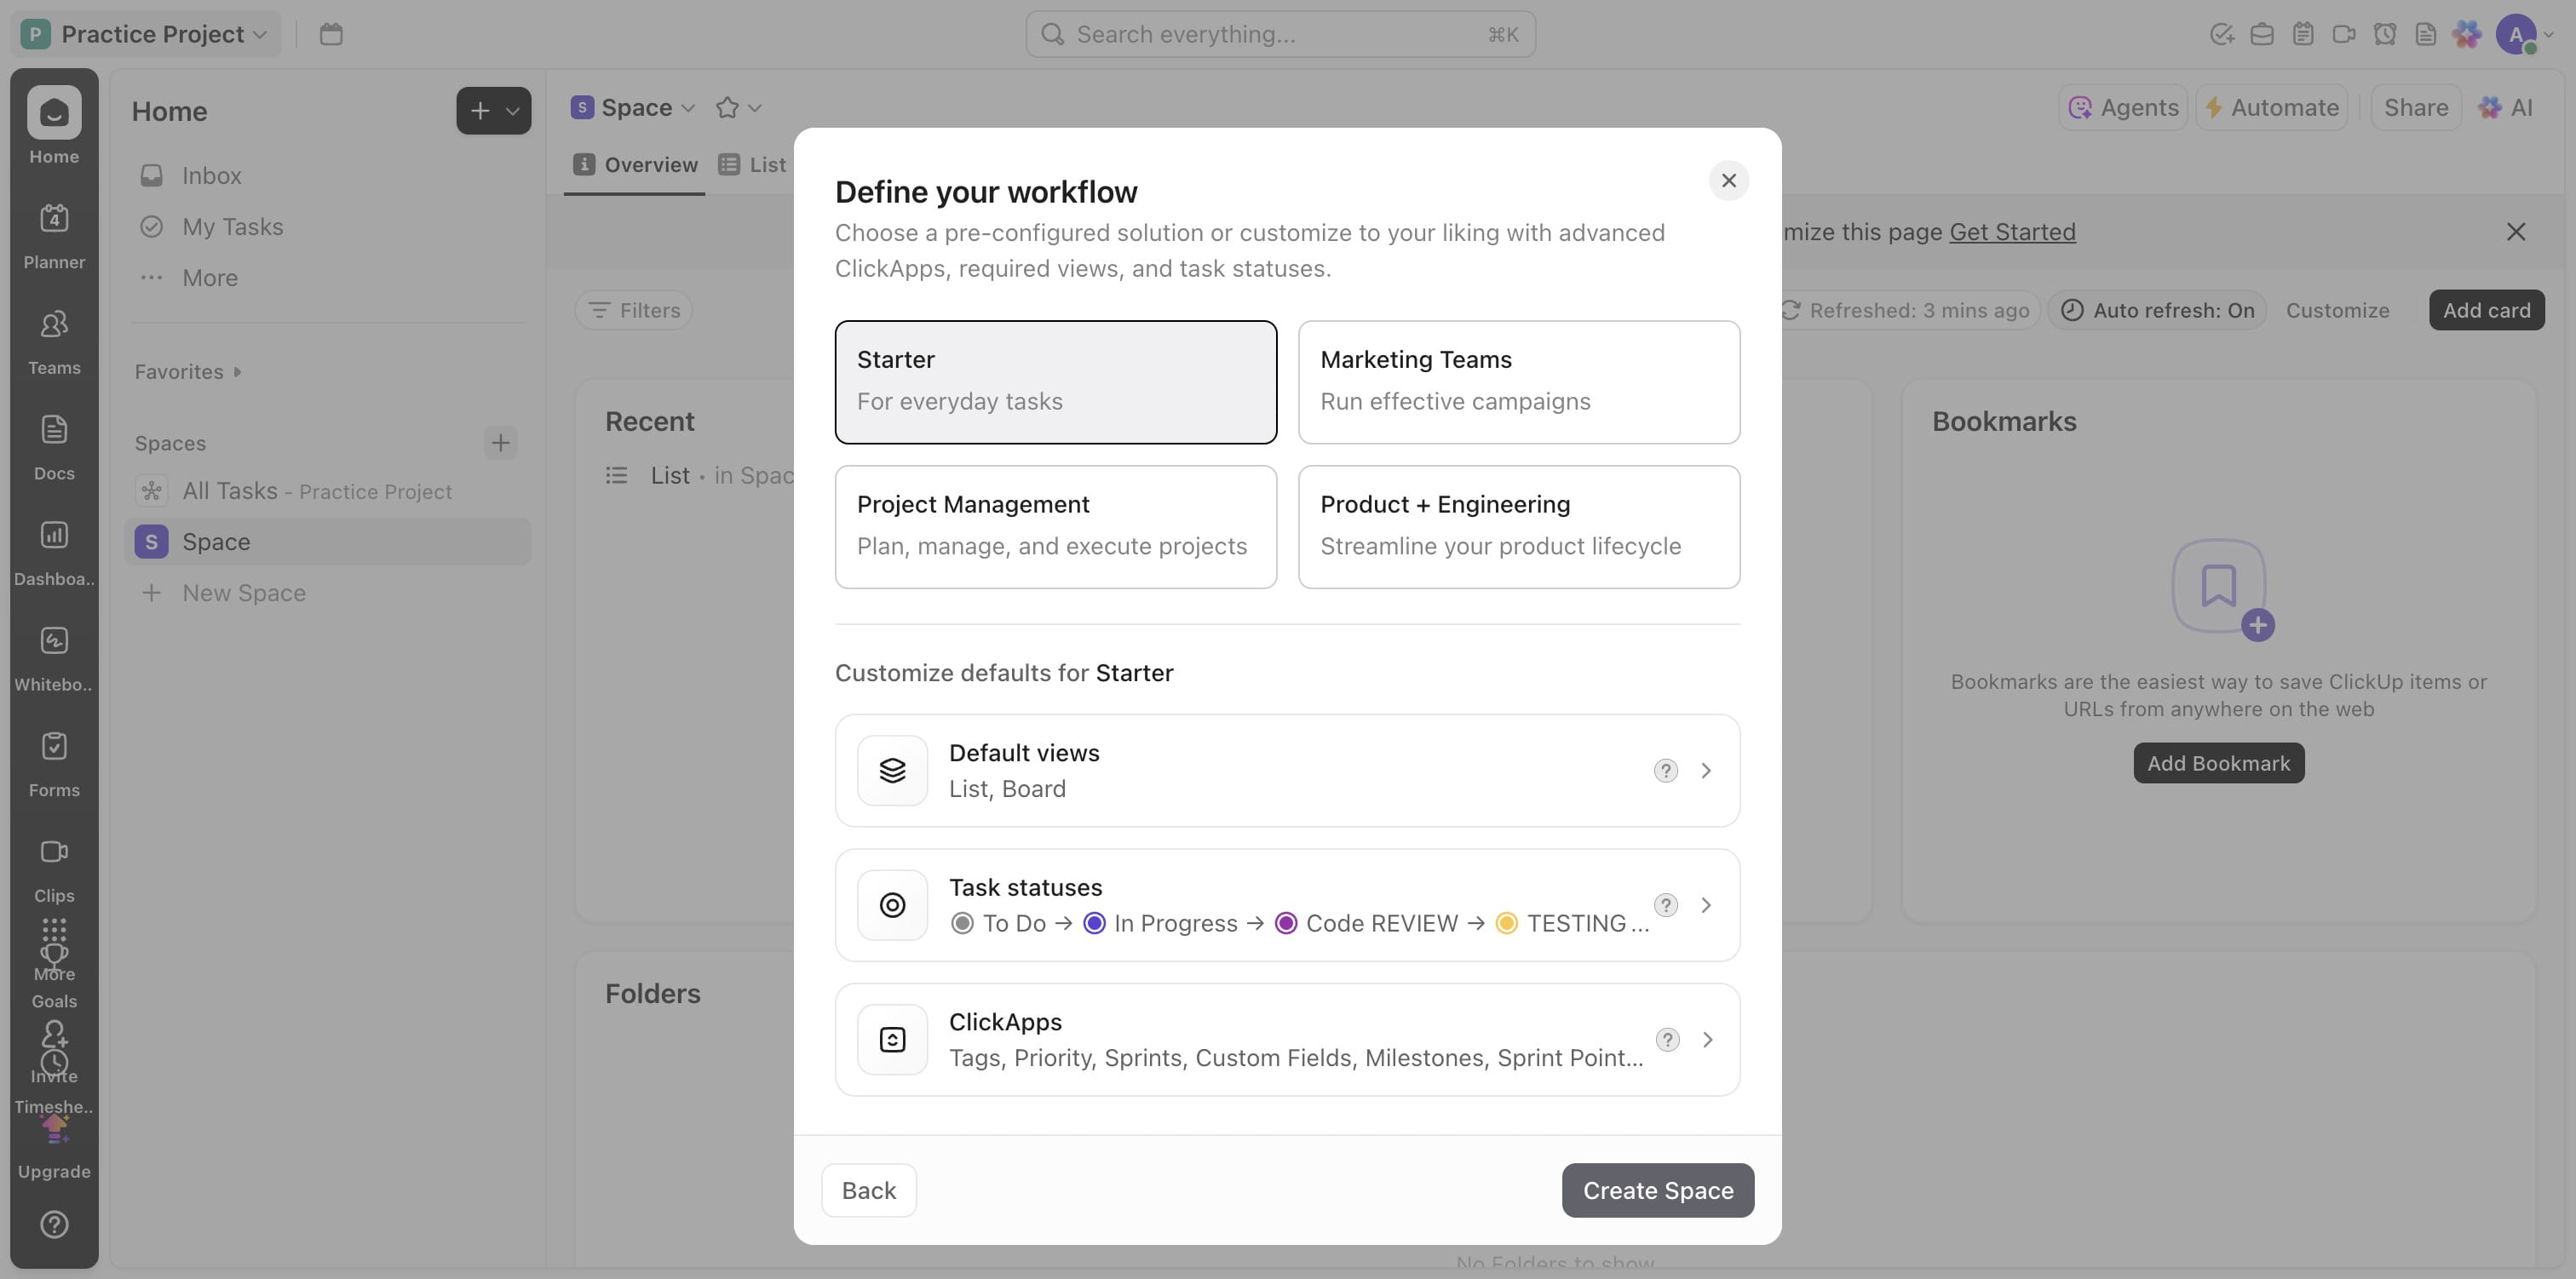
Click on "Starter"
Click this ClickApps

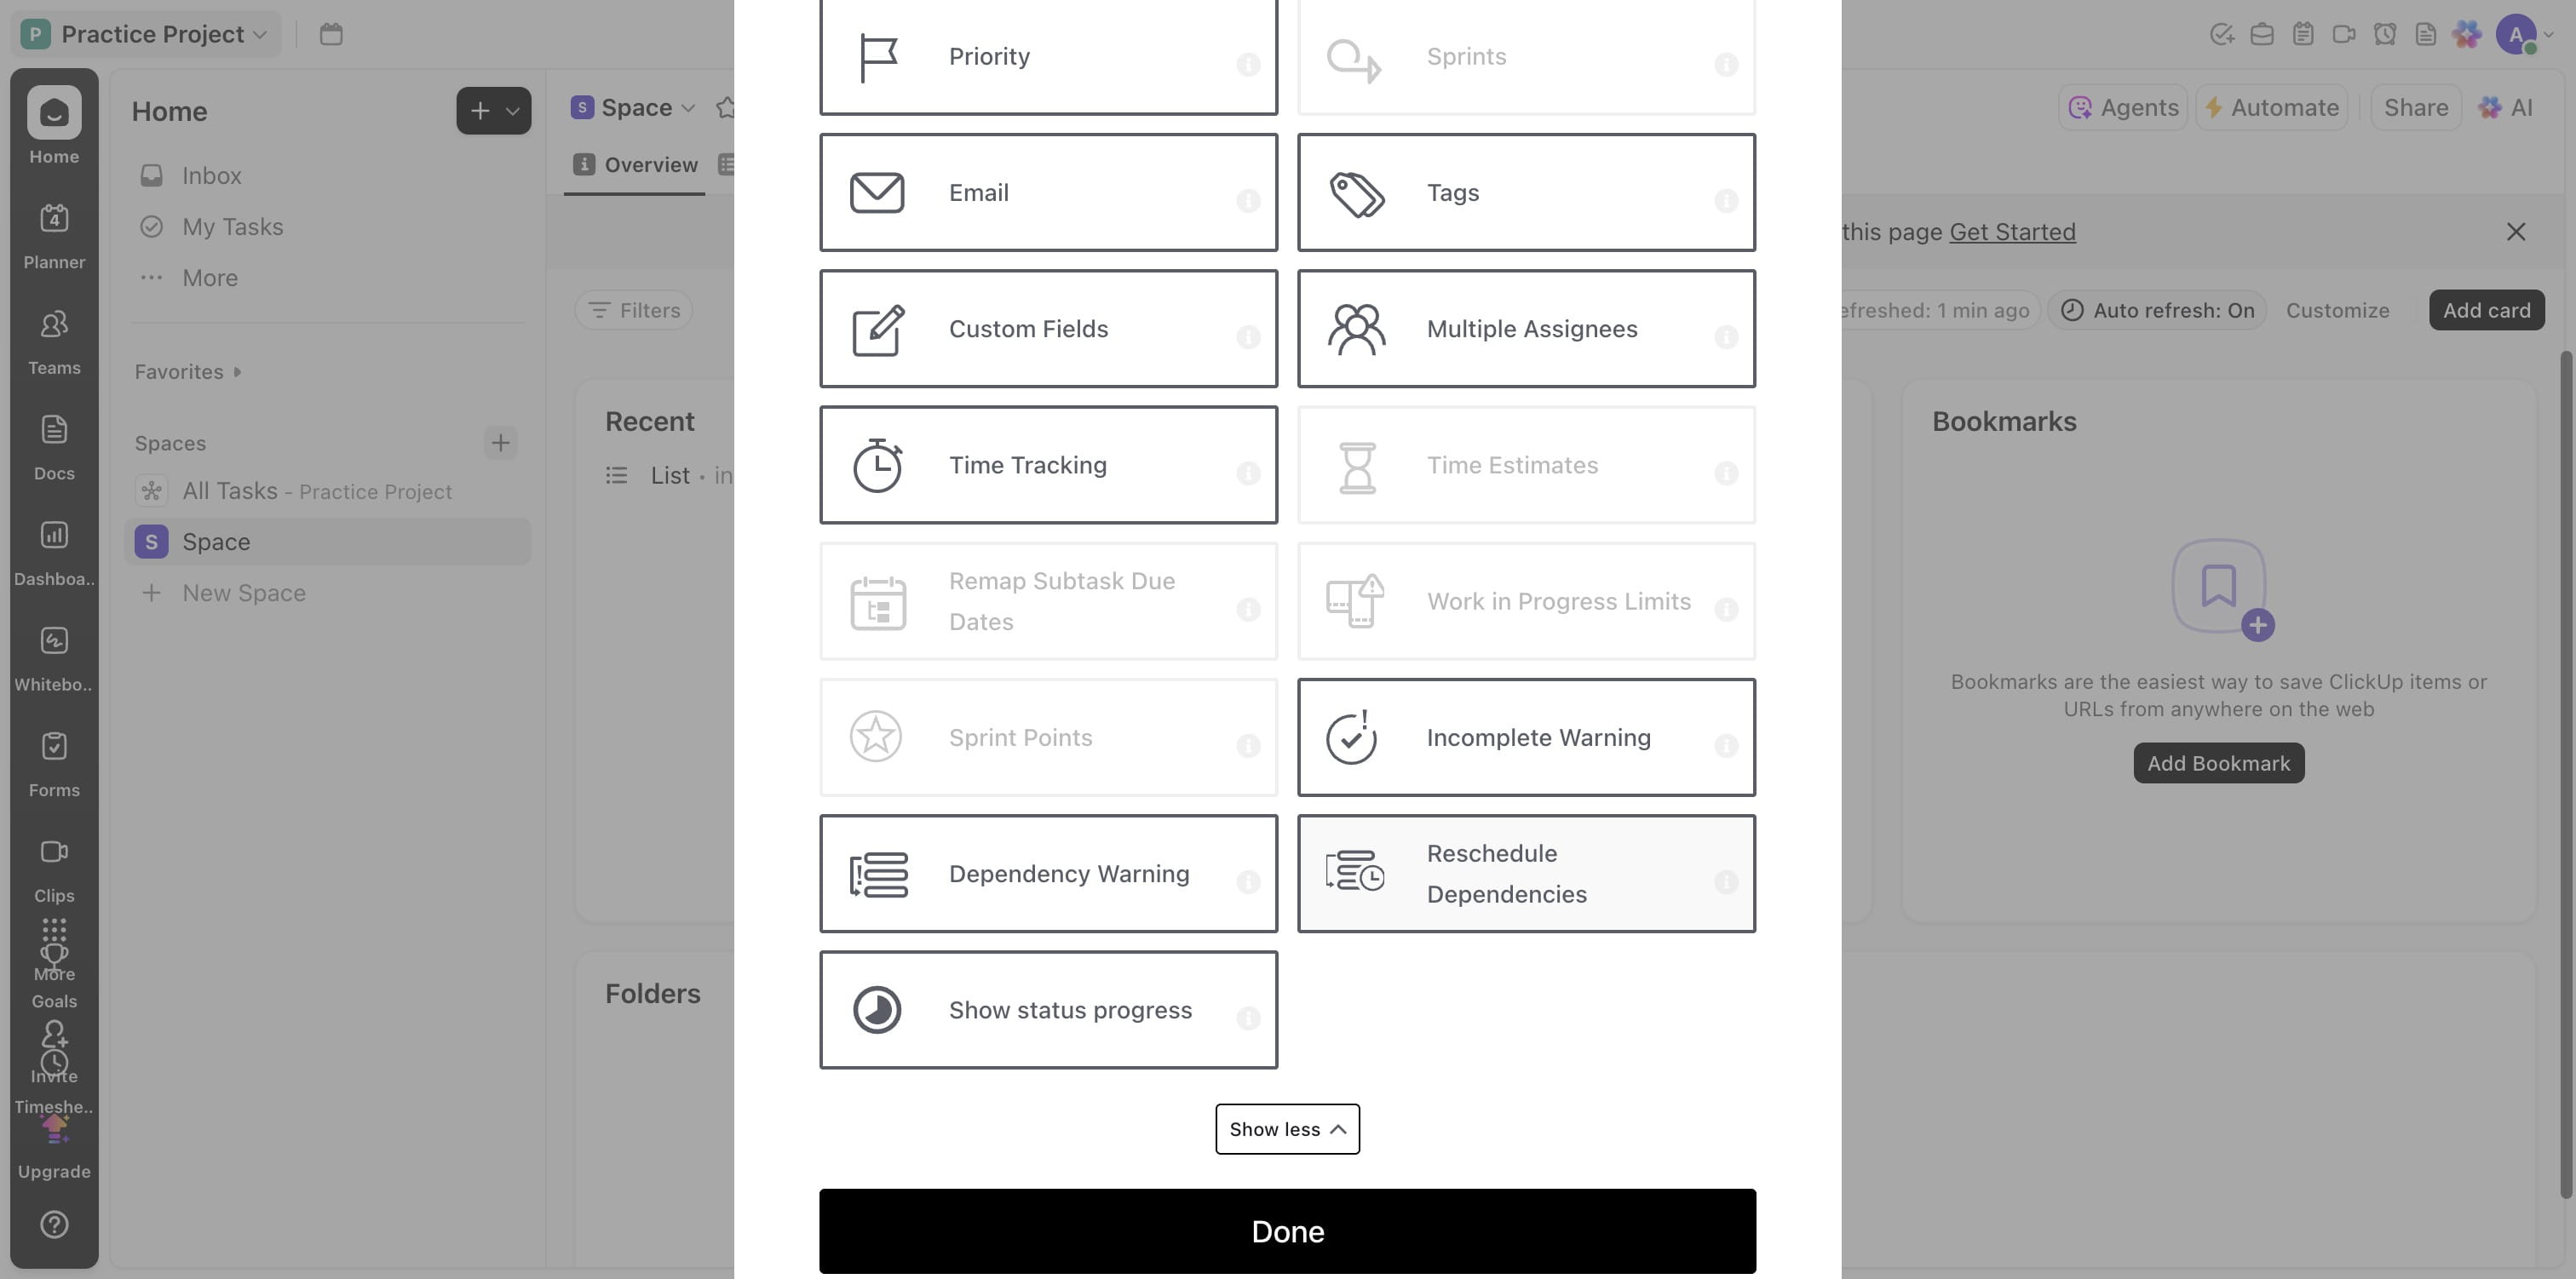
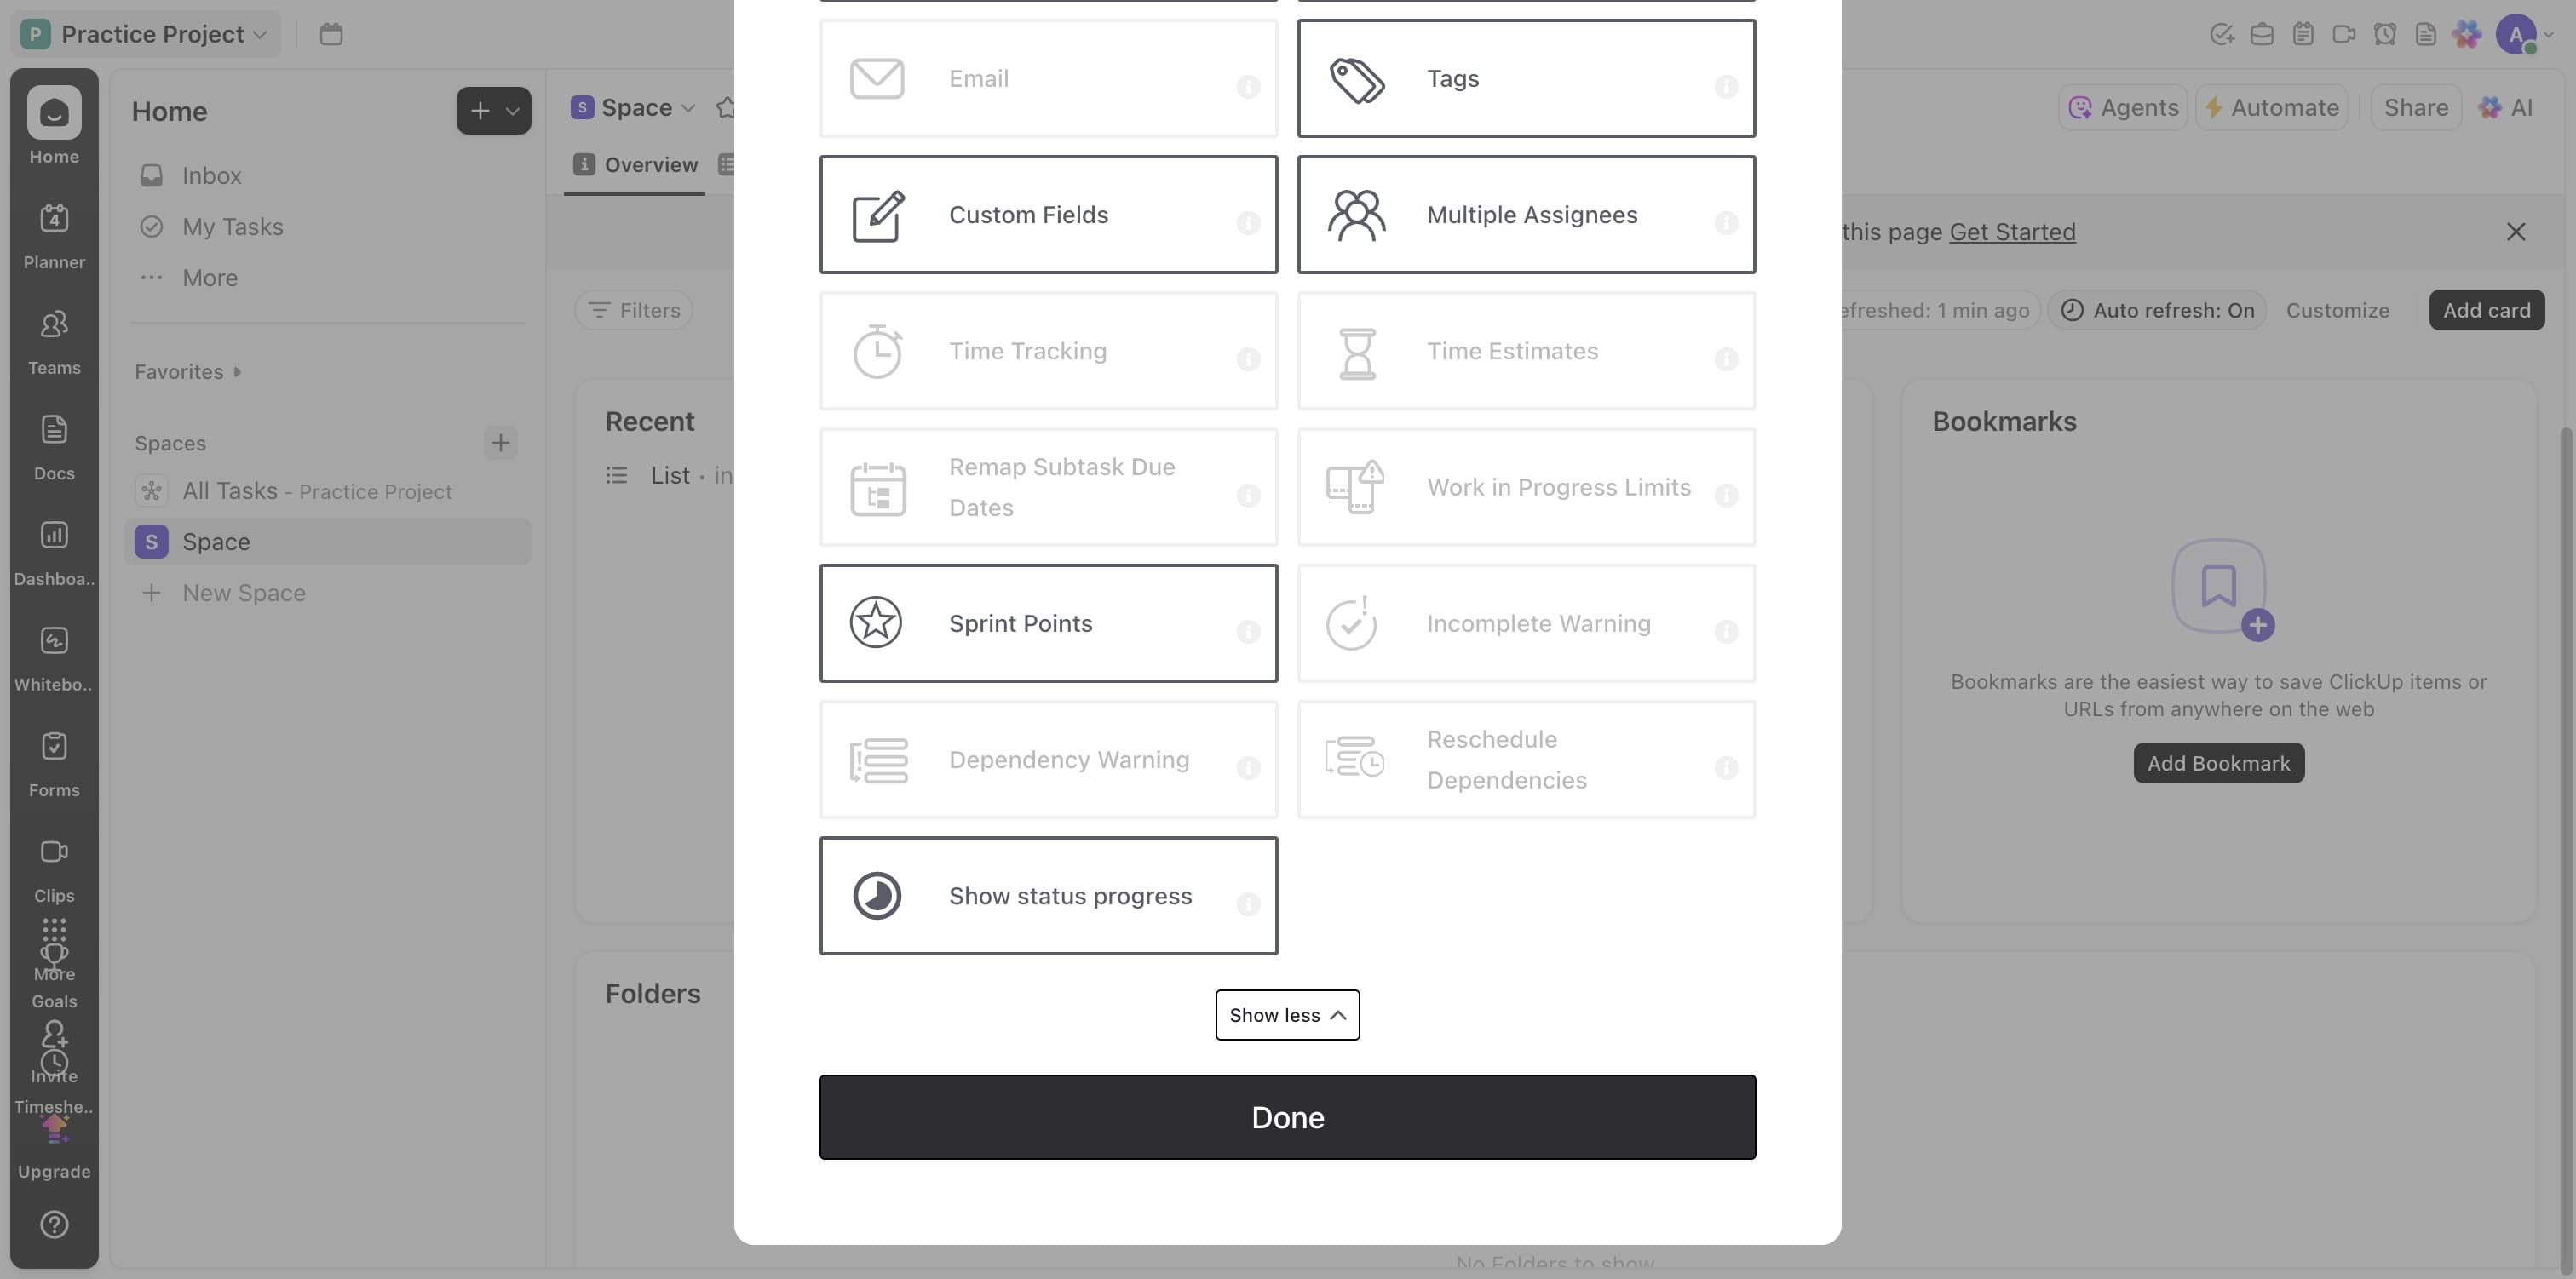
Click on "Show more"
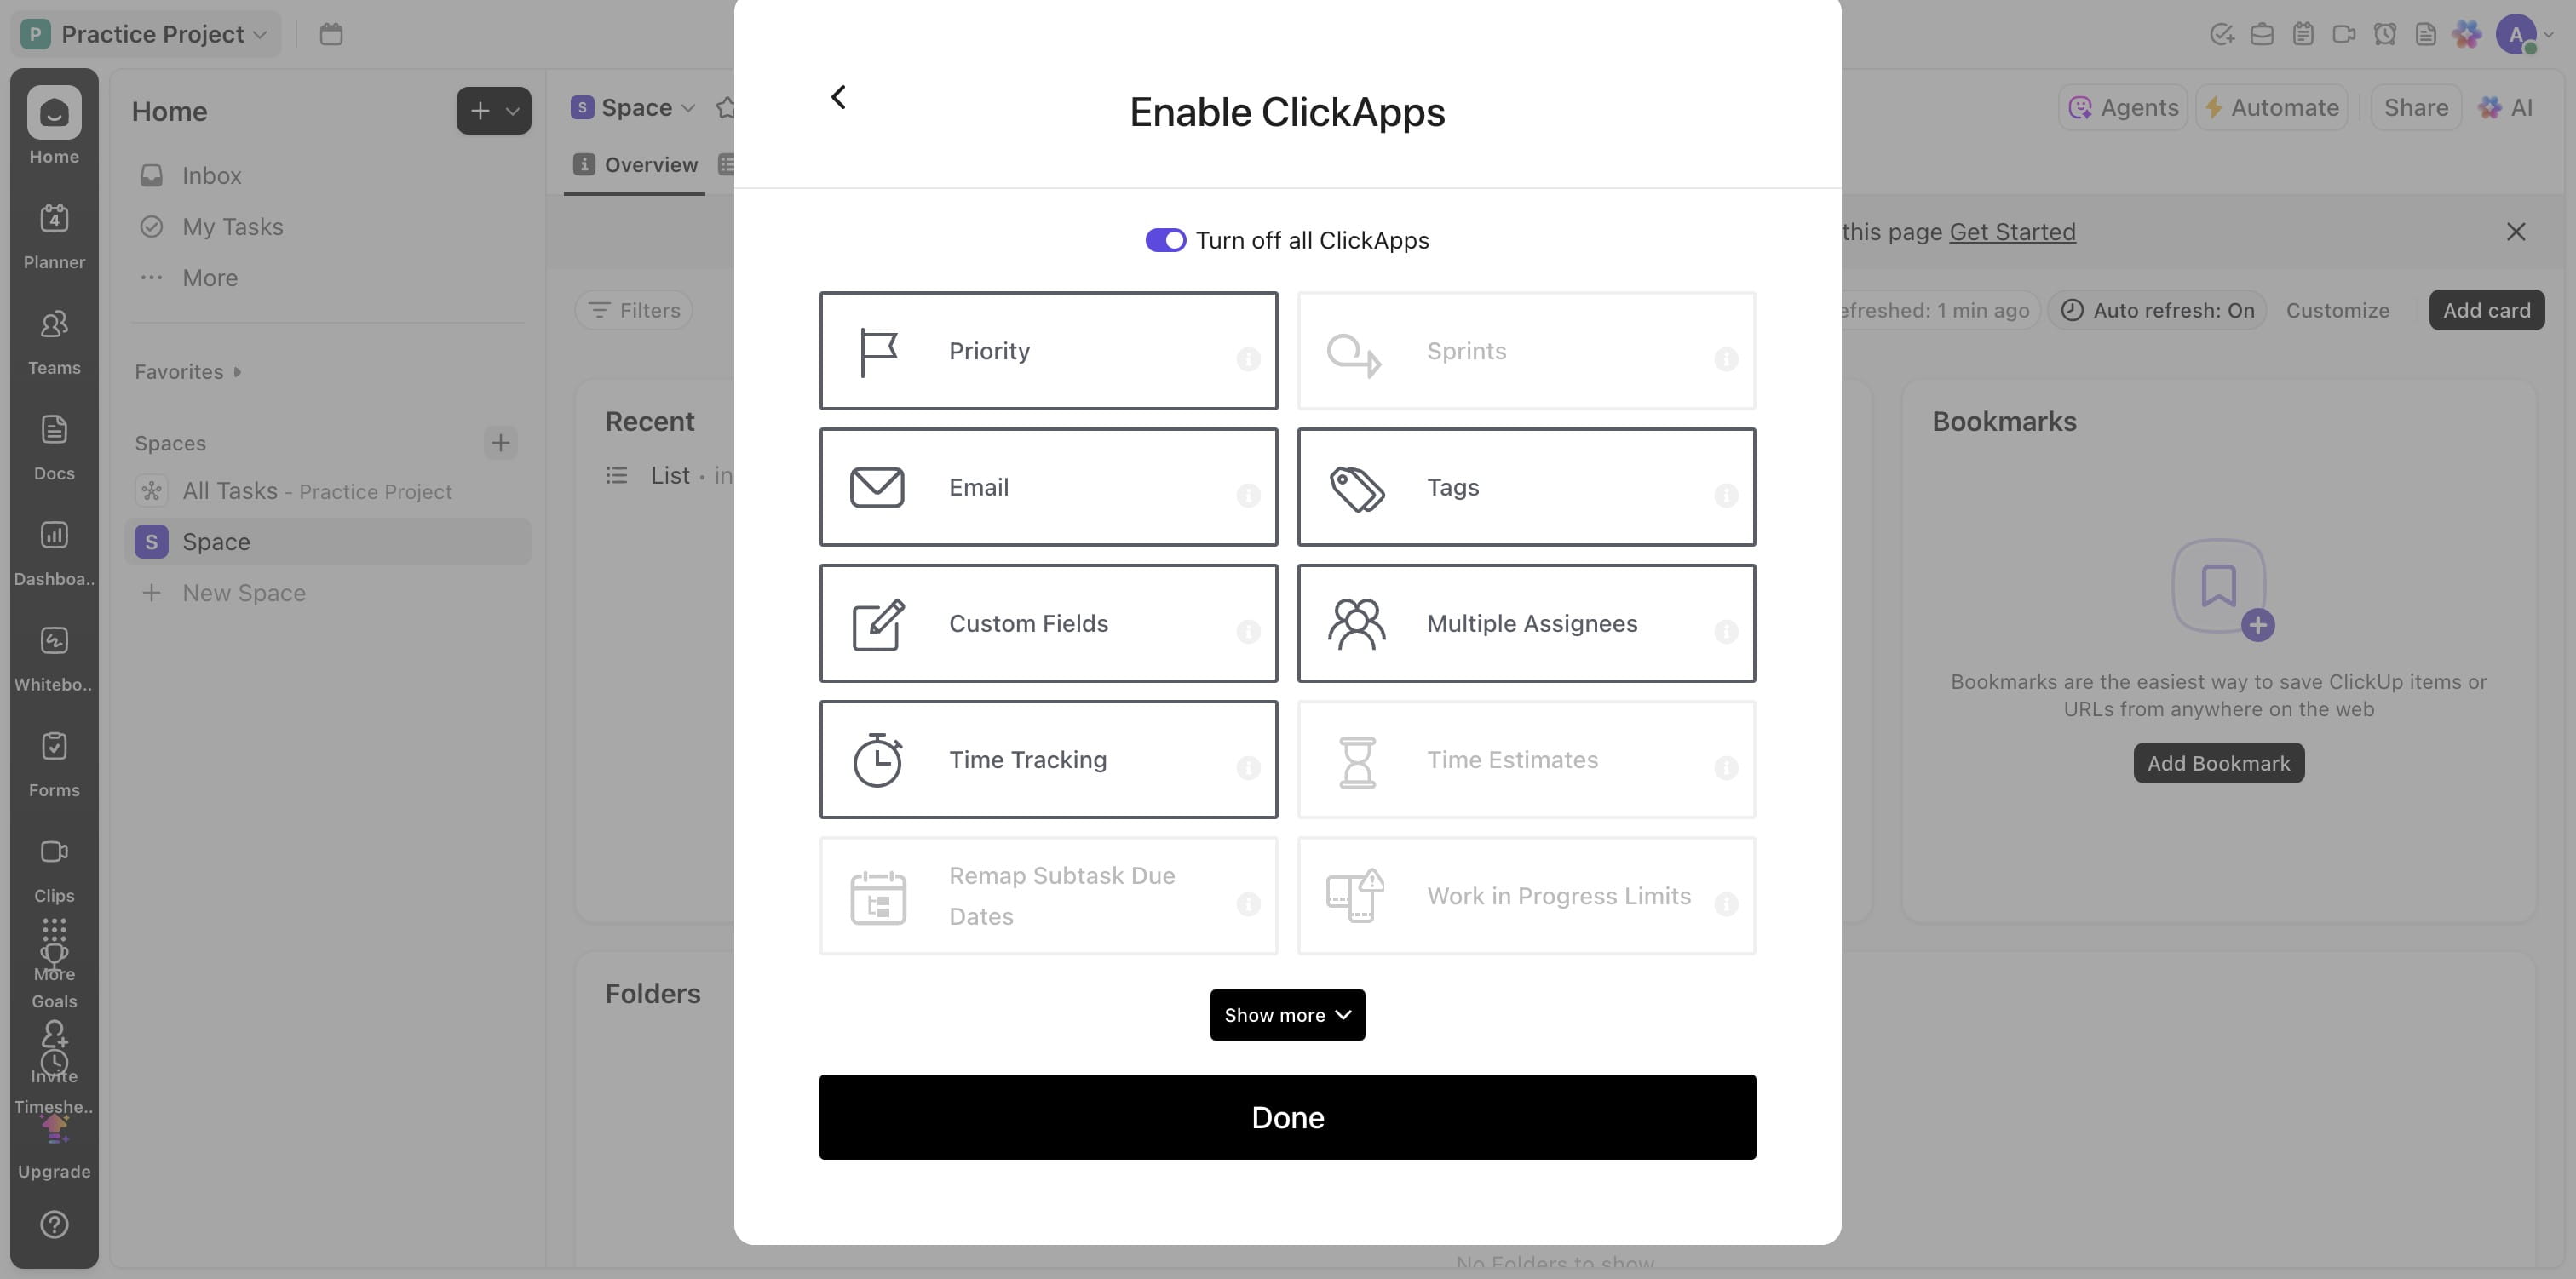
Turn off whats not needed and Turn on whats needed
Click on "Done"
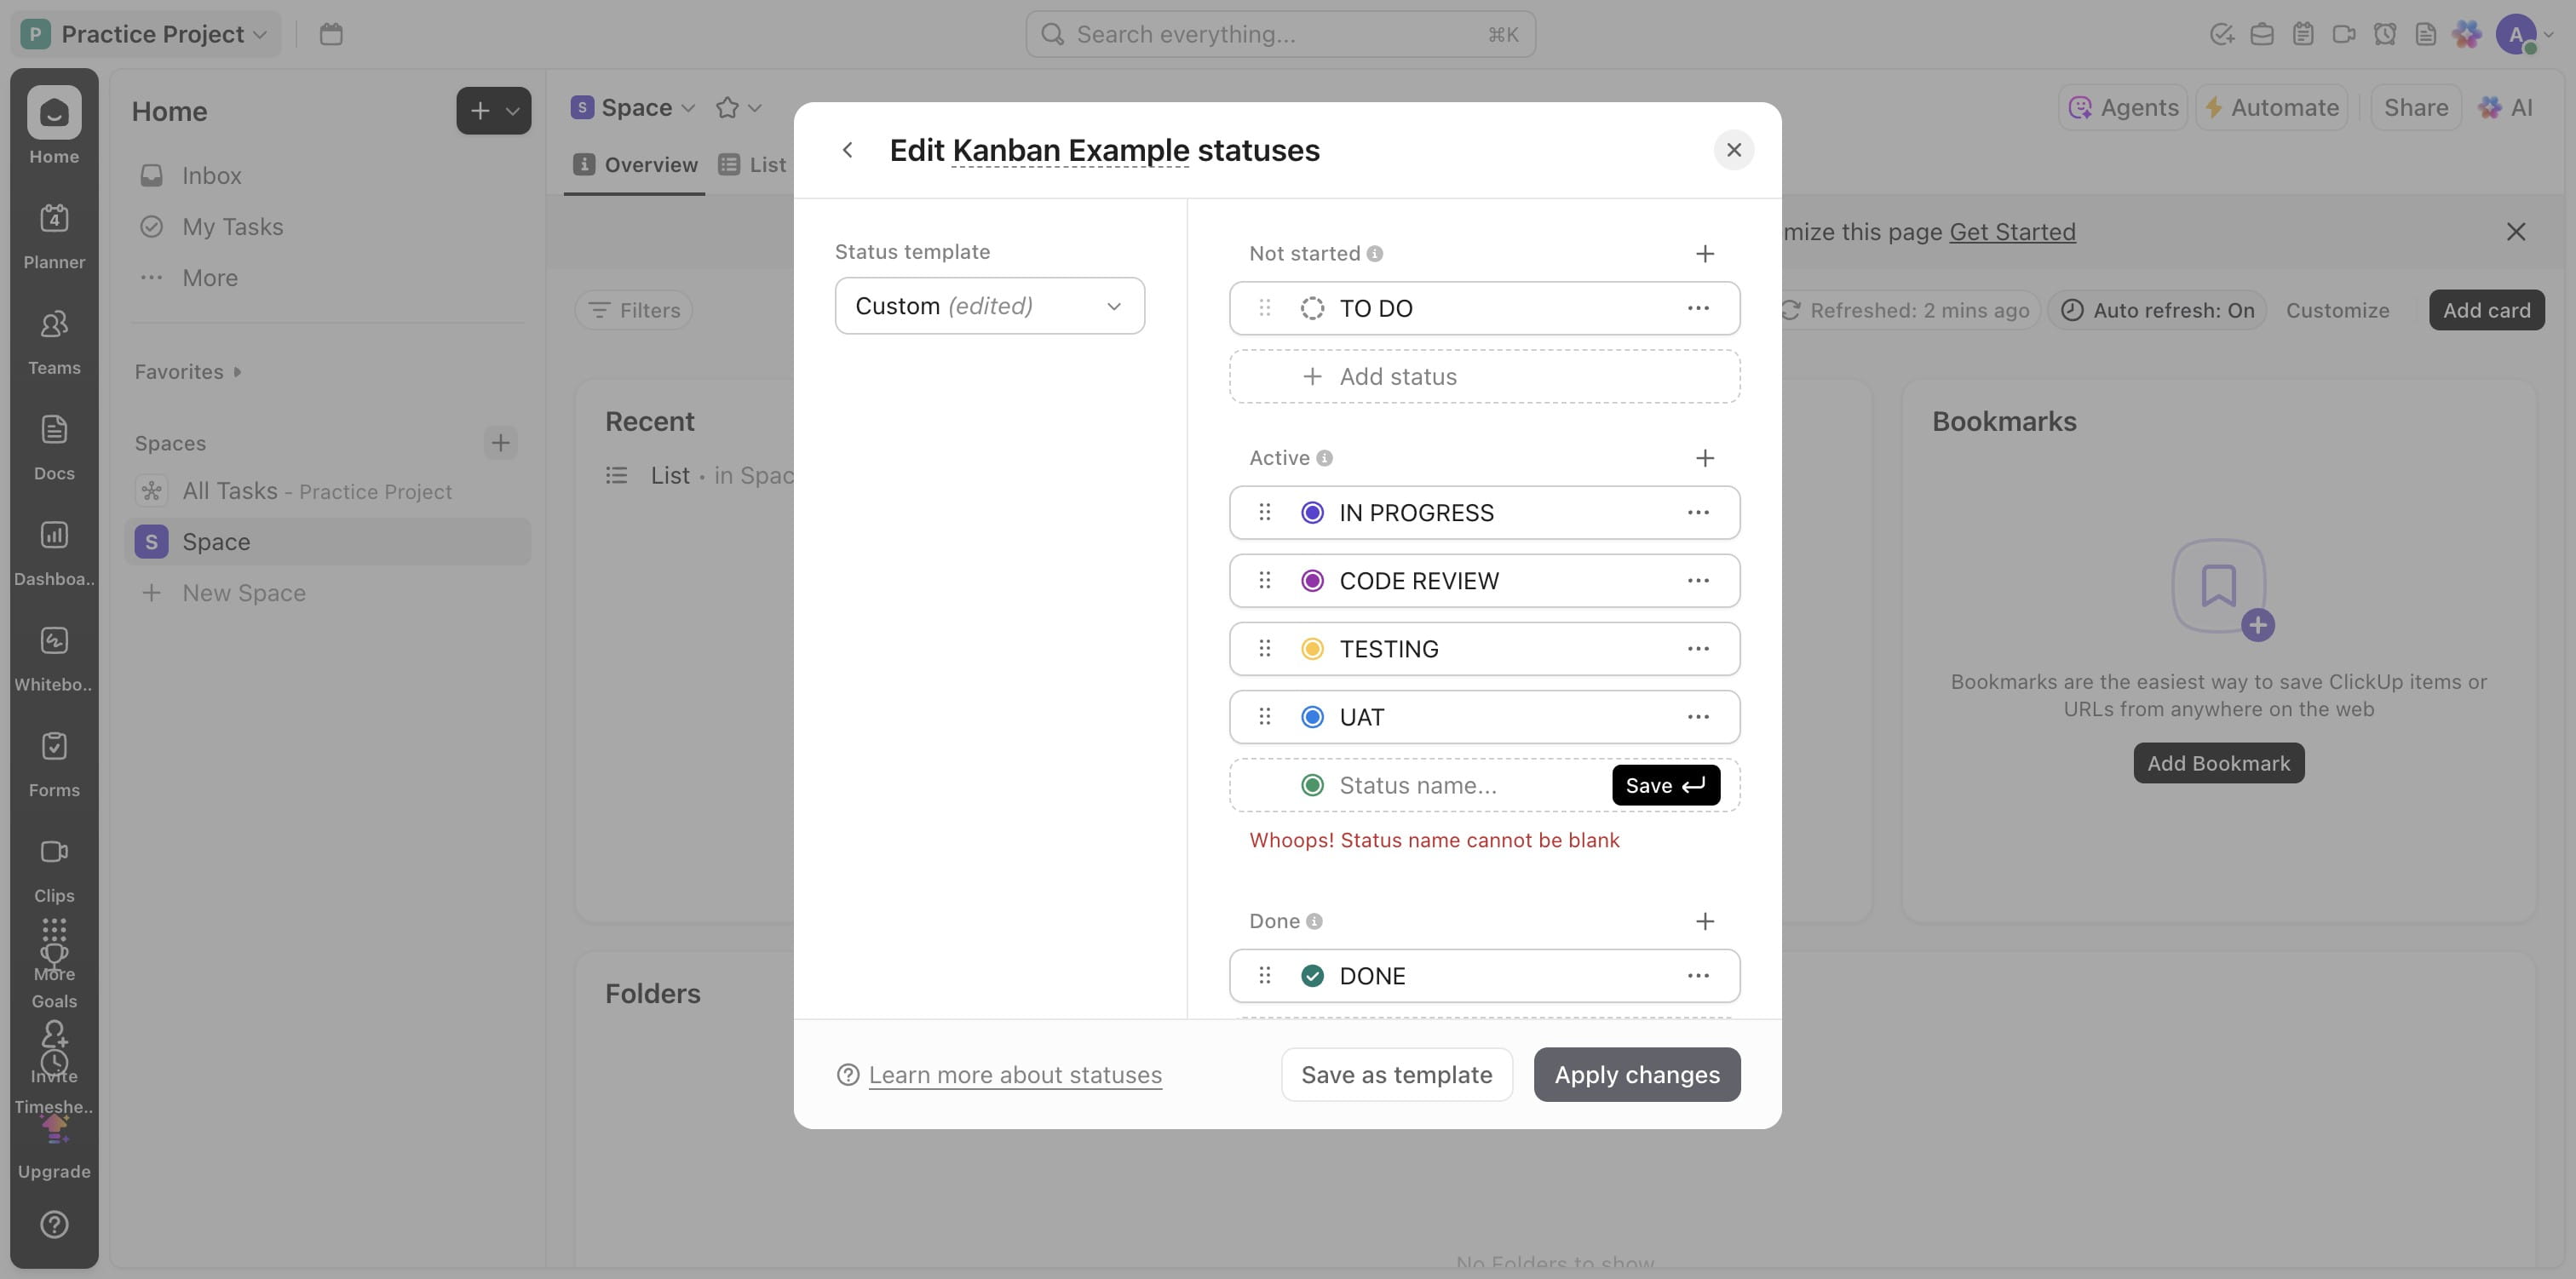
Click on Task statuses

Add more statuses as required
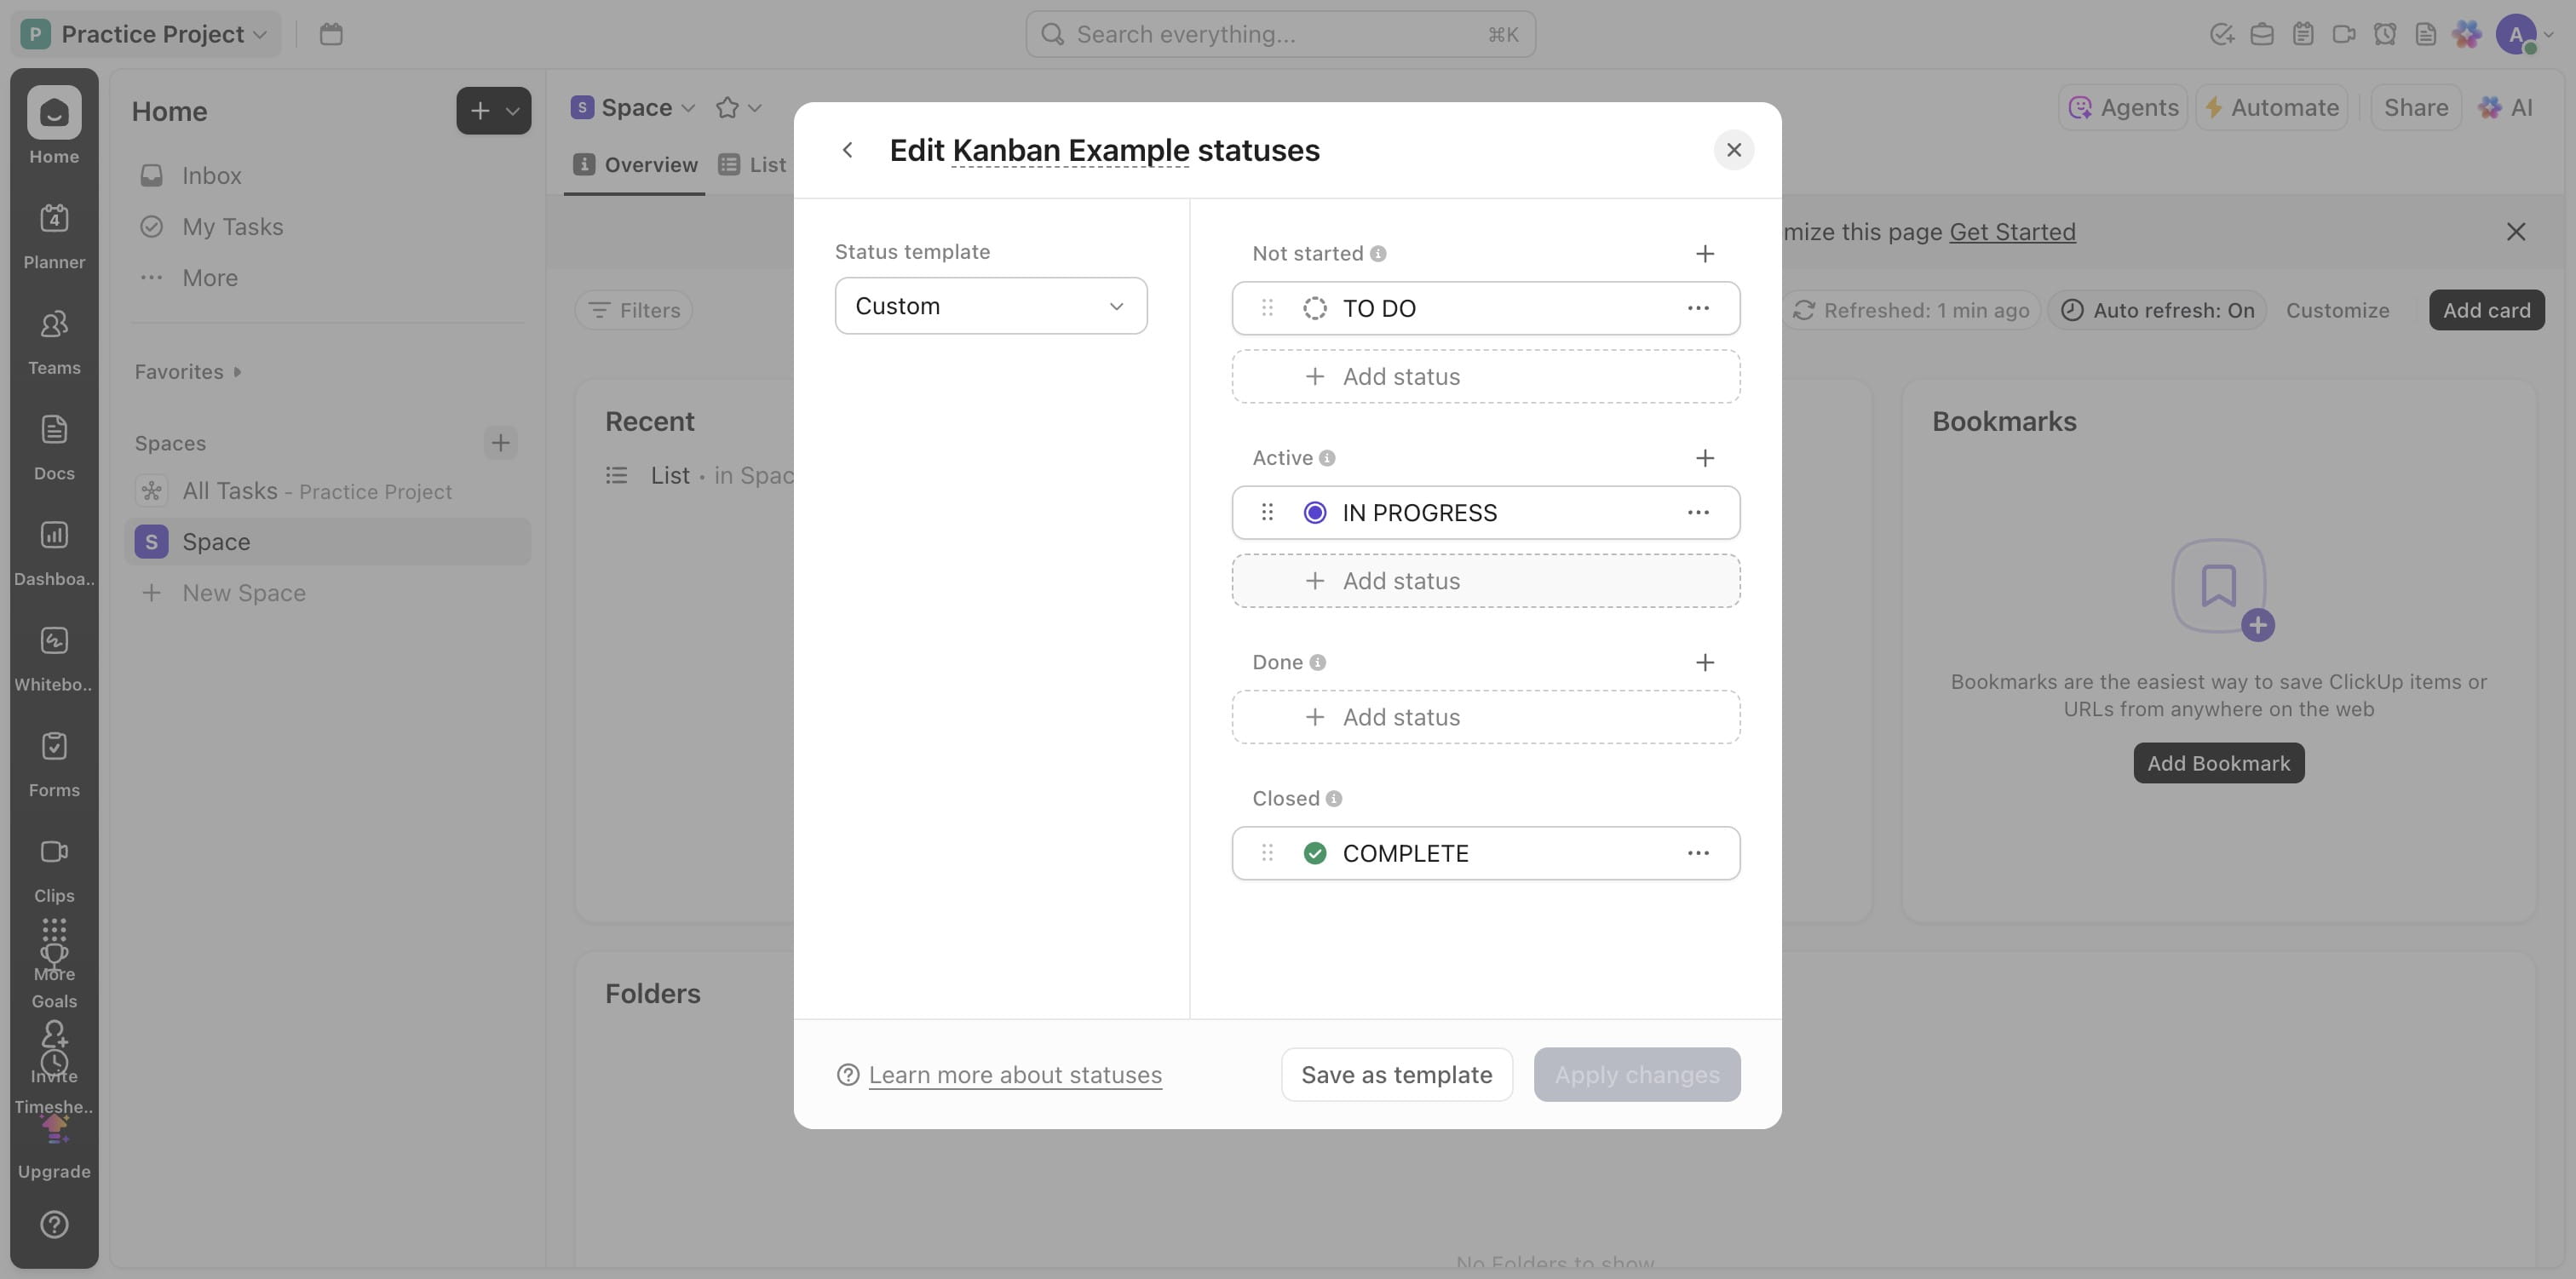
Add colors, drag to positions
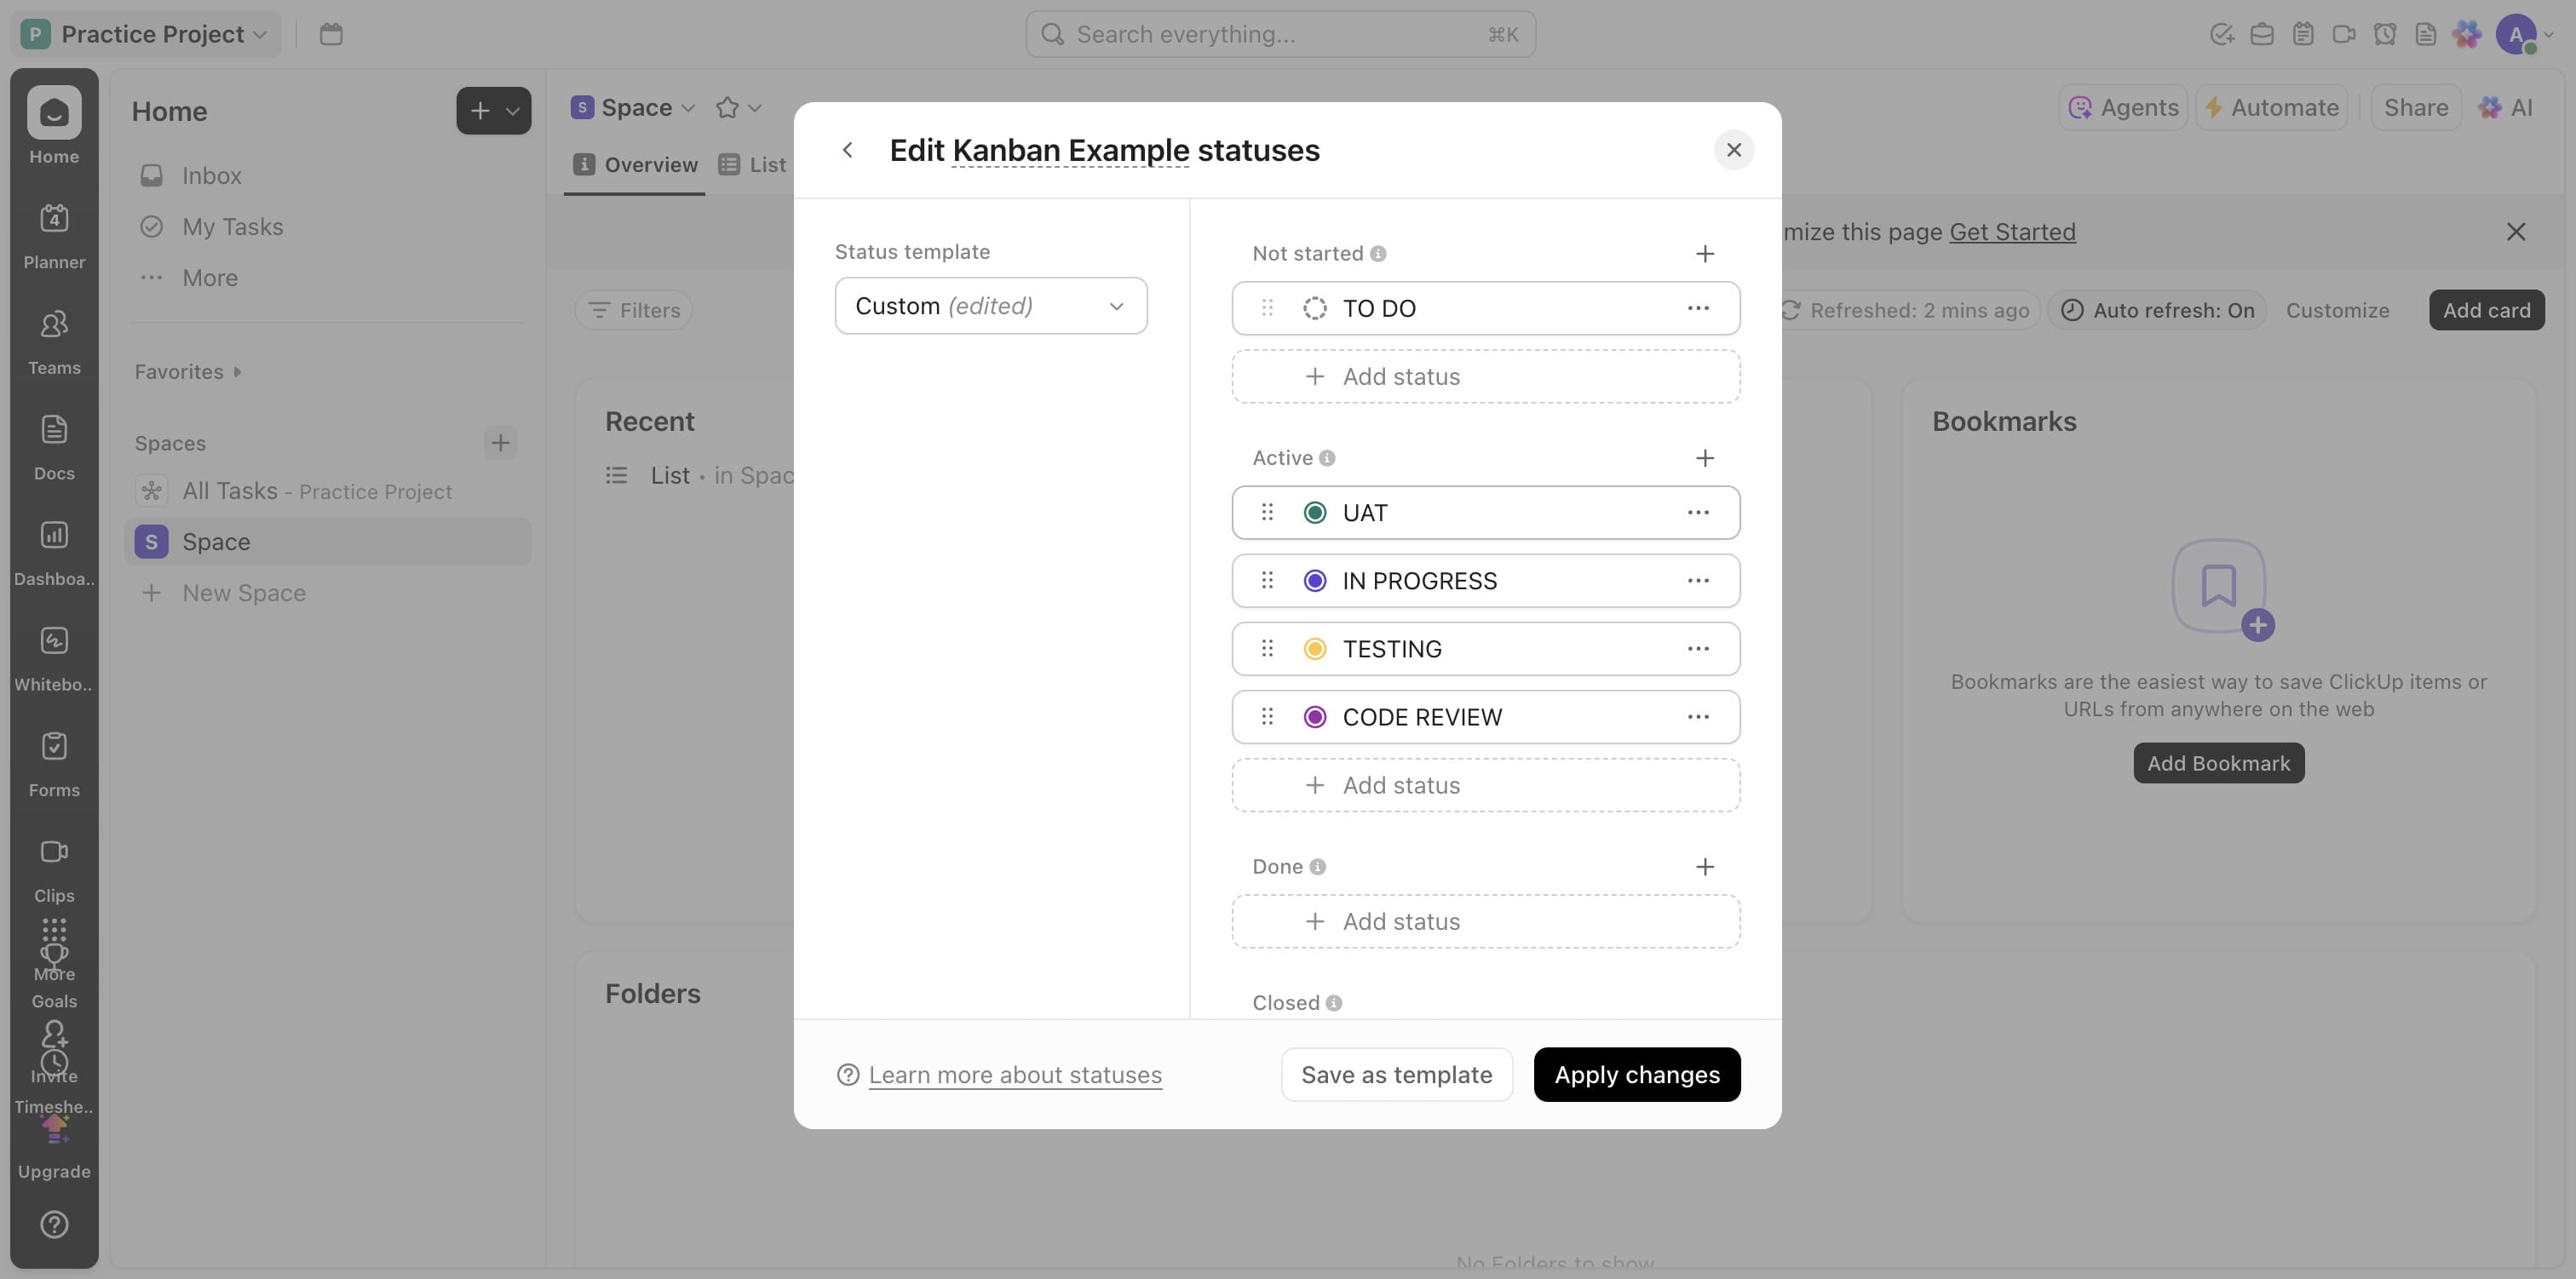
Click on "Apply changes"
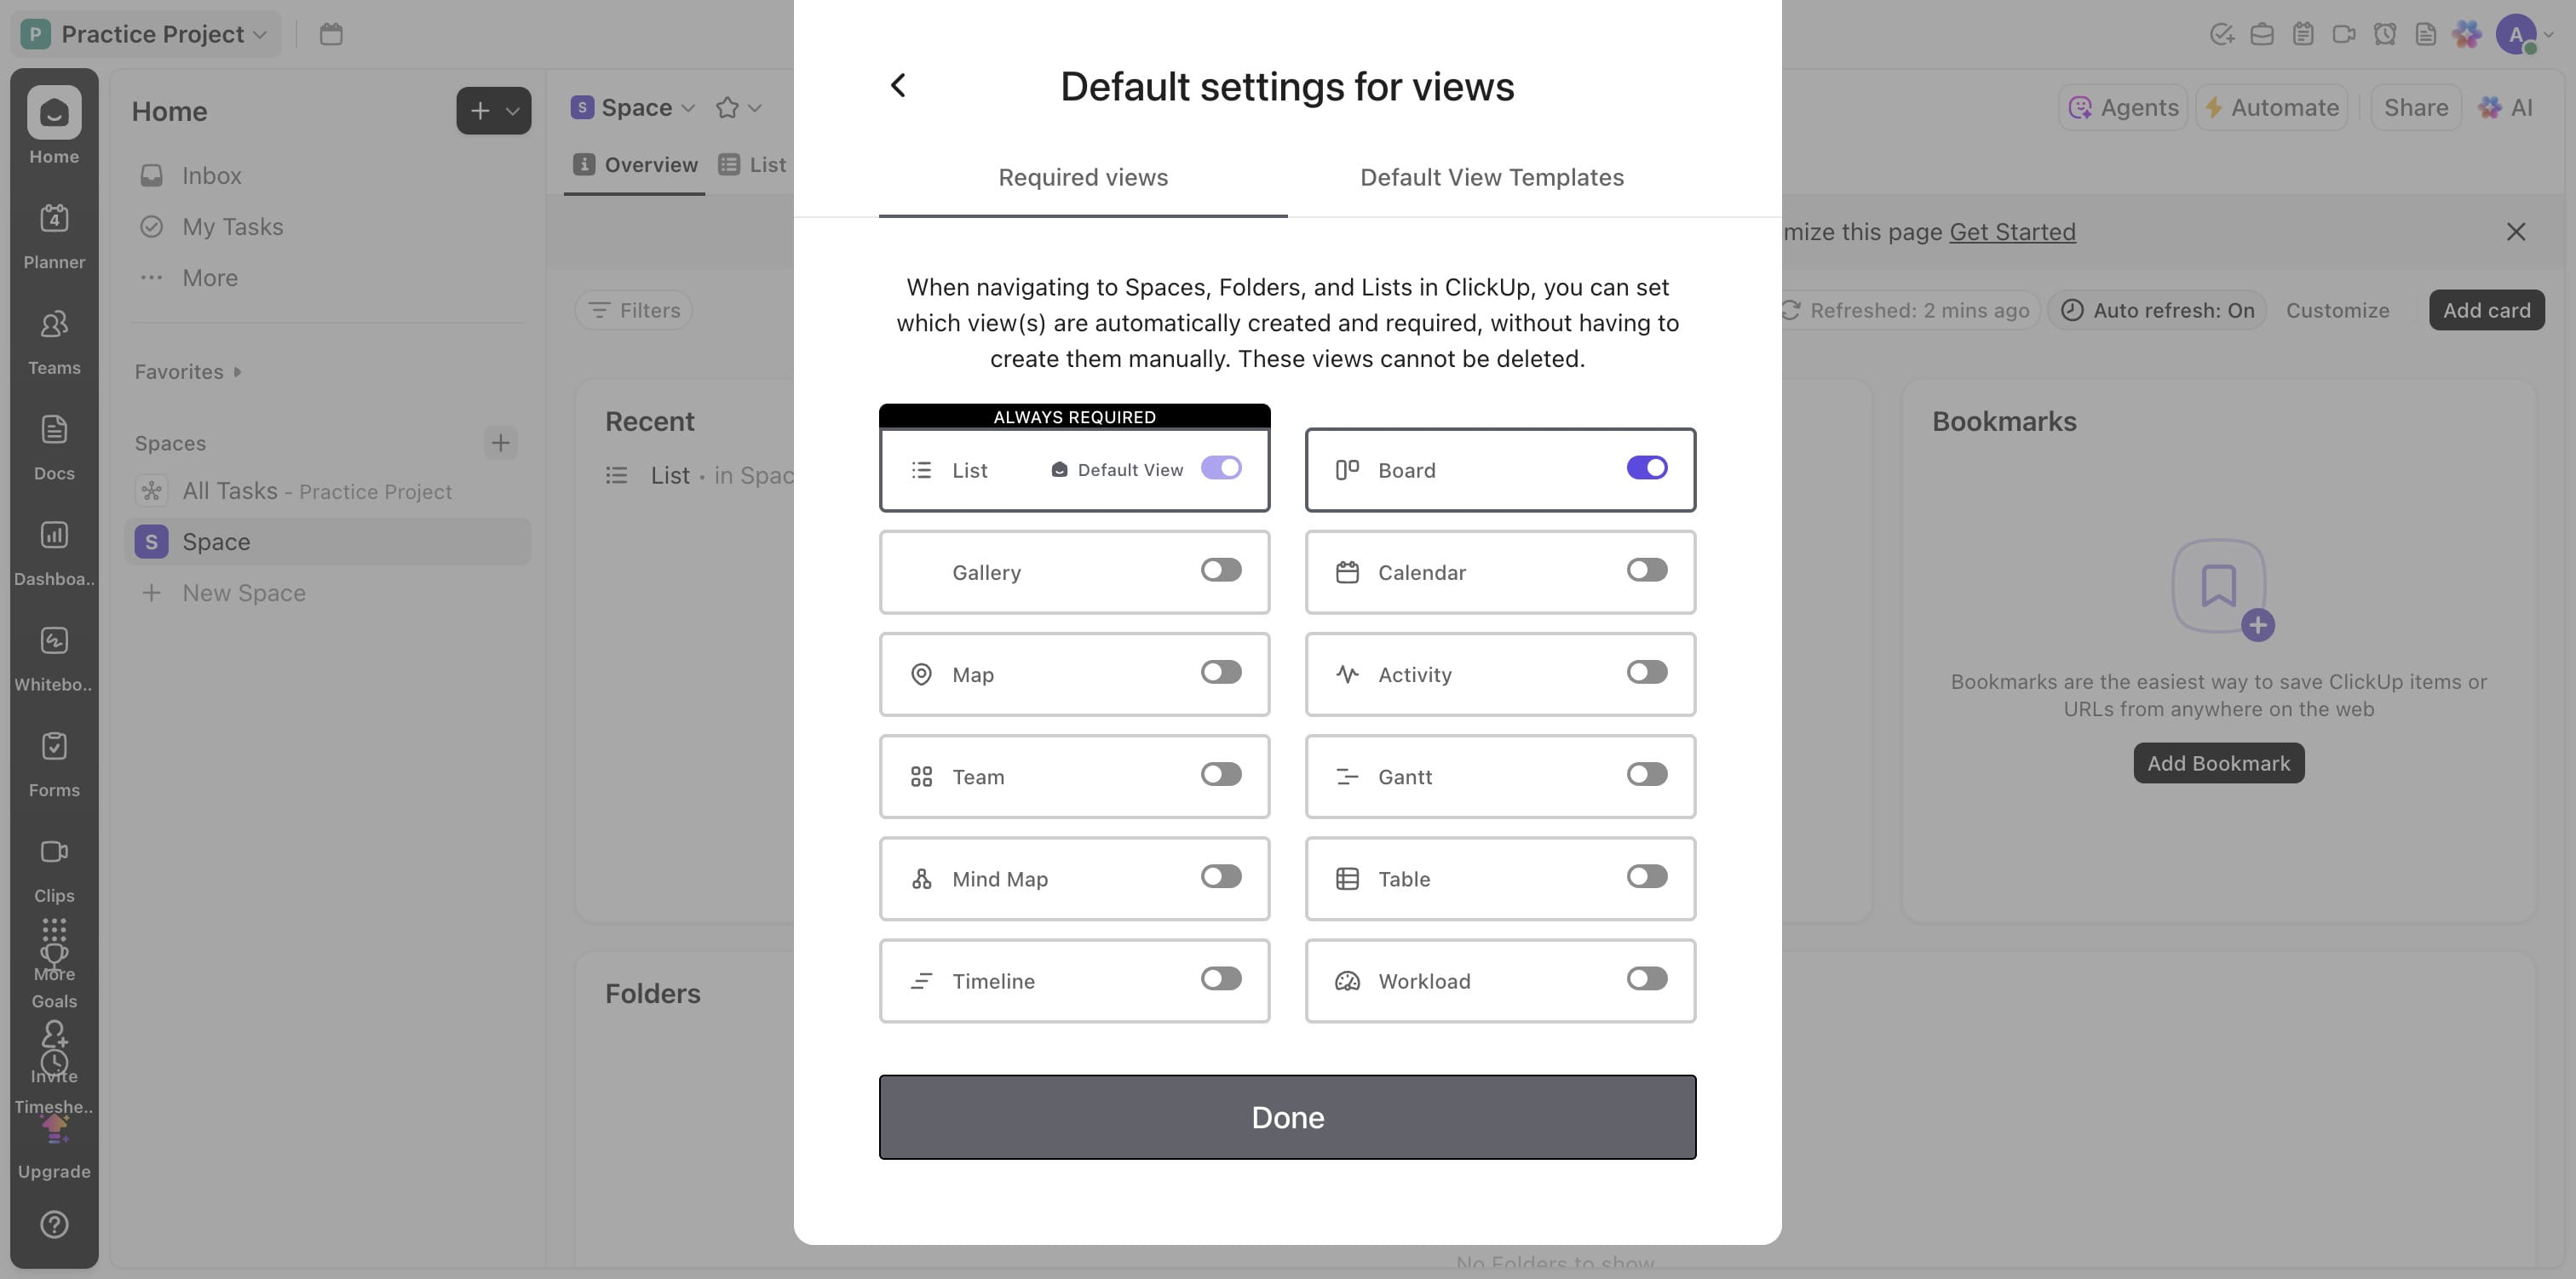
You can also edit the views you want on your space

Choose as many views as you like
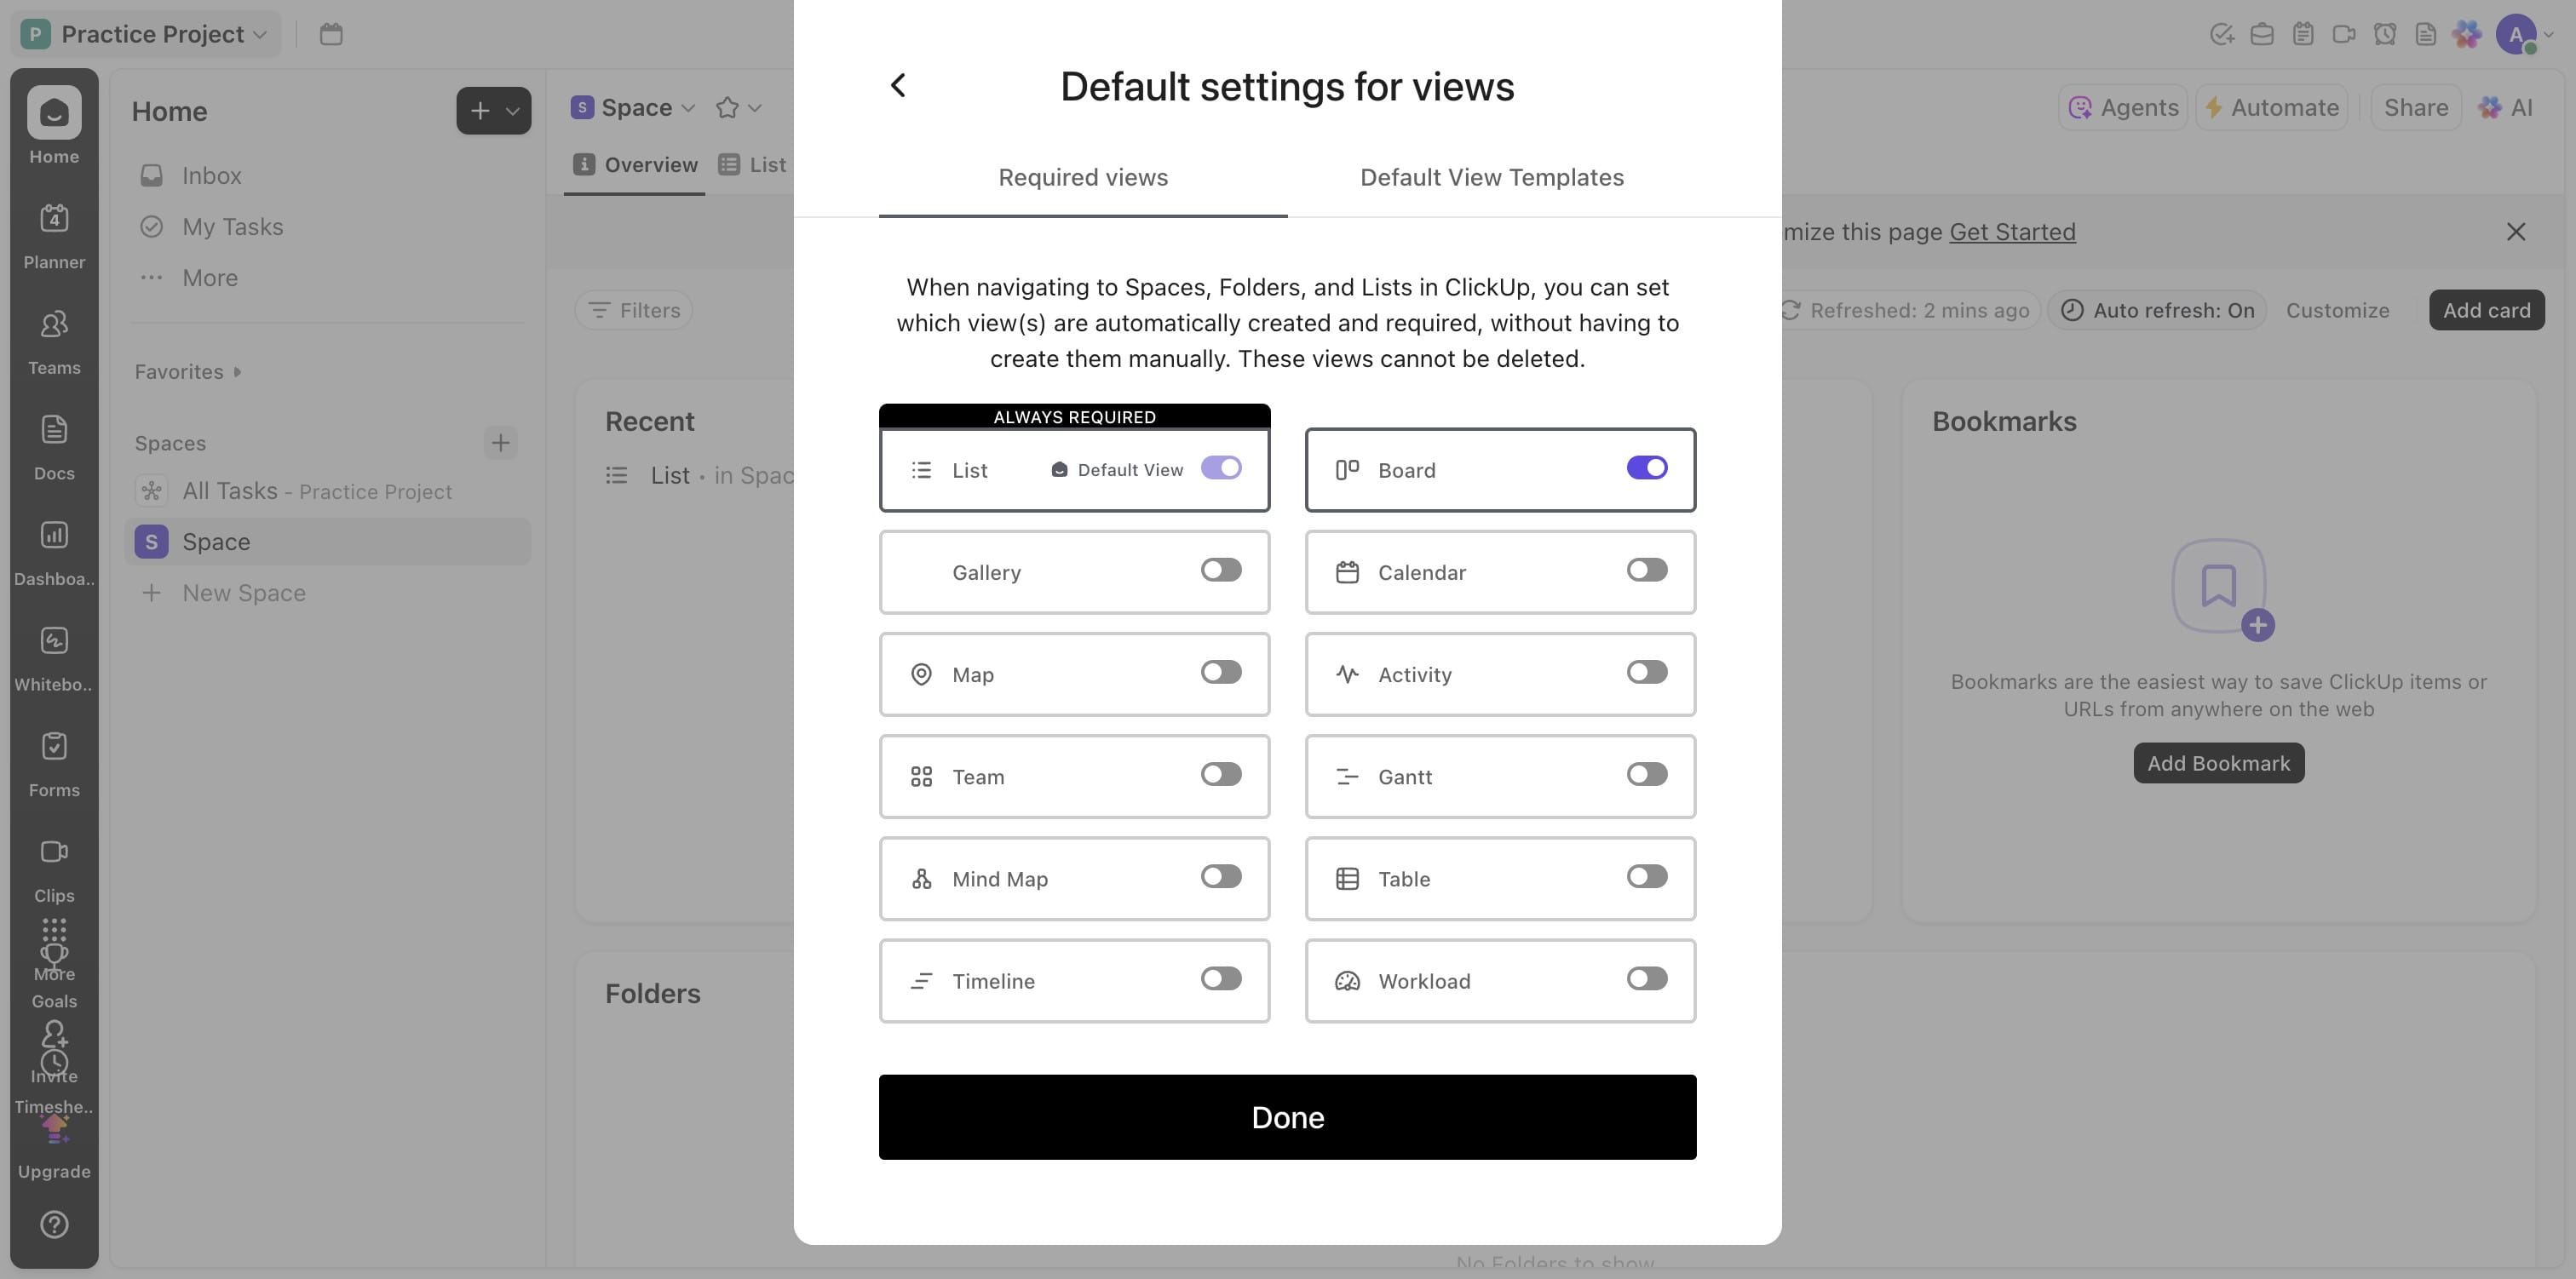
Click on "Done"
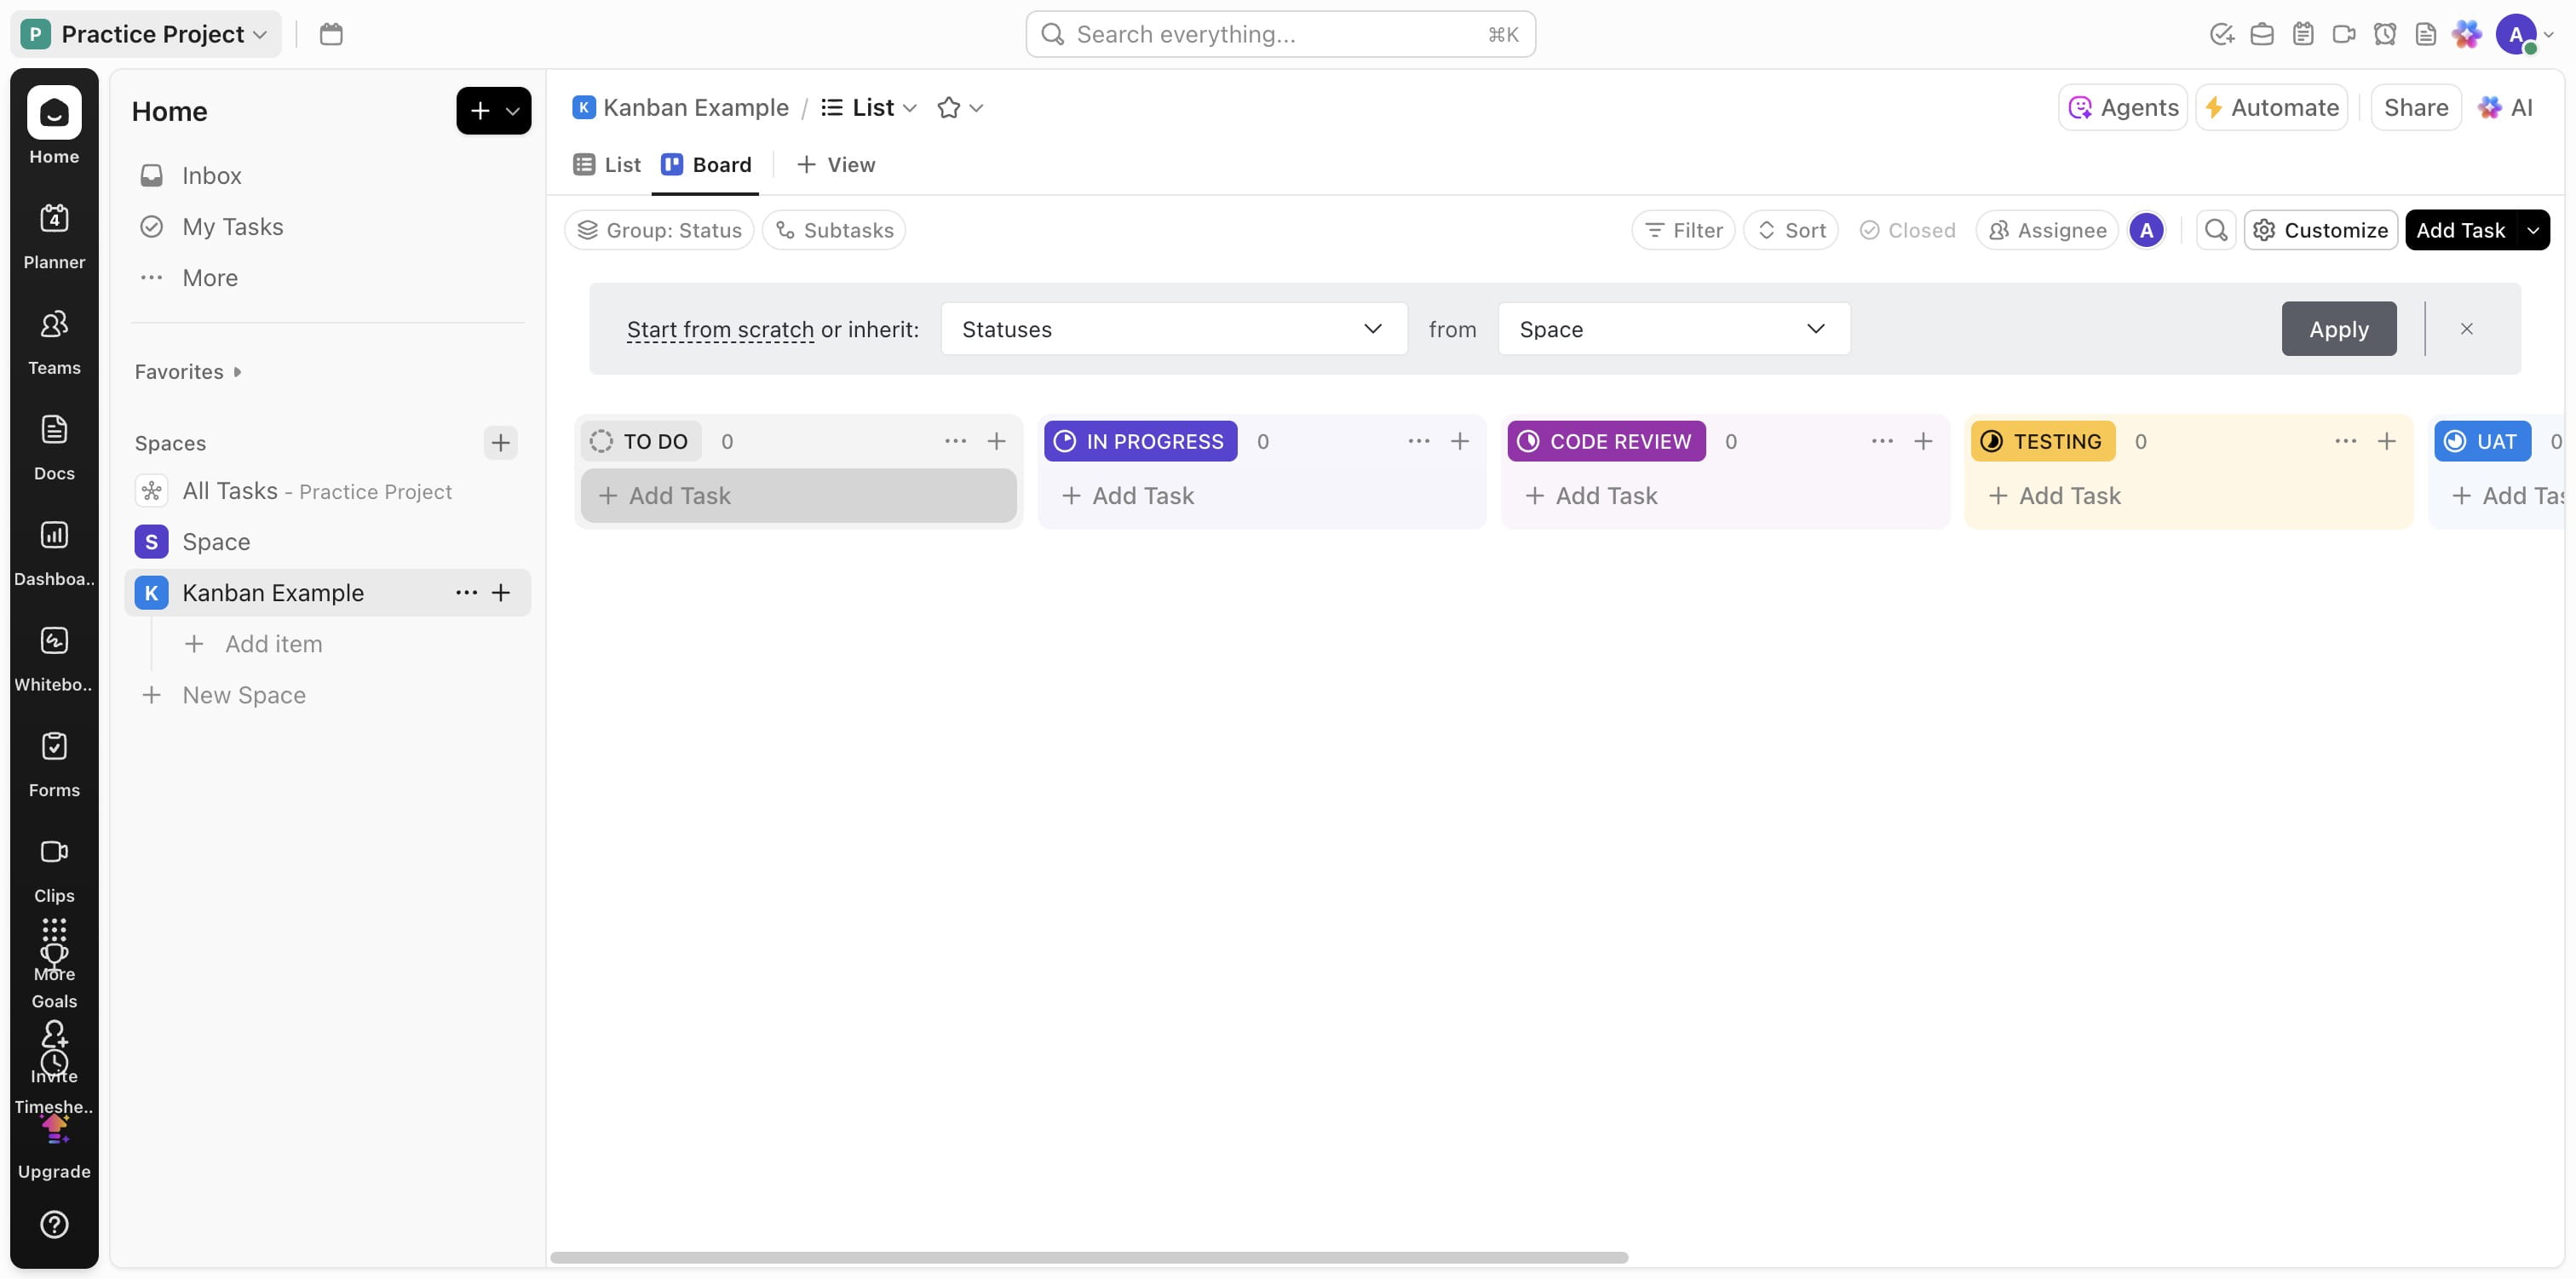
Click on "Create Space"
Click on "Board" to view all that has been created

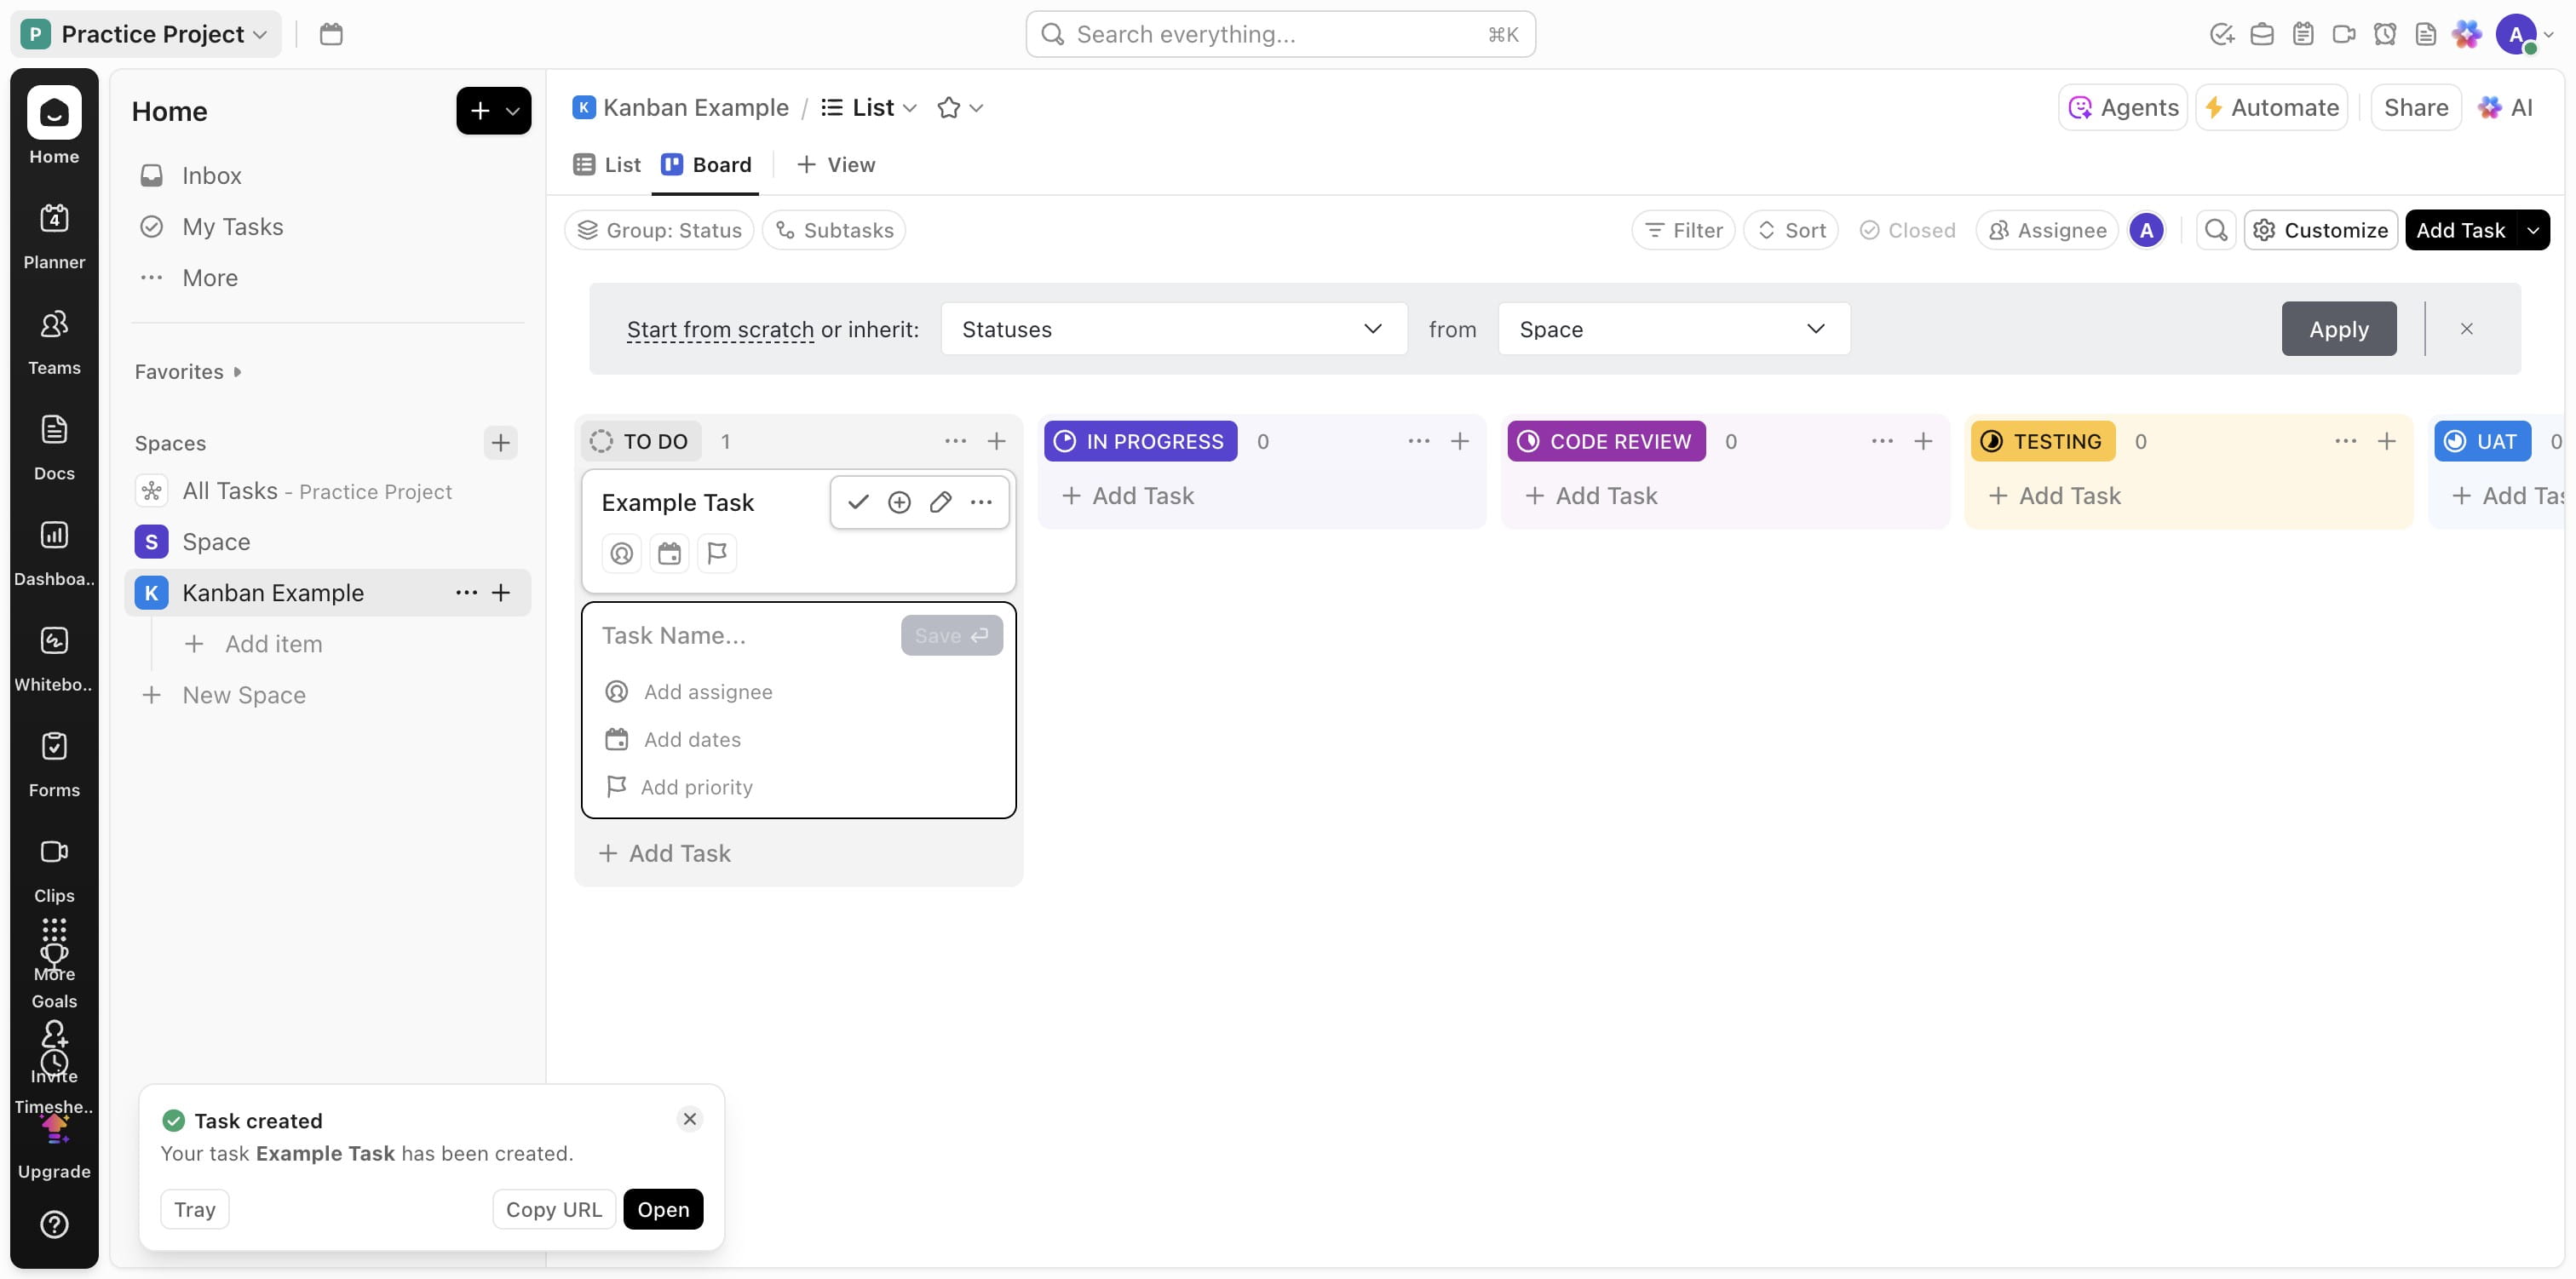
Add a task
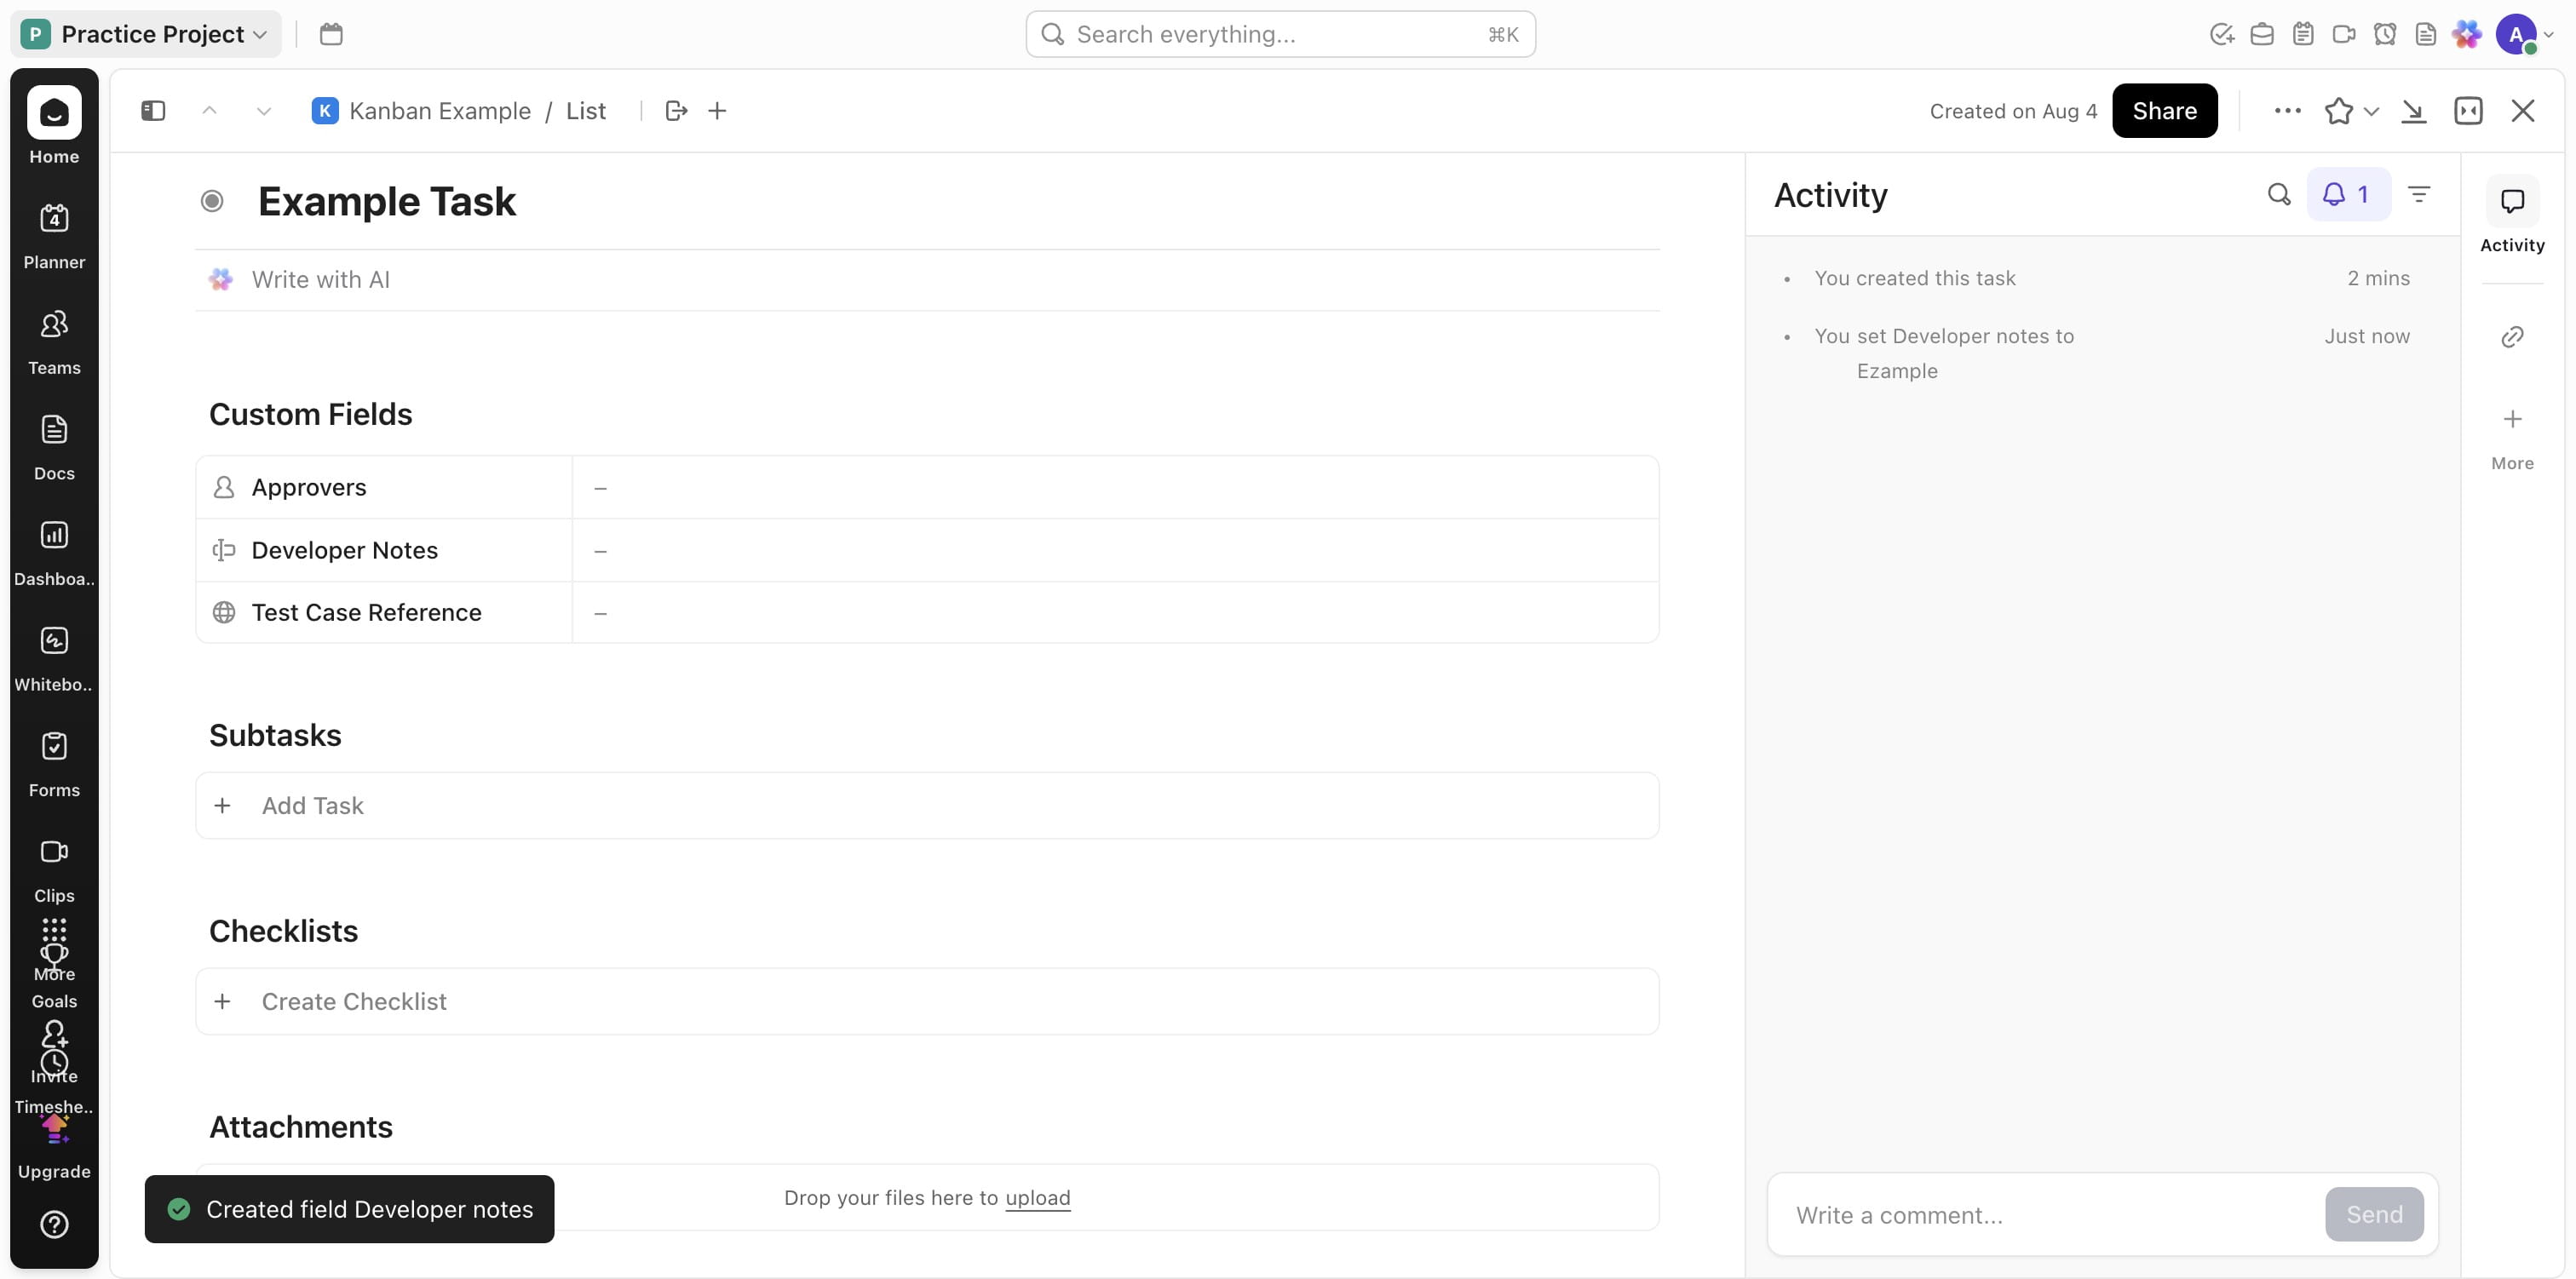
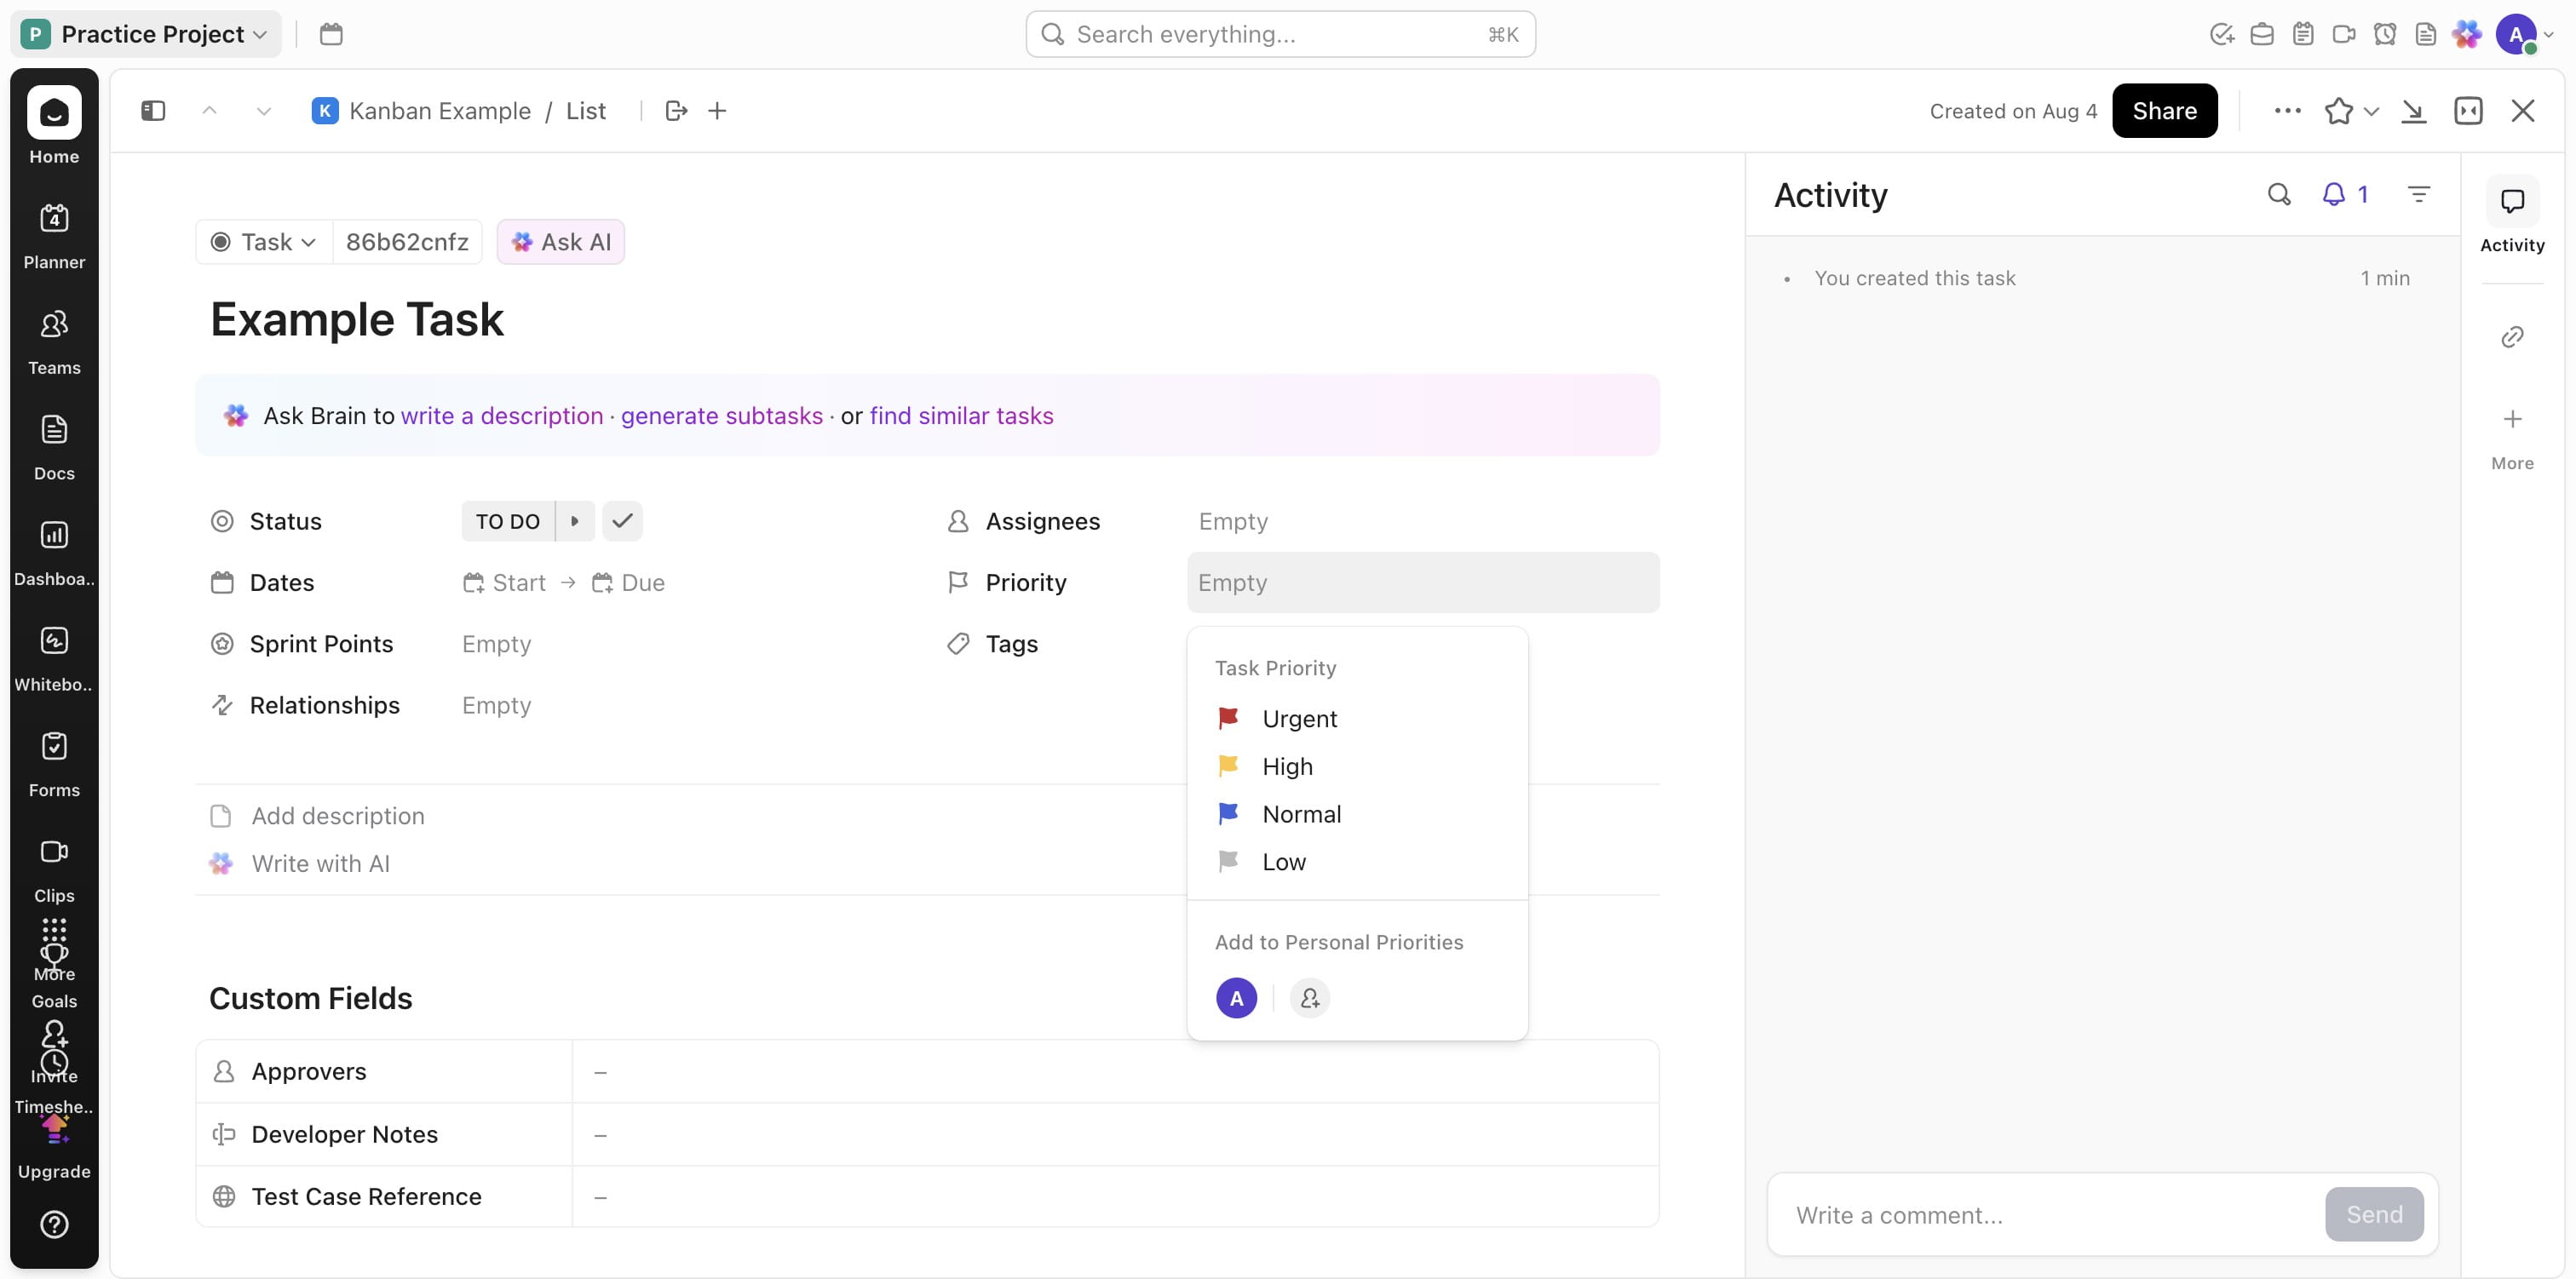
Open the task created
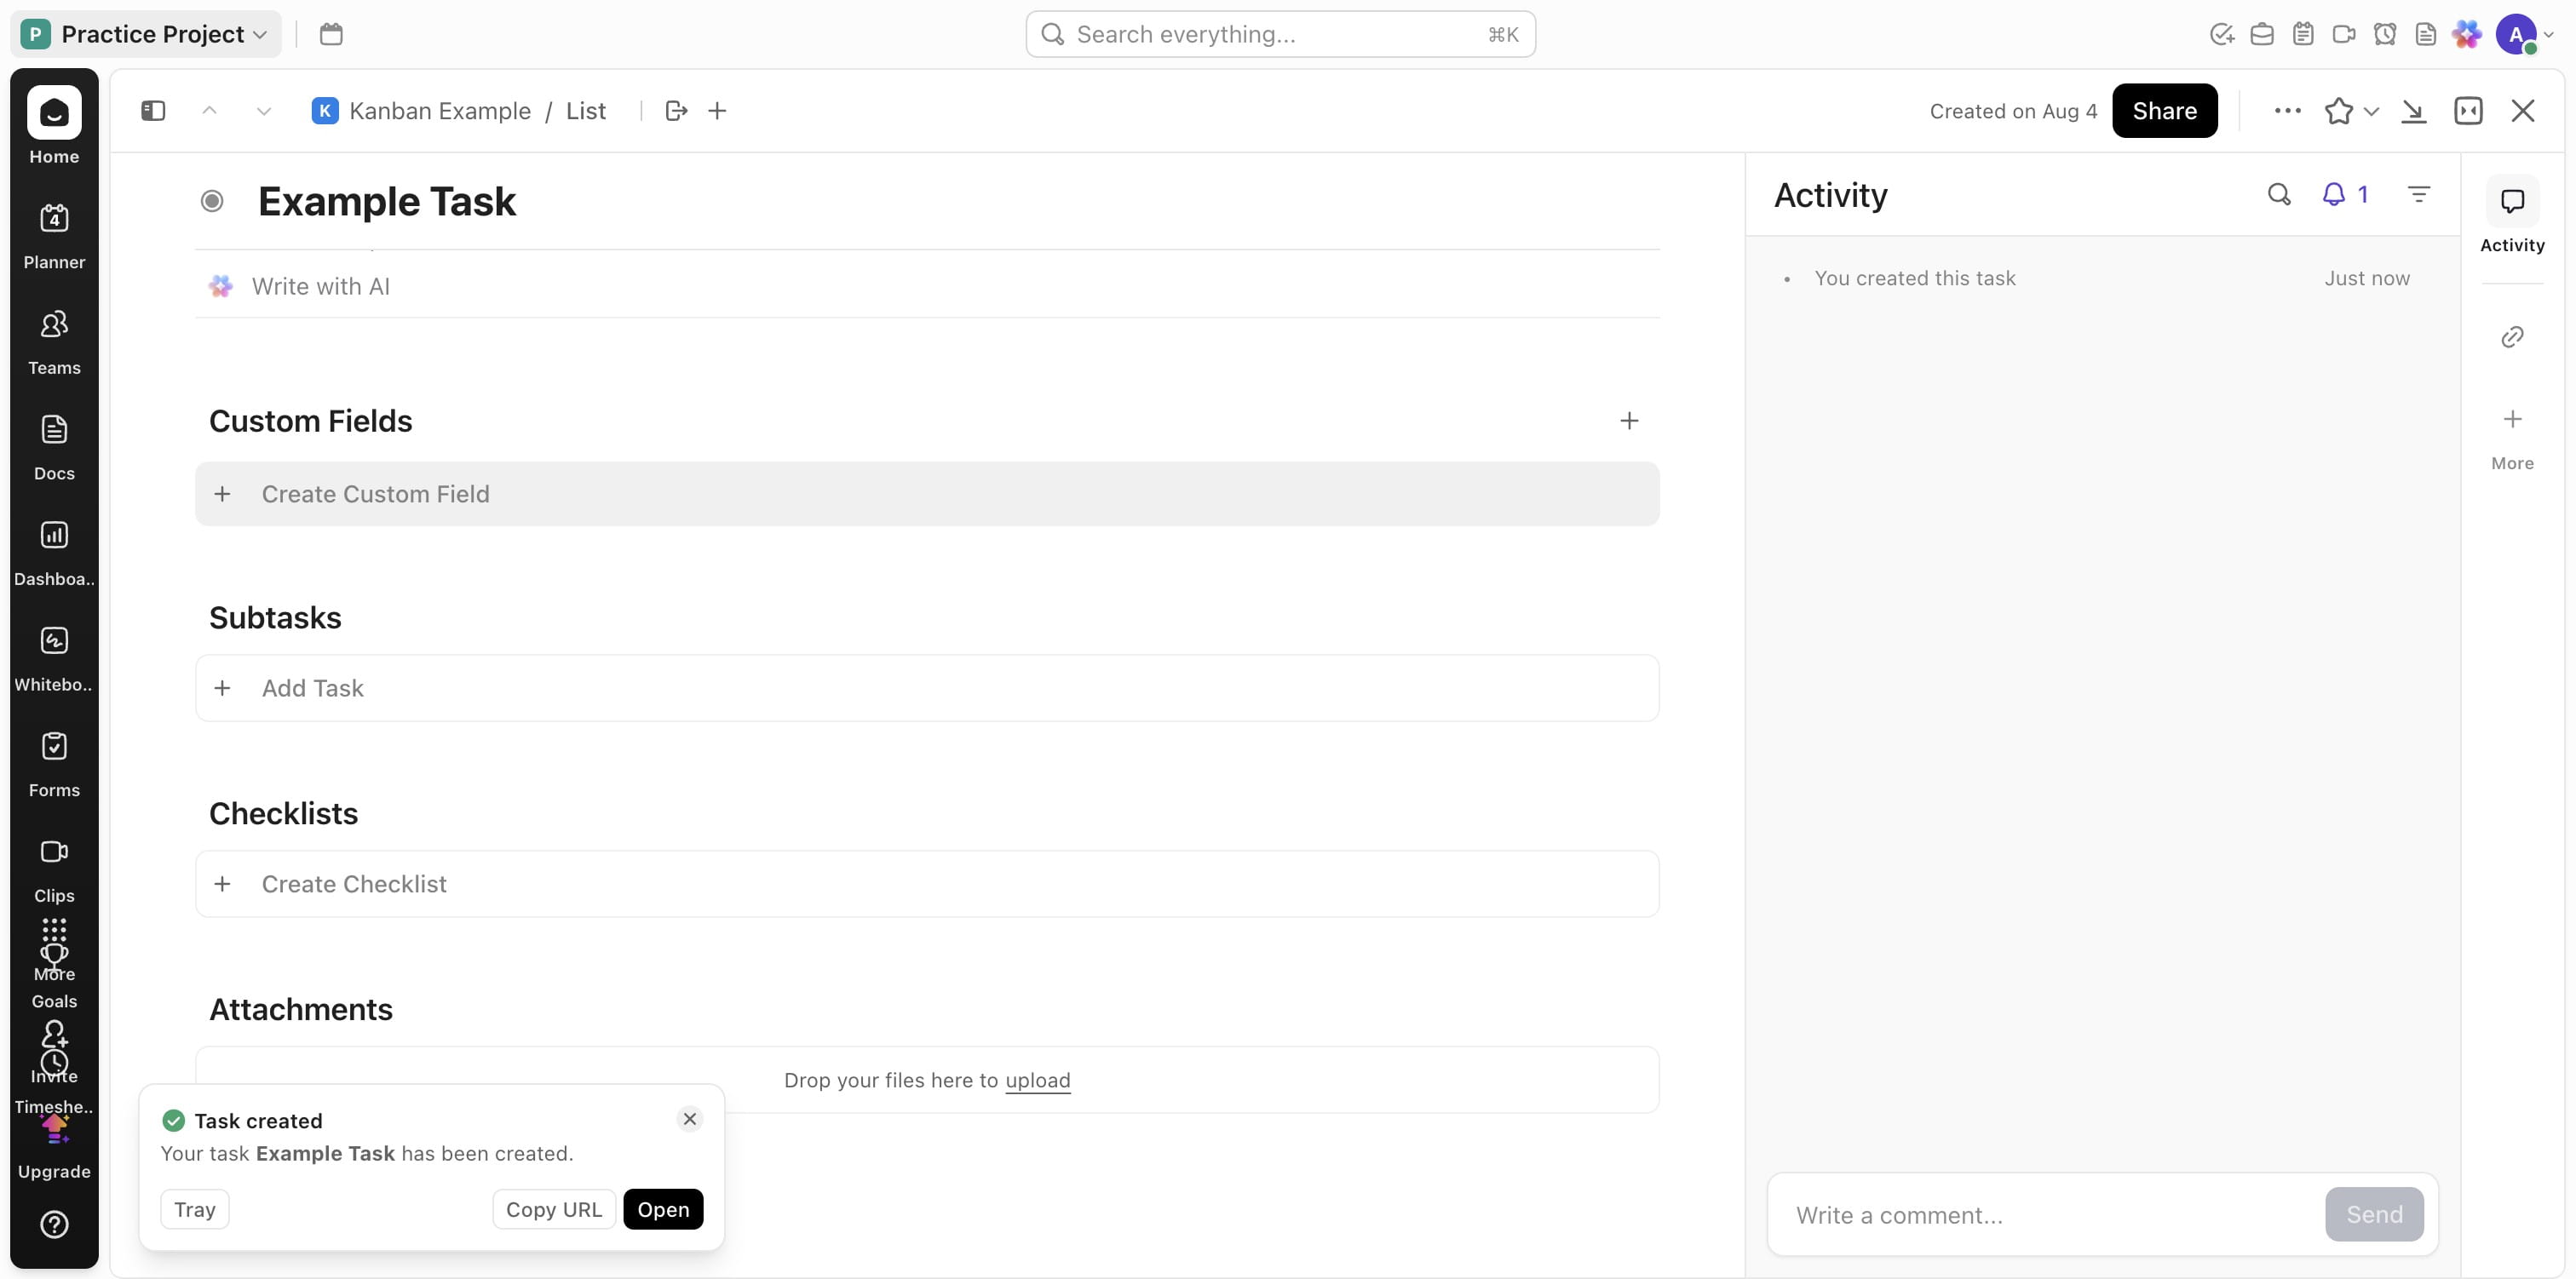
Click on "Create Custom Field" for new custom fields
Press cmd + a
Press cmd + x
Choose the type of fields and add names accordingly
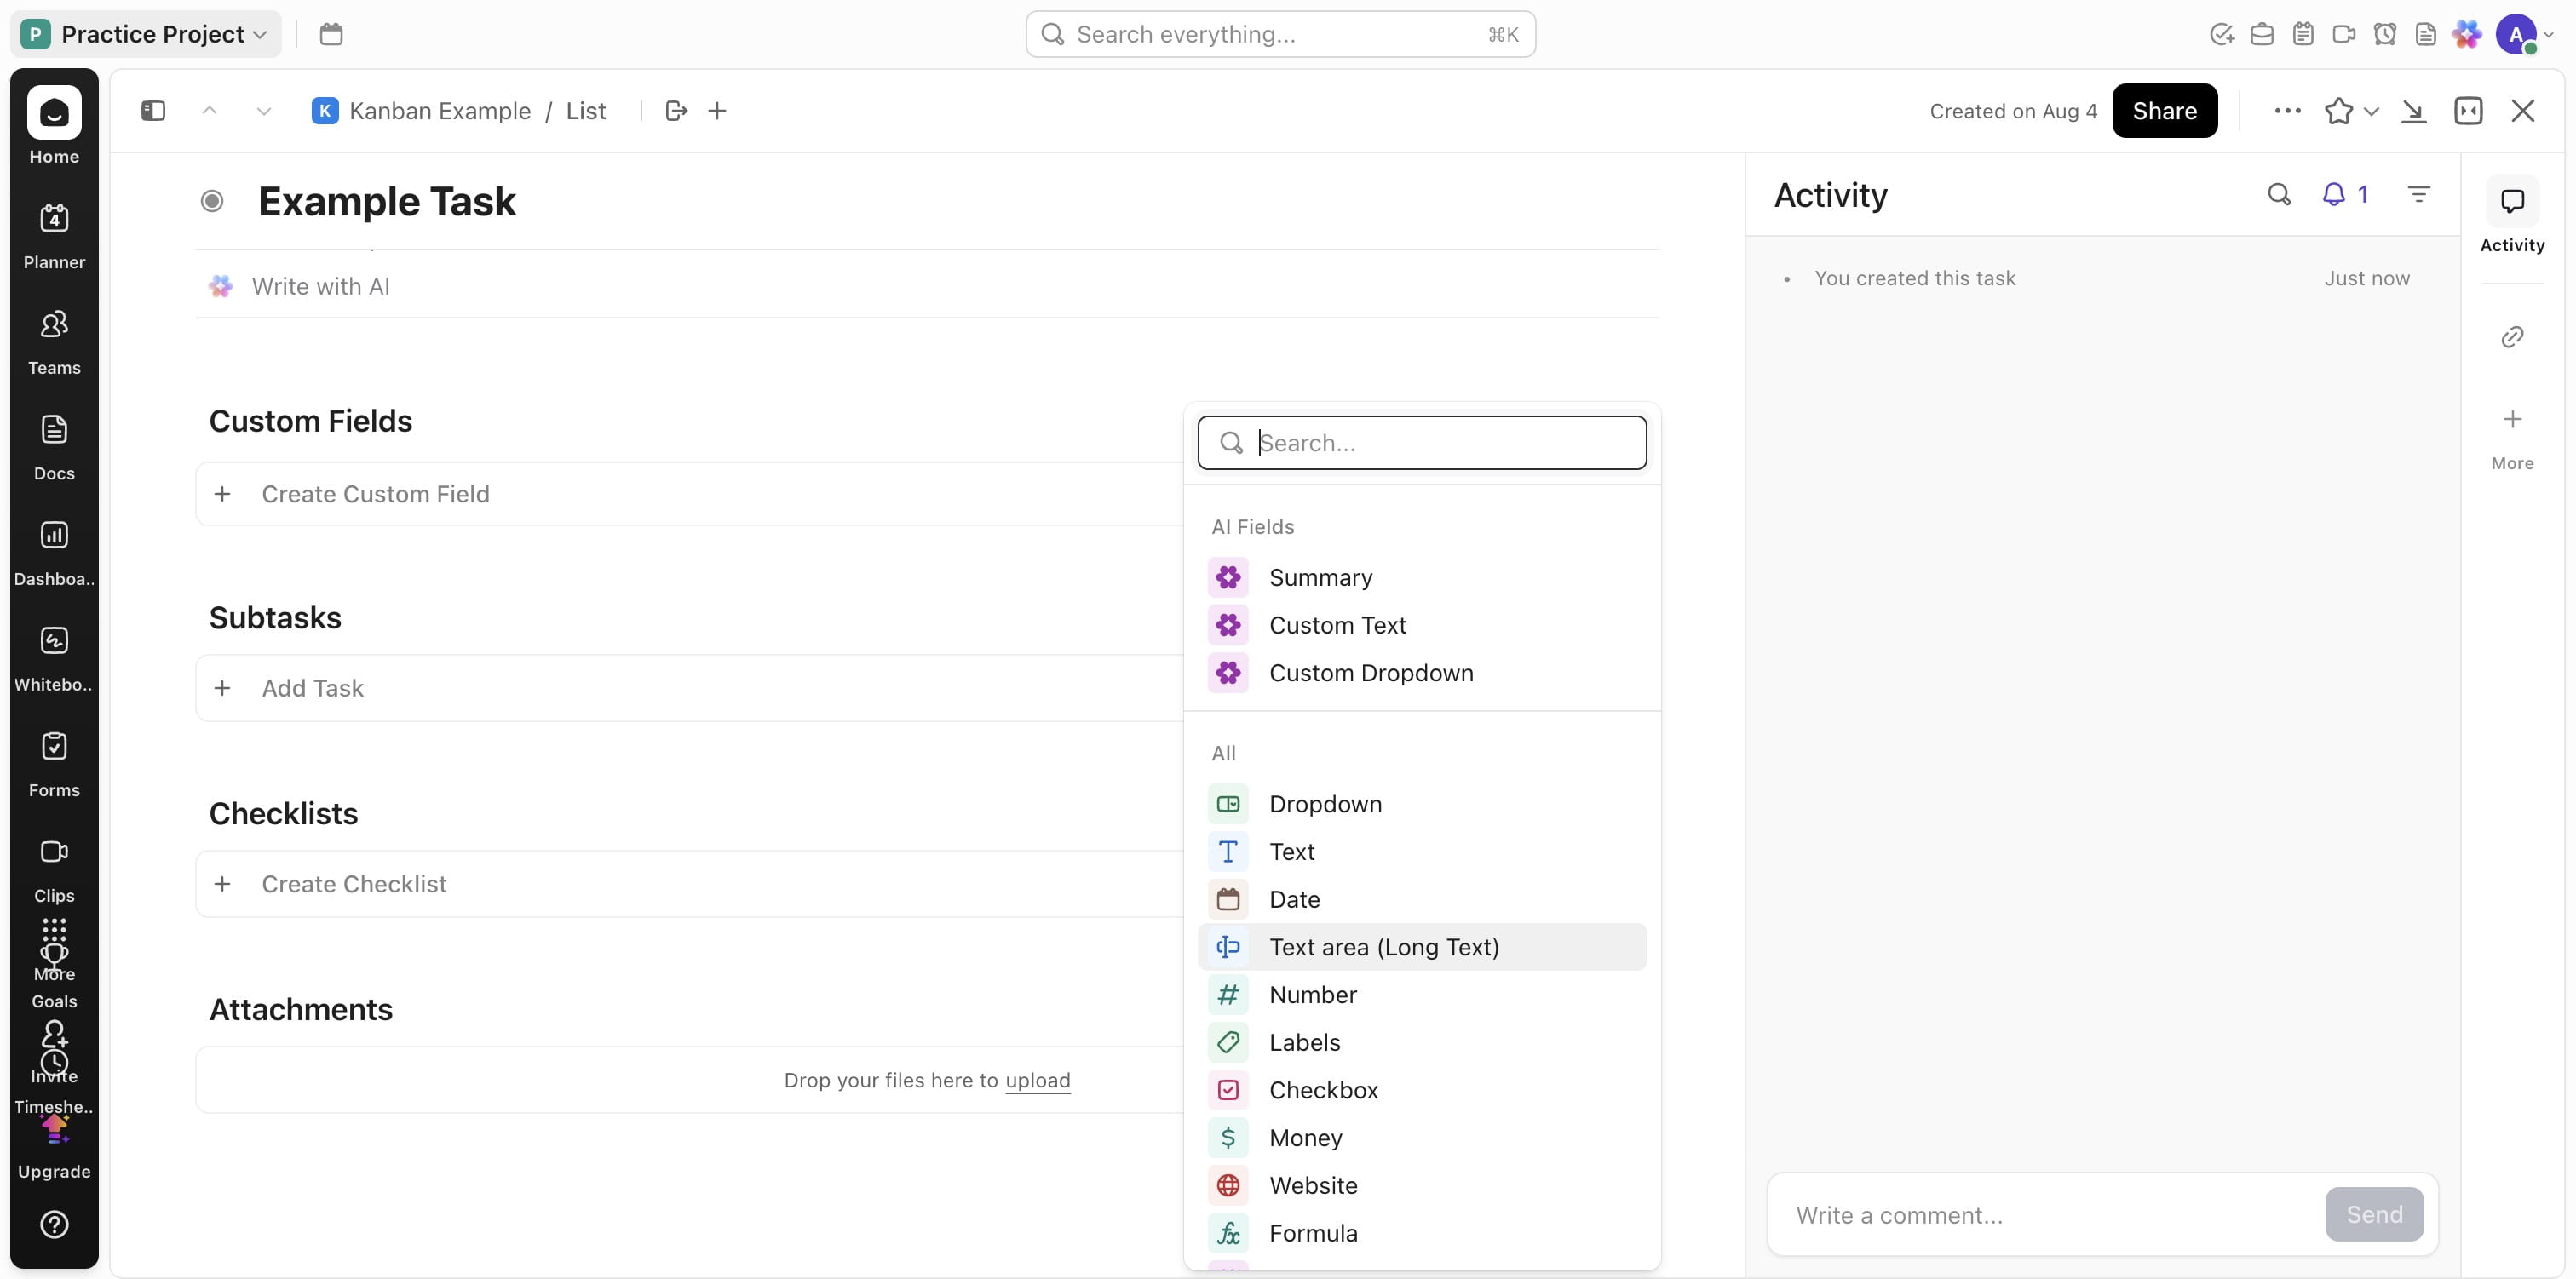
Click on "Create"

Add more fields as needed

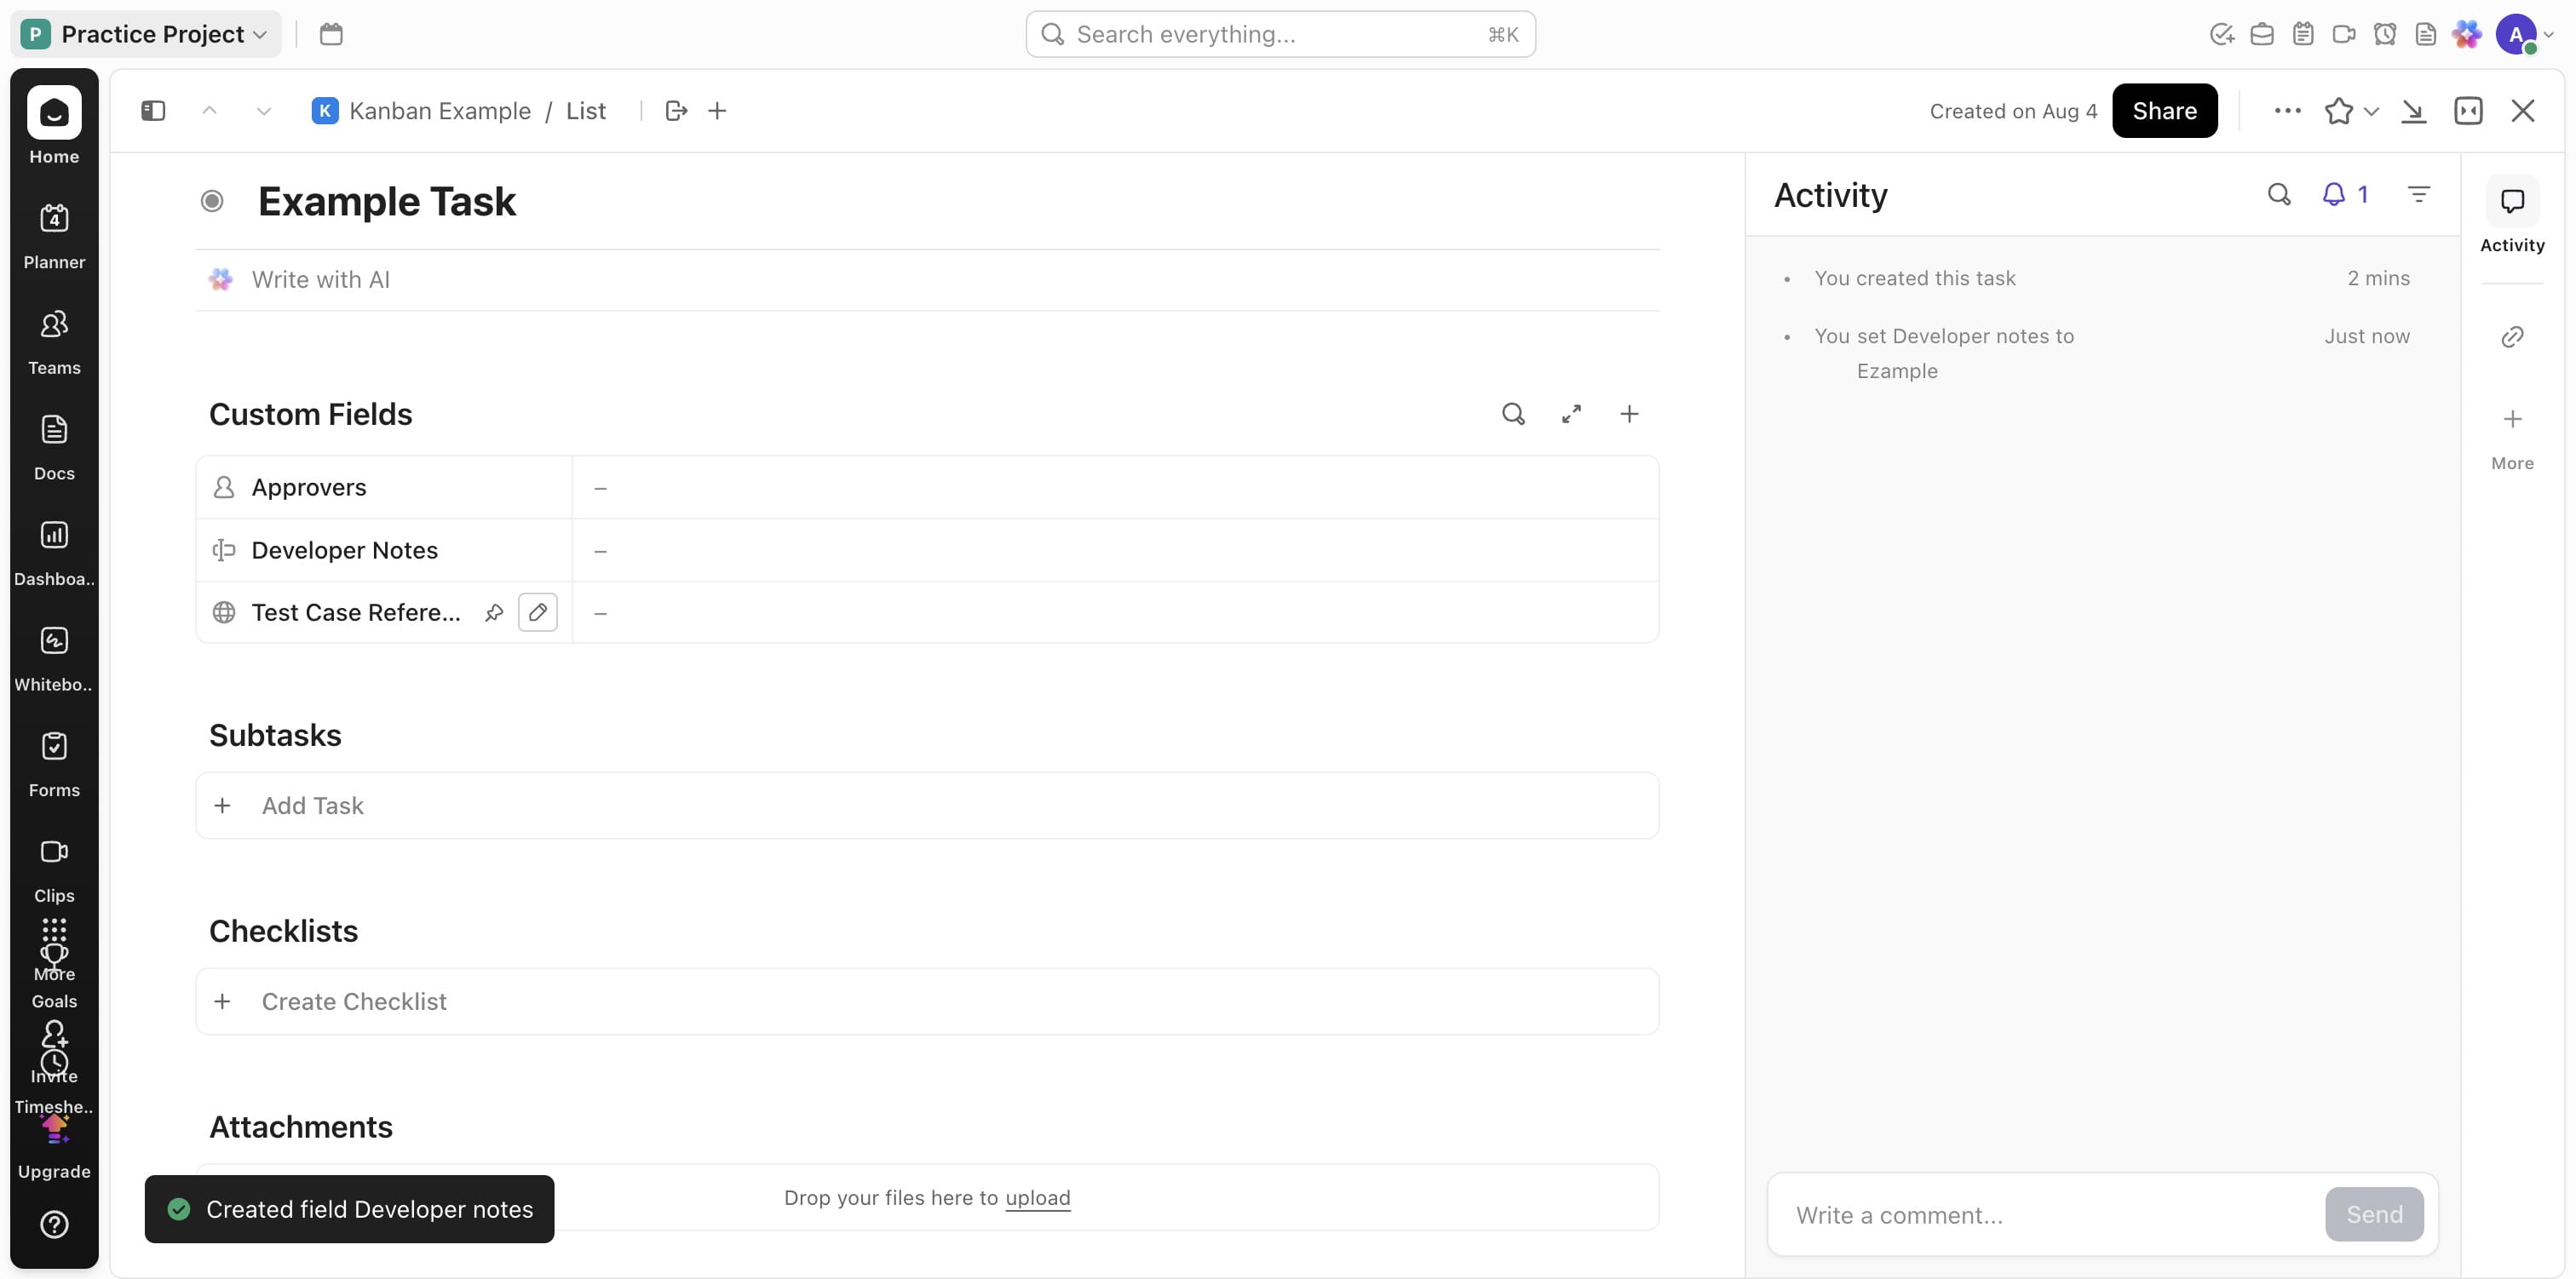
You should now have all the fields needed for this project
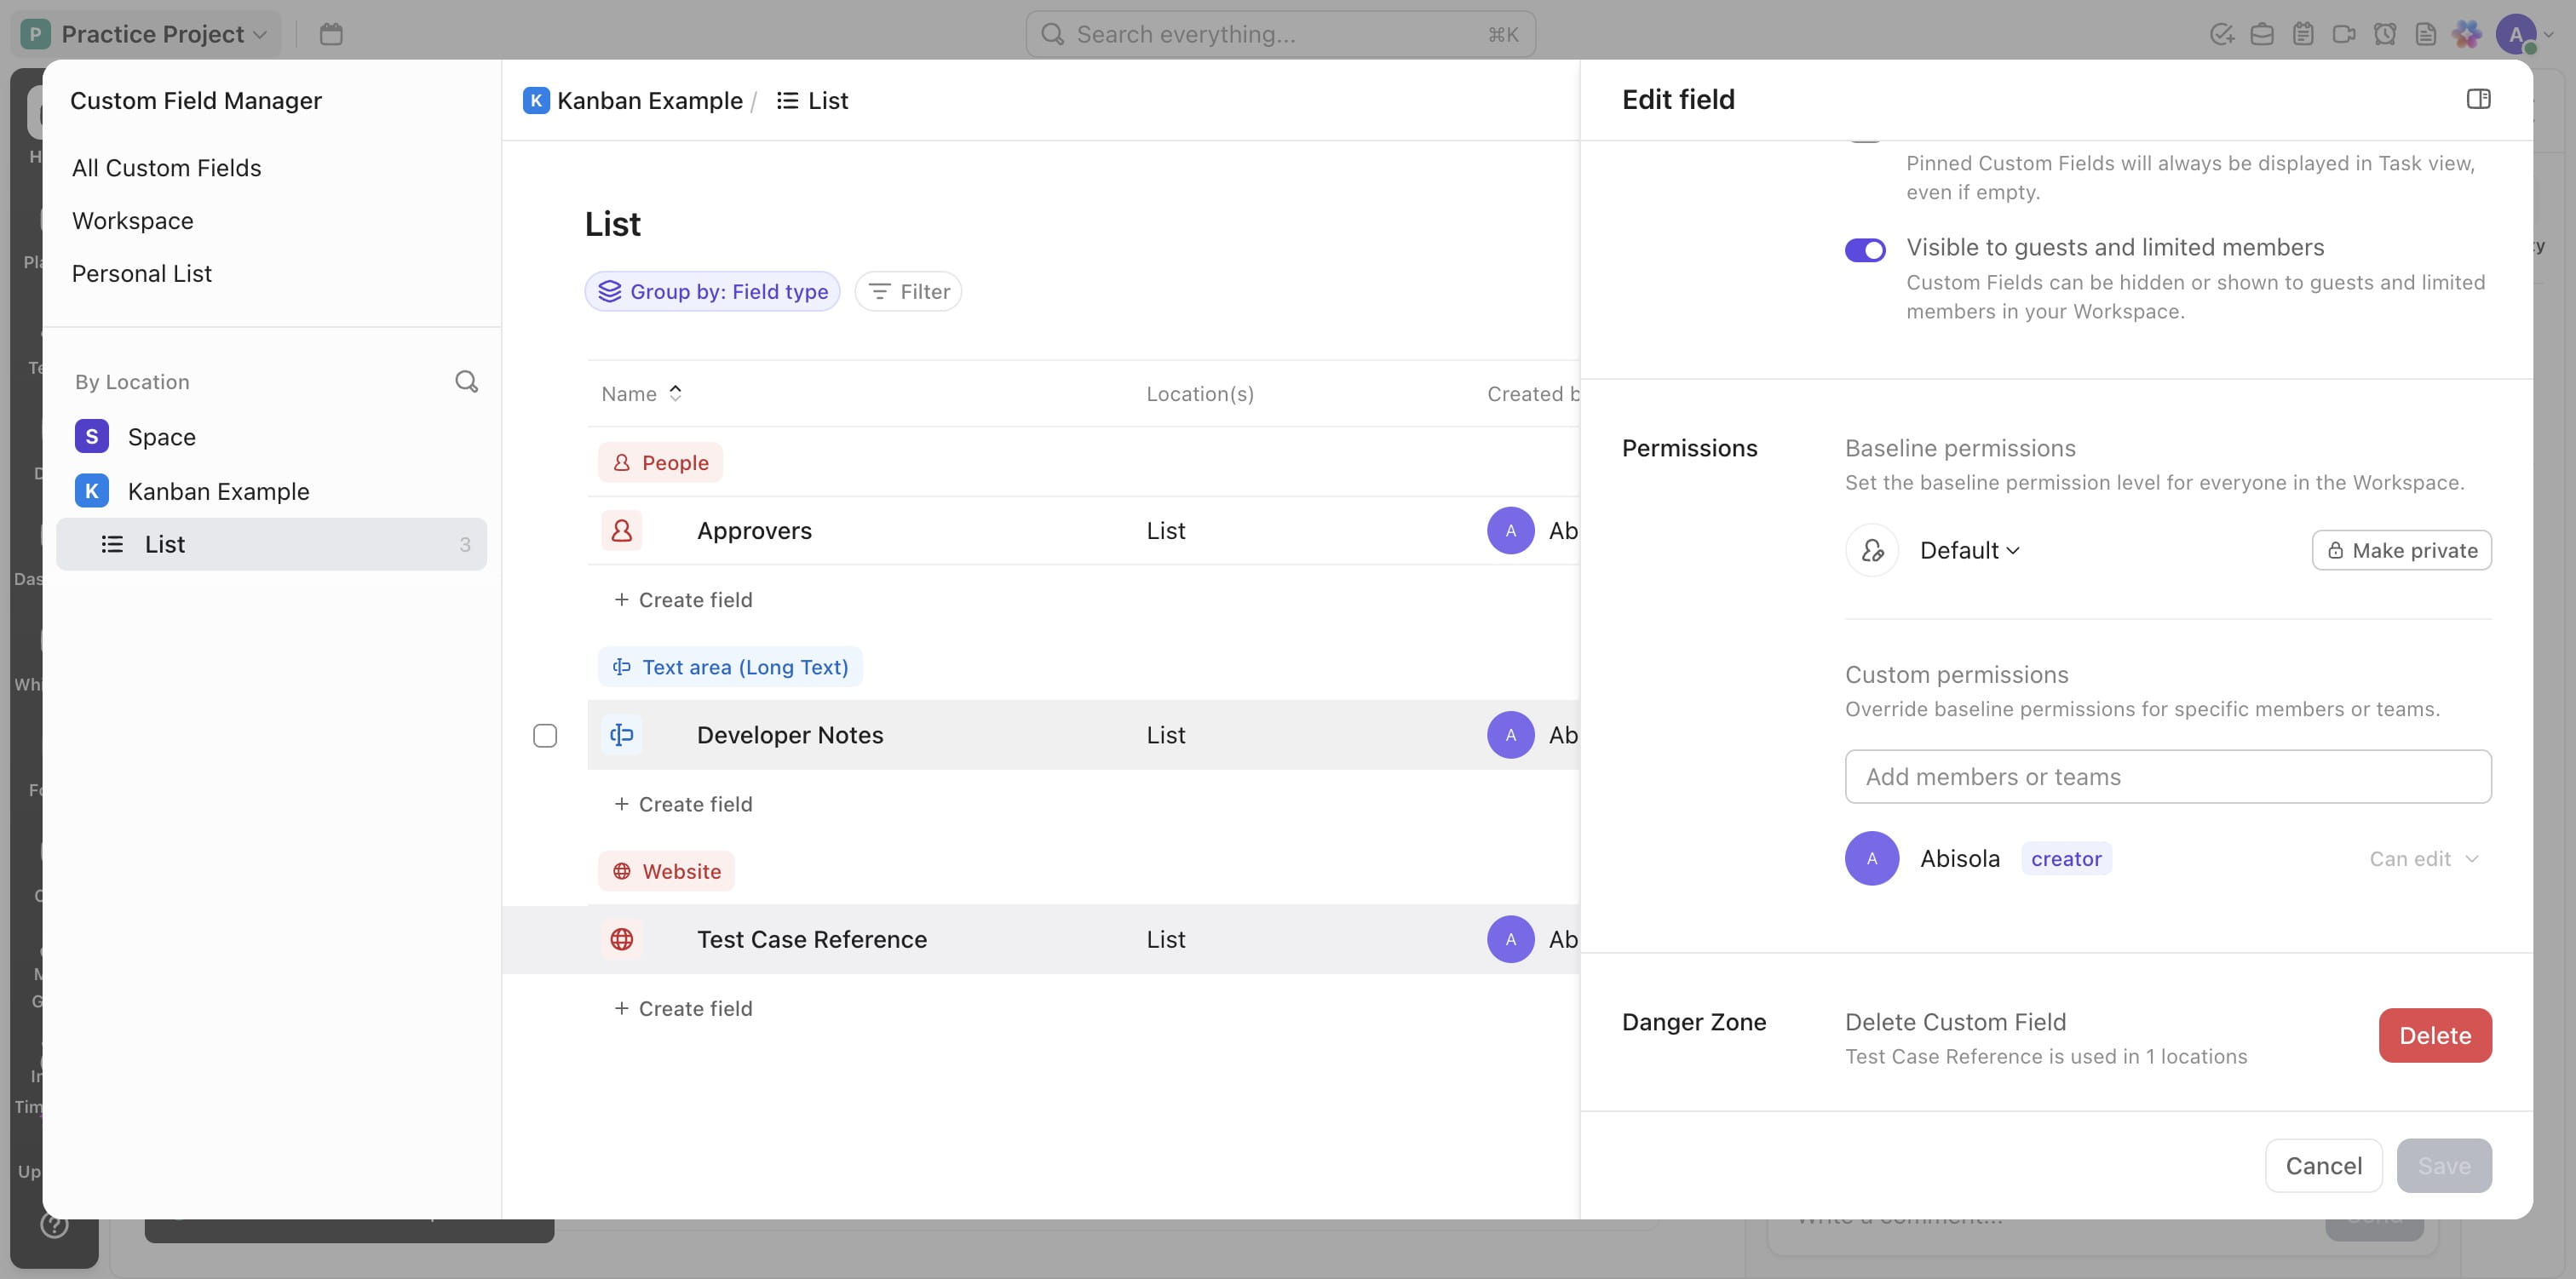
You can edit the custom fields
Click on "Advanced settings" to perform extra actions

Click on each fields to edit or change or delete
Done 🚀