Jira Practice | Setup an Account
This guide walks you through the process of setting up a Jira account and creating your initial project. It will help you familiarize yourself with the Jira interface and configure a basic project structure to get you started.
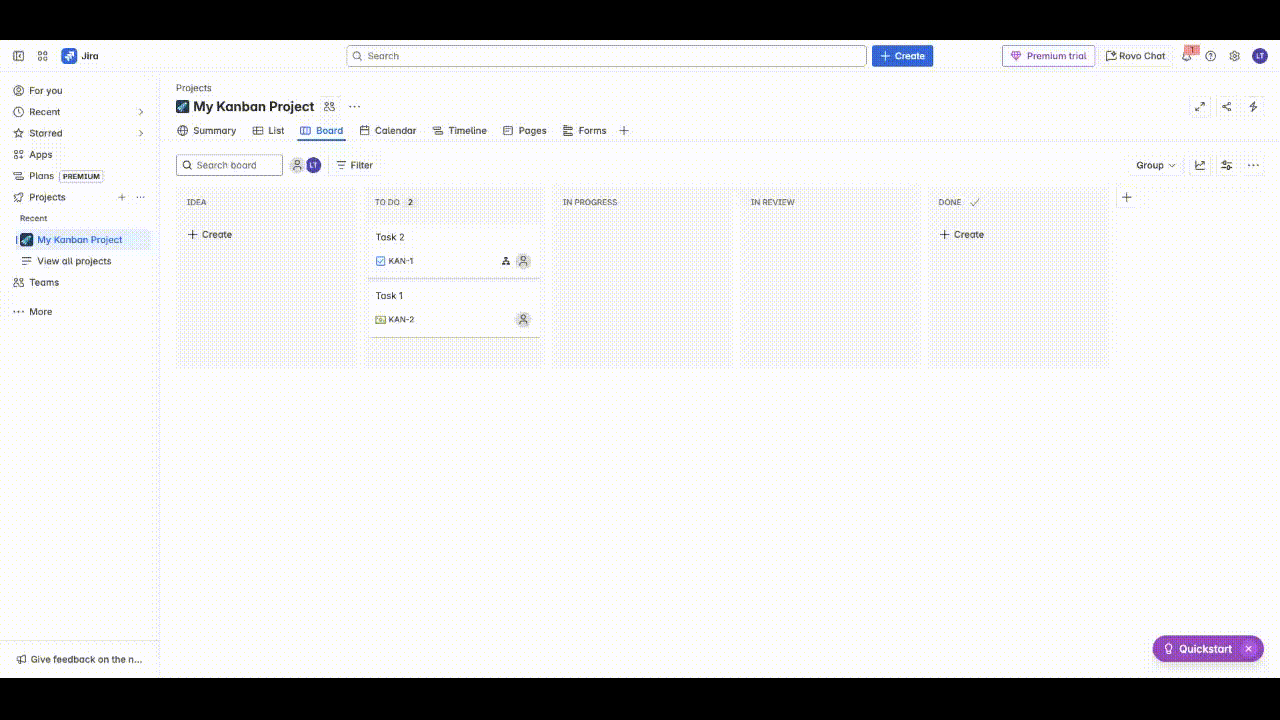
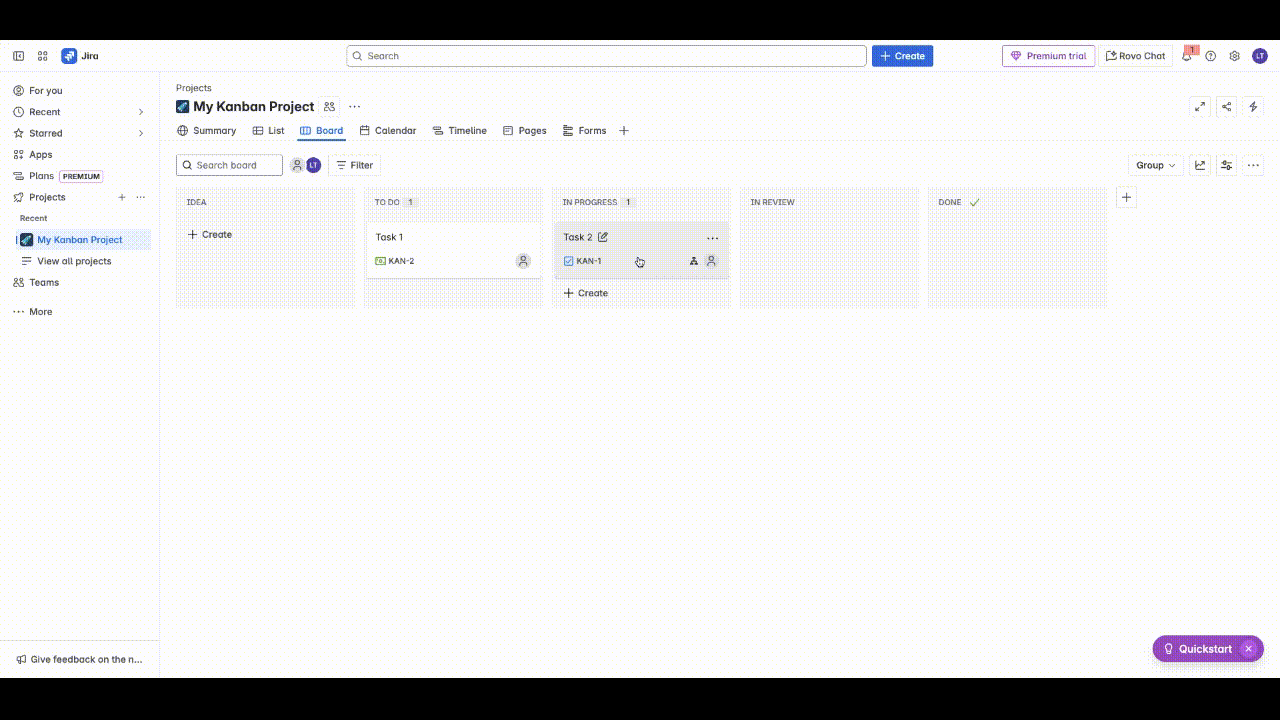
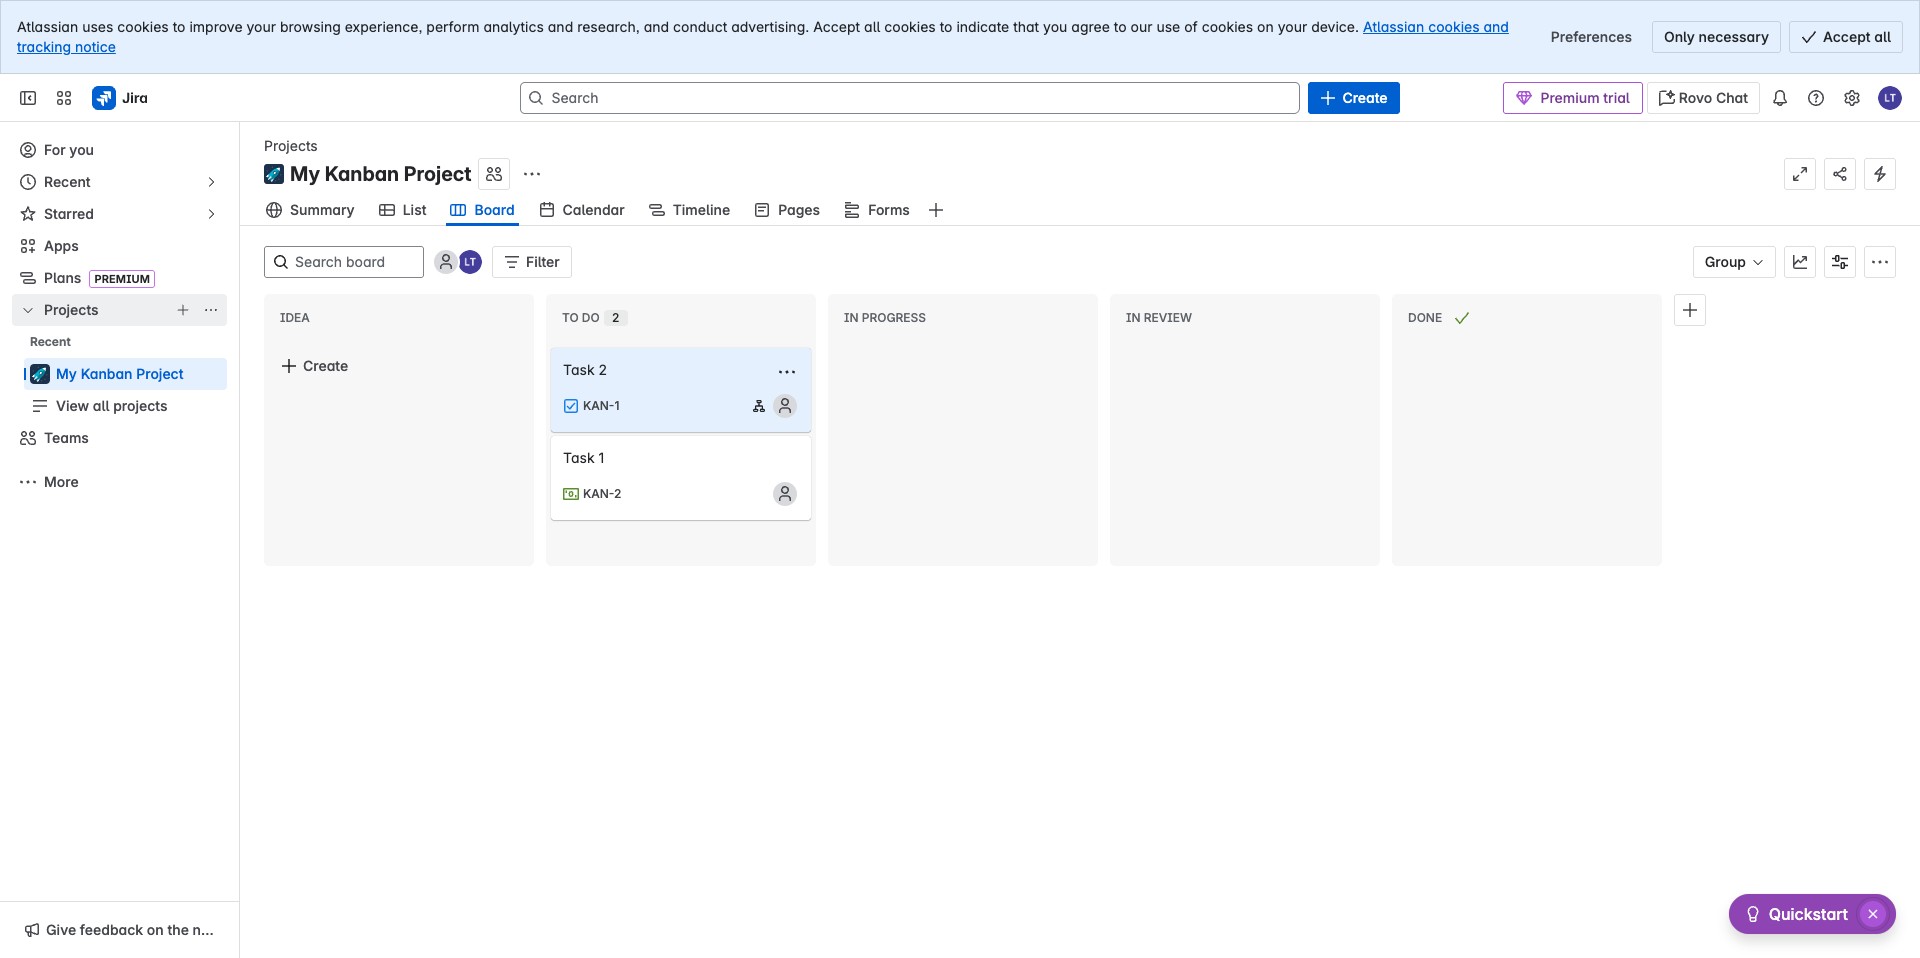
This is the UI you see when you click on Board, you can look around the UI by hovering on icons. Each task can be moved from one lane to another, A lane on a project board is called a swimlane. Swimlanes visually represent different categories of work, in this case, it represents the status.
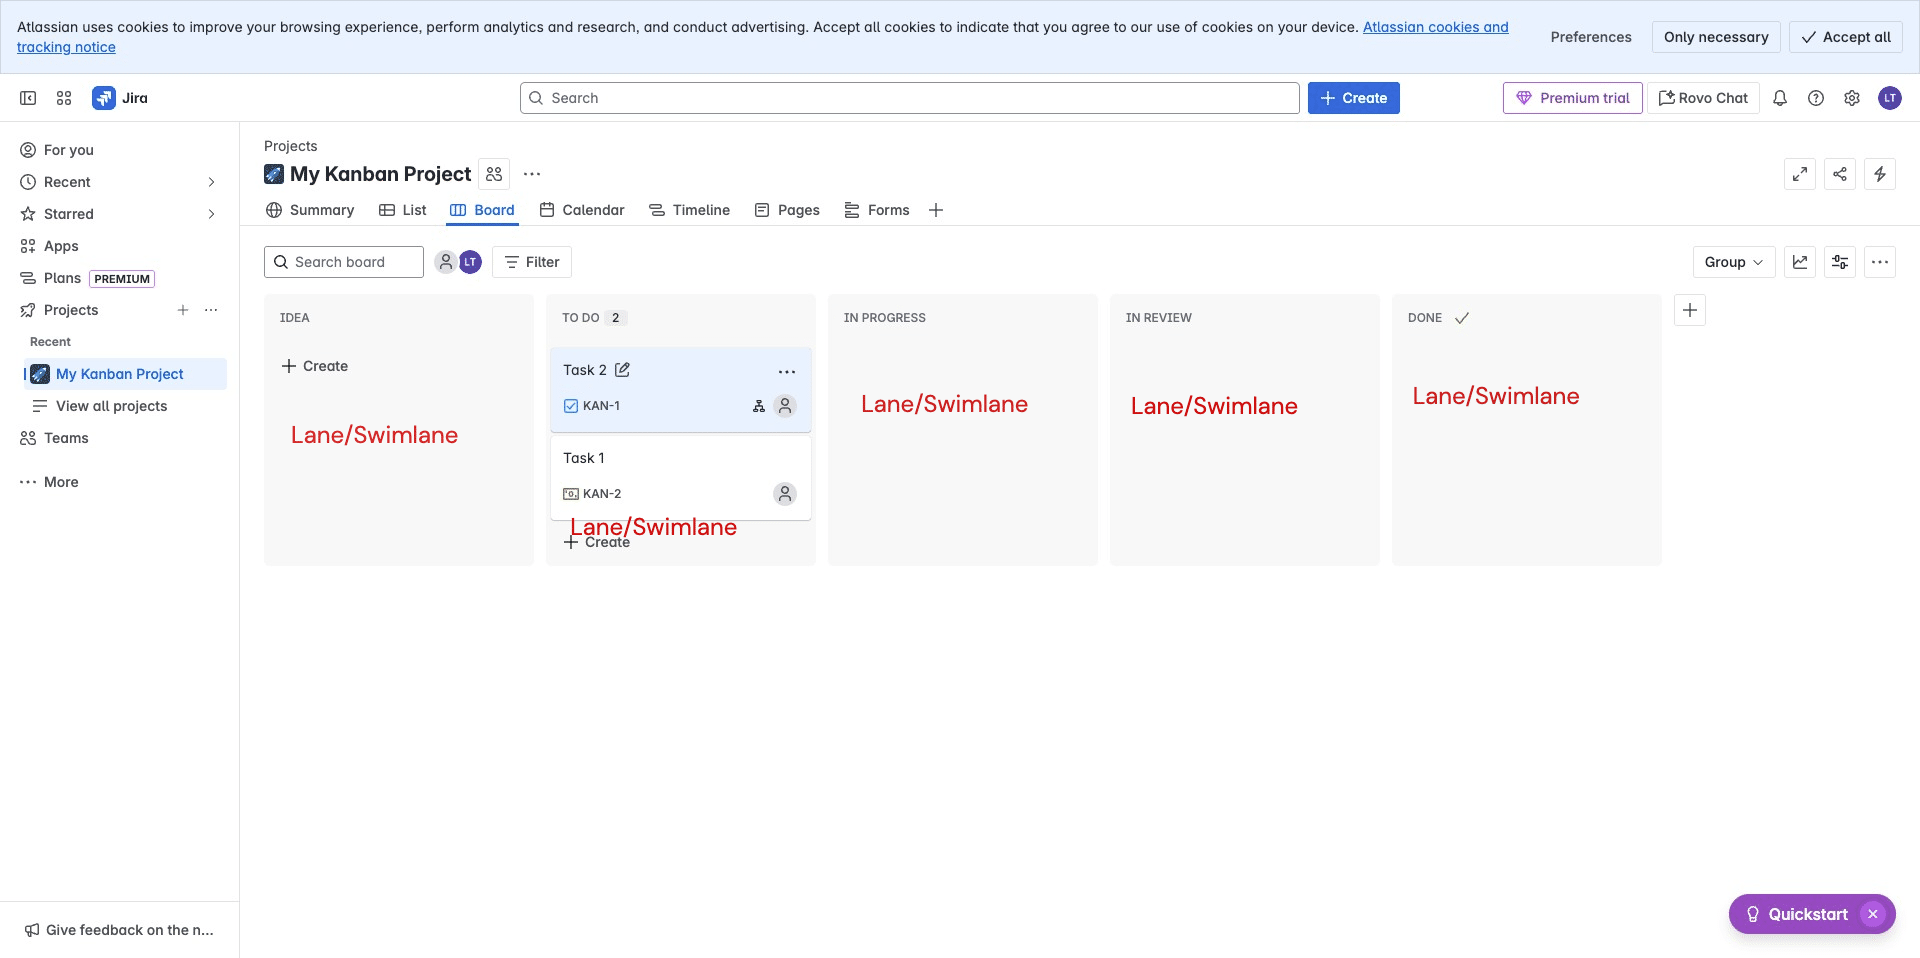
You can drag and drop any task to see how items are moved on the swimlane. When you hover on each icon, you will be able to see the details of that icon. You can edit the name of a task directly on the board.
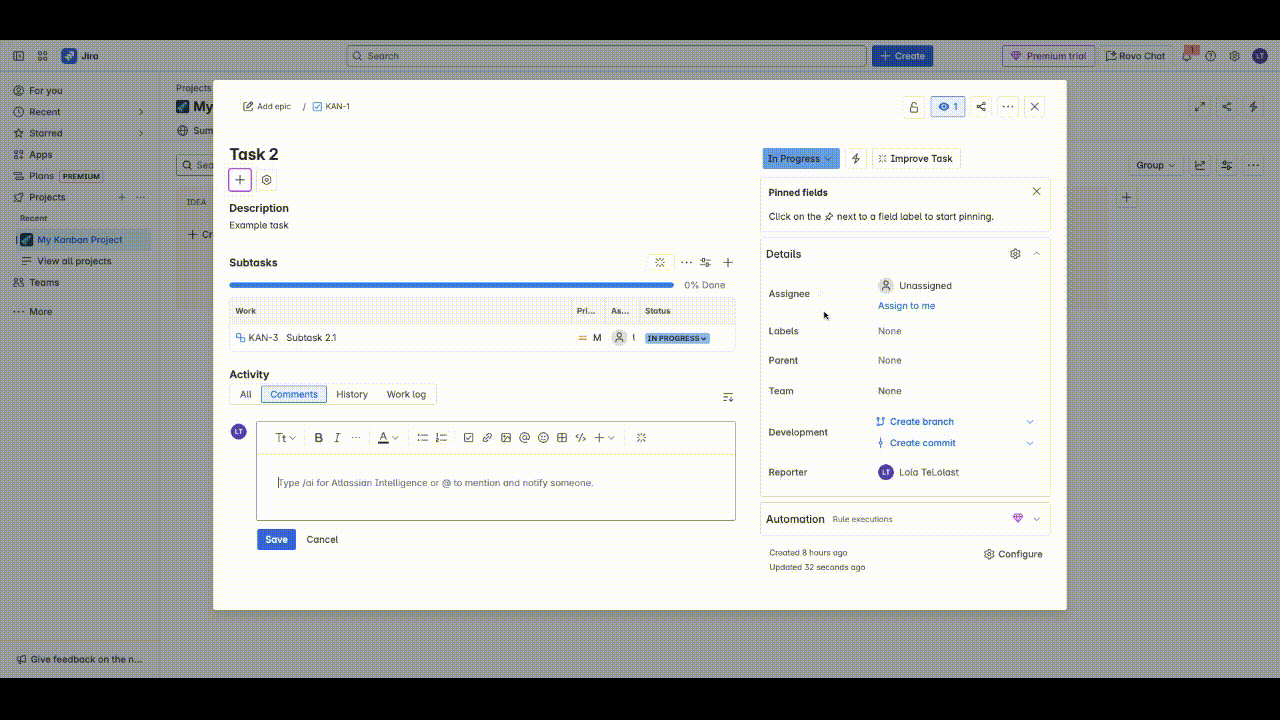
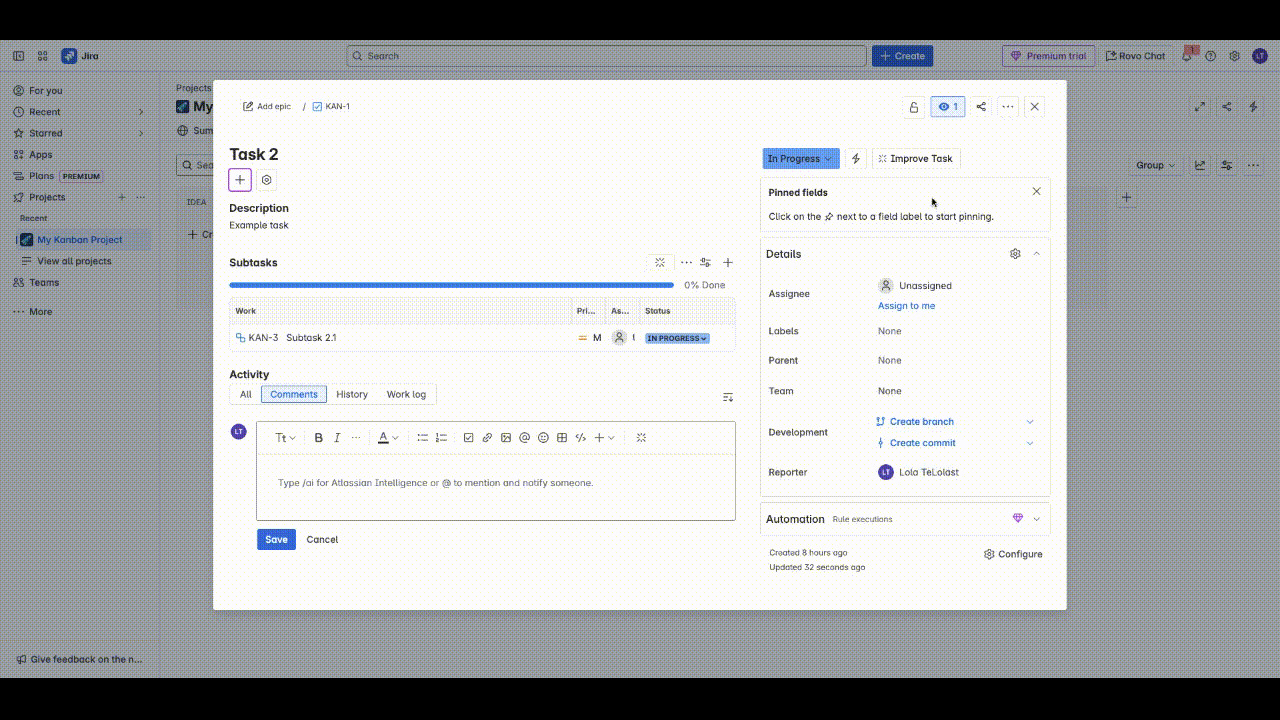
Click on the task to edit its content directly. Whenever you hover on each icon, you also get a description of the function of that icon.Lets edit the description and add data, the data in the field should represent what that task is expected to accomplish. You can add subtasks in a task as you can see an example was already created. You can add comments to keep track of conversations.
Each field on the details panel represents specific details needed to keep track of the project work e.g the Assignee field is needed to represents who will execute on a task, the Development field represents how the teams will link a Repository where they have committed their piece of code to.
You can also move a task from one swimlane to another by clicking on the field at the top right, this will allow you move the task to the next status.
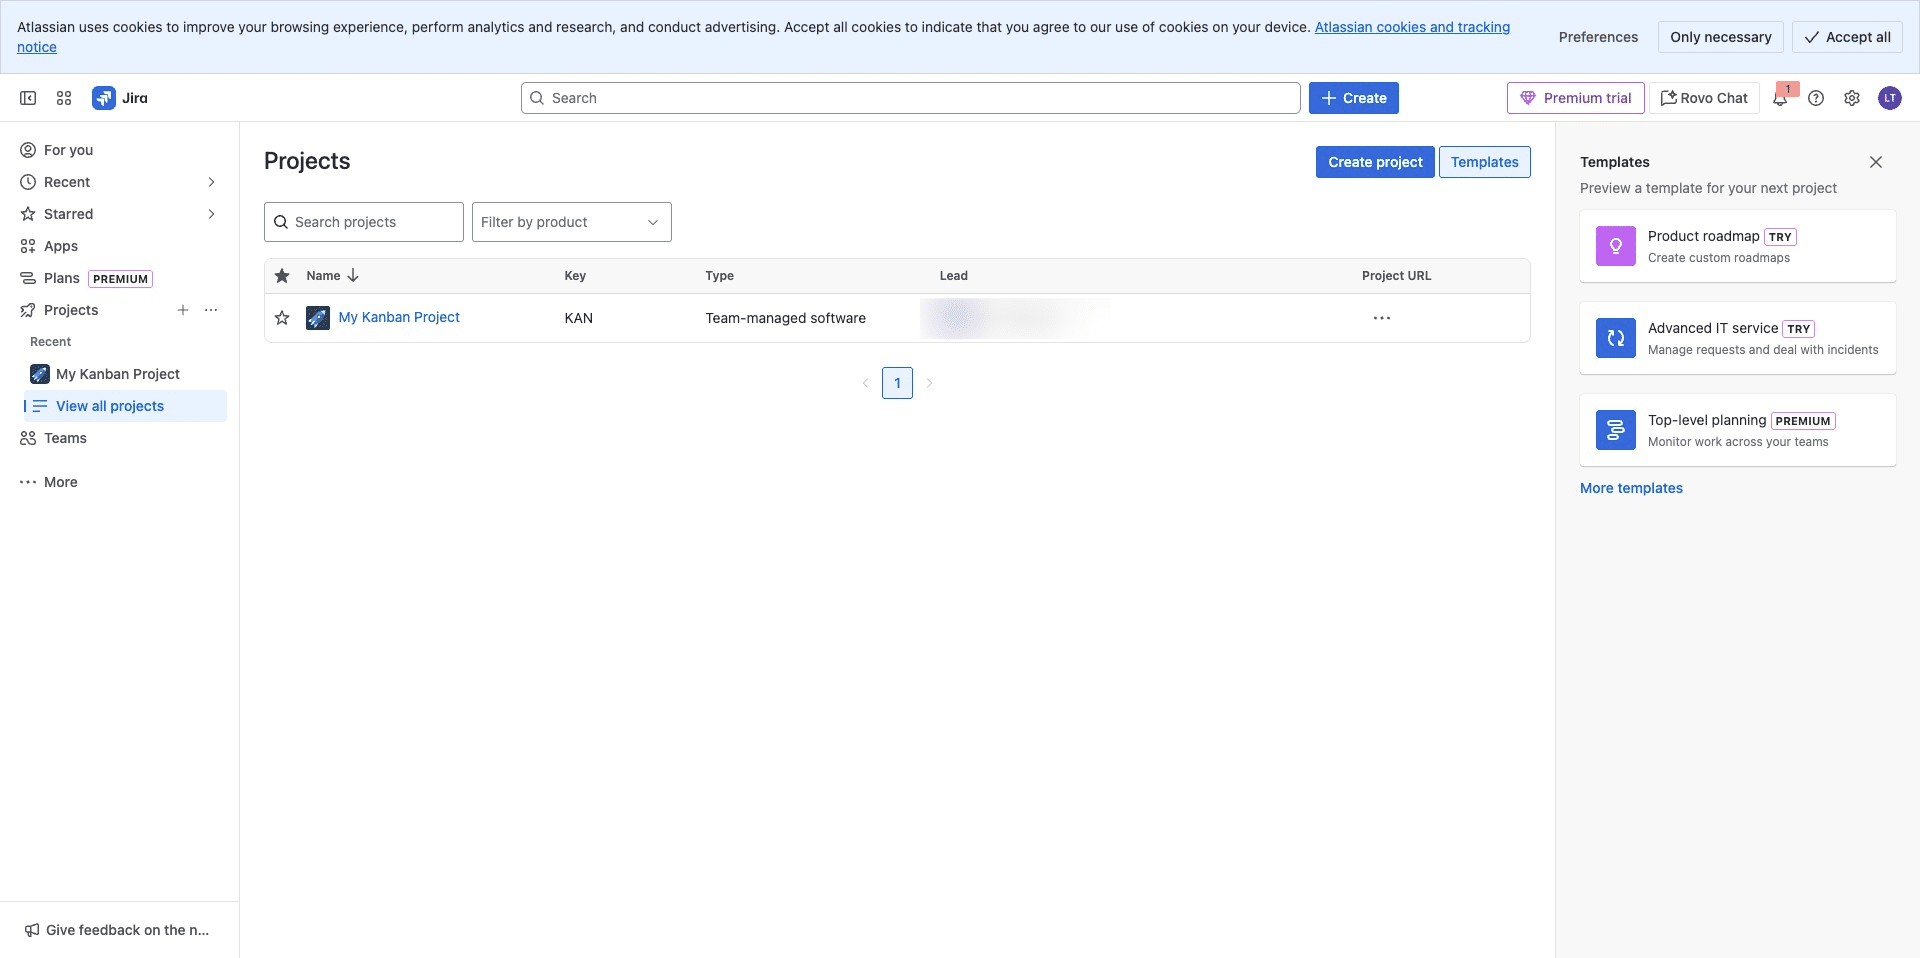
View List of Projects
To view your list of projects, Click to access list of projects
The view will be expanded, Click on View all projects
Your list of projects can be seen on the table