Jira Practice | Setup an Account
This guide walks you through the process of setting up a Jira account and creating your initial project. It will help you familiarize yourself with the Jira interface and configure a basic project structure to get you started.
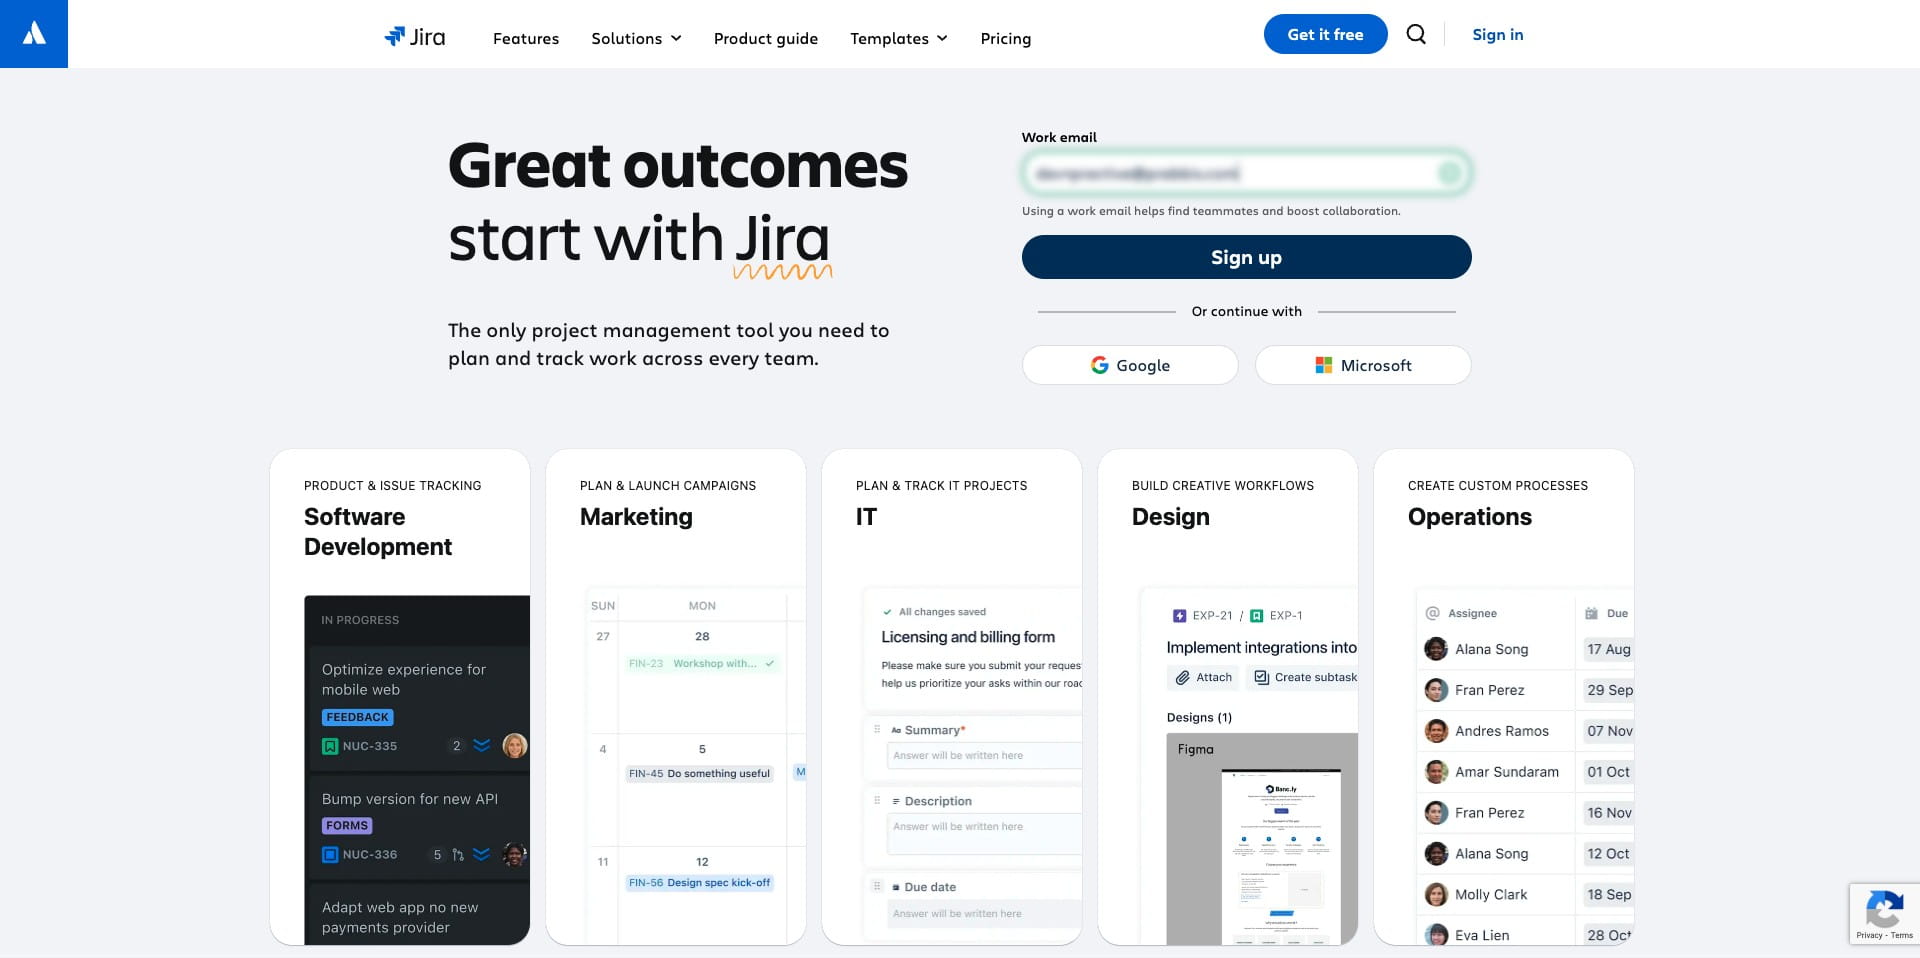
To use Jira, you need to sign up for an account. Navigate to https://www.atlassian.com/software/jira
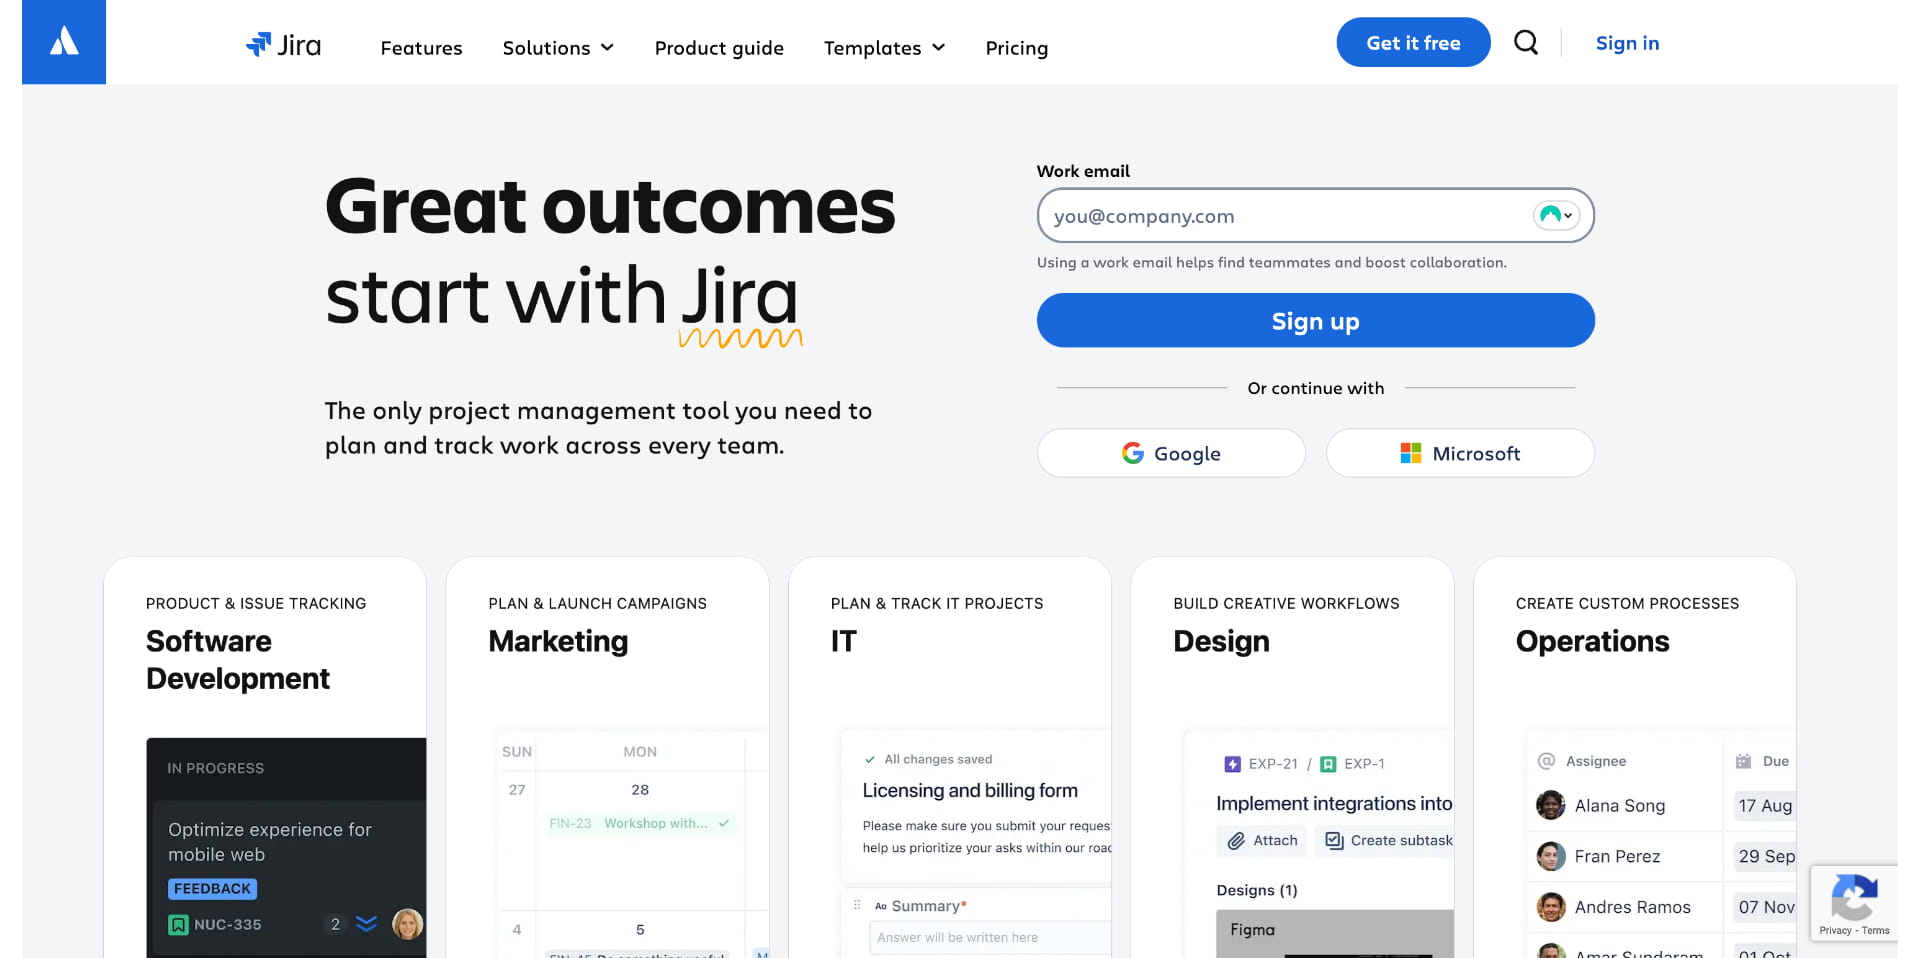
Enter your email address in the indicated box shown in this video. If you already have Jira, you can sign in instead using the indicator marked as 1 and reuse the same workspace
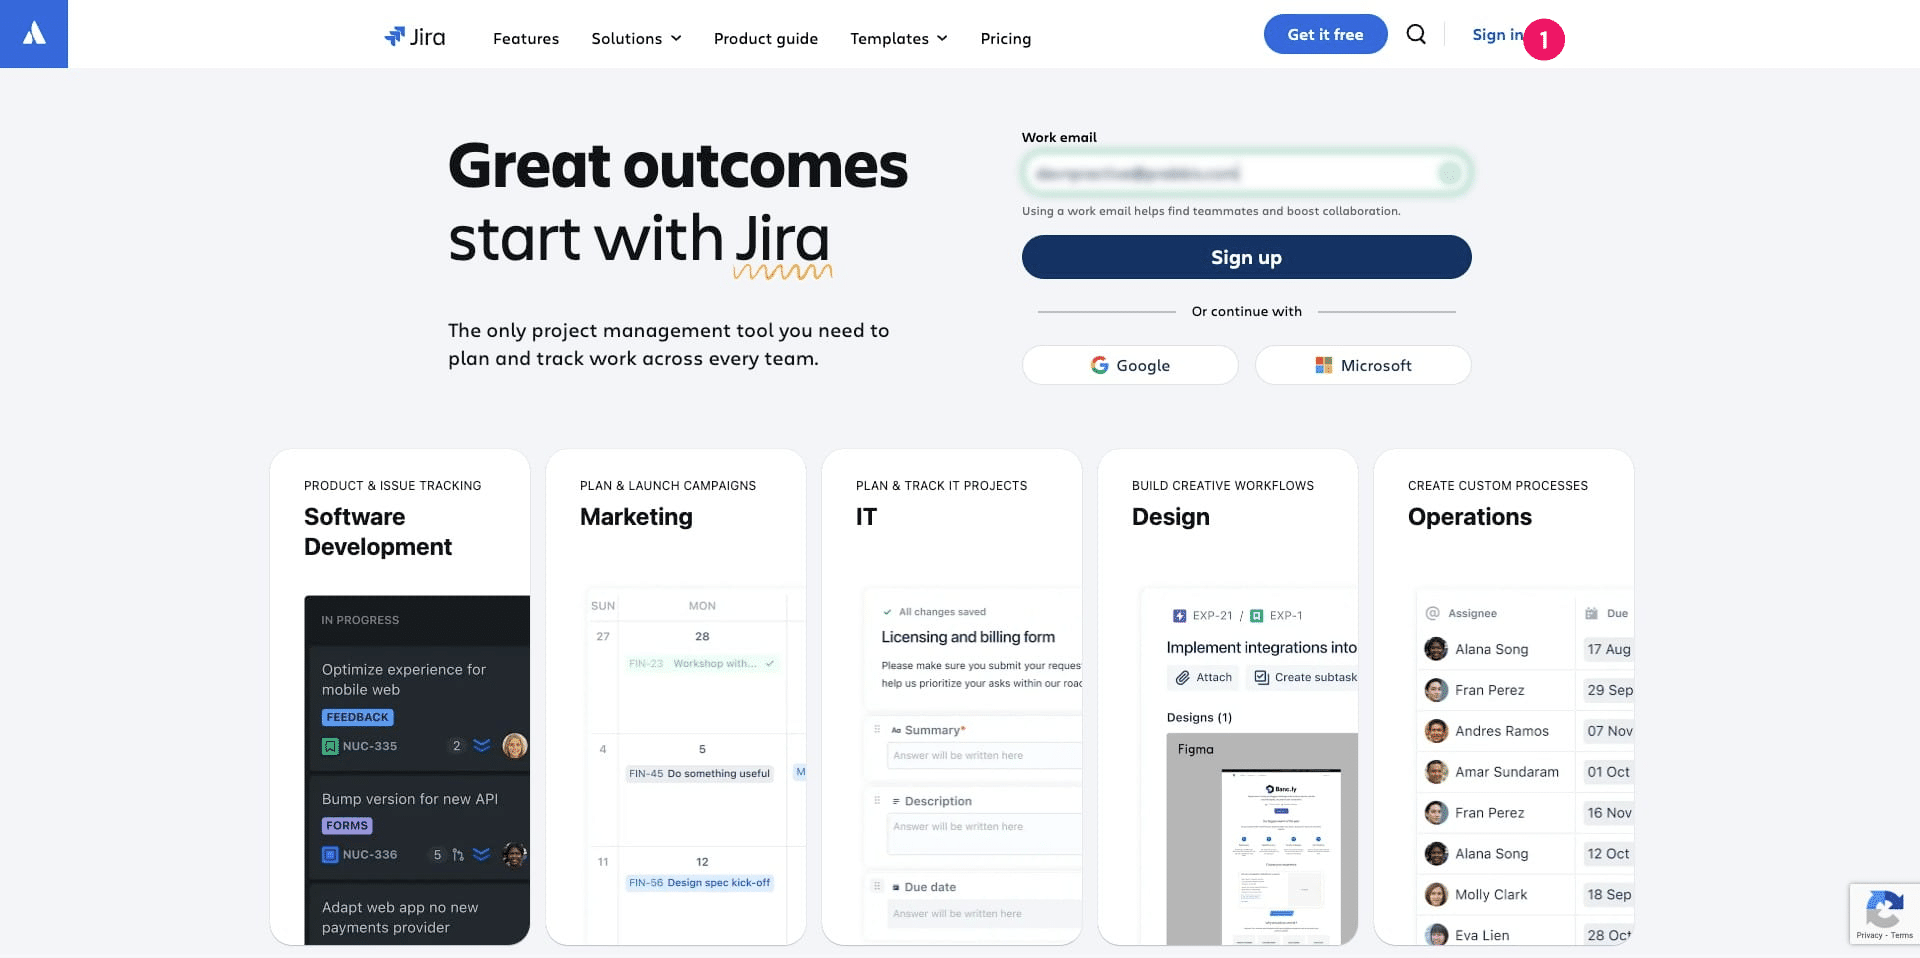
Once done, Click on "Sign up" to begin creating your account
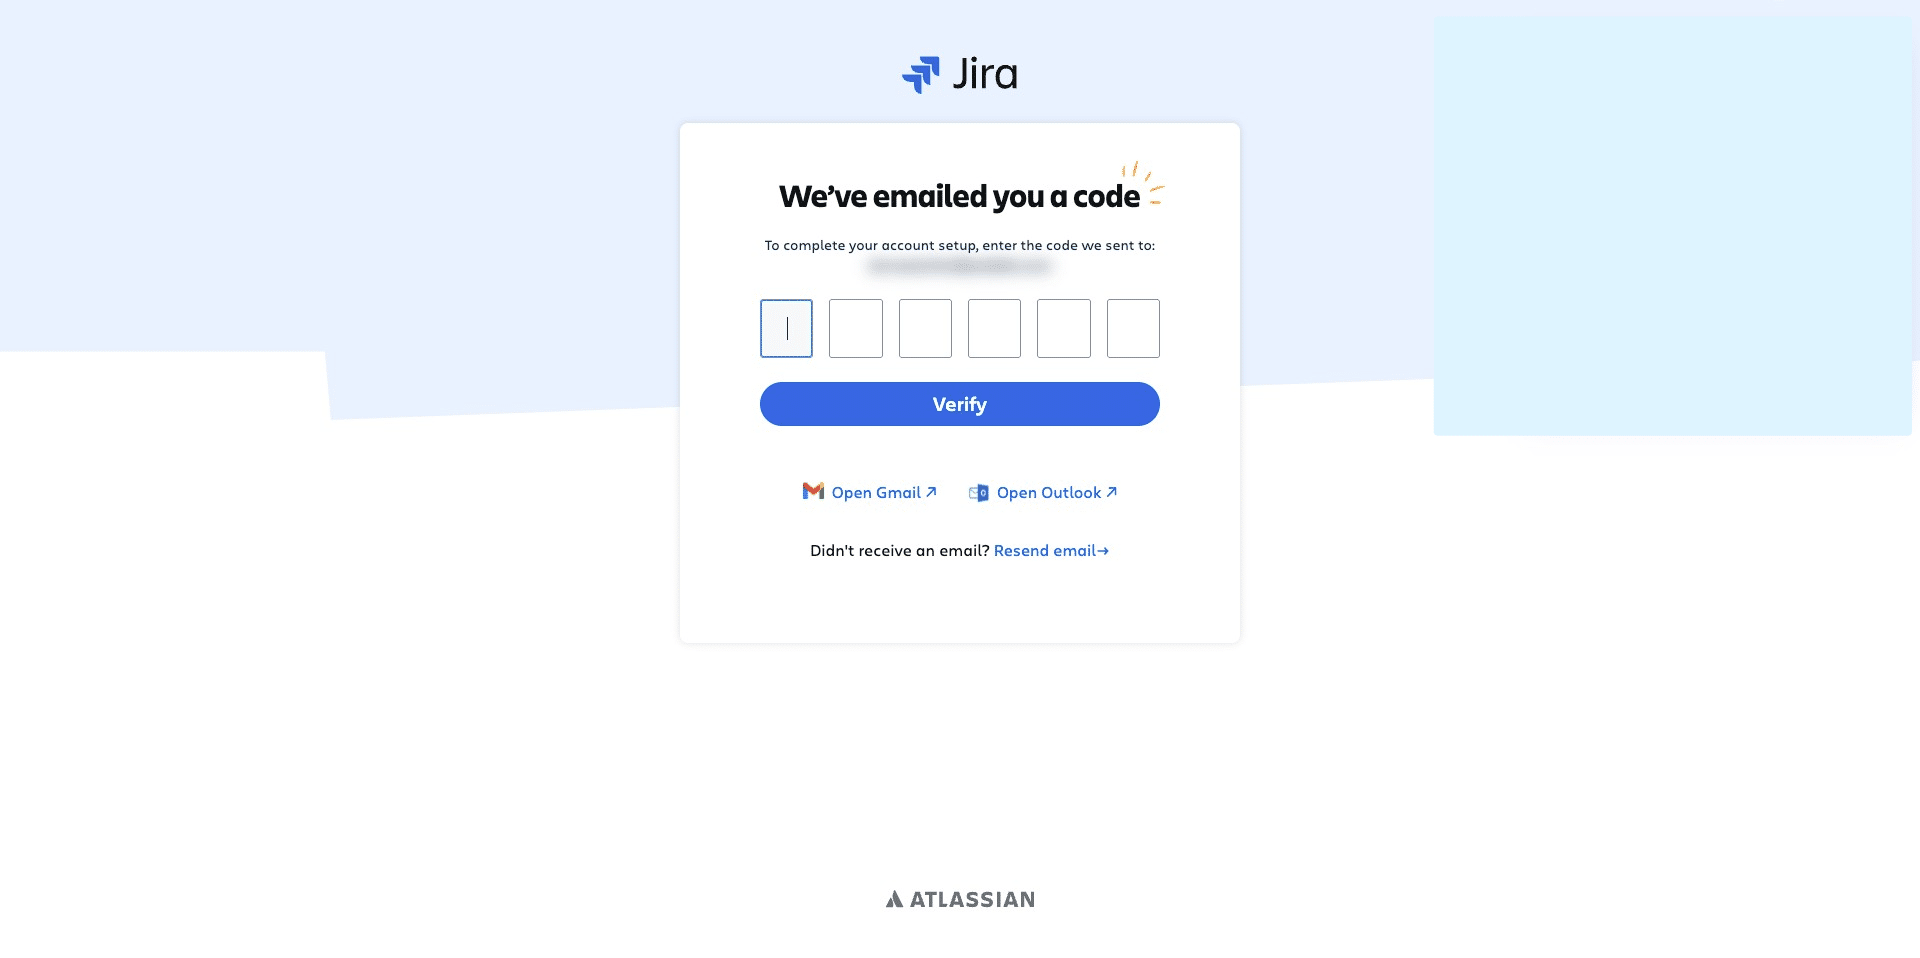
You should have received an email with the code which you can enter the code sent to your email
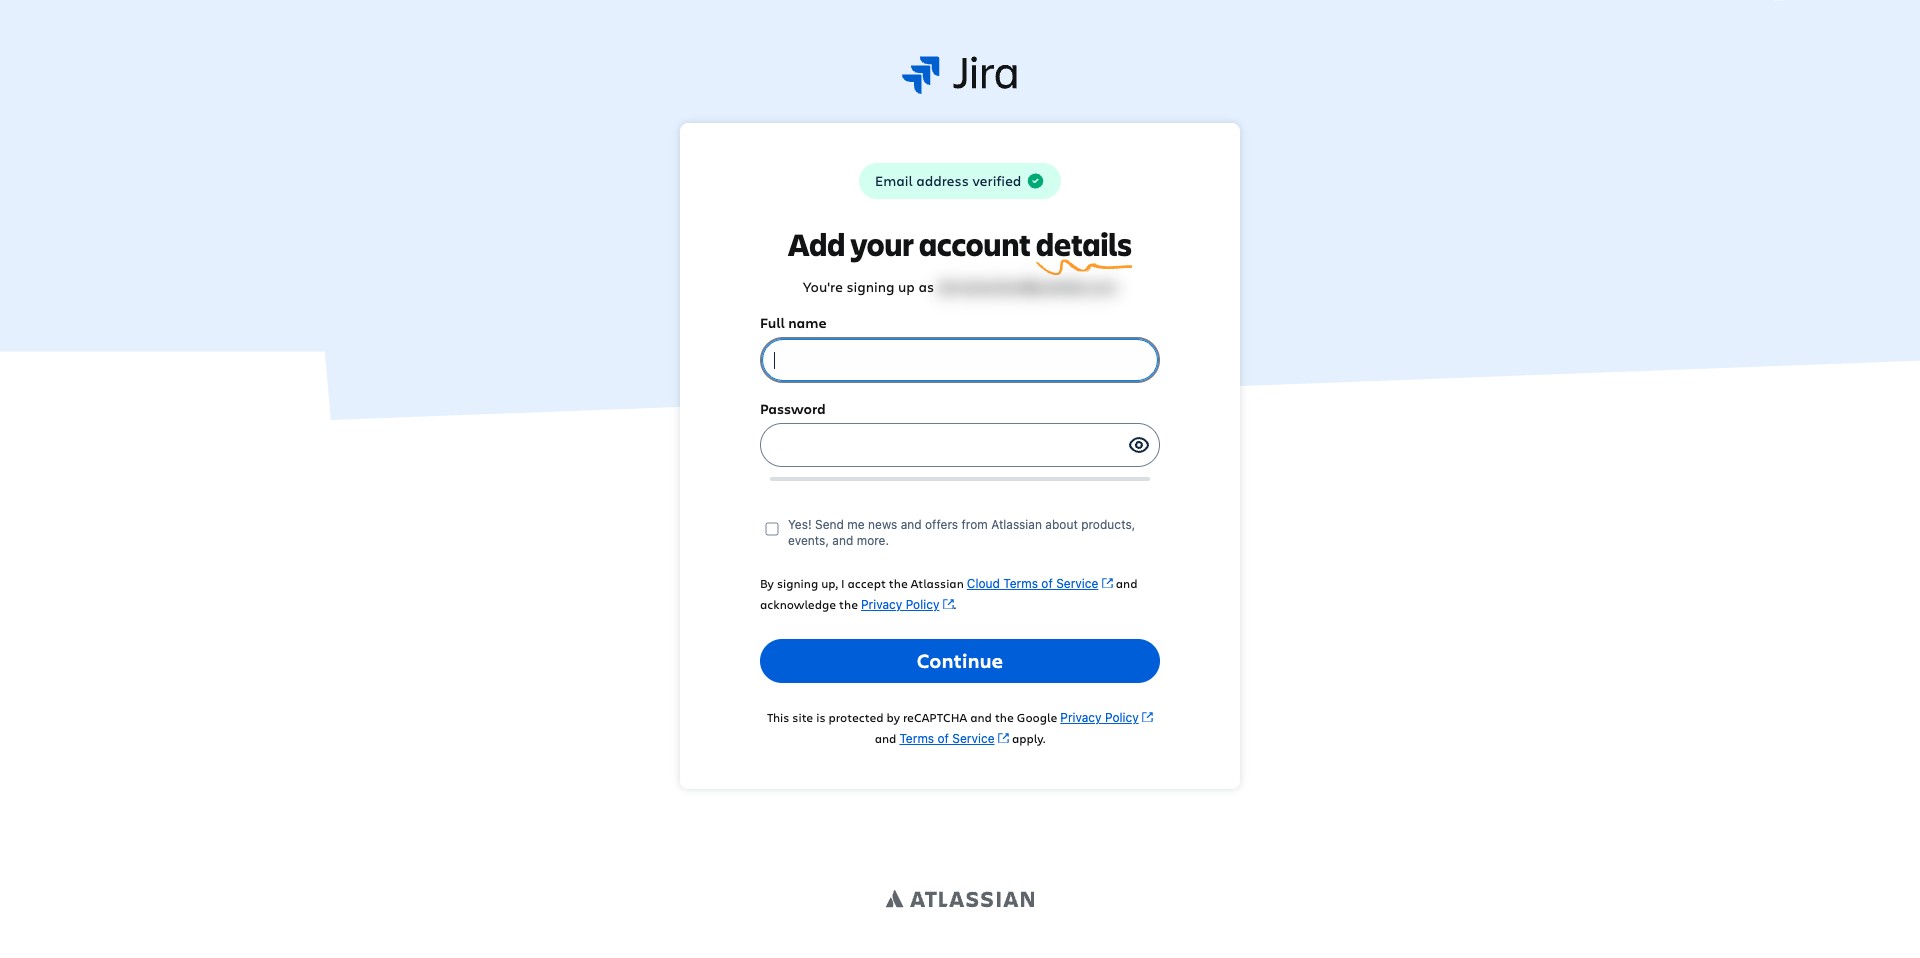
Fill in your full name and password that will be used to utilize Jira going forward
Enter your workspace name, this will hold all your project so you don't have to create new accounts for different projects
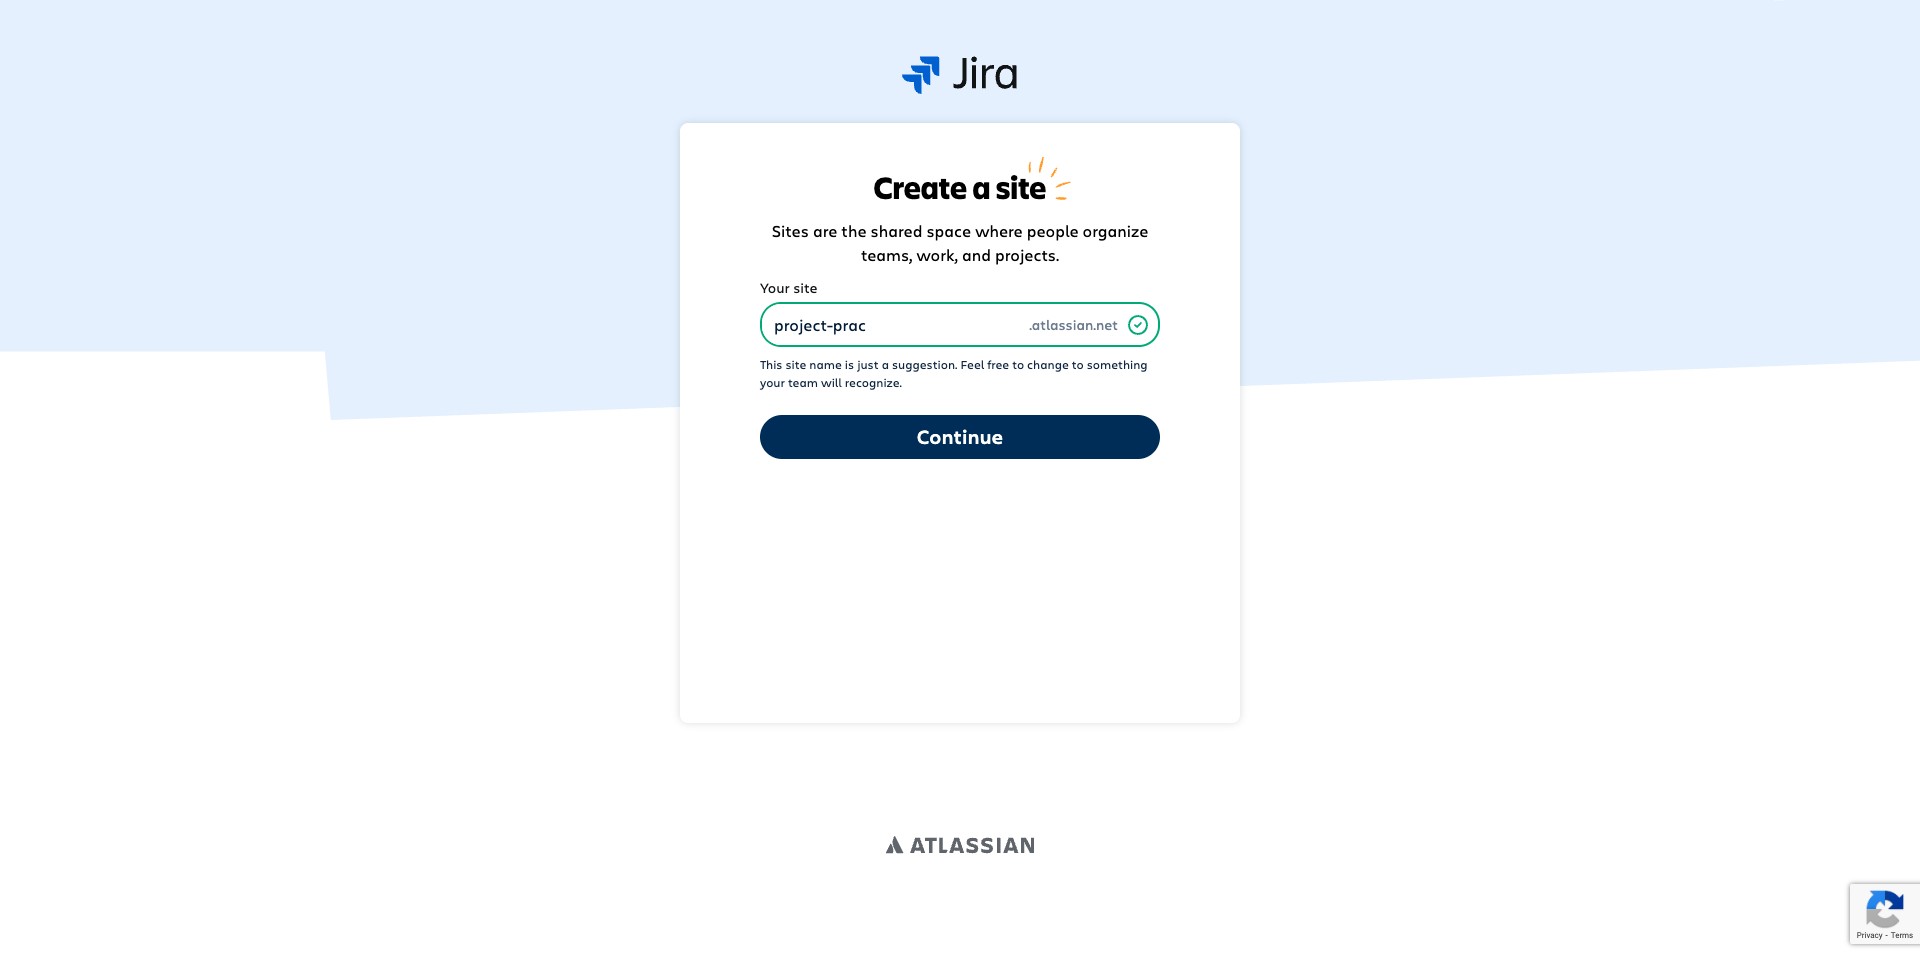
Click on "Continue"
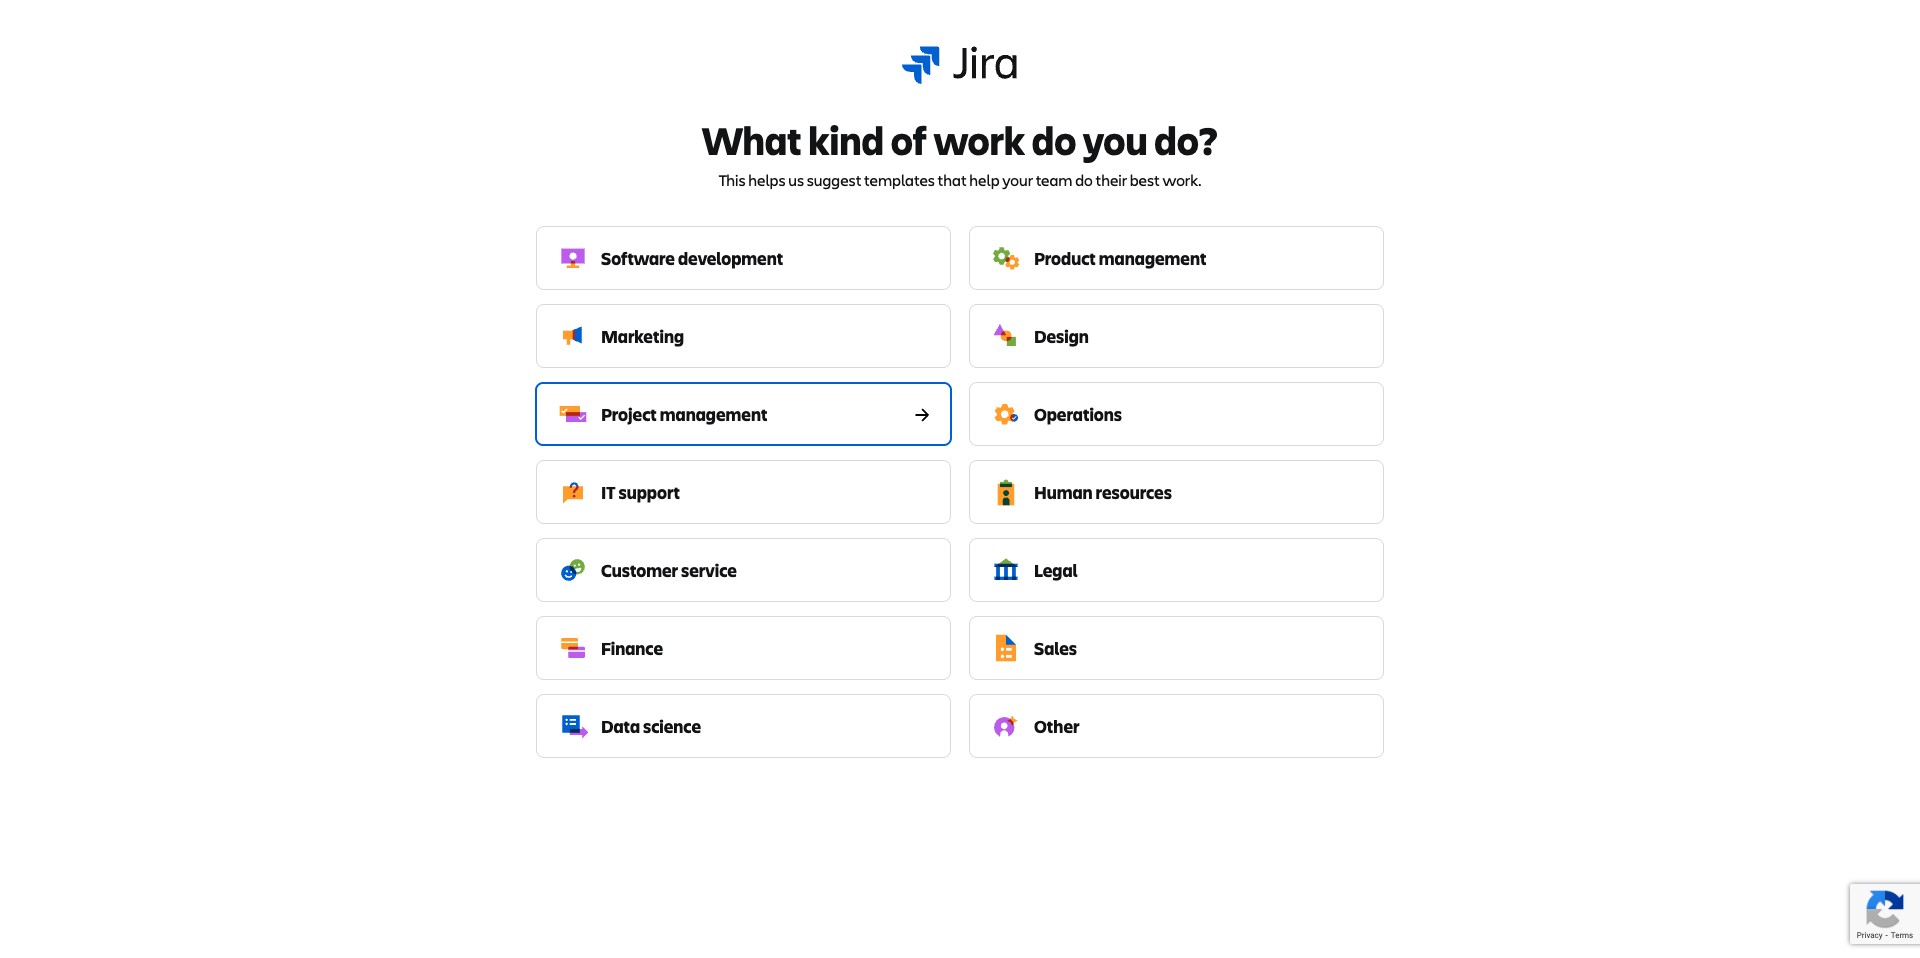
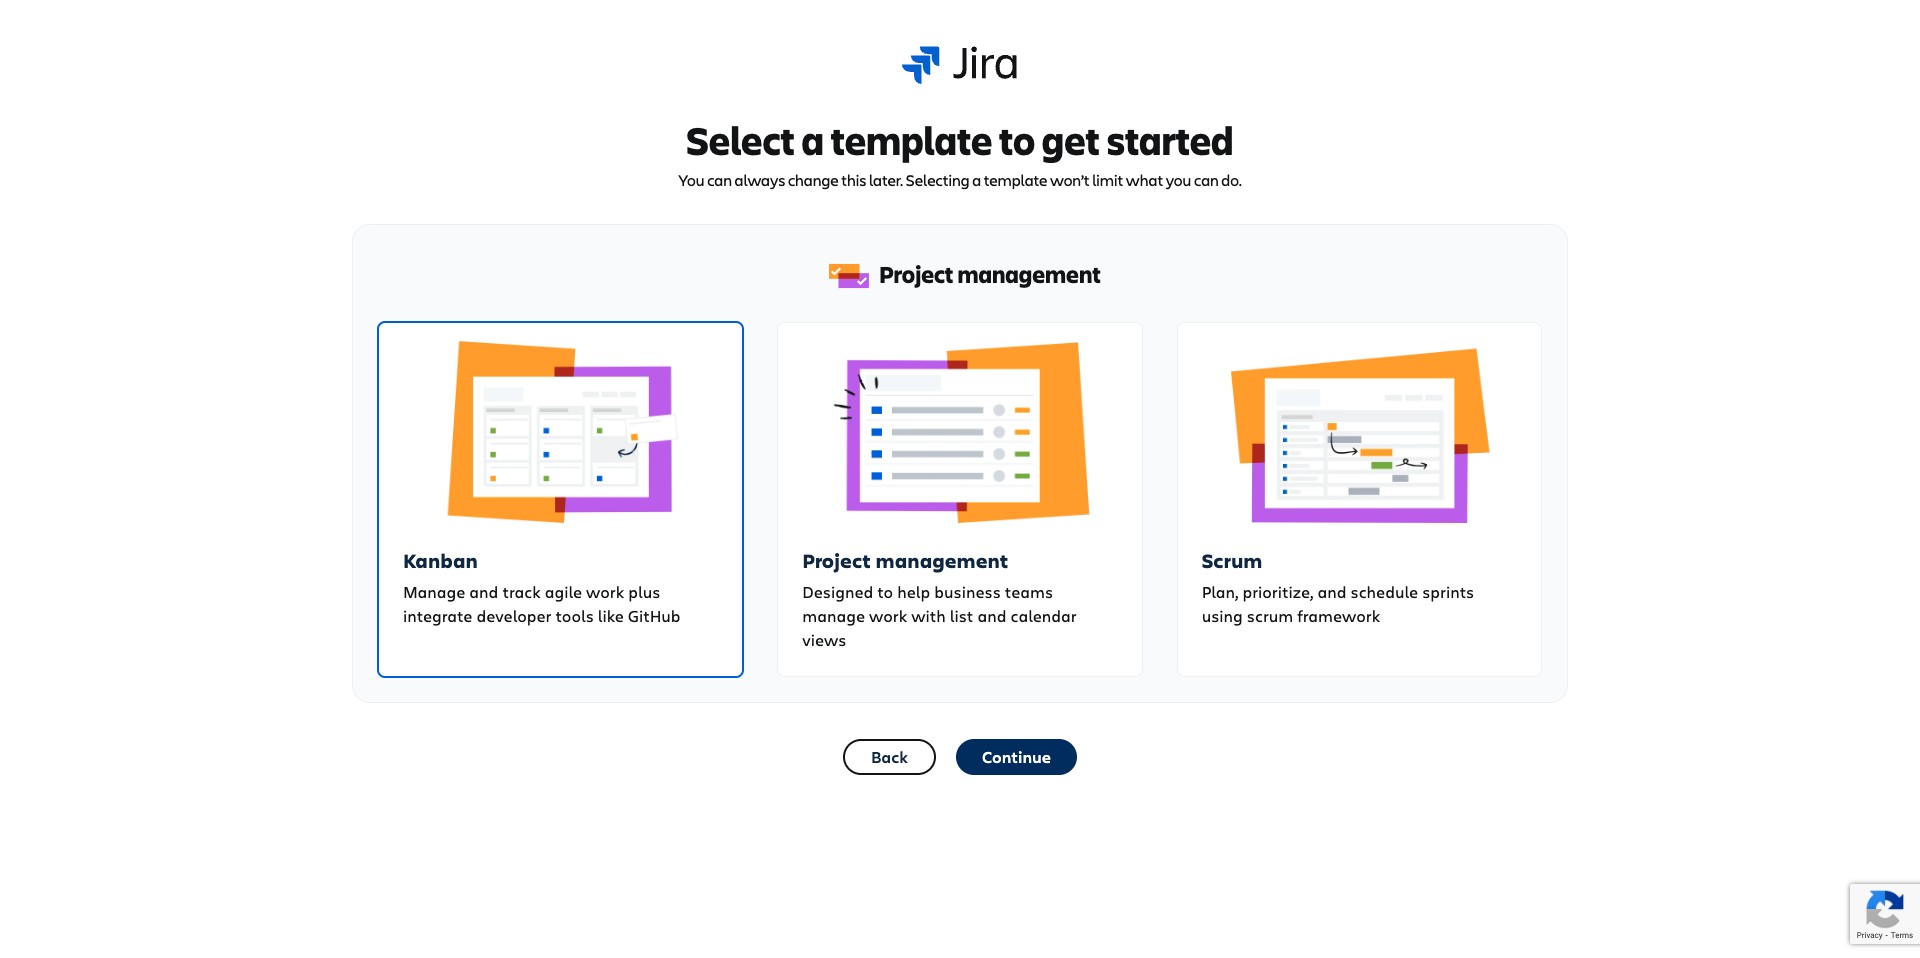
This step helps you choose your initial Jira use case, streamlining the setup process without restricting the types of projects you can create later. You can select Project Management
For onboarding, you can select Kanban, we will start the next set of activities with a Kanban project.
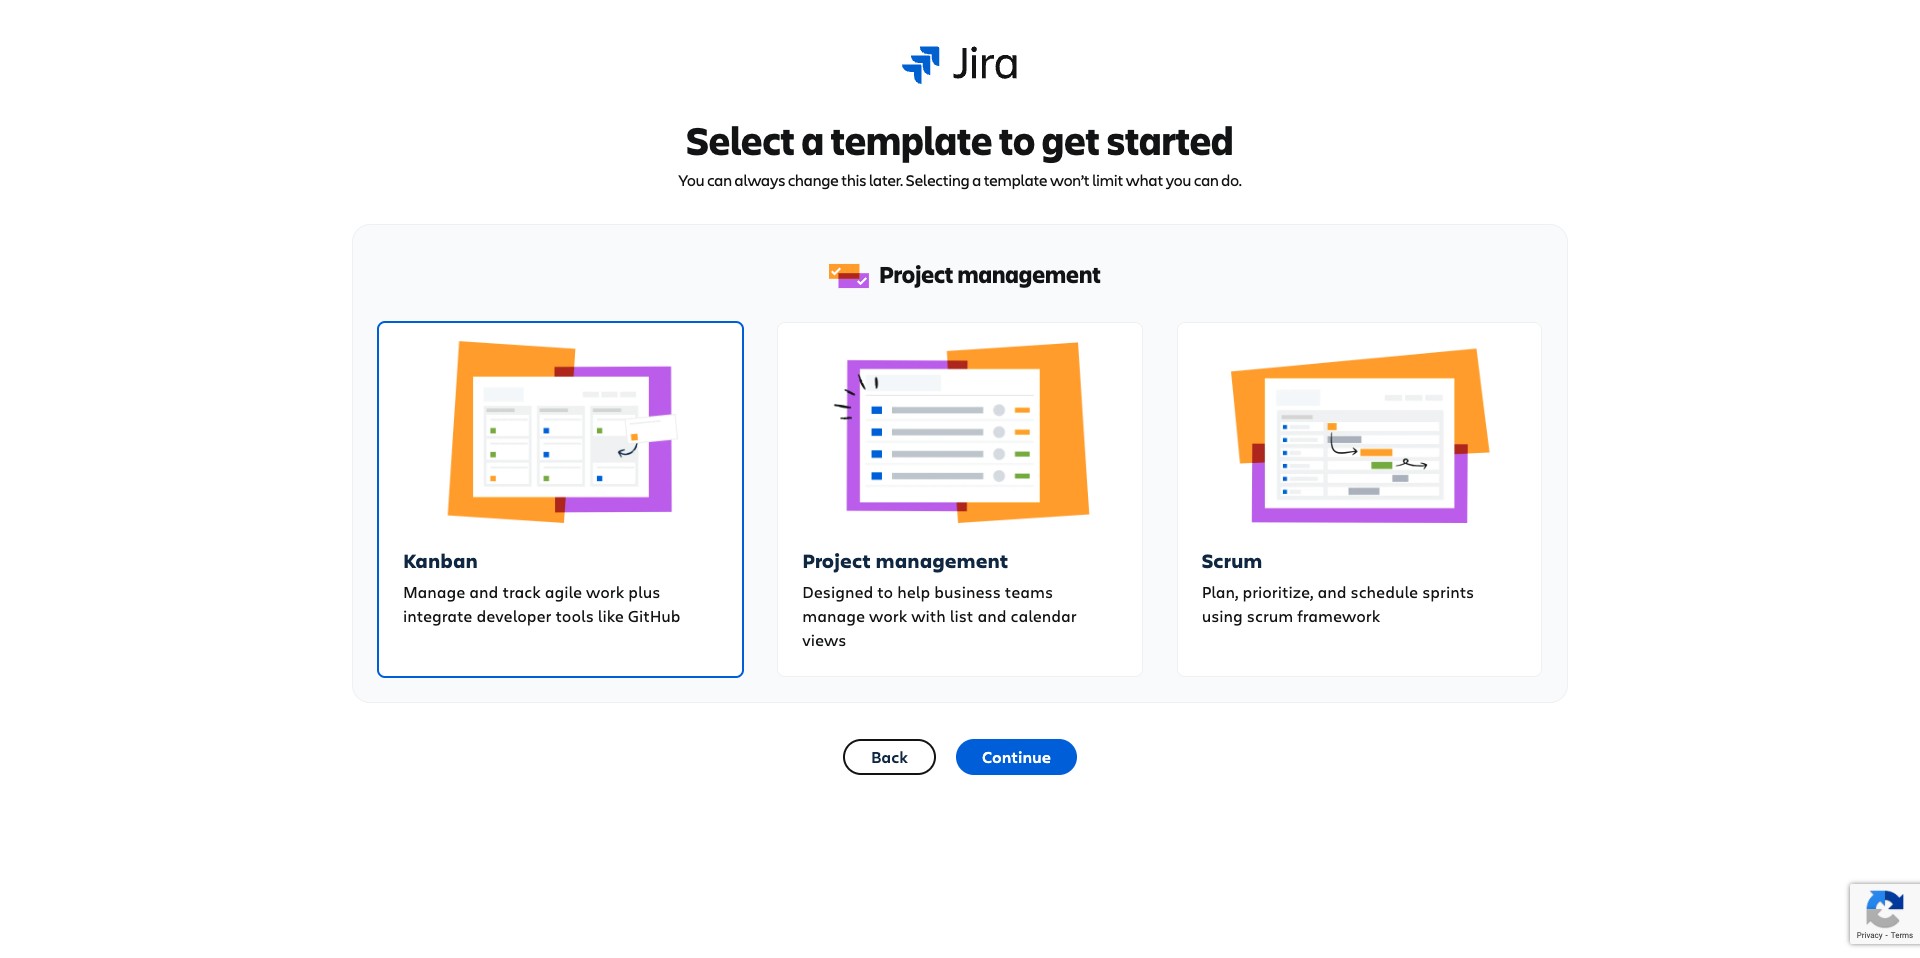
Click on "Continue"
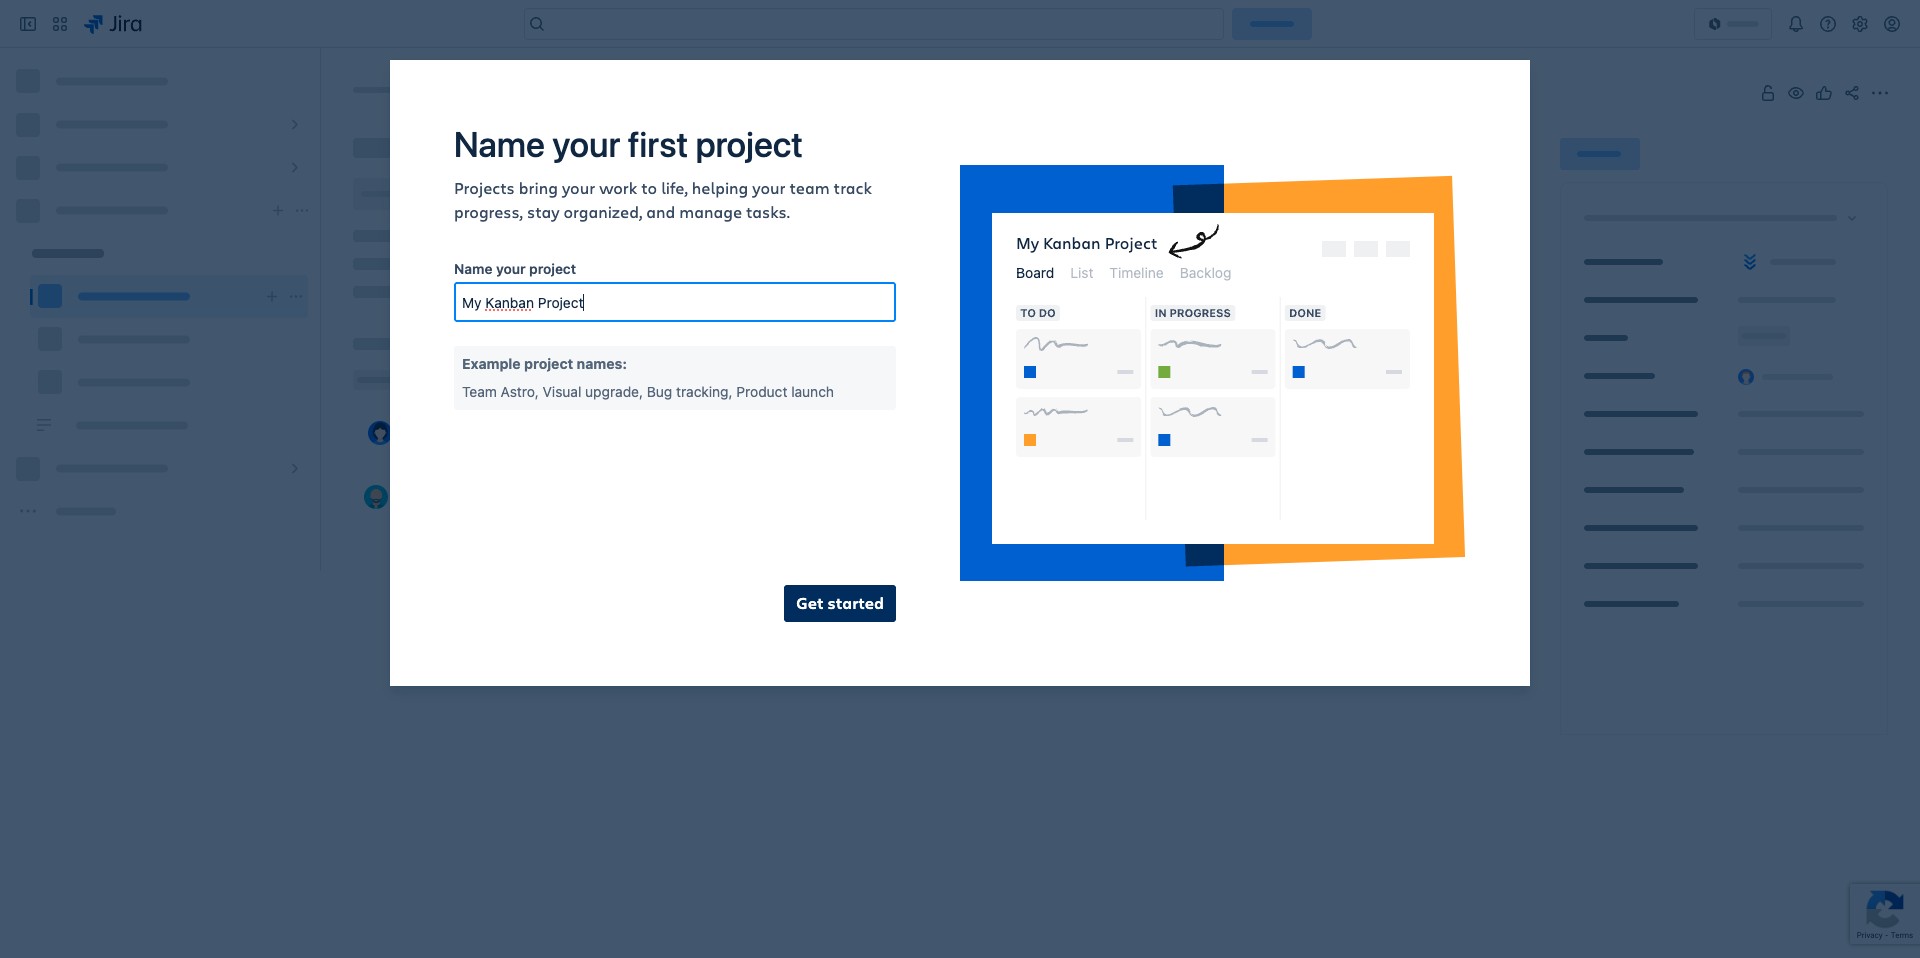
Name your project what you'll like and Click on "Get started"
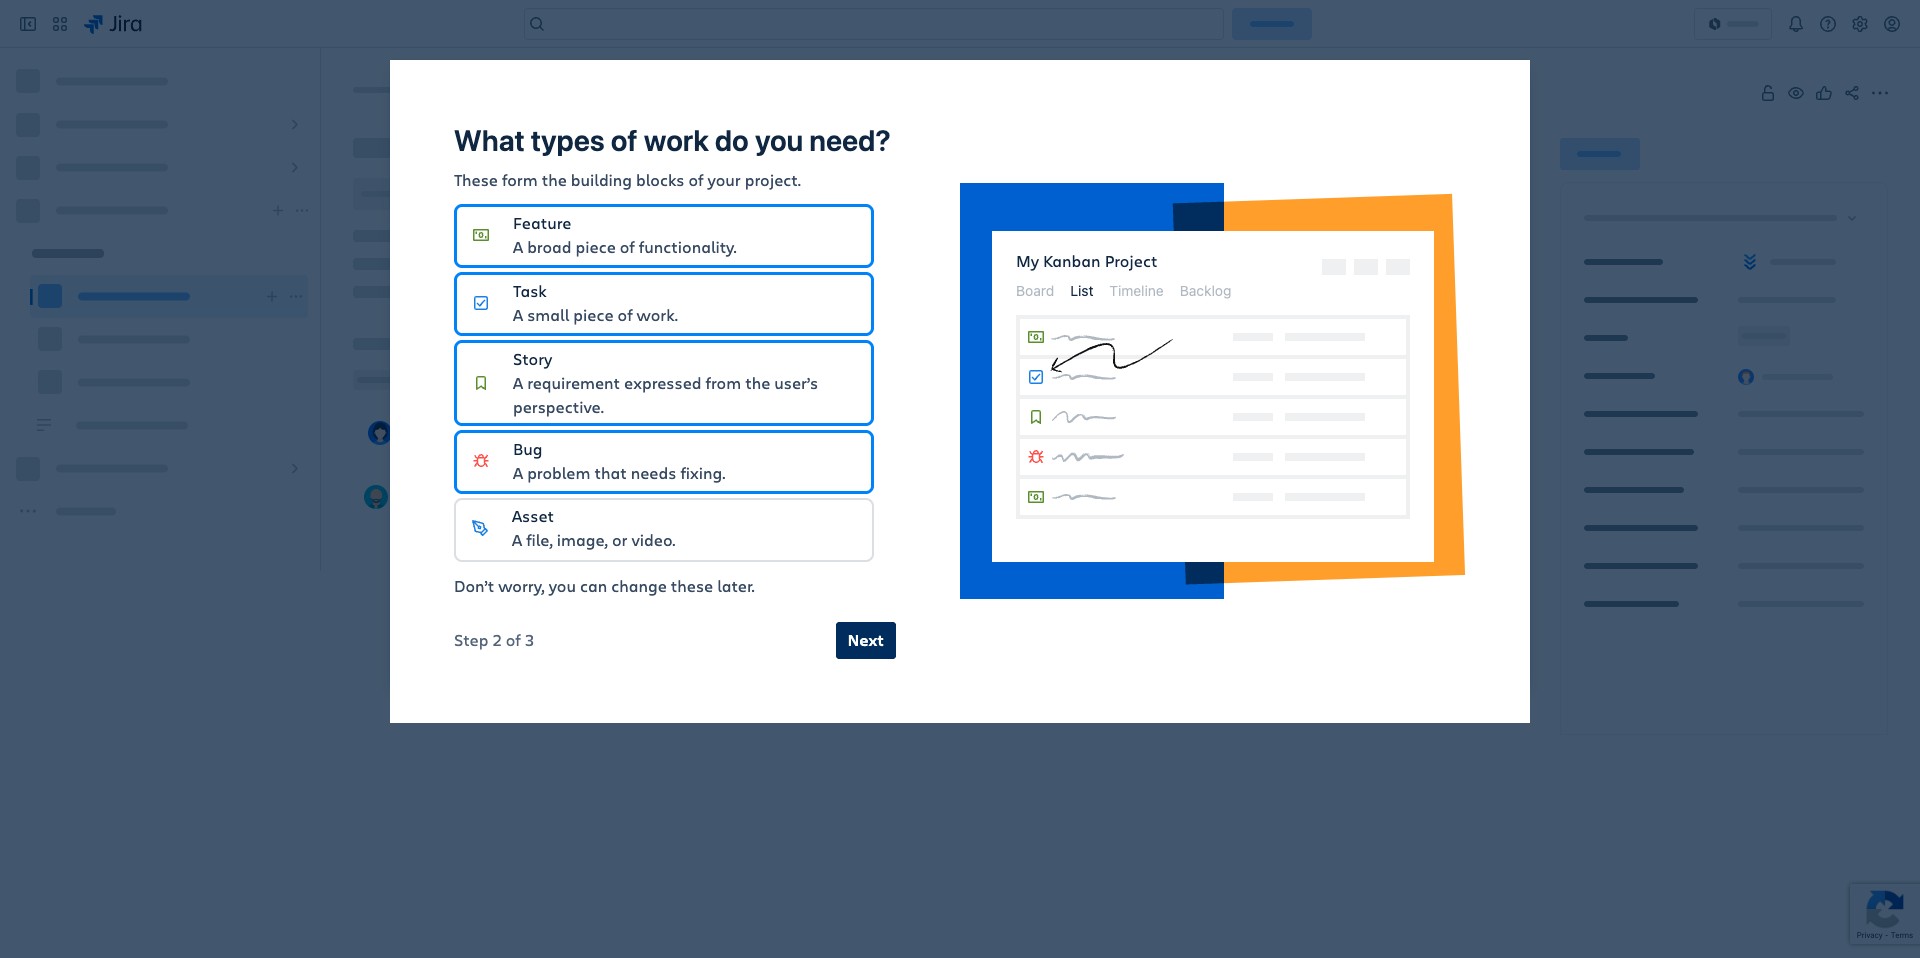
You can select the four different types of tasks highlighted below. Each of them serve different functions
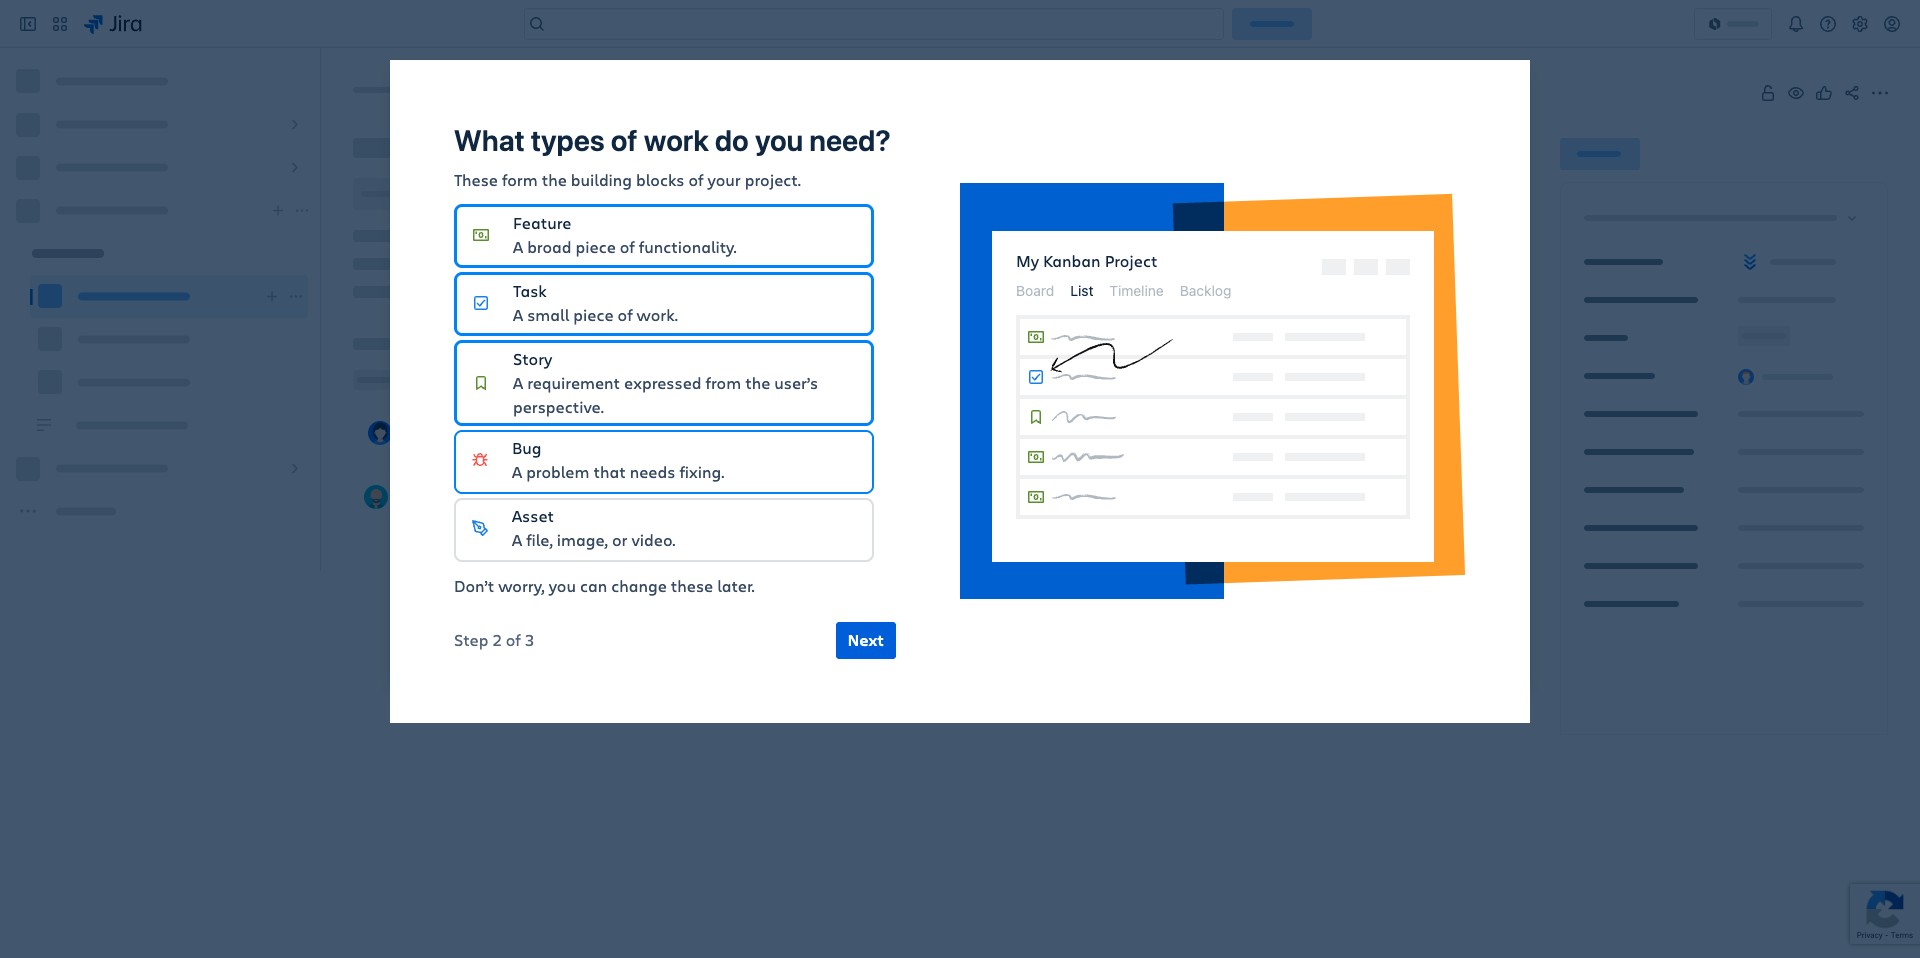
Click on "Next"
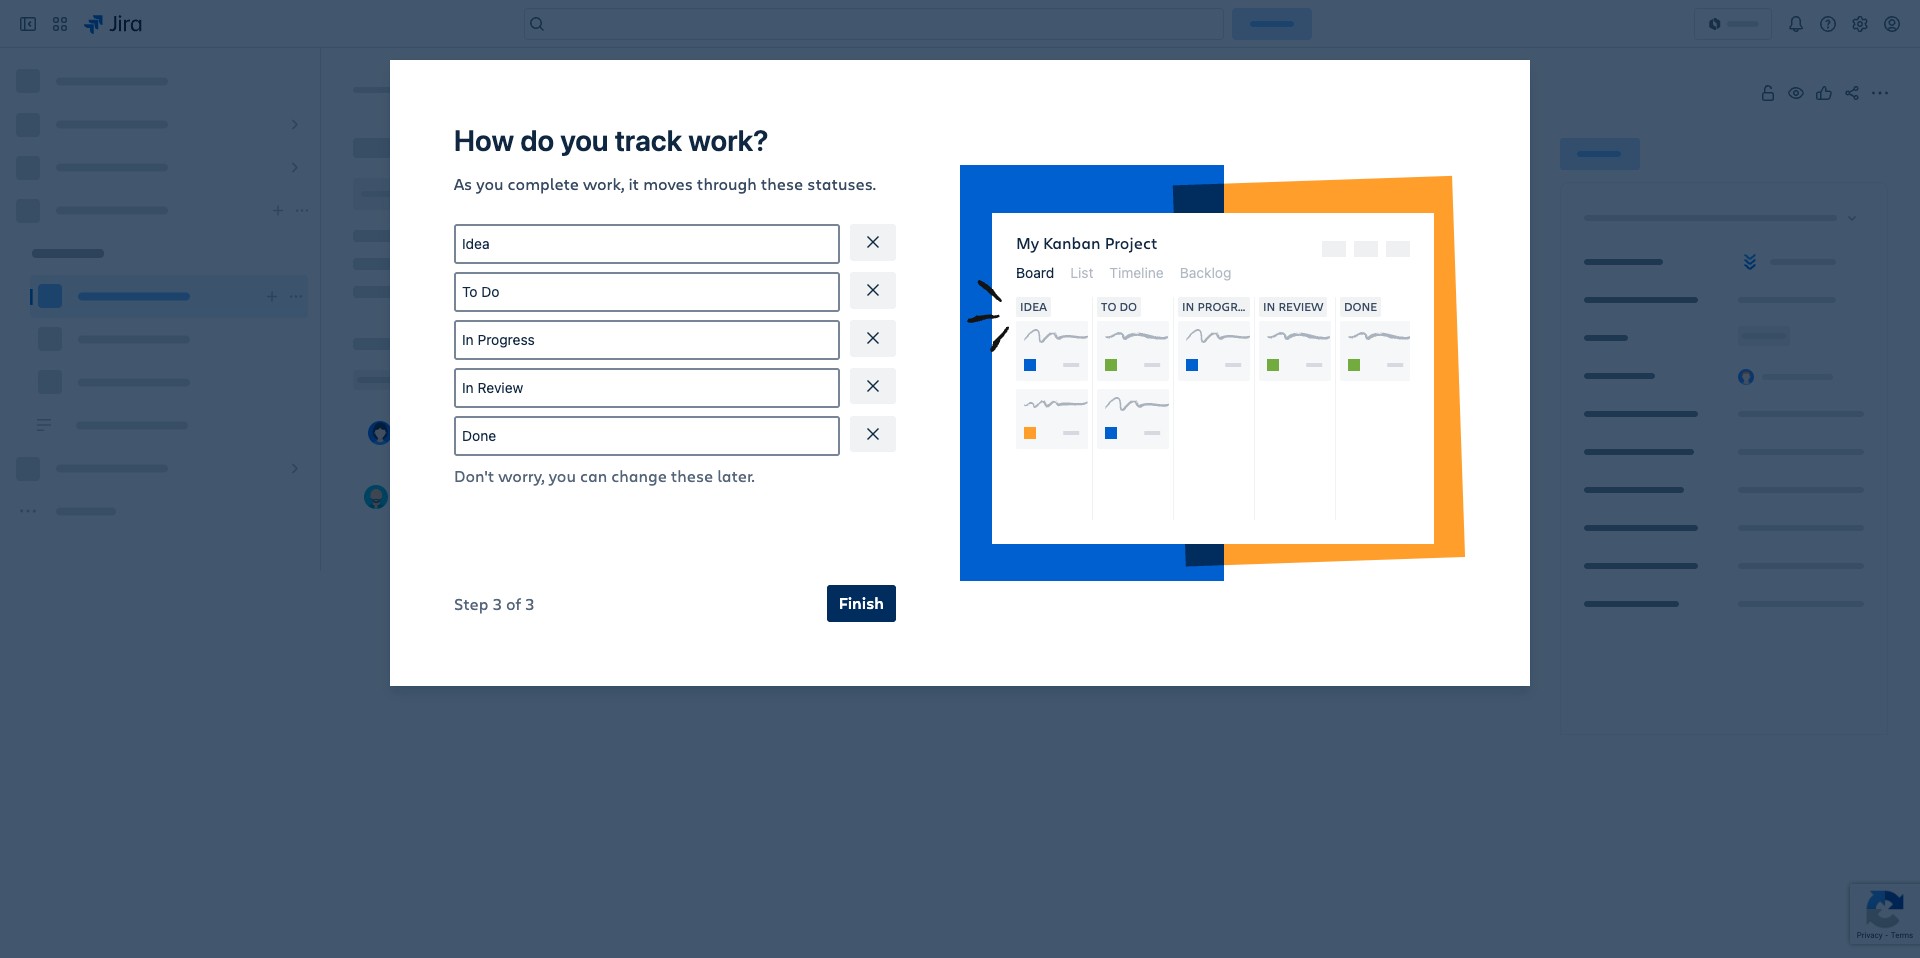
Start with the below list of statuses as you'll make new projects along the way. Click on "Finish" to continue
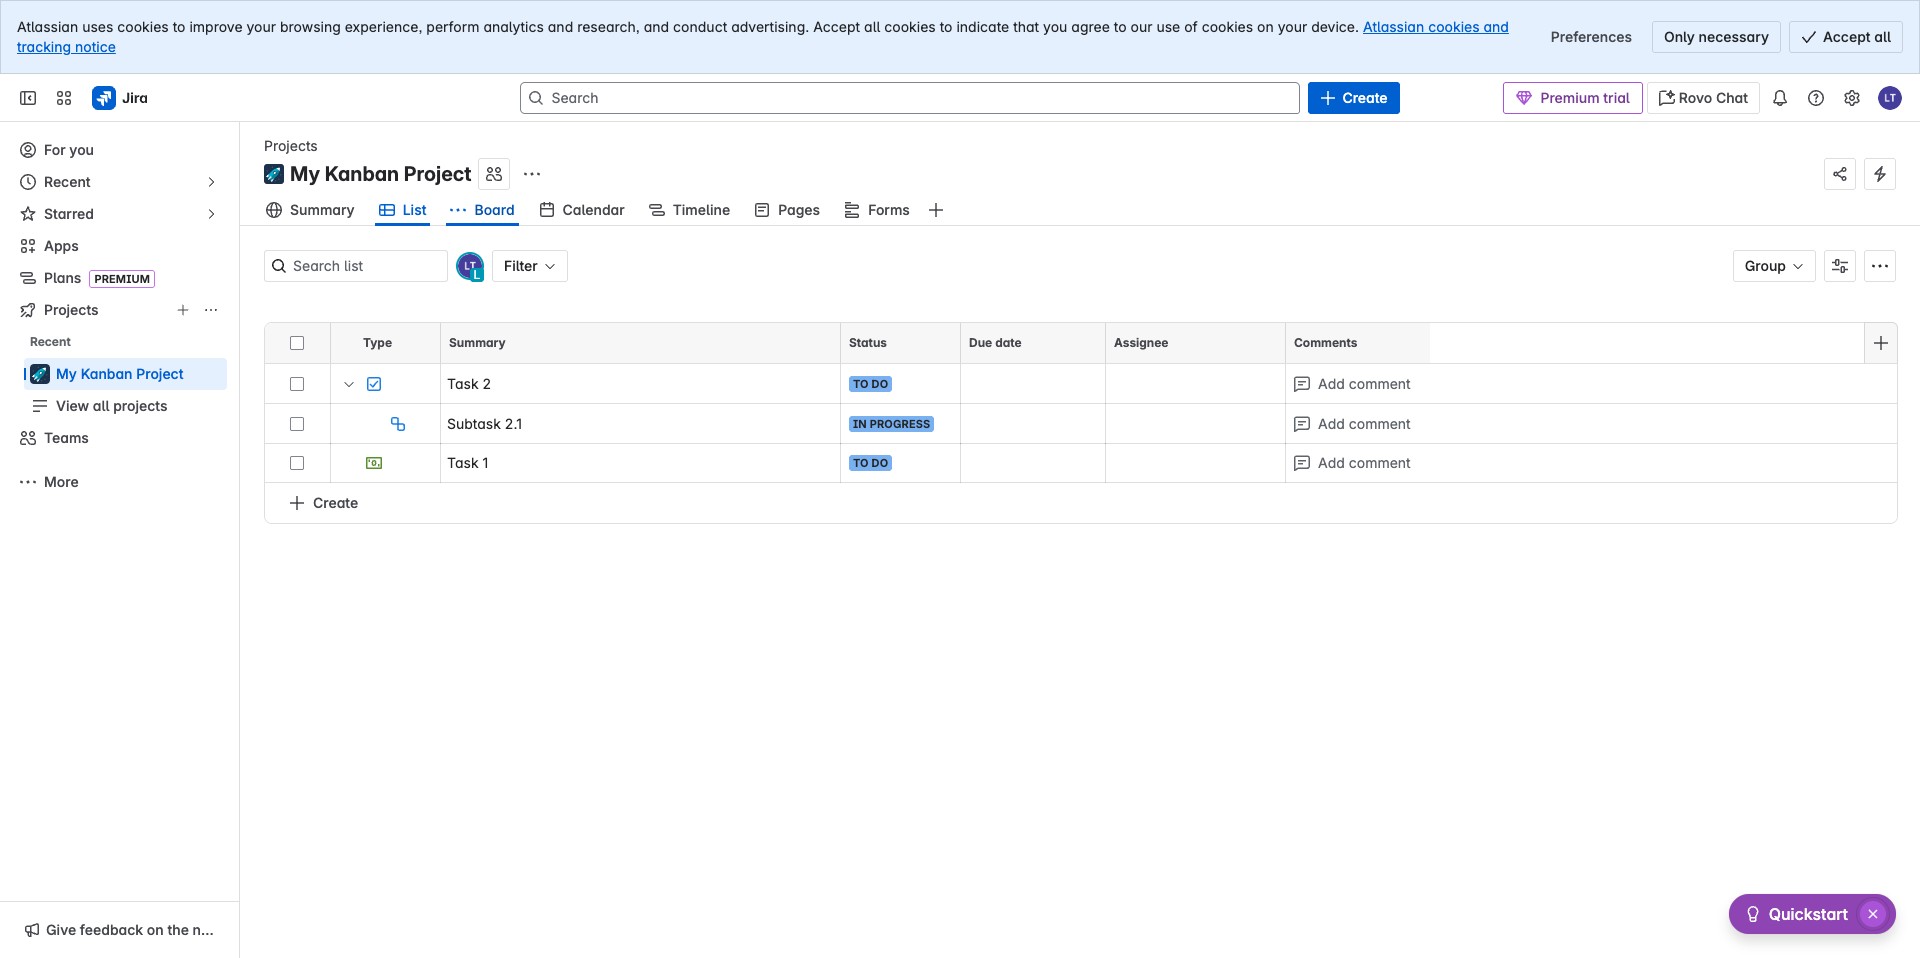
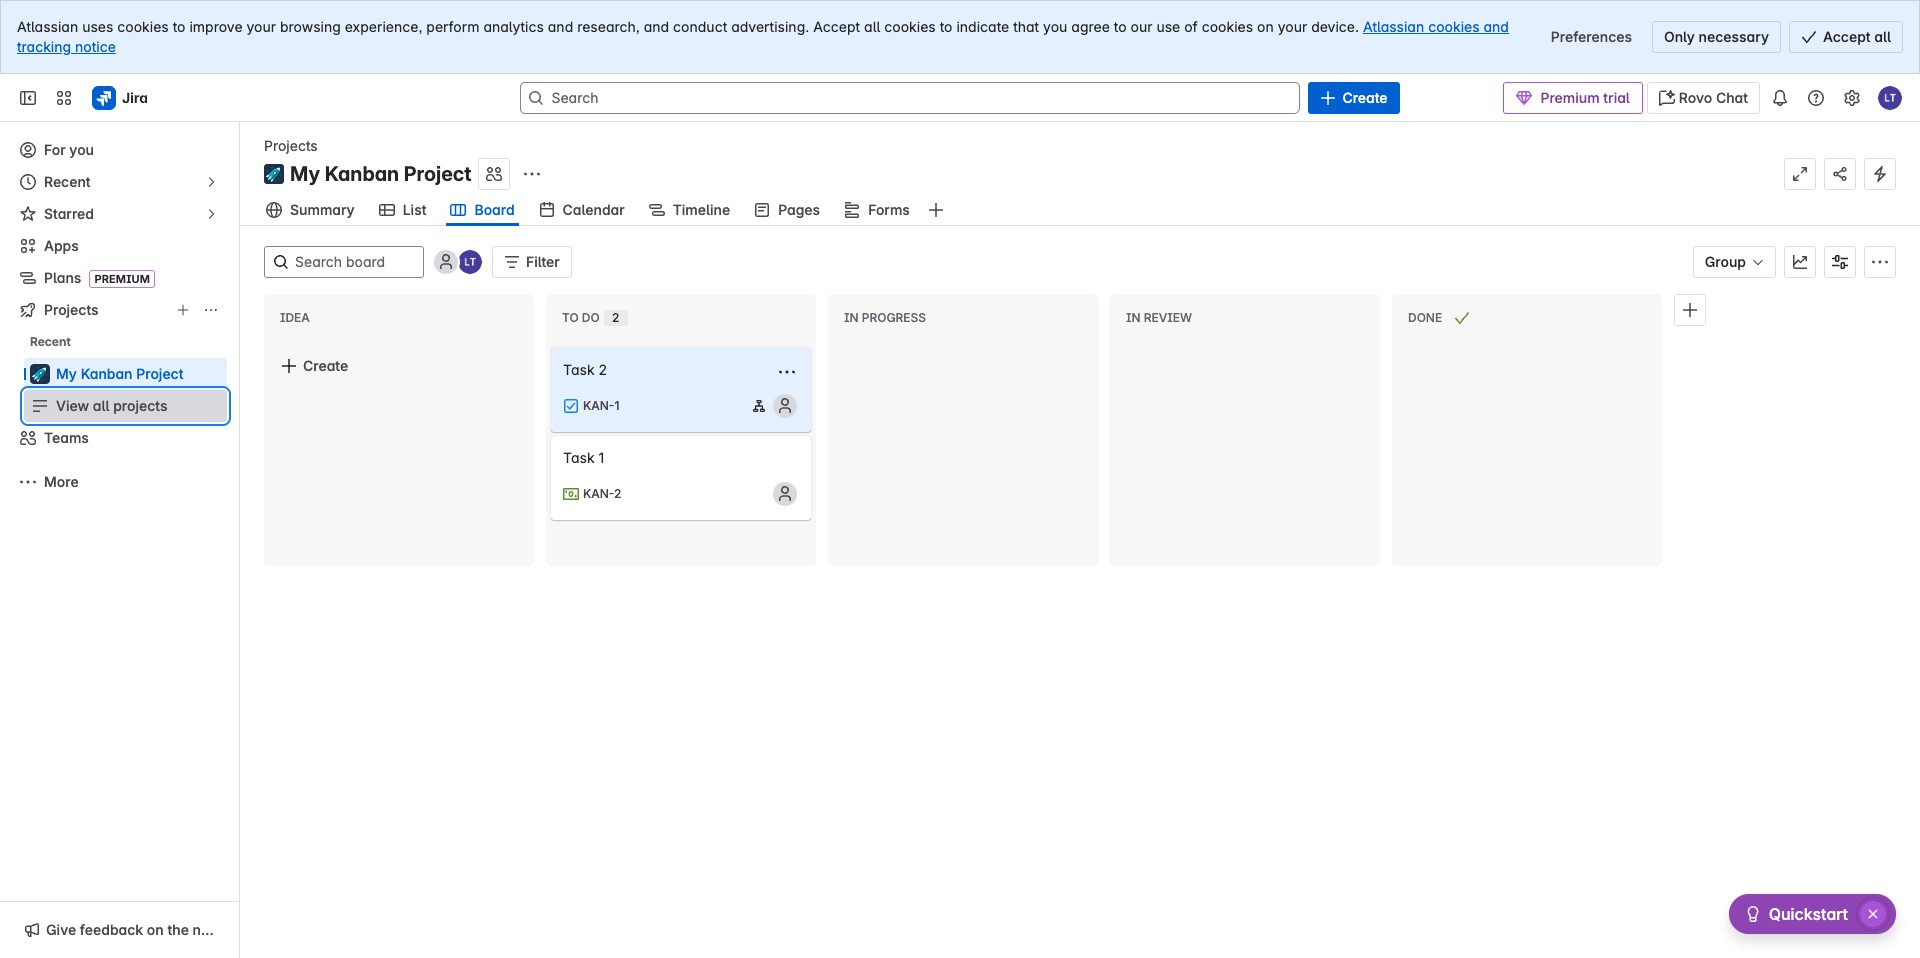
Your project should be created now, the default view is a List however Click on "Board" to also have a board view.
This is the UI you see when you click on Board, you can look around the UI by hovering on icons. Each task can be moved from one lane to another, A lane on a project board is called a swimlane. Swimlanes visually represent different categories of work, in this case, it represents the status.
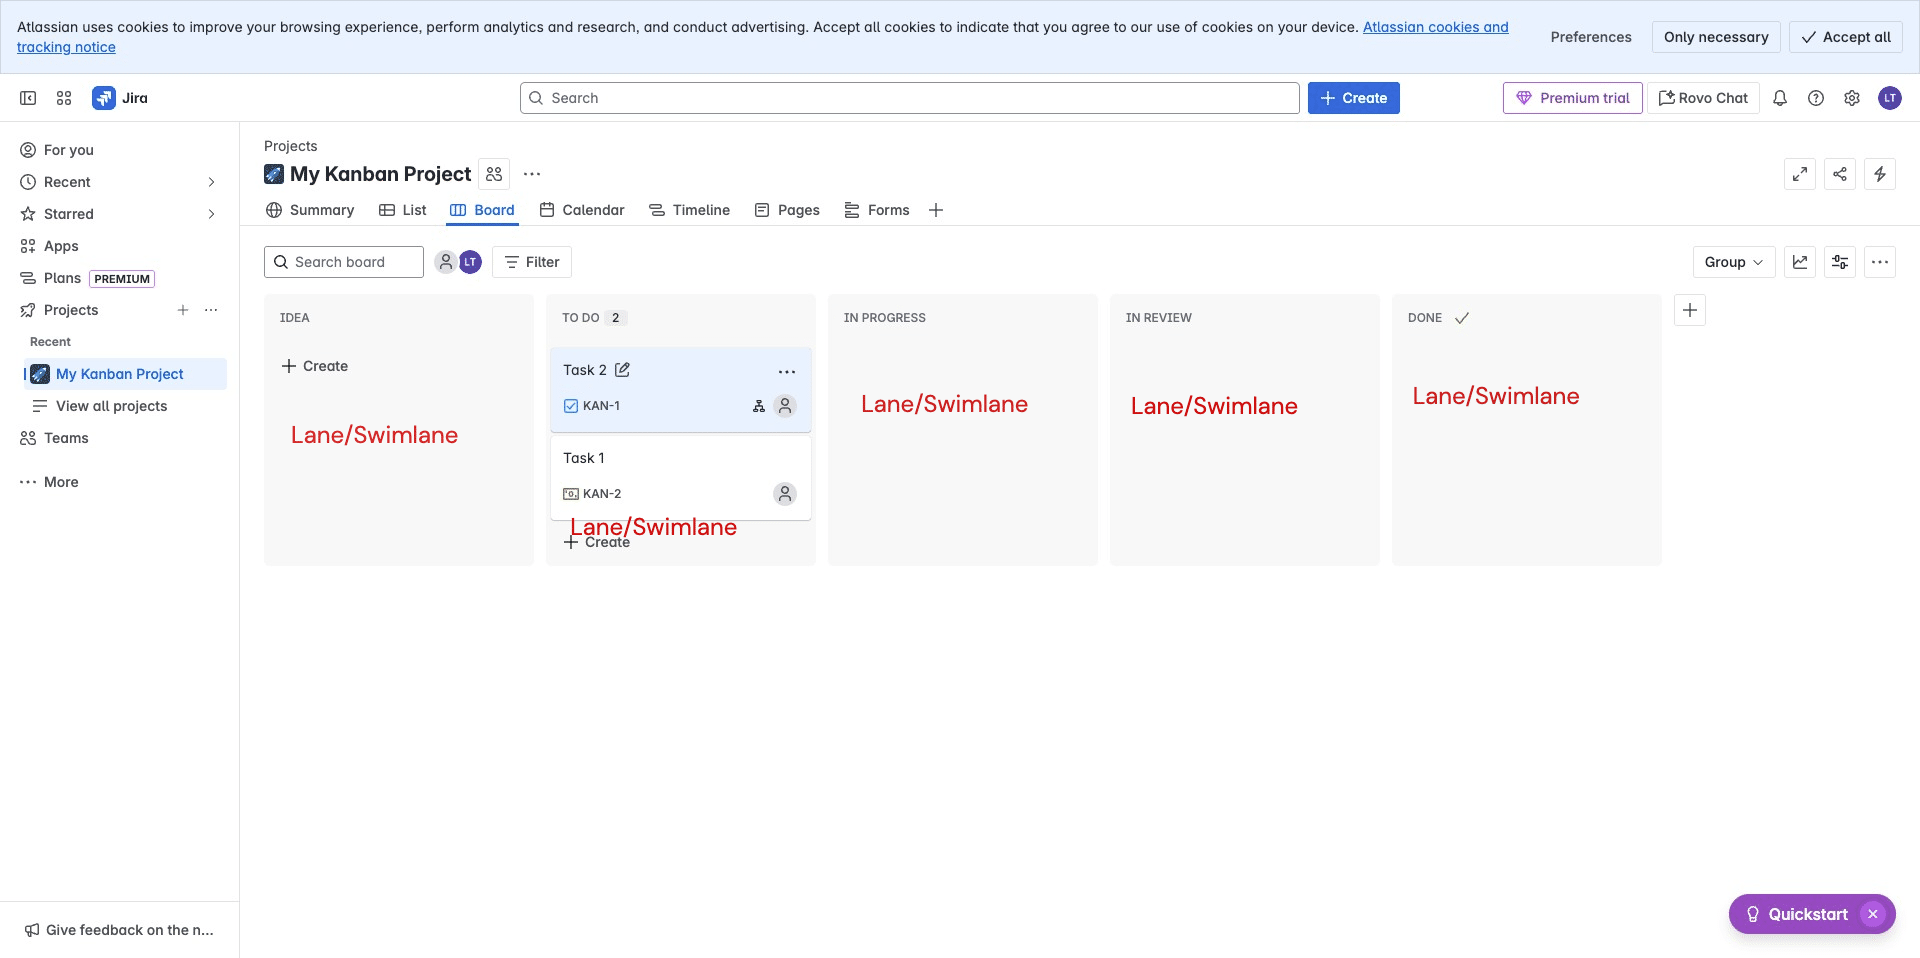
You can drag and drop any task to see how items are moved on the swimlane. When you hover on each icon, you will be able to see the details of that icon. You can edit the name of a task directly on the board.
Click on the task to edit its content directly. Whenever you hover on each icon, you also get a description of the function of that icon.Lets edit the description and add data, the data in the field should represent what that task is expected to accomplish. You can add subtasks in a task as you can see an example was already created. You can add comments to keep track of conversations.
Each field on the details panel represents specific details needed to keep track of the project work e.g the Assignee field is needed to represents who will execute on a task, the Development field represents how the teams will link a Repository where they have committed their piece of code to.
You can also move a task from one swimlane to another by clicking on the field at the top right, this will allow you move the task to the next status.
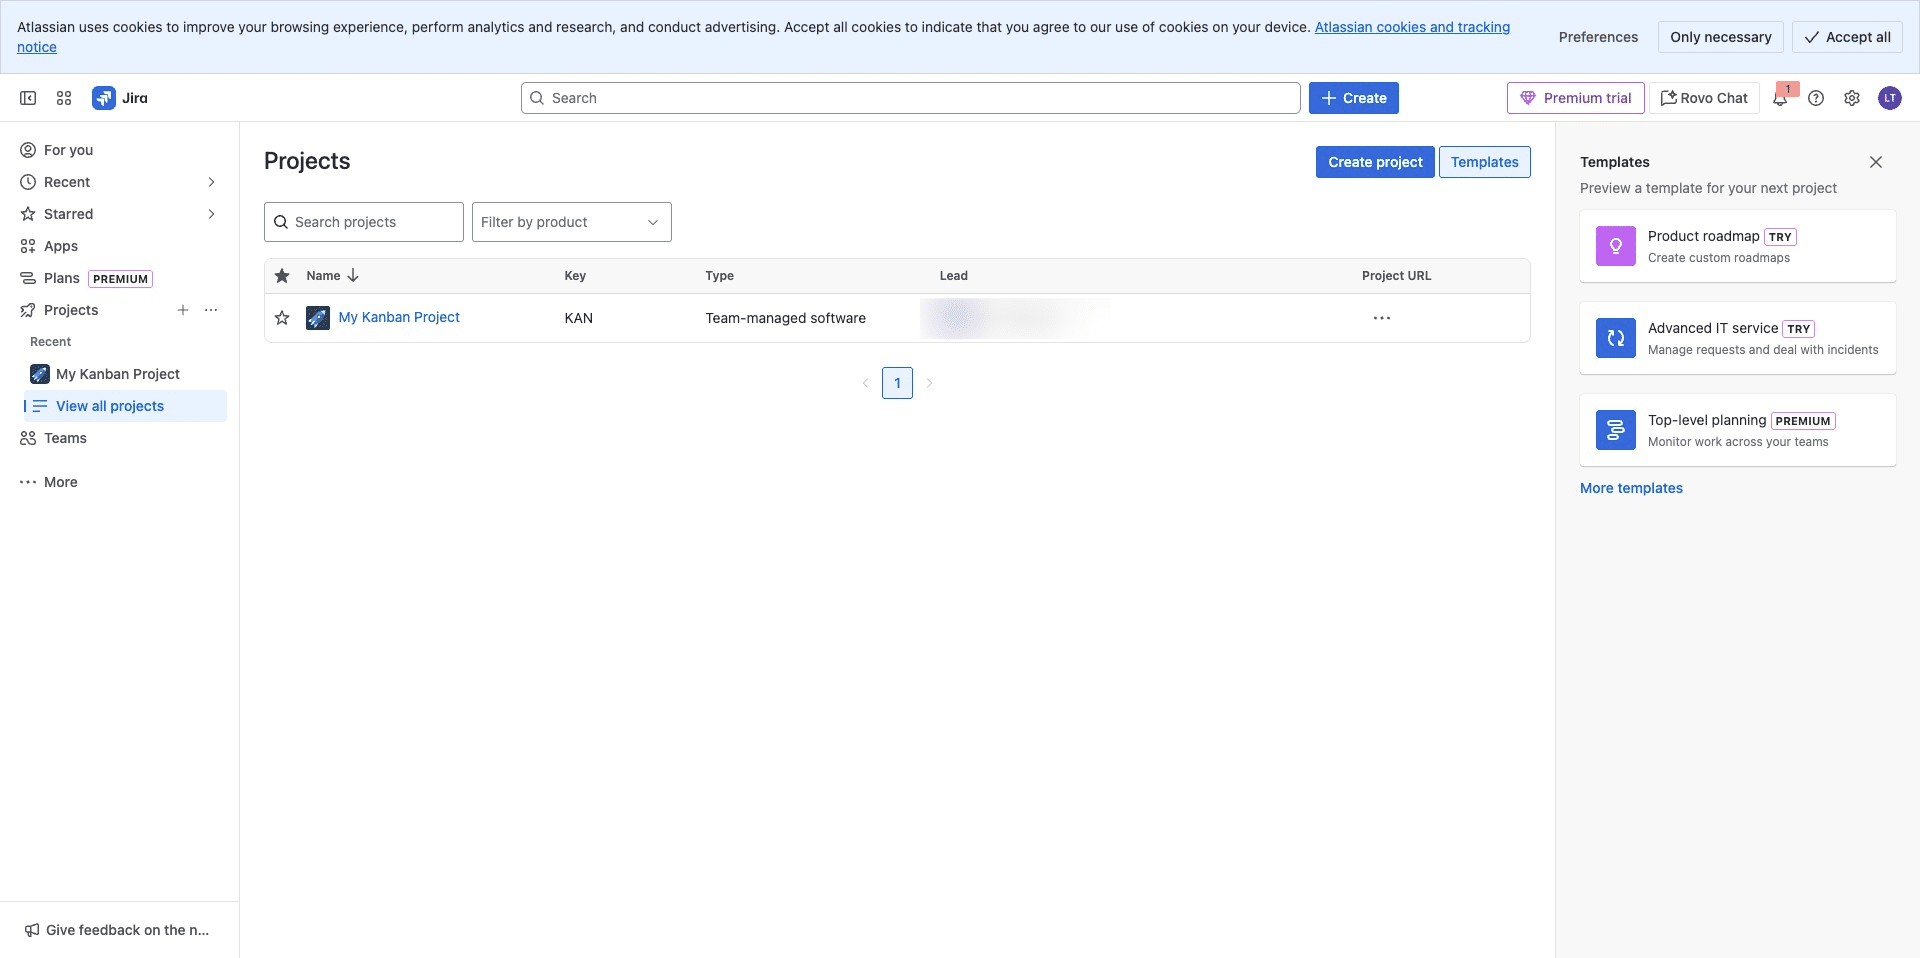
View List of Projects
To view your list of projects, Click to access list of projects

The view will be expanded, Click on View all projects
Your list of projects can be seen on the table